Hello and welcome to my blog- How to Play the Sims. If you are new, you can visit my blog and catch up by reading my previous posts. Follow me @simgirl to receive my newest posts in your Steemit feed.
In this post, I will explain how to build a simple home for a beginner Sim. A beginner Sim will need a bedroom, a bathroom, and a kitchen. If you would like to make an open floor plan, you can include them all in one room, and make a wall around the bathroom. If you would like for your Sim to have more room, you can add a living room, and a dining room.
If you’re good at designing houses, this may come easy to you. The more houses you make using the Sims 4 build mode, the more you will understand the building process, and the better your houses will look. Houses can be made with multiple floors, and they can include a basement. To get an idea of what is possible in the Sims 4 build mode, check out this cool video.
When in build mode, in the bottom left-hand side of the screen, there will be a menu full of icons that looks like a house. Each part of the house in the picture, opens the build mode to use the building tool selected. You can mouse over the parts of the house to see what each tool does. The first tool I will be using is the wall tool.
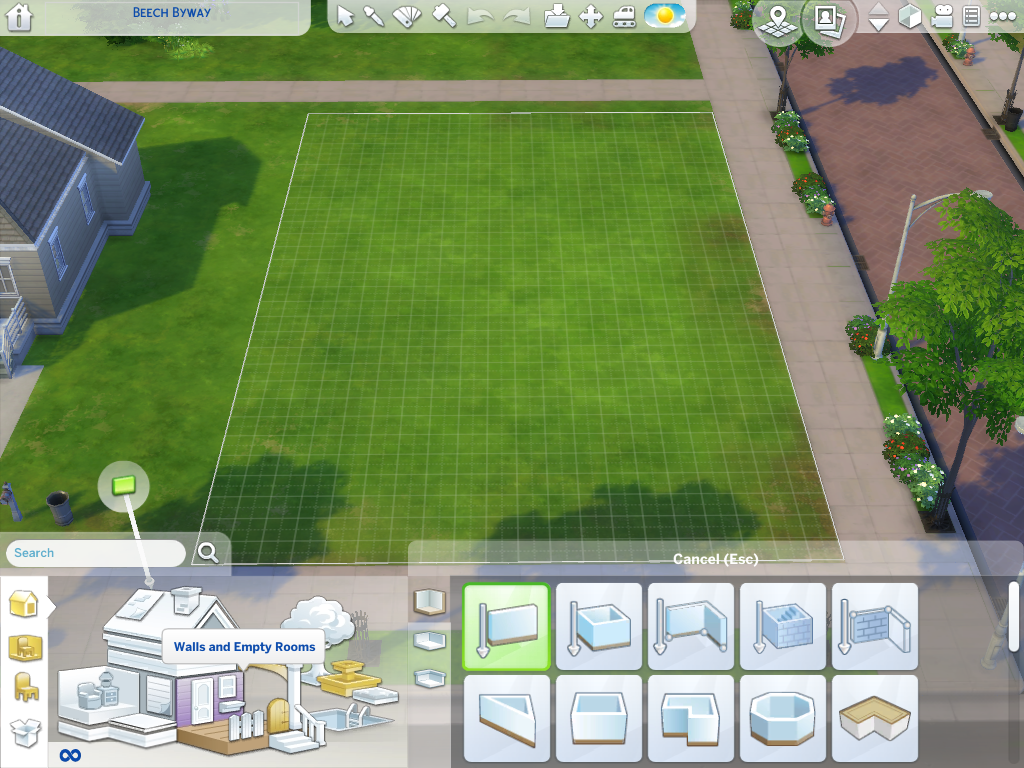
You can put in separate walls, or you can use the room tool that will build an entire room. There are also pre-shaped rooms like the ones you saw in the video. The icons with no walls, can be used to build porches. They are also in different sizes and shapes for you to choose.
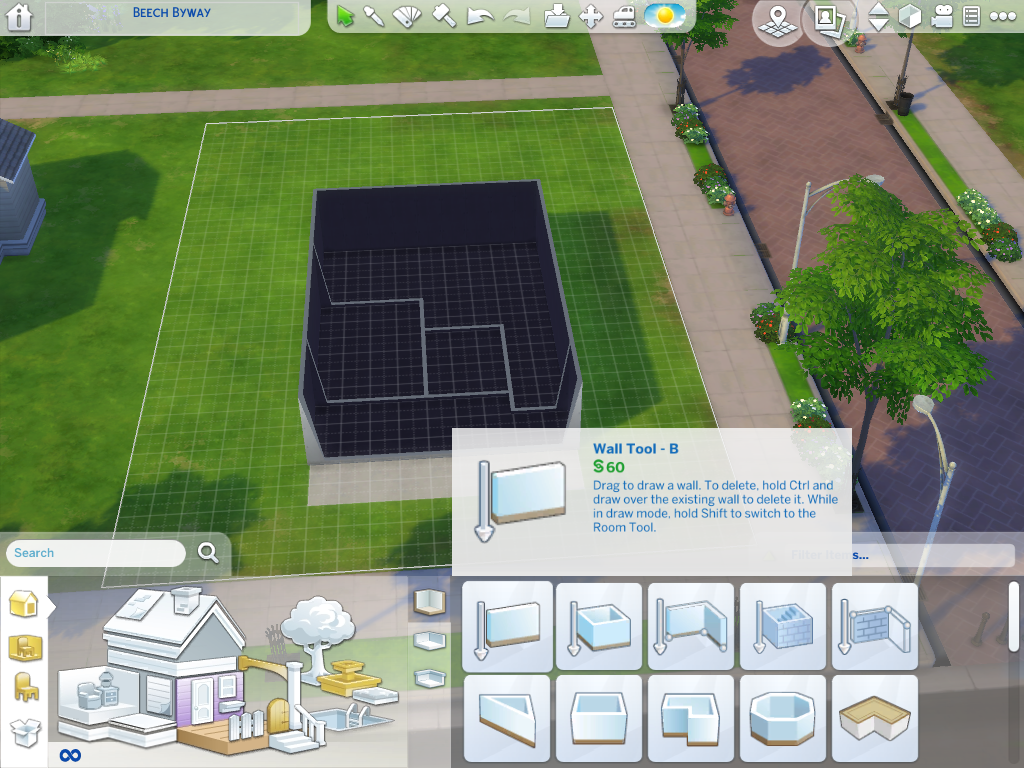
Once you build the outside walls, you can use the wall tool to build the inside walls. When the walls are closed in, the ceiling and the floor will automatically be added.
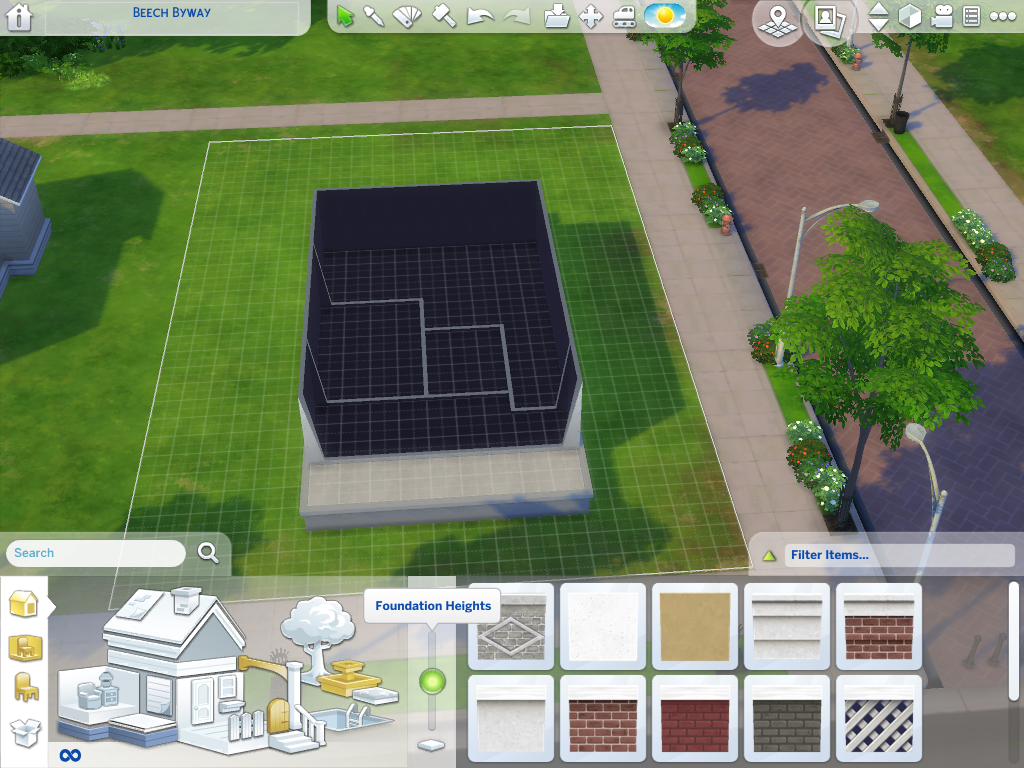
When you add walls, and porches, they will be at ground level until you lift the foundation. (I put a 12-inch lift on my house.) You can come back later to do the brick on the foundation.
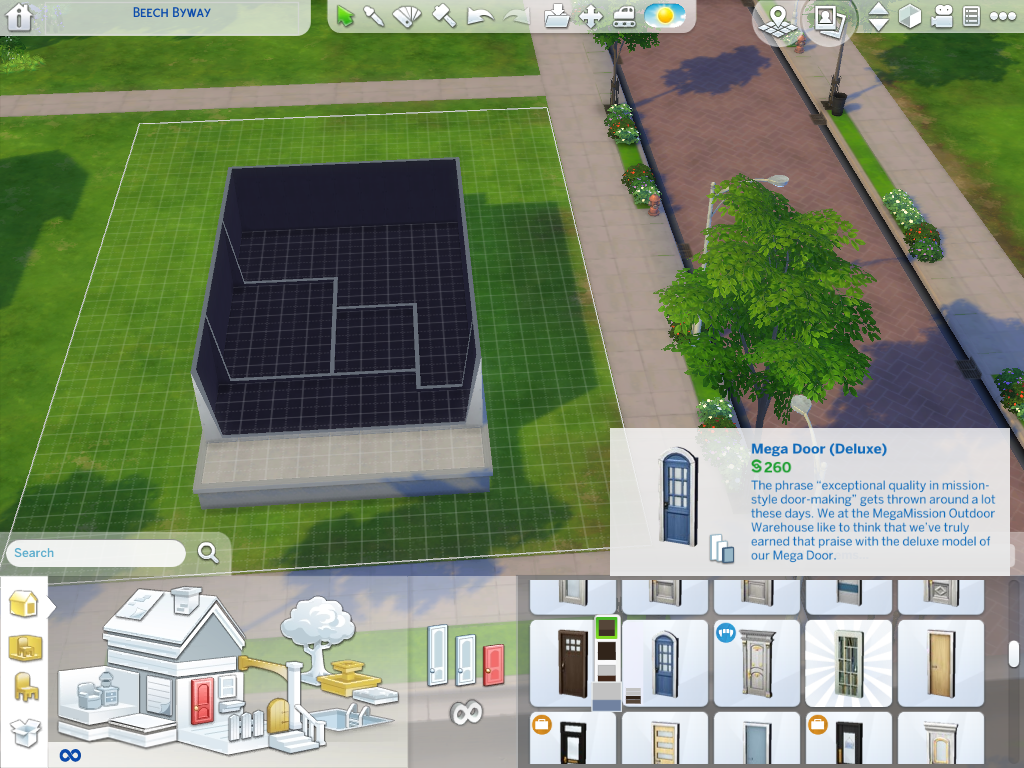
Now that you have walls, and rooms, you will need to add doors, and entranceways. You can select the door icon to open the door tool. There you can select a door you would like to use. Since we are creating a home for a beginning Sim, we will be using the least expensive, or low-priced materials for this house. But, I always pay a little extra for the front door. I mean it’s your front door! You have to be safe.
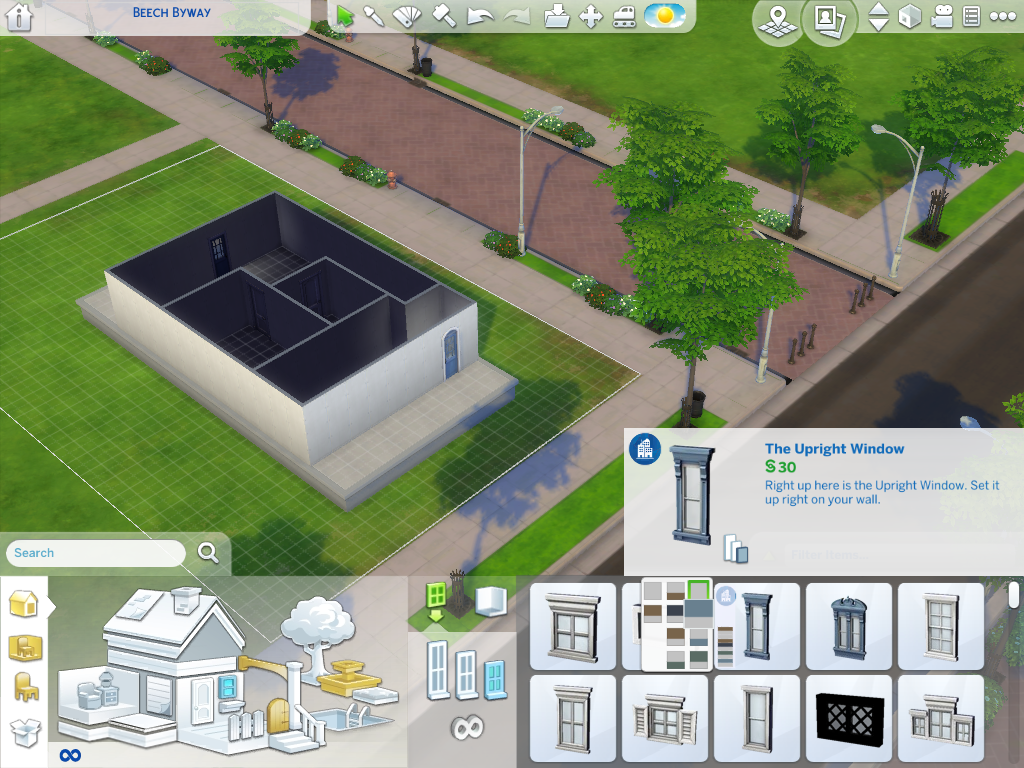
After you have selected the door, you can place it along the wall you built. This will allow your Sims to come in and out of the house. You can select inside doors, for the inside rooms, and archways for rooms that are connected, such as the living room, dining room, and the kitchen. You can then begin setting the windows, by selecting the window icon.
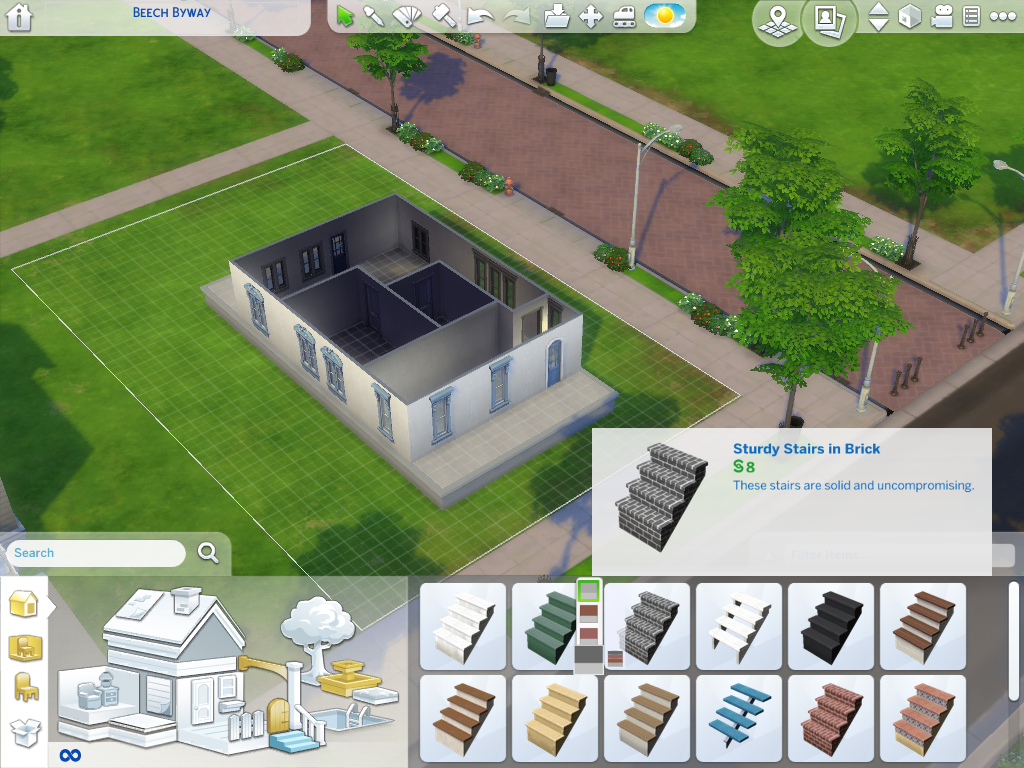
The step tool can be used by selecting the stairs icon. You can then select the price and the design of your stairs. Steps can be a bit tricky to place on the porches. If you don’t get it right the first time, click on the steps and use the move, or rotate options.
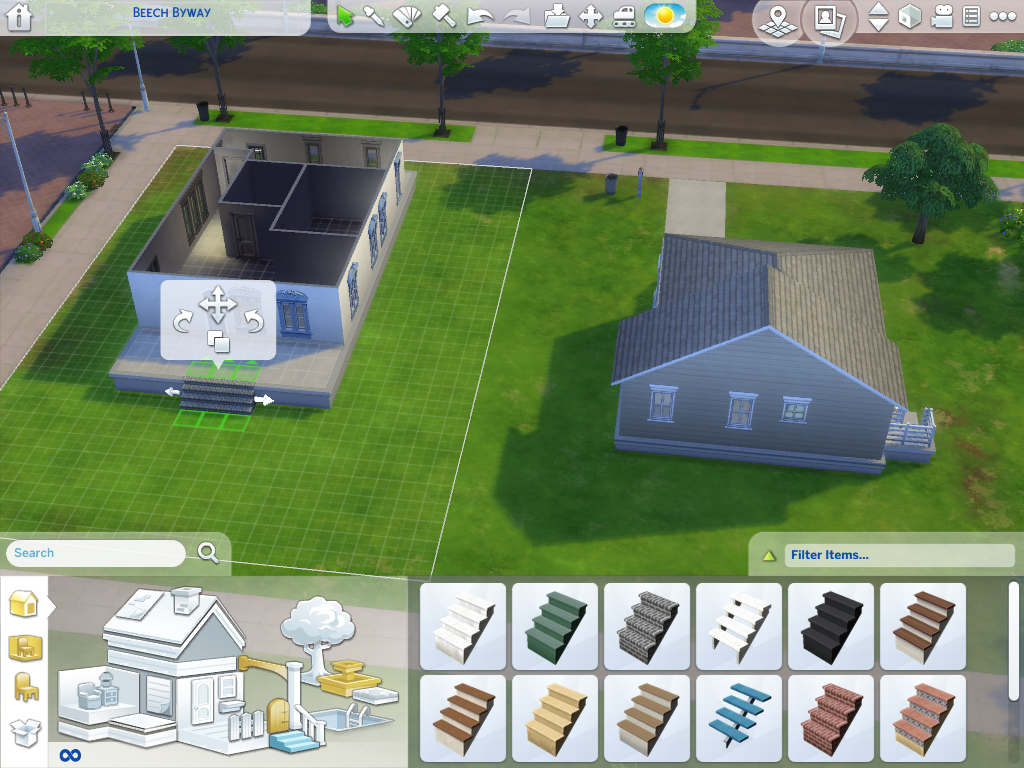
Once you add the stairs you can make them bigger by selecting the staircase, and dragging the stairs with the arrows on either side. When you select the railing icon, you can choose the railing for your stairs, and the fence icon will give you the option to add railings to your porches. Once the railings are chosen, you can place them on the sides of the porch and hold the shift key. This will automatically create a railing around the entire porch. If the railing covers the stairs, you will need to undo your last action, and move the stairs closer to the porch.
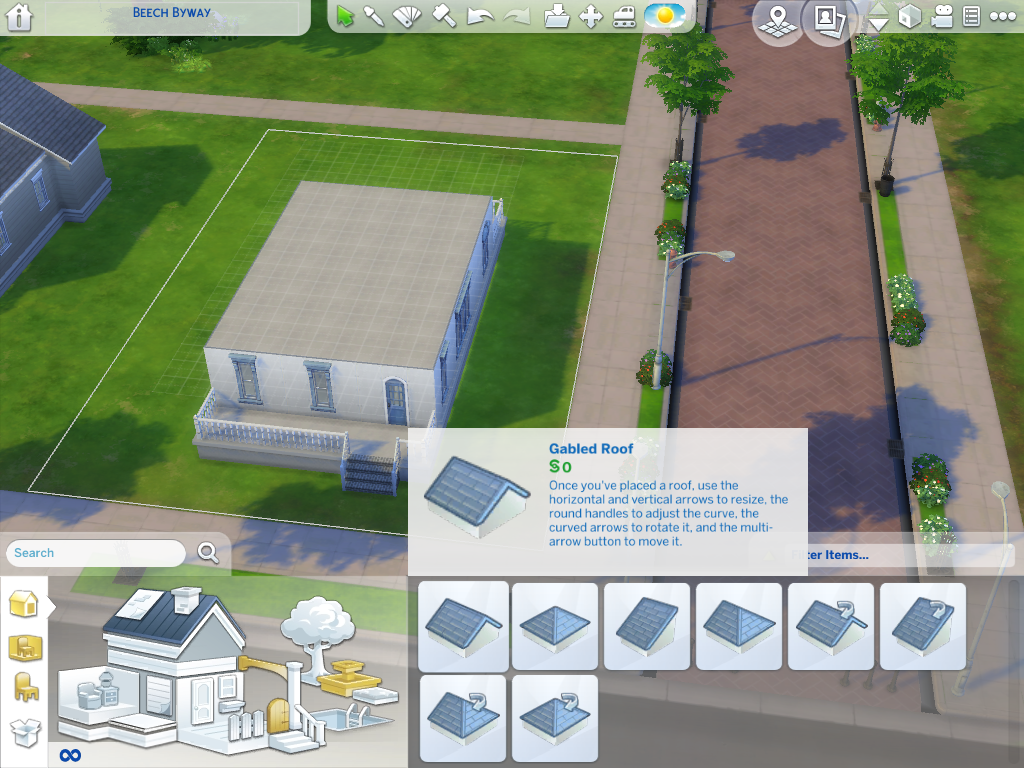
When you select the roof icon, you are given two types of roofs to place on your house. These are hipped, and gabled. If you select the up and down arrows on the top, right-hand corner of the screen, you can move the camera to the closed ceiling. If you are making a two-story home, you can place the stairs inside the bottom floor, and there will be an opening in the ceiling. You will then be able to build more walls for the second floor, and then place the roof on top on that.
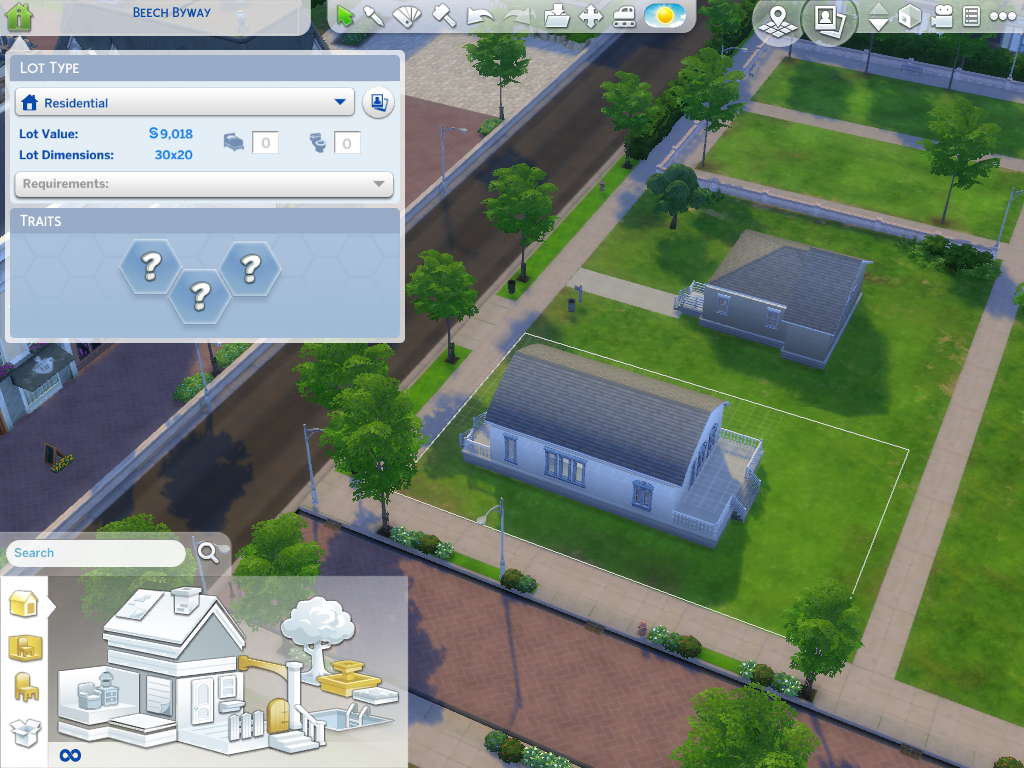
Once you place the roof, you can adjust the size to the shape the walls below it. By holding the arrows on the sides and the top of the roof you can change the roof to any shape you would like. Once the roof is constructed, the rough framing of your home is complete.
The rough framing gave the house and land a $9,000 value for one bedroom, and one bath.
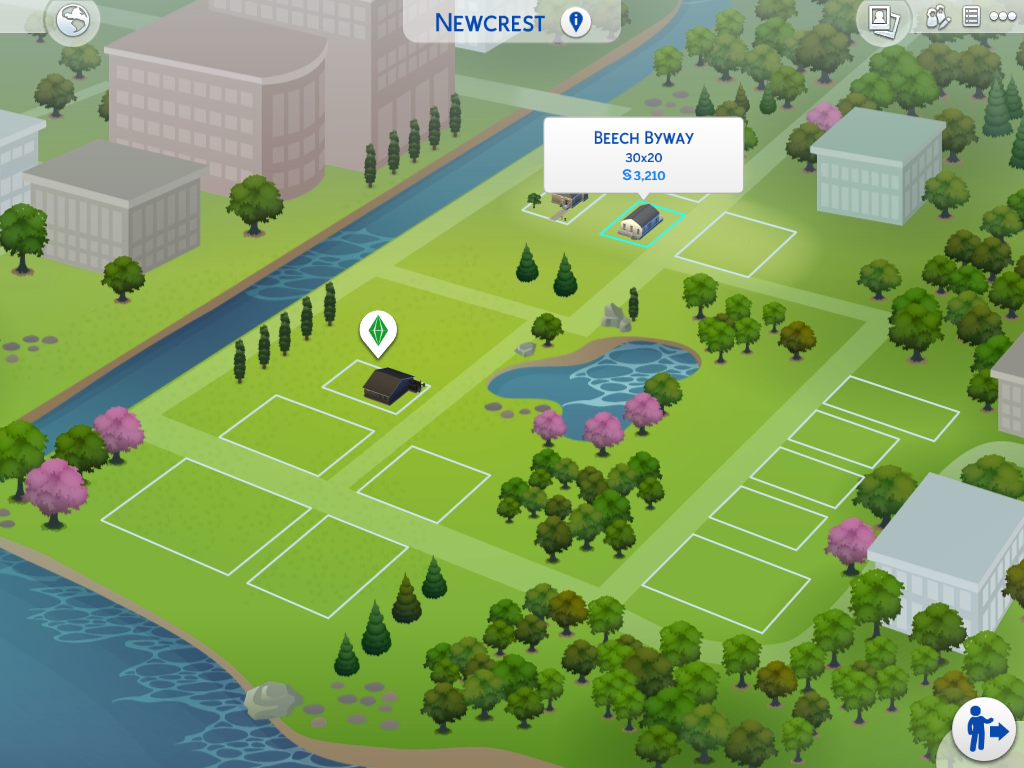
If a Sim bought this home without the house being finished, it would cost the Sim $3,210.
I hope this post has helped you understand the basics of building a beginner house in the Sims 4 game. The Sims 4 build mode is simple, and easy to use. You can build homes and then save them to the gallery for other players to use in their game. Then you can build more.
When building a home from the main menu of the game, you do not need to have the money to build. You can change anything you want, and will be given an estimate of the home’s value. The more you build, and the more expensive the materials you use to build, the more valuable the land and house will become, and the pricier it will be for a Sim to buy. If you wanted to, you could spend most of your time in Sims 4 building and decorating houses, and that’s okay; as long as you are having fun!
In my next blog, I will go further into the building of a home, by showing how to decorate and finish the inside, and the outside of the walls. If you would like to participate in the creation of Sally Steemit, be sure to comment any specifications, or details you would like to see for her, her home, or her planned life. Until next time….
Happy Gaming- Sim Girl
For More Posts @simgirl, follow these links:
Creation of A Sim: Creating a Sim From Scratch
Creation of A Sim: An Outfit For Every Occasion
Creation of A Home: Buying the Land
Creation of A Home: Rough Framing
Creation of A Home: The Details
Creation of A Home: Final Touches for Functionality
Picking Sally Steemit’s Life Goal
Sometimes it Is Okay to Cheat
How-to Sim Your Life: A Guide to Winning the Game of Life


