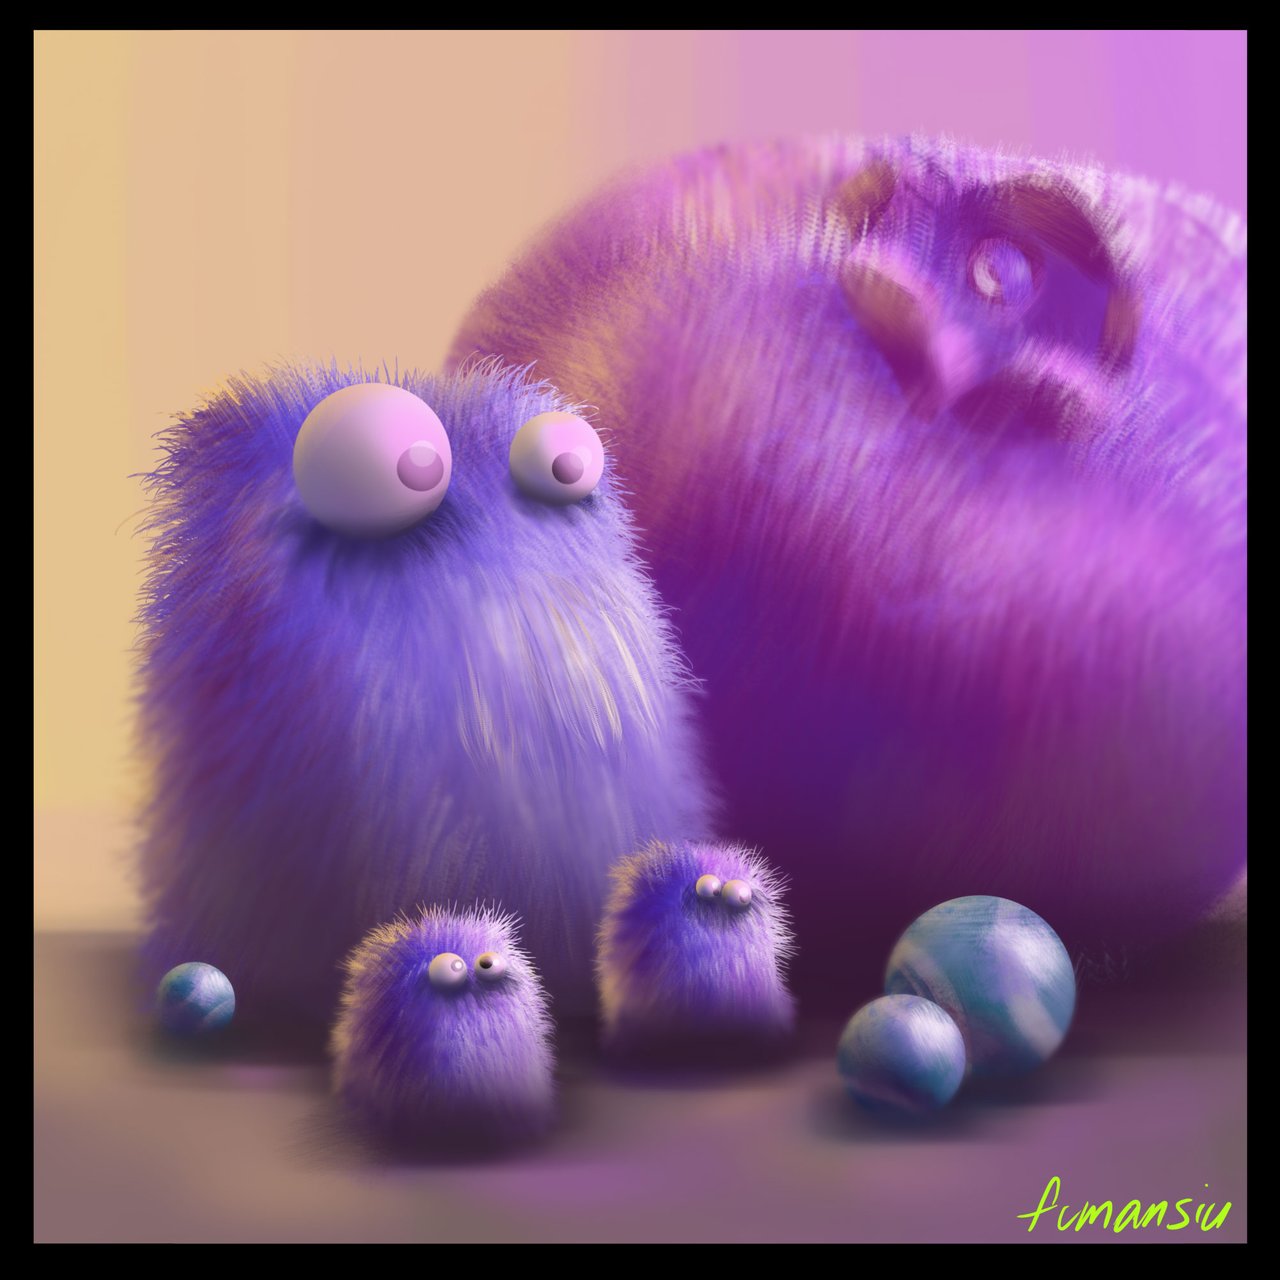
Ok... Hang in there with me. Does this look anything like before? Not really... But there are some things that are familiar. The blueberry is now even more purple, almost reddish and has a bit of a... tennis ball-y texture, hairy. The furballs are more square and it seems like the tennis balls got really small and even a bit shiny. This is kind of the point of this last part of the exercise. To take what we have learned and PLAY with it! I can paint a blueberry, I know this from the last study, BUT... can I make it look like a hairy blueberry? Can I change the color slightly? Can I make the tennis balls look more like a sort of shiny blueberry texture,maybe like marbles?
Join me for the WILD round. This is the stage where we take what we learned from the first two studies and apply it to something from imagination. This kind of practice will create an entirely new memory in your brain that will aid in your ability to recall everything you've learned and be able to apply it to new paintings. Check out our last study to see our study from memory
I skipped the sketch stage this time and just went in with shapes of the base colors. I was hoping to find something interesting by mixing around the shapes instead of making a sketch.
Base Color, Shadow Color, Light Color, Highlights, Bounced Lights, Sky Lights, Occlusion
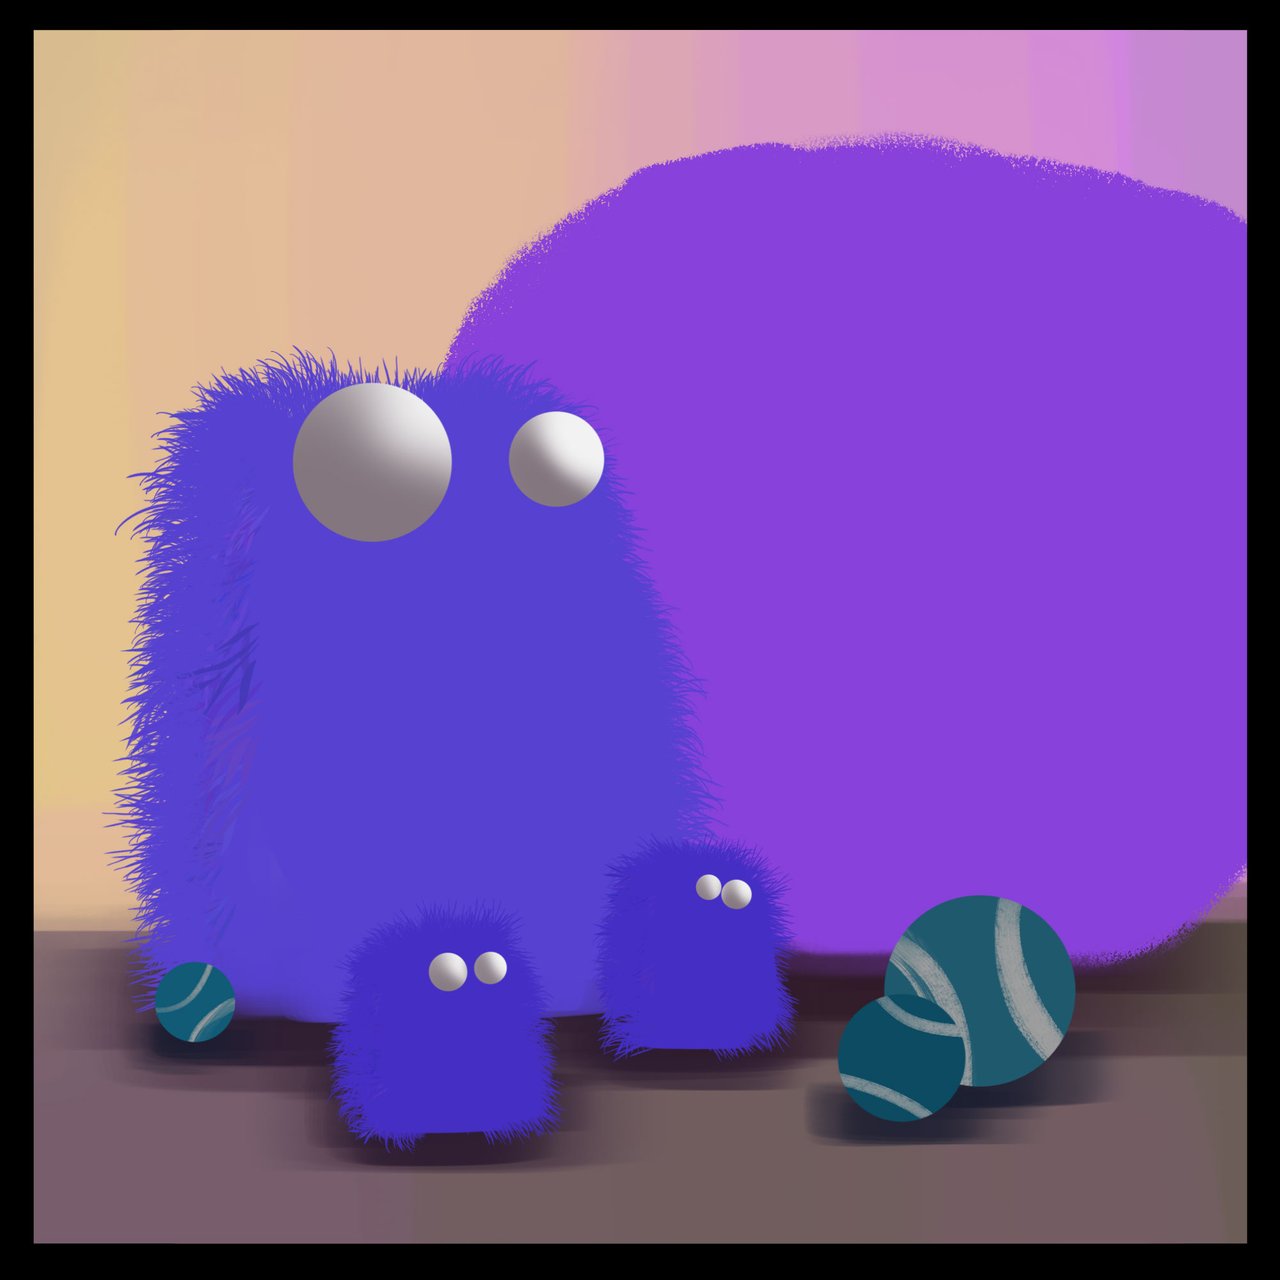
Base Color
After mixing around some of the shapes I decided that I was going to make the blueberry the biggest part in the background and make it furrier. The square-r furballs I thought would give me an opportunity to try some different lighting than the previous round shapes.

Shadow Color
I've gone warmer and halfway to black on each element.

Light Color
Here's a fun change! Normally we go toward the yellow as our main light source but this time I wanted to try giving our main light source a Pink hue. So instead of moving our colors toward yellow for the light side we're going over toward pink.
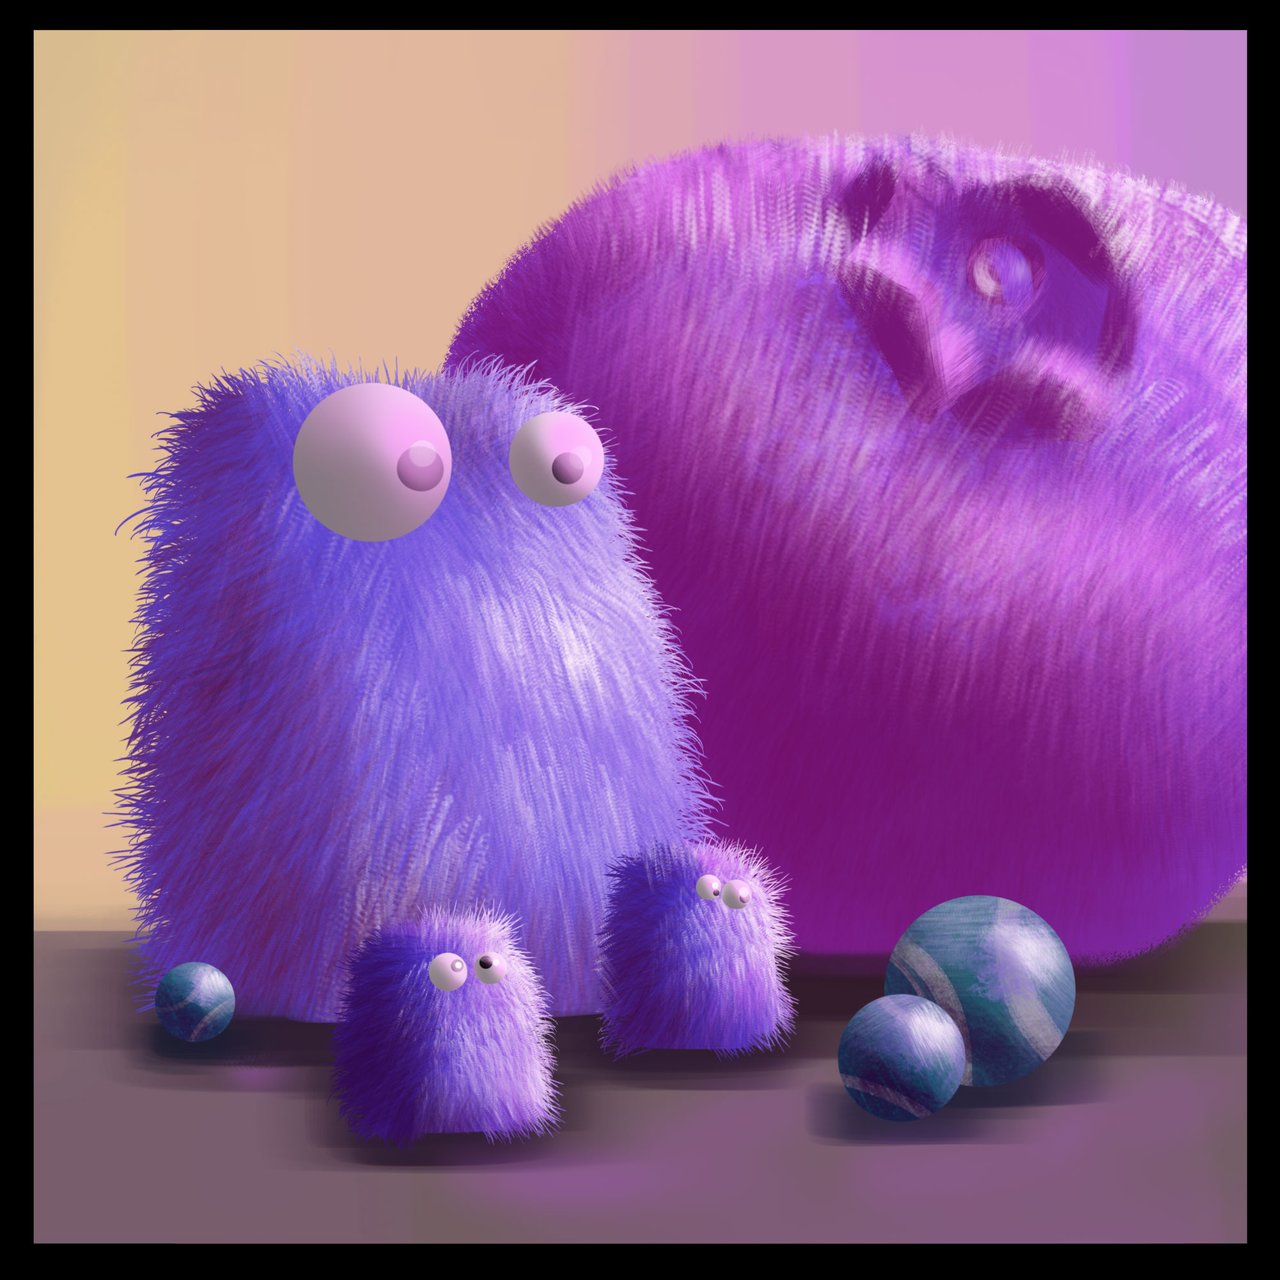
Highlights!!
We know this one! :)
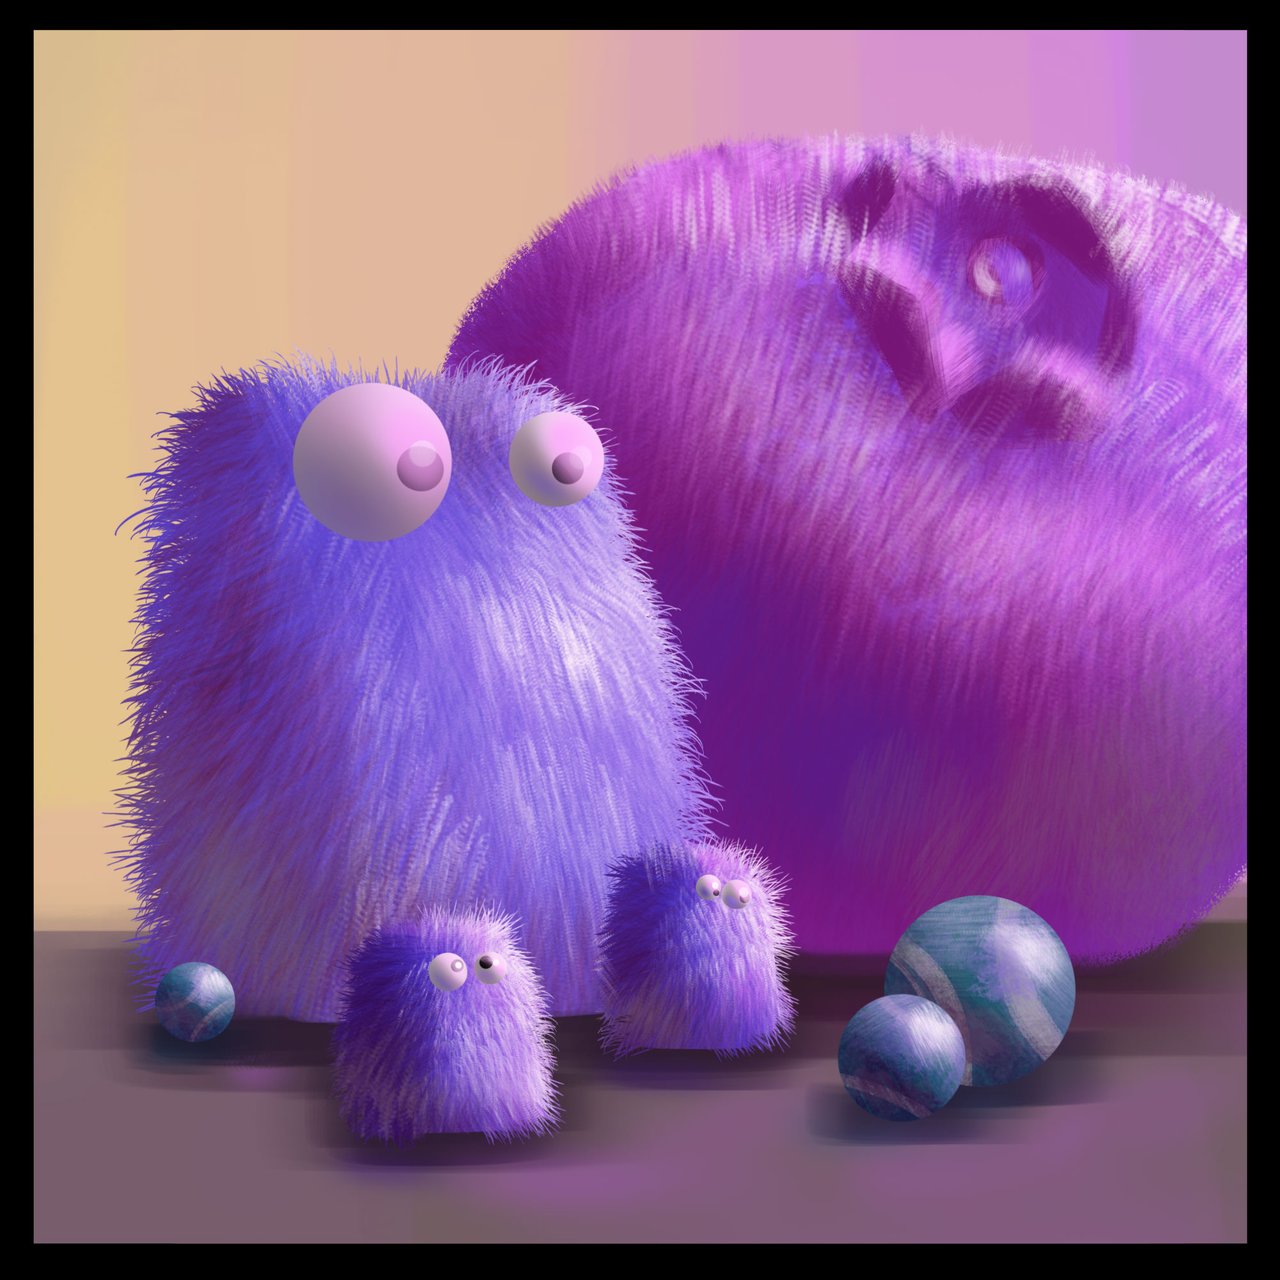
Bounced Light
Add the color of the floor into the objects and the color of the object to the floor. Don't go over board, a little goes a long way.
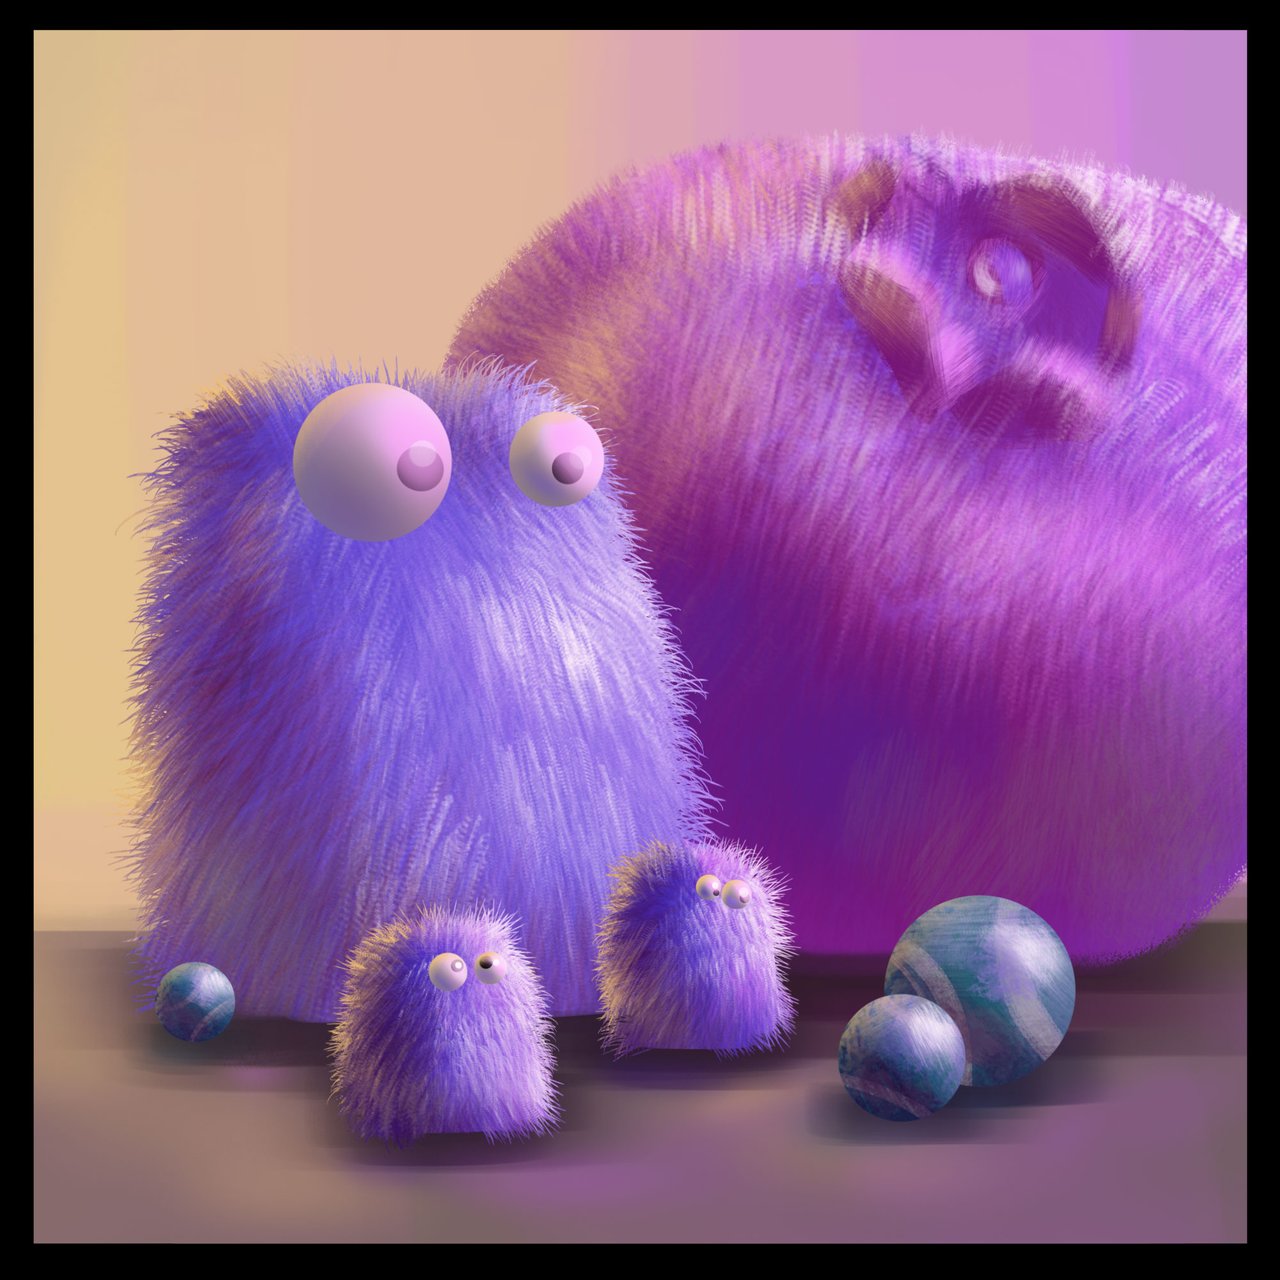
Skylight
As promised I'm taking this chance to introduce a different colored secondary light! When your subject is by a window or outside, they will get some skylight on the opposite side from the main light source, but in a situation where you have two lights it'll take on the color of the second light source. In this case I've chosen that yellow from the background.
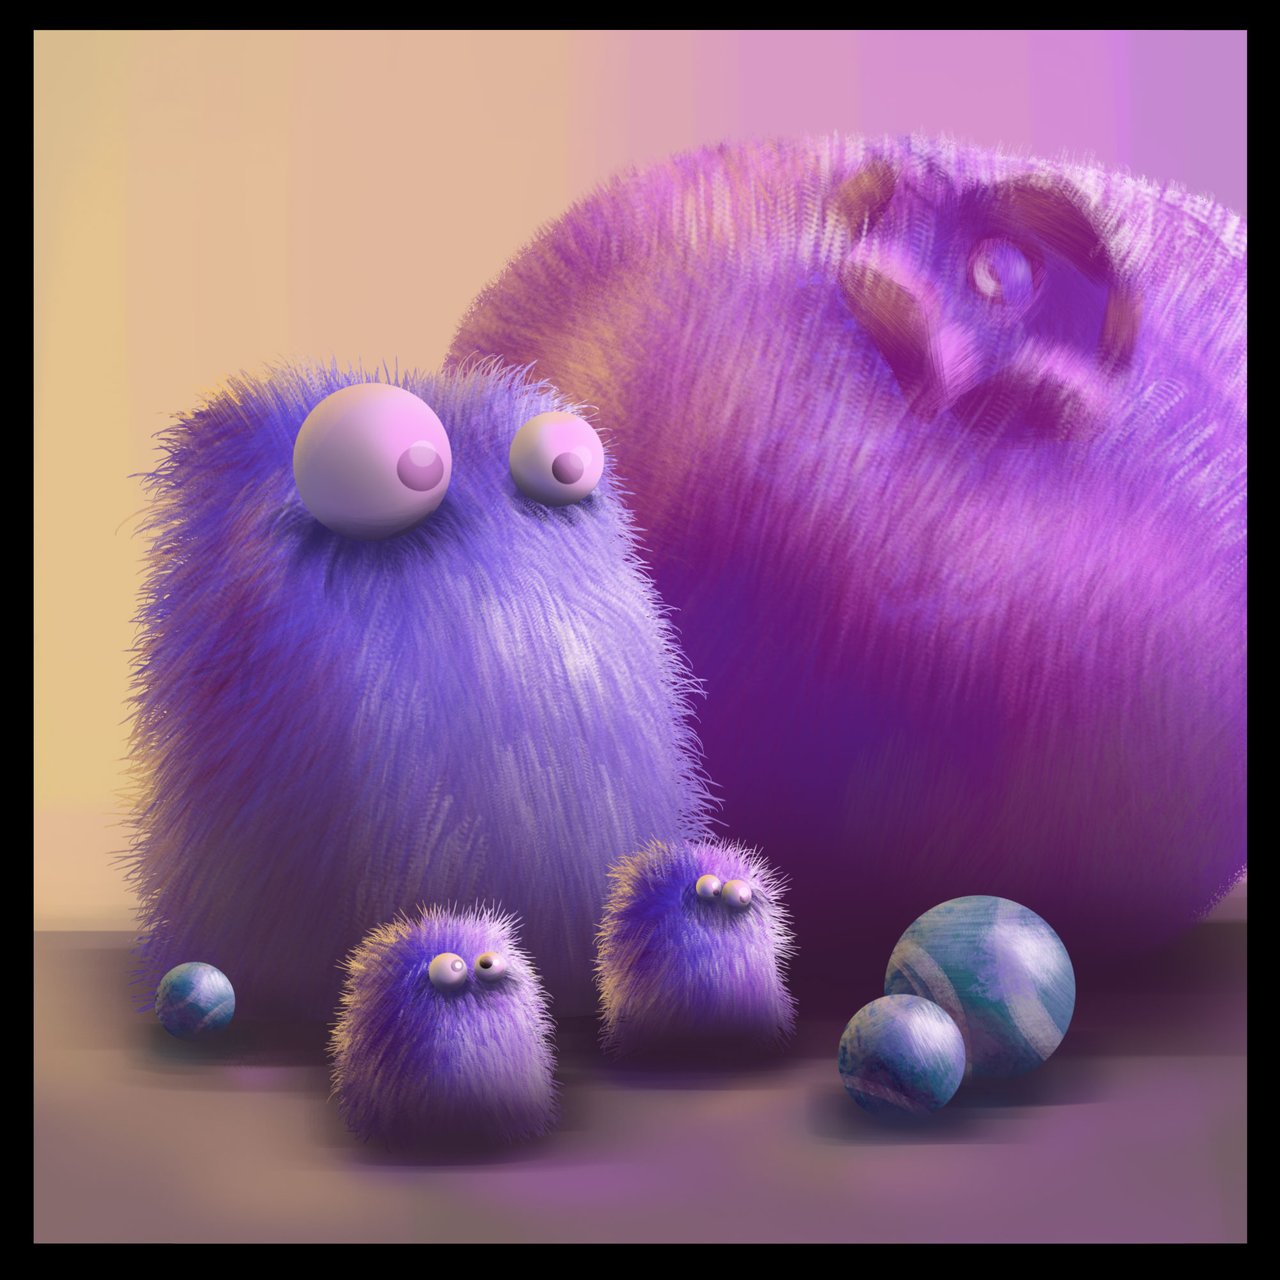
Occlusion
Where the light doesn't shine.
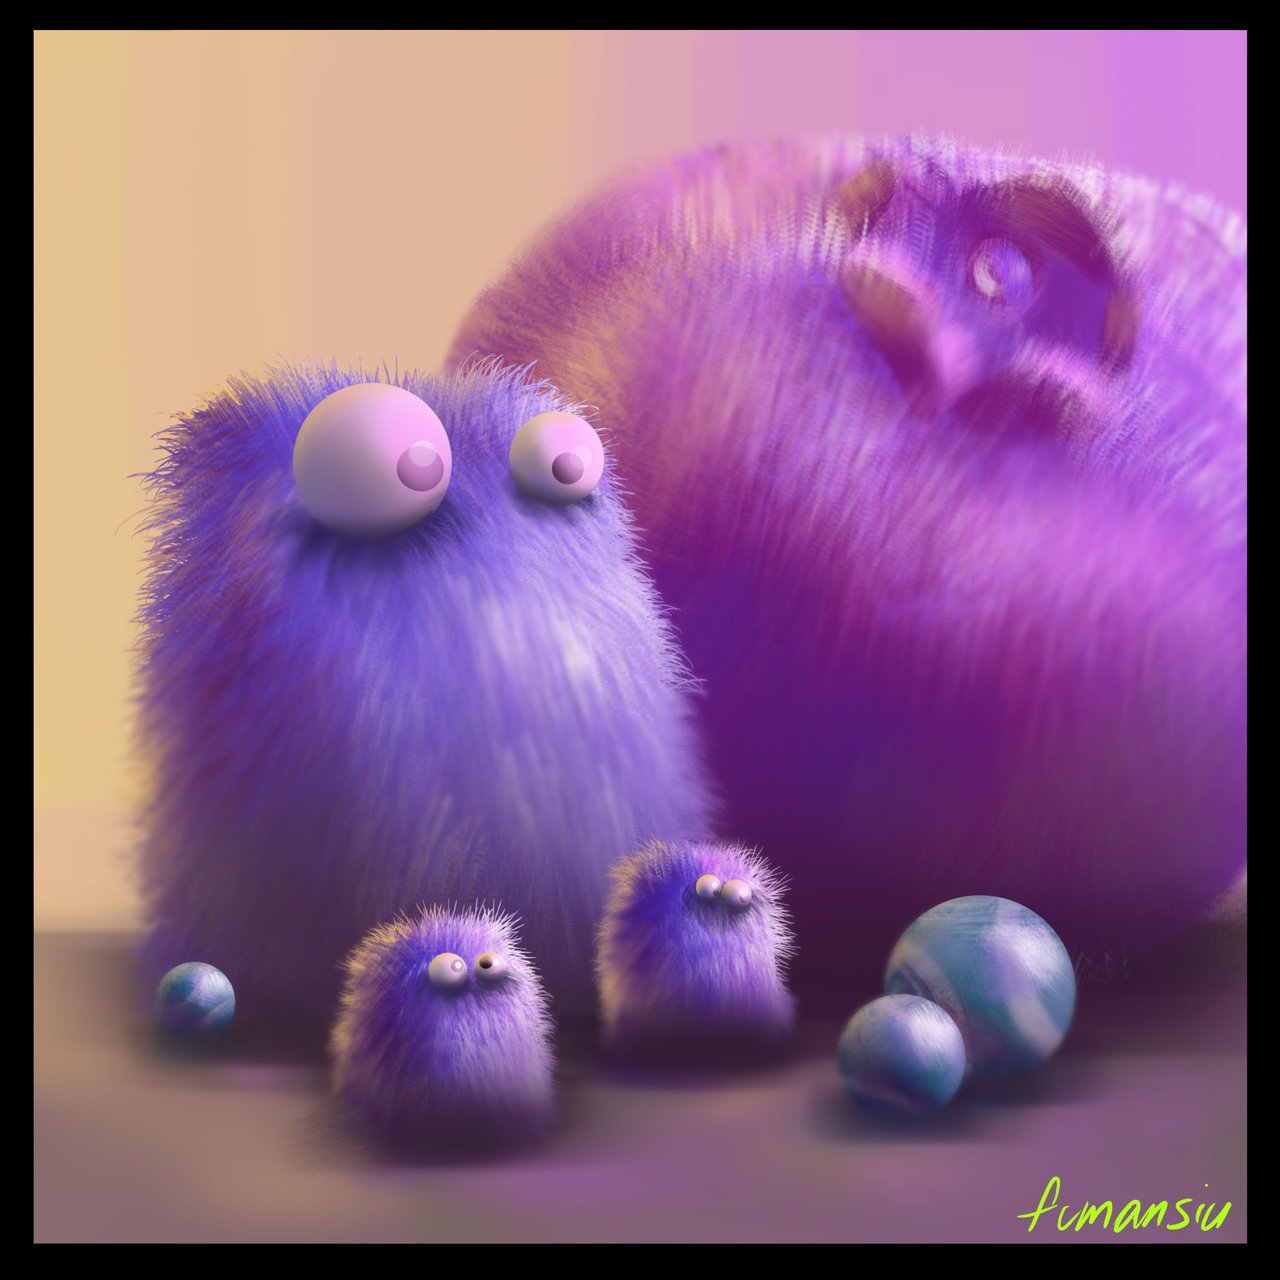
Soften/Reduce Detail
As we did in our last study, I've softened up areas that I don't want the viewer to get stuck in and only left crisp areas on silhouettes that are important as well as the focal areas that I felt like were important.
Maybe just a few hairs on the main furry beast and we're done!

We've reached the end of the blue series but that doesn't mean you have to stop painting blue stuff. If you do you'll have a very deep seeded memory of all of the way we can manipulate the color blue and make it VERY painterly. I'm so glad we made it!
Check out Blue Buddies 1, Blue Buddies 2, Blue Buddies 3 and Blue Buddies 4 to start at the beginning.
If you want to go over how I made some of these color choices in this study you'll find a basic primer here.
If you'd like to get started with color studies we've got yellow and green now ready to go!
Yellow Bananas
Green Tomatoes
If you need help getting started drawing, I highly recommend you head over to @jorgevandeperre's blog and start following along his lesson plans. @jorgevandeperre has over 60+ posts now to get started!
We'll be moving on to Orange in the next series and I think you're ready to start taking on some different materials and lighting with more ease, I hope you join me!
Thanks a ton, see you soon!
