Since this a tiny home the interior framing section should be brief. The reason I say that is: there is a loft, raised kitchen floor and three small walls to frame. This is the part where I get to show how the inside of our home started to come together. Woo-Hoo!!!
I want to apologize a head of time, there is not much room inside a 8 foot by 20 foot structure so most of the photos I took look a little cluttered. I will explain to the best of my ability what I'm talking about.
So, now that the disclaimer is out of the way.... on with the framing.
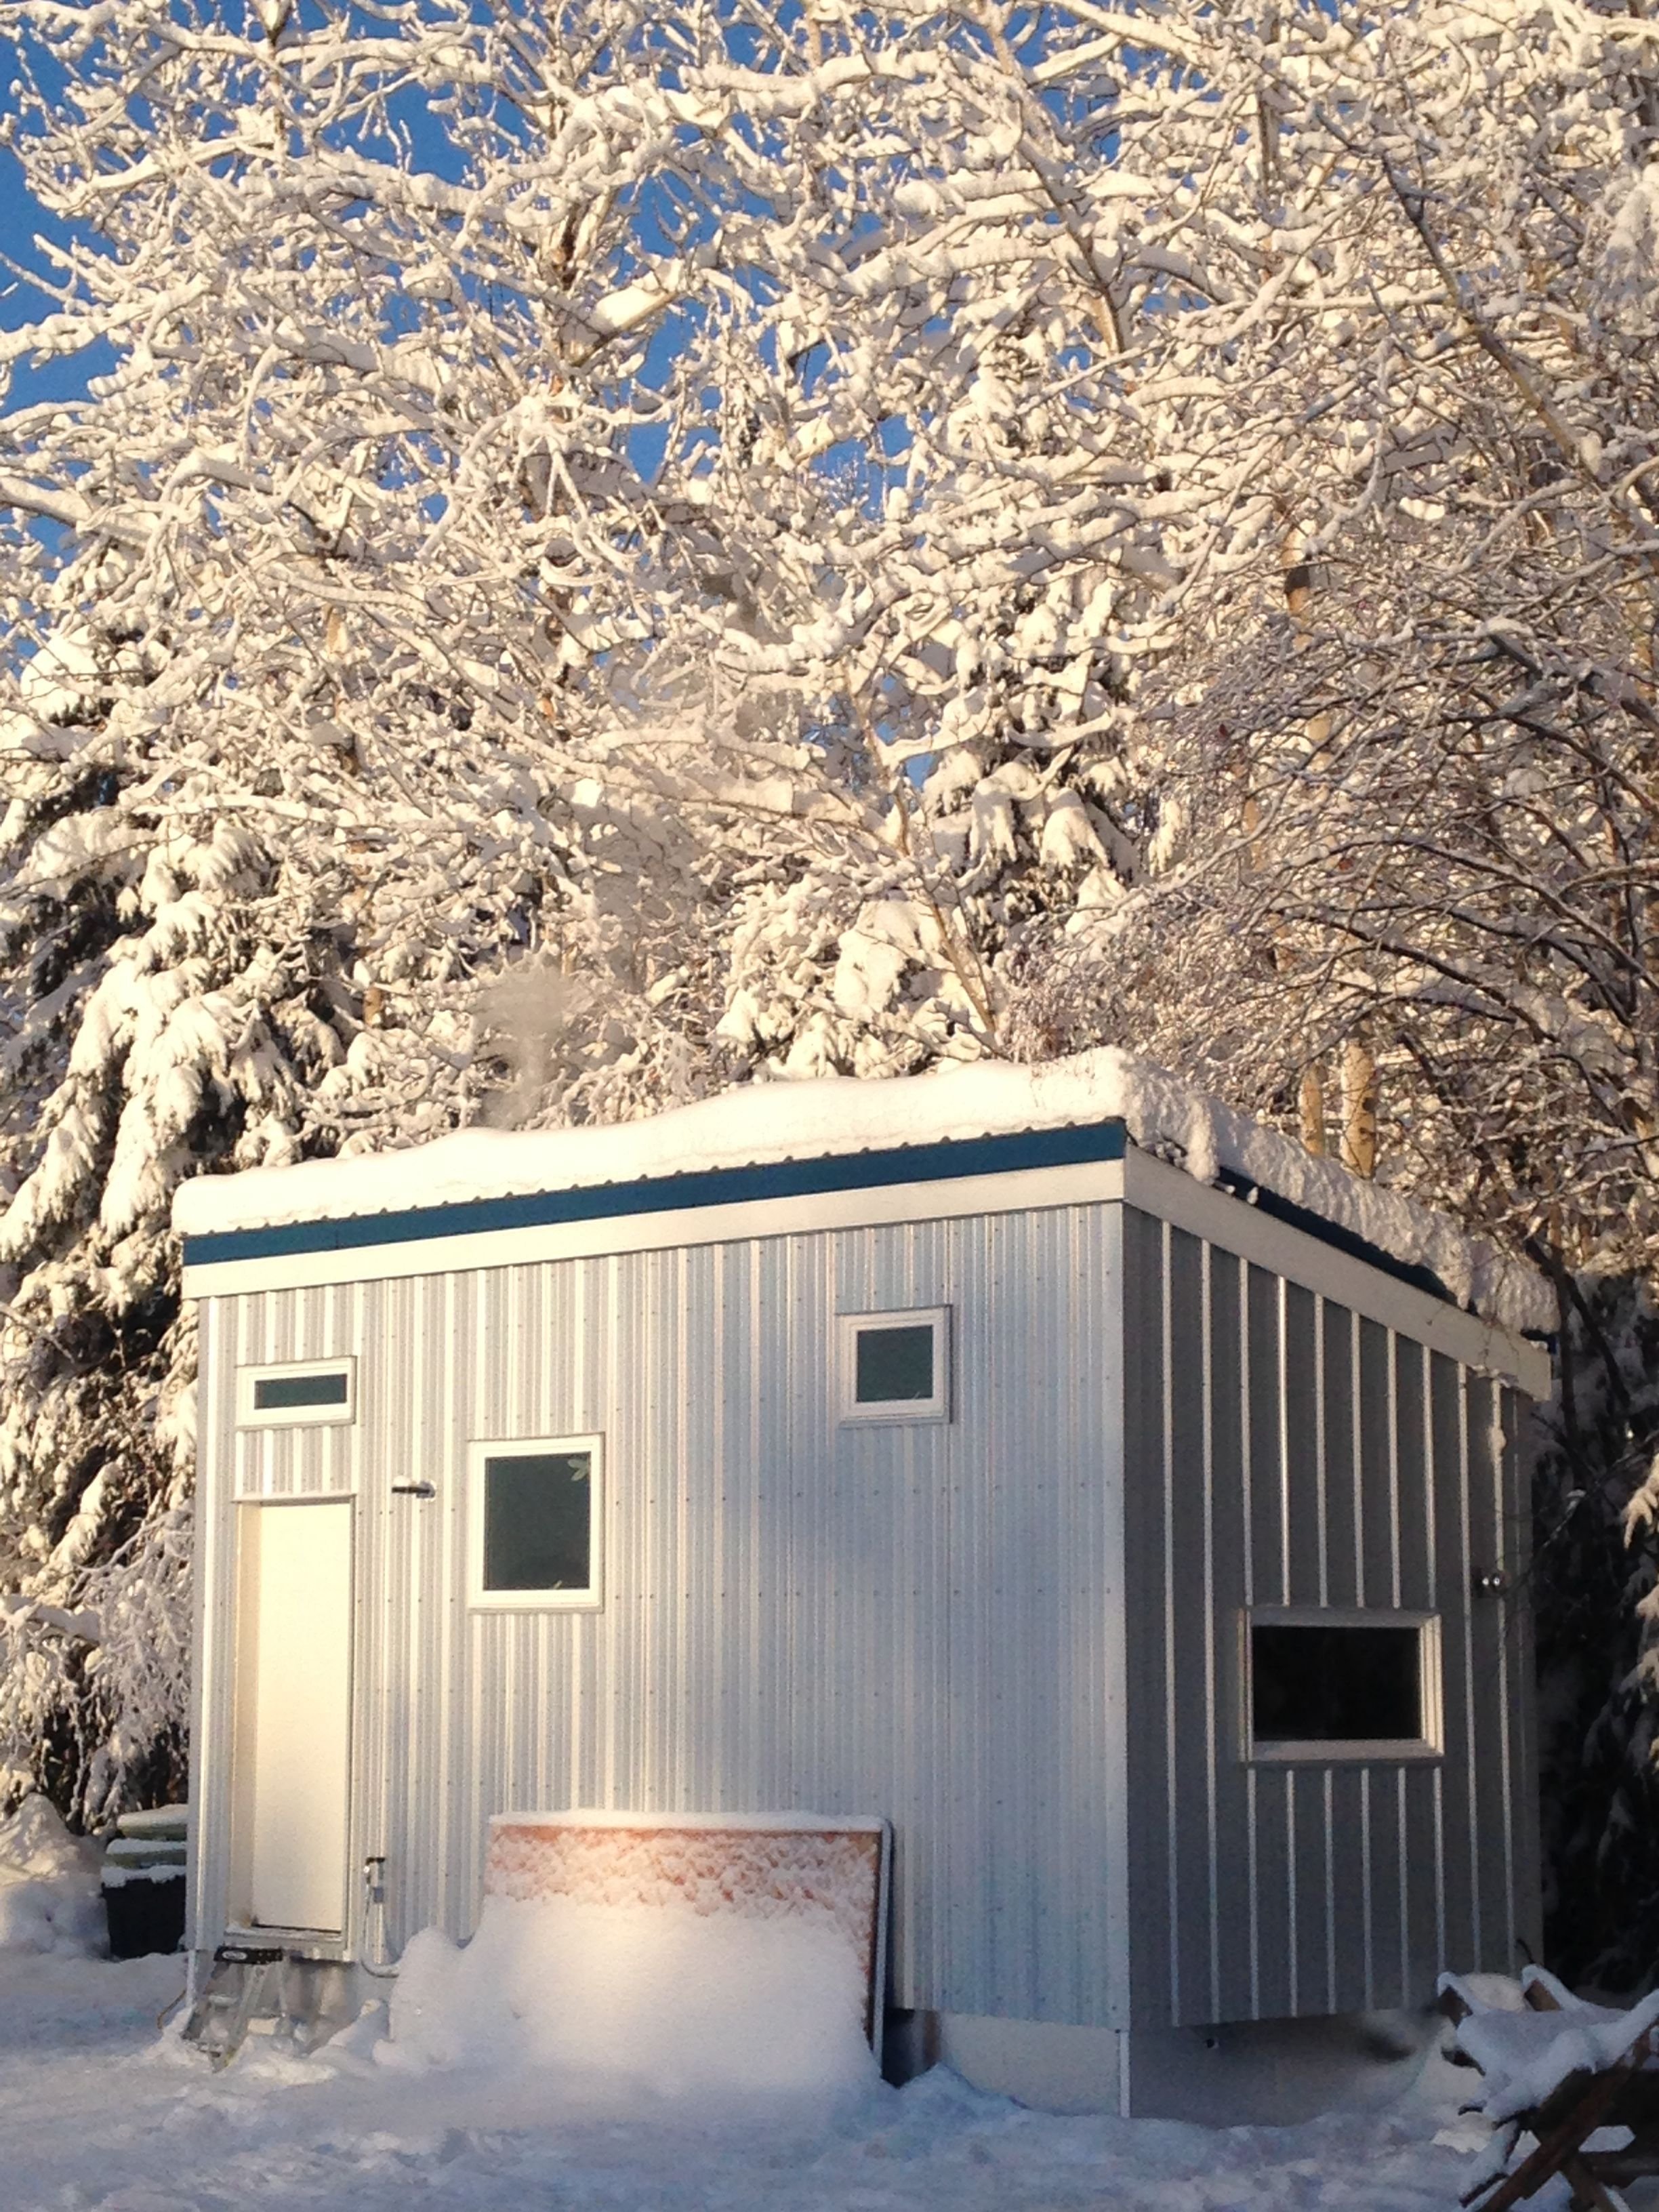
If you look at the picture below you can see there is snow outside and I still needed to insulate around the wheel wells. There is also no insulation where the plywood floor sits directly on top of the steel frame of the trailer.(see in part 2) My solution was to build two small pony walls to fill with more foam insulation. One for each side.
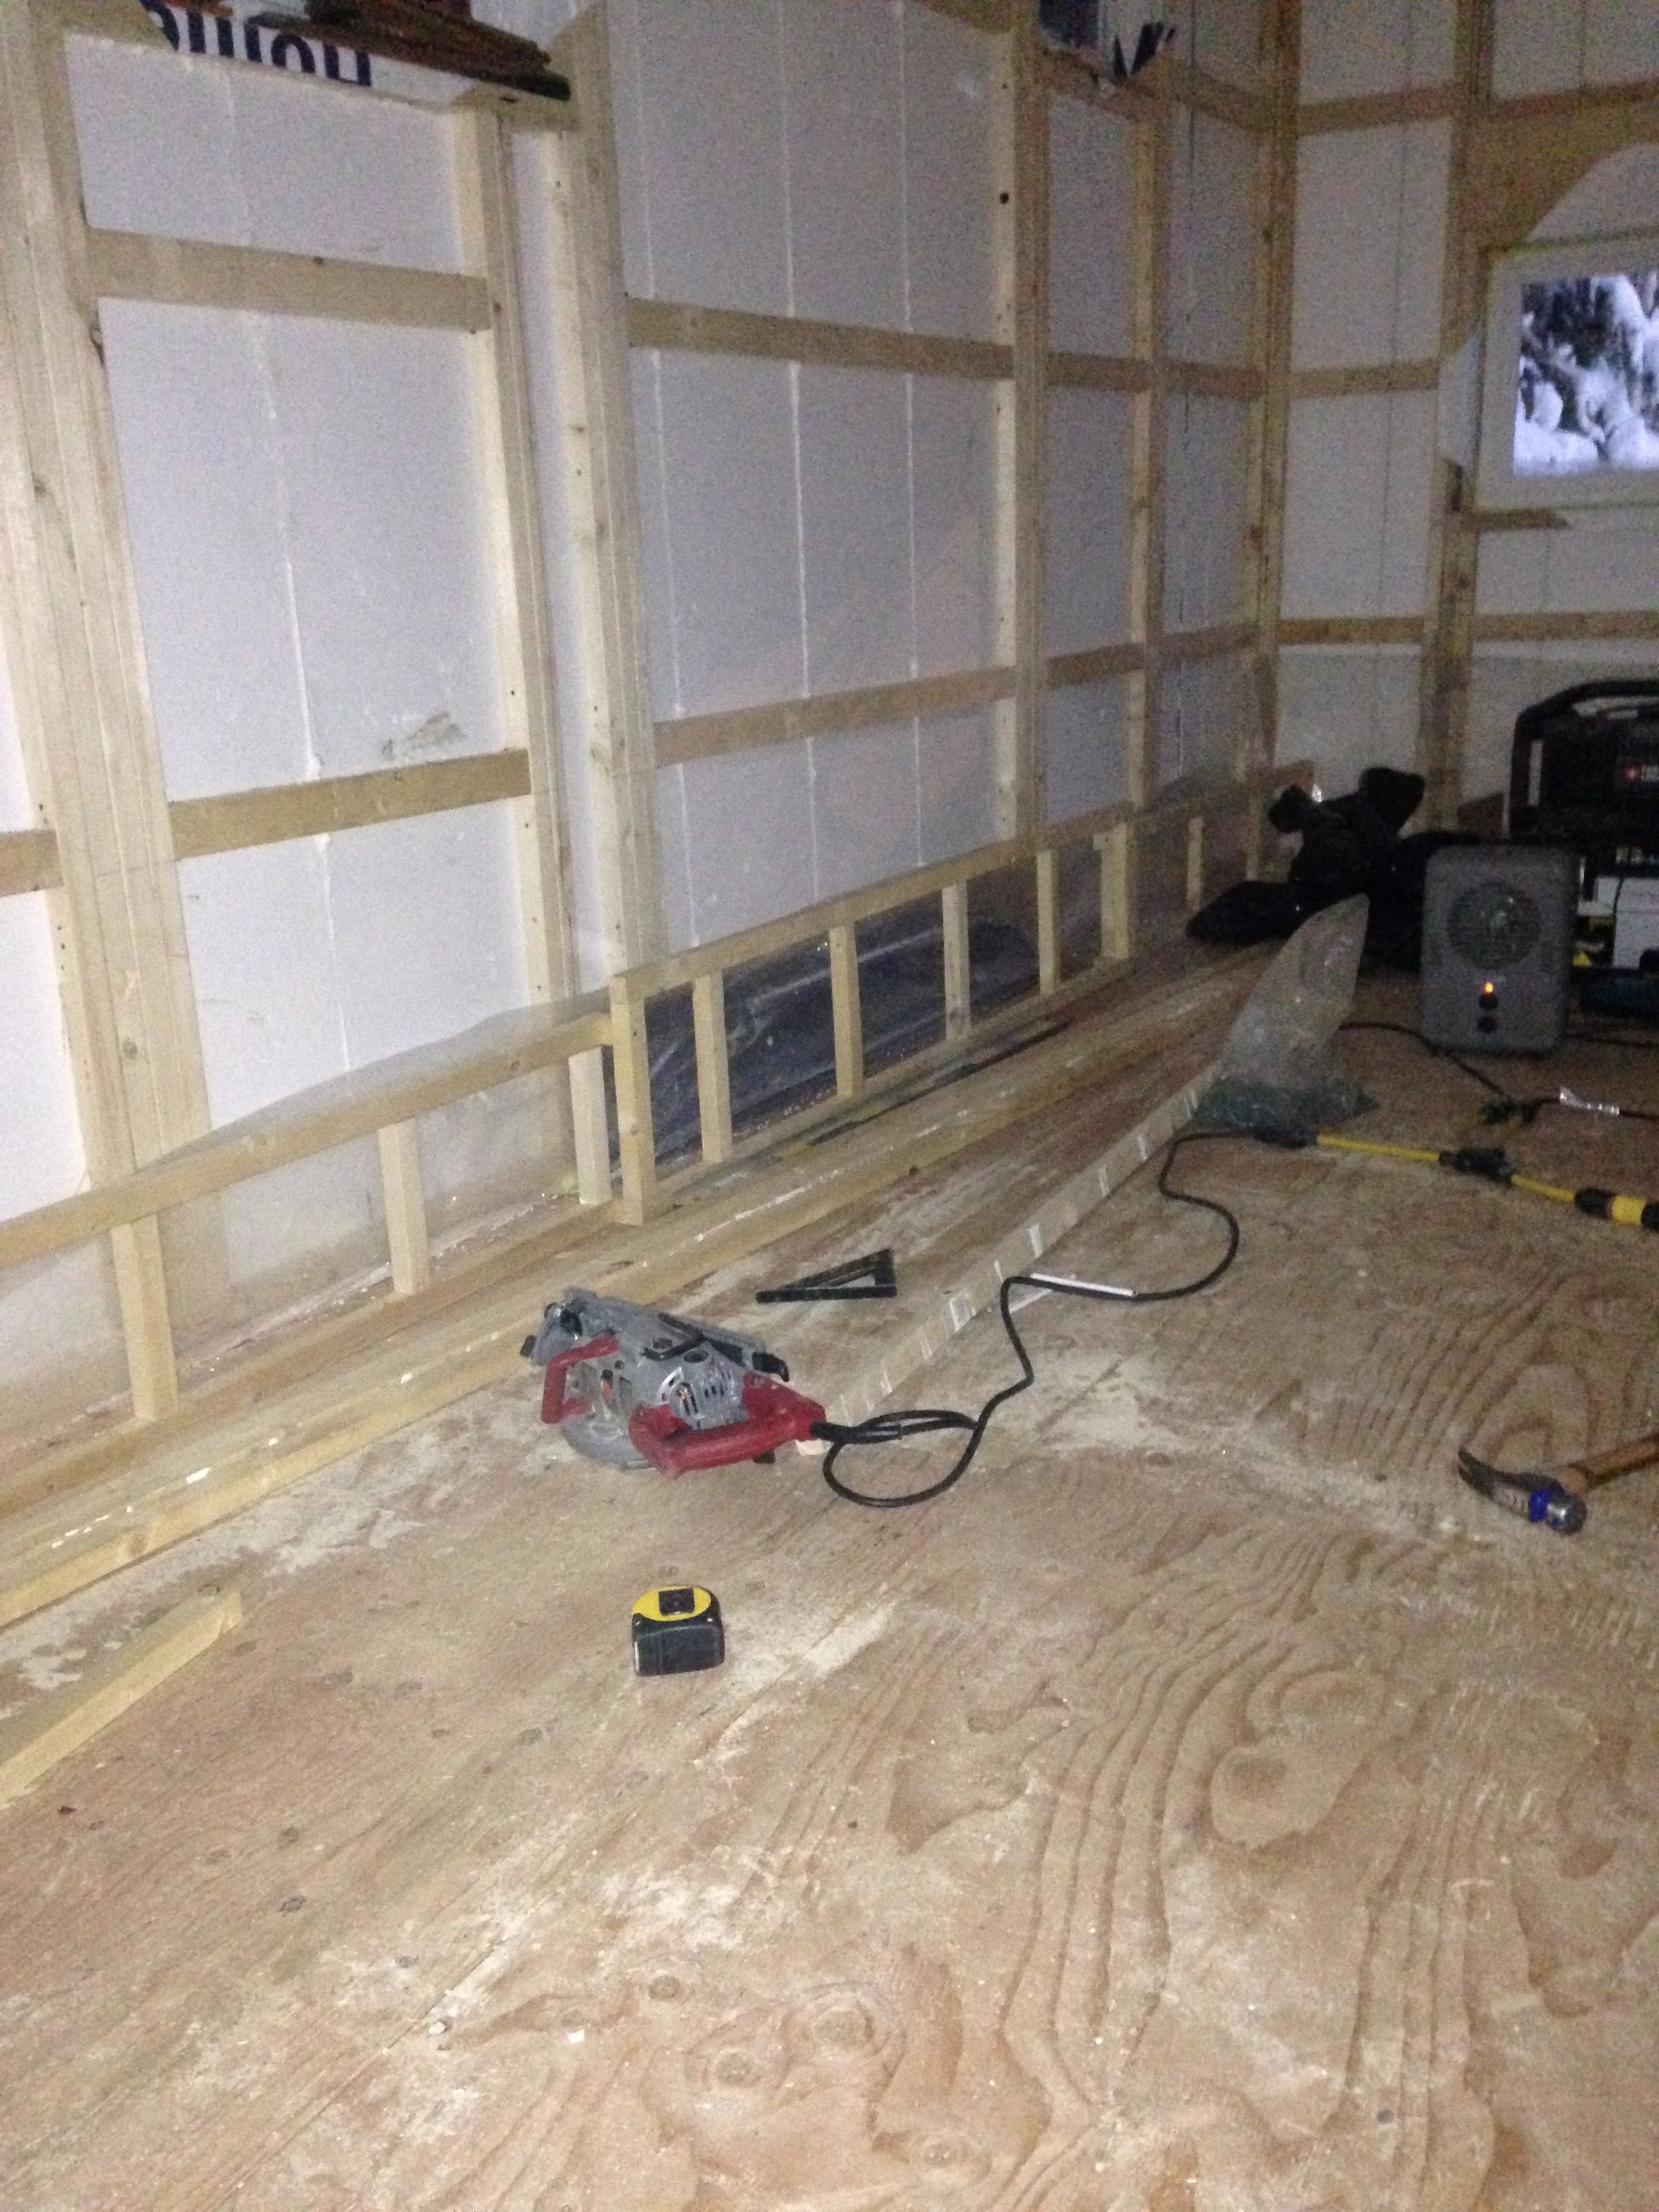
You can see below that the pony walls are filled with foam. Well... you can kind of see.. those little walls are down there. Sitting over top of the pony walls is the beginning of my raised floor for the kitchen and the loft (our bedroom) is framed with the plywood floor attached.
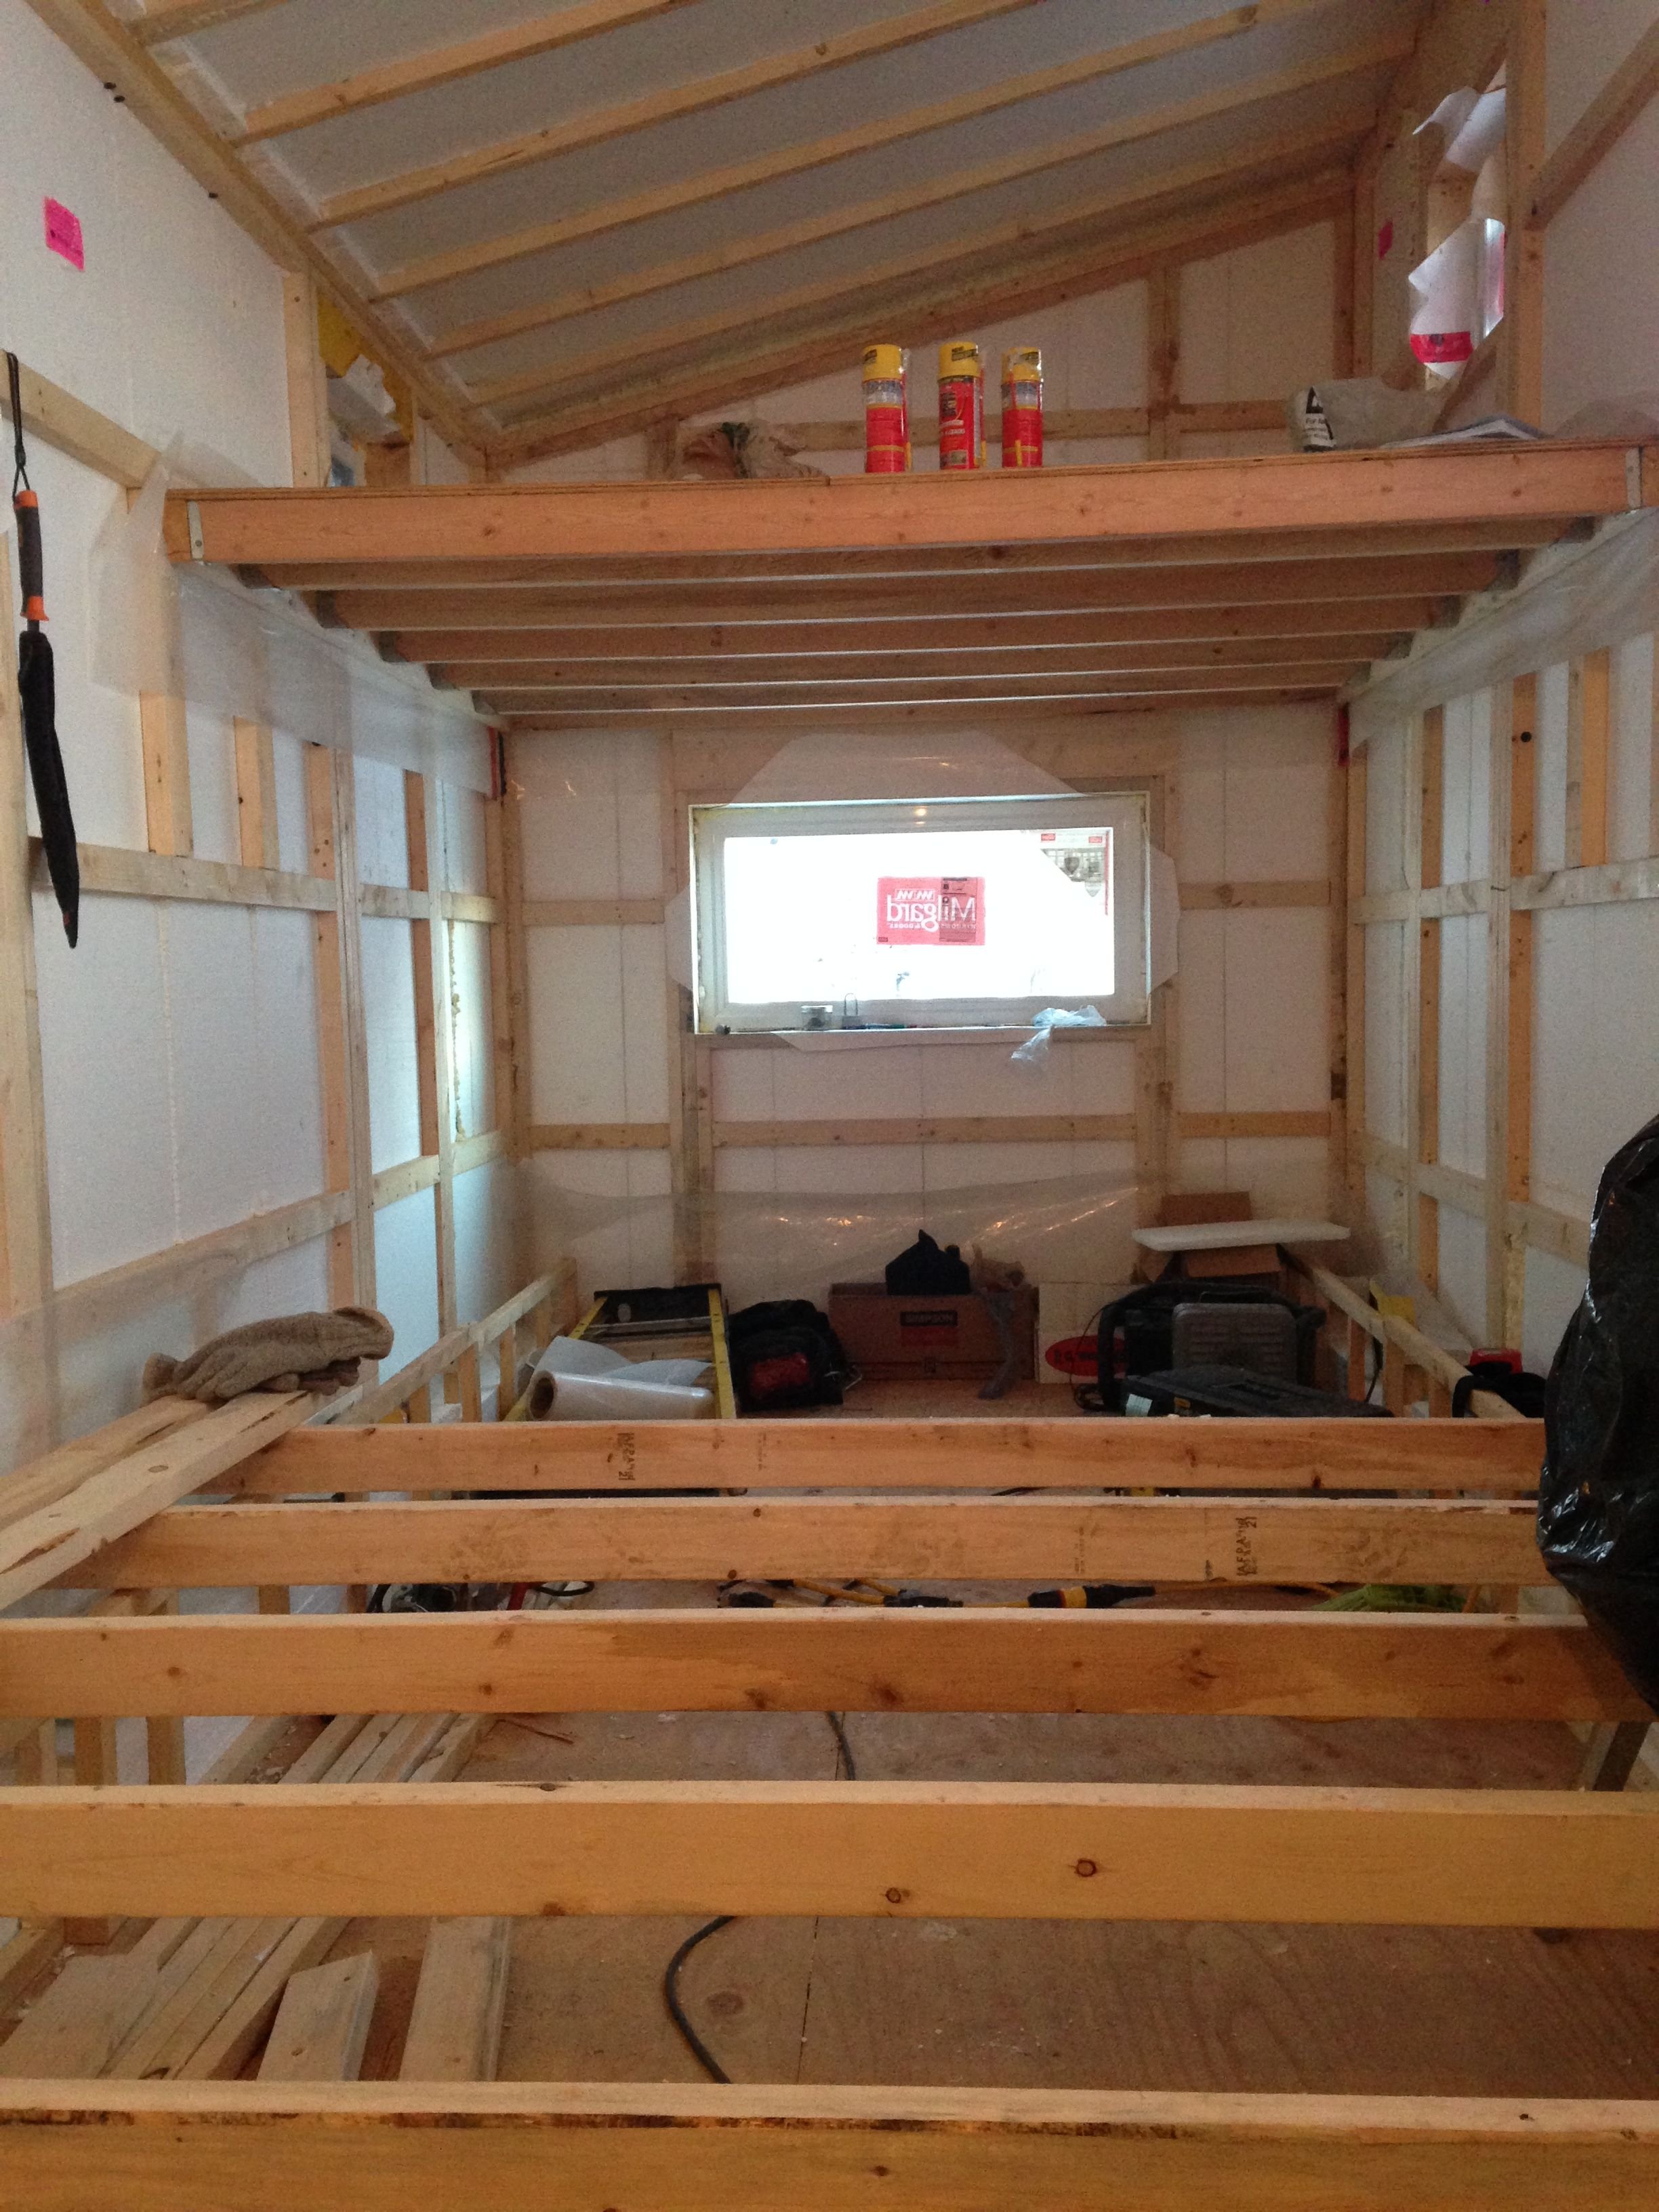
Look at the photo above...now imagine turning around.... The photo below is what you would see. In the right corner is where a shower/closet is going to be. On the left is the front door. There is a 19 inch rise from the subfloor (door level) to kitchen floor level.
All the framing I did on the interior, except the pony walls, I used 2X4 on 16 inch centers. I also used 3 inch screws instead of nails.
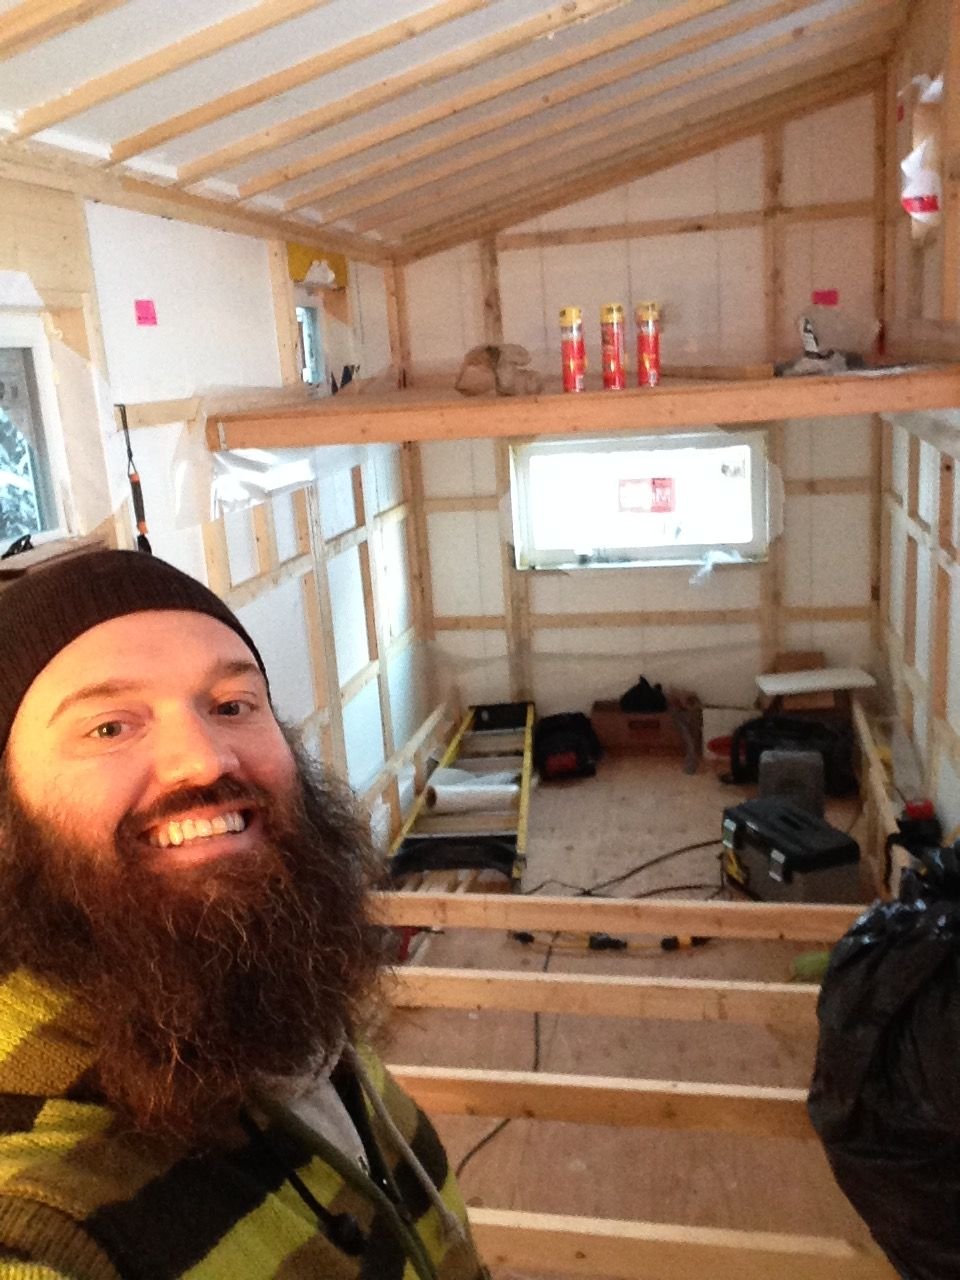
This is me, (Brandon) I'm real excited about building my first home. You can tell by my big cheesy grin. Look at me I'm not a robot.

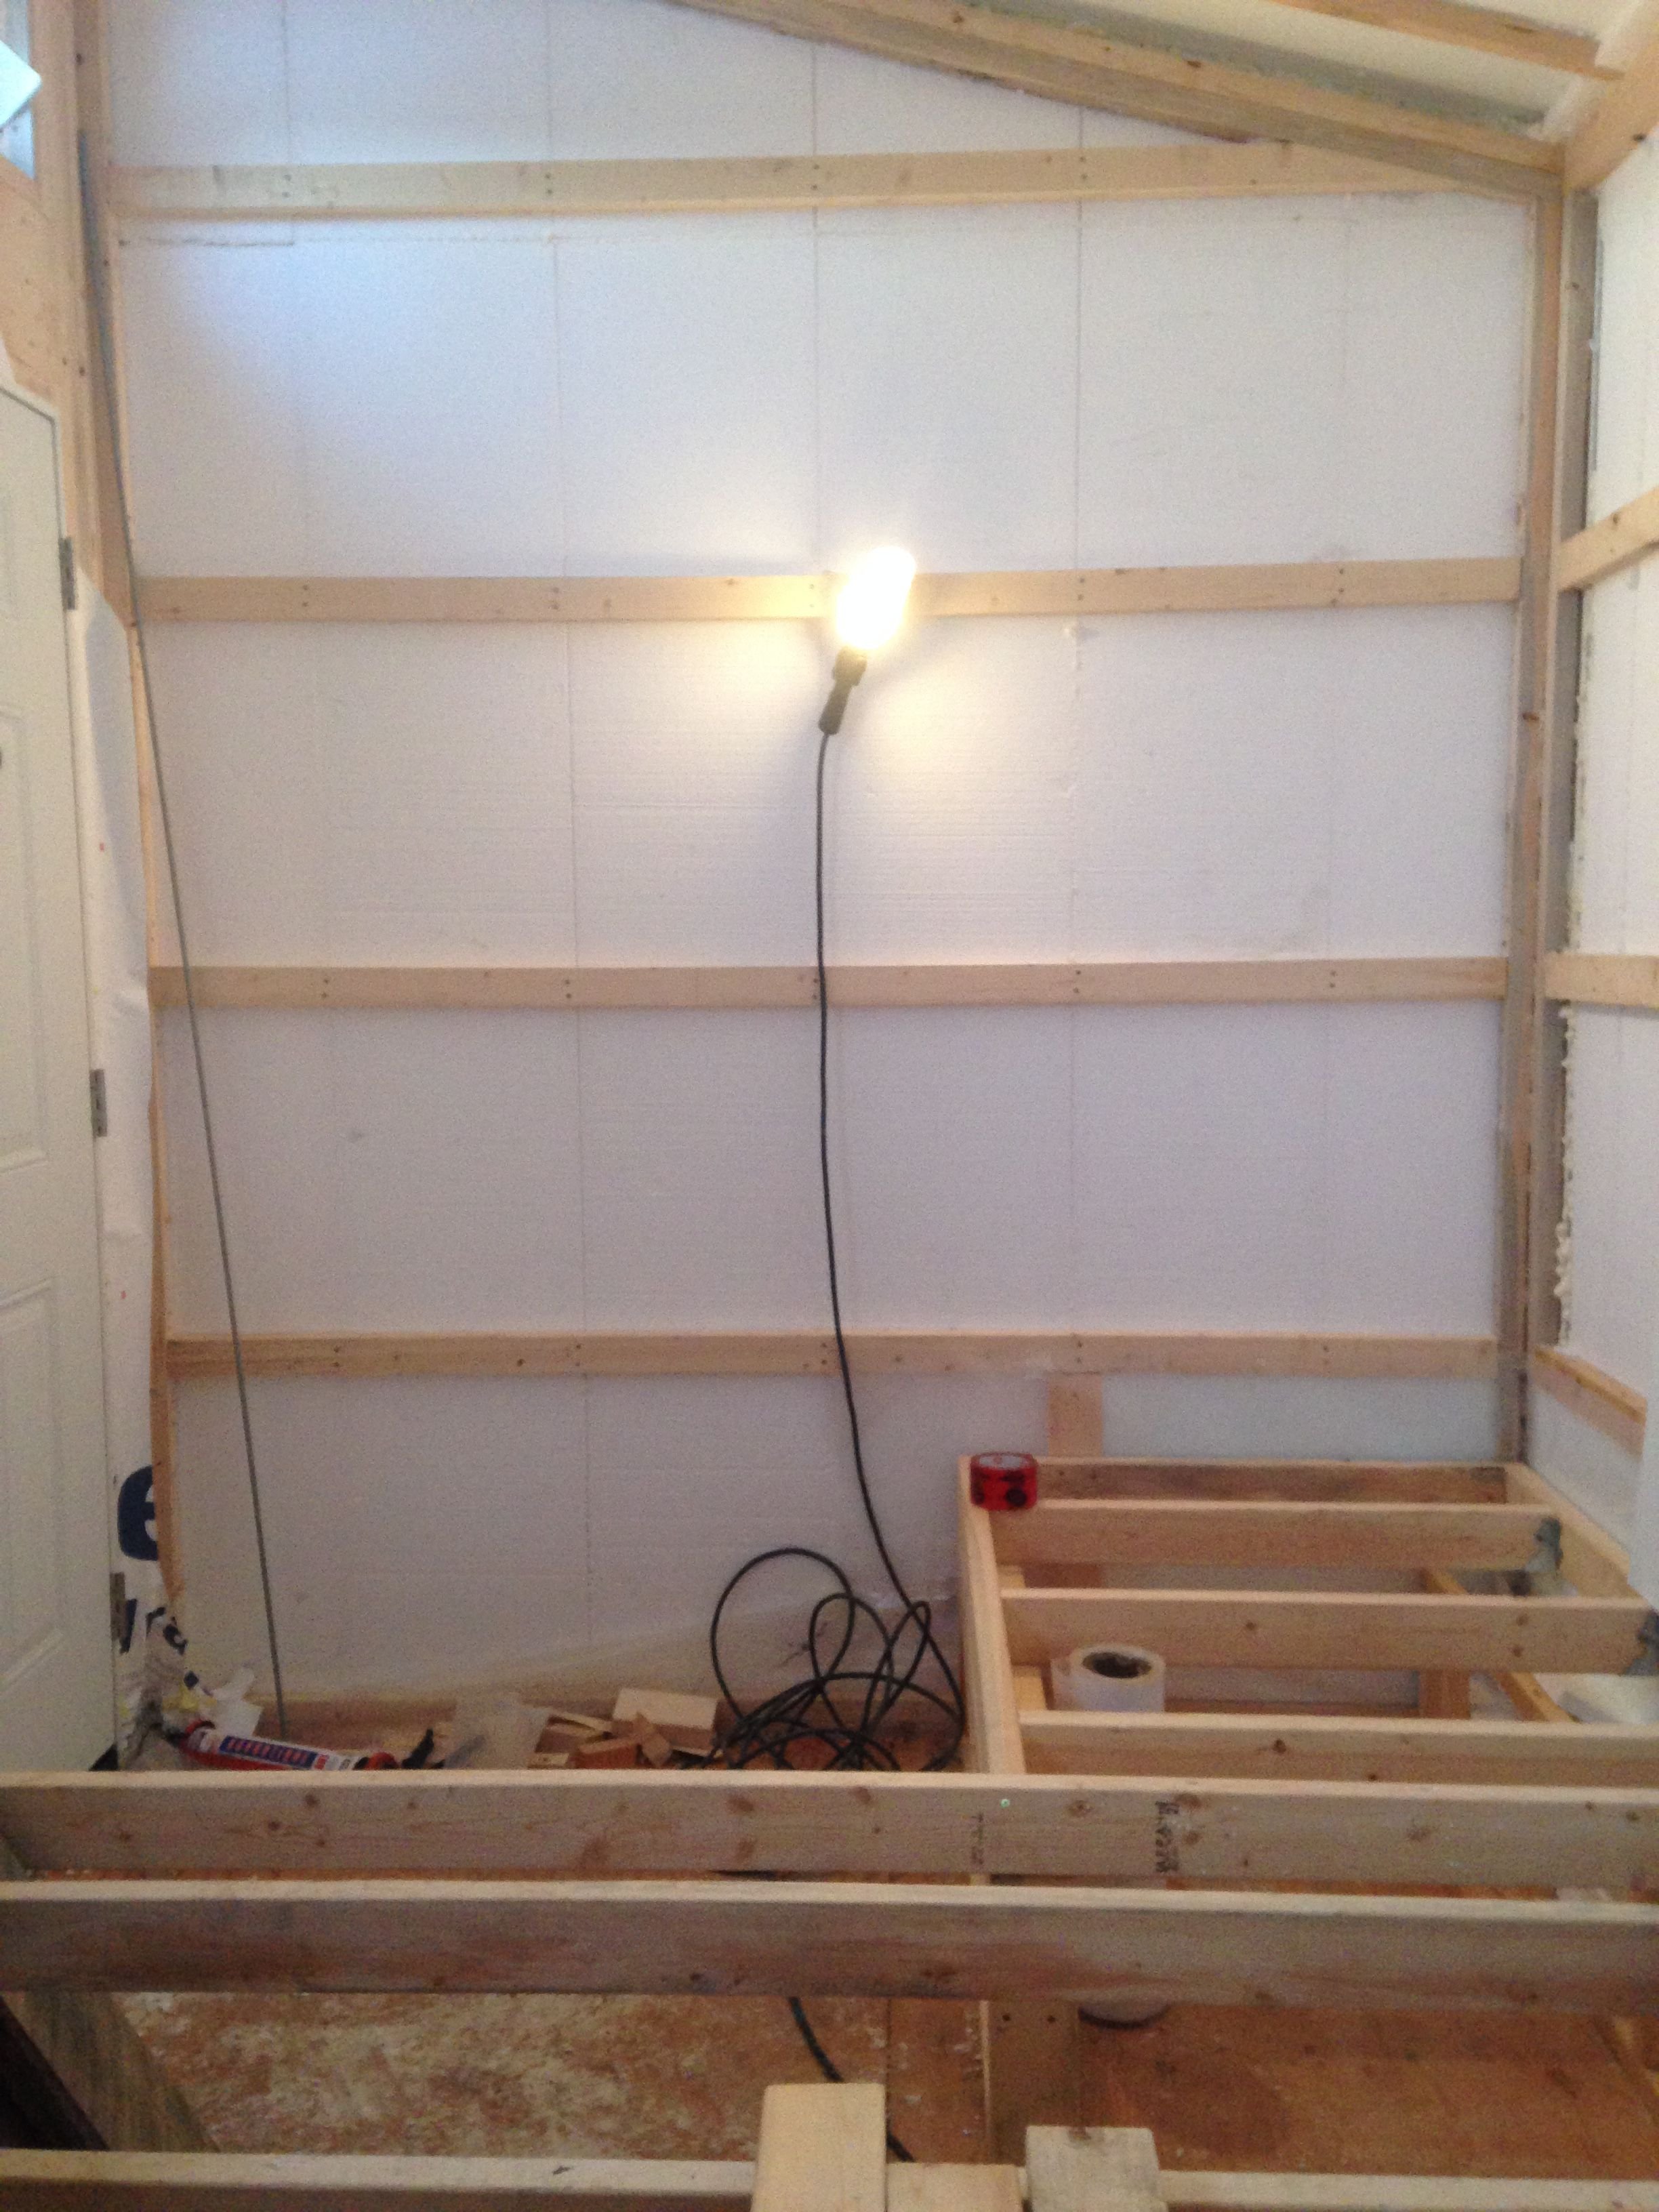
When I looked at the photo above and thought about what I was going to say here I started to laugh.(it's tiny!) You can see the plywood is down and there are to wall framed. This is why I laughed, the wall on the left is the kitchen wall and the tall wall is the shower/closet wall.
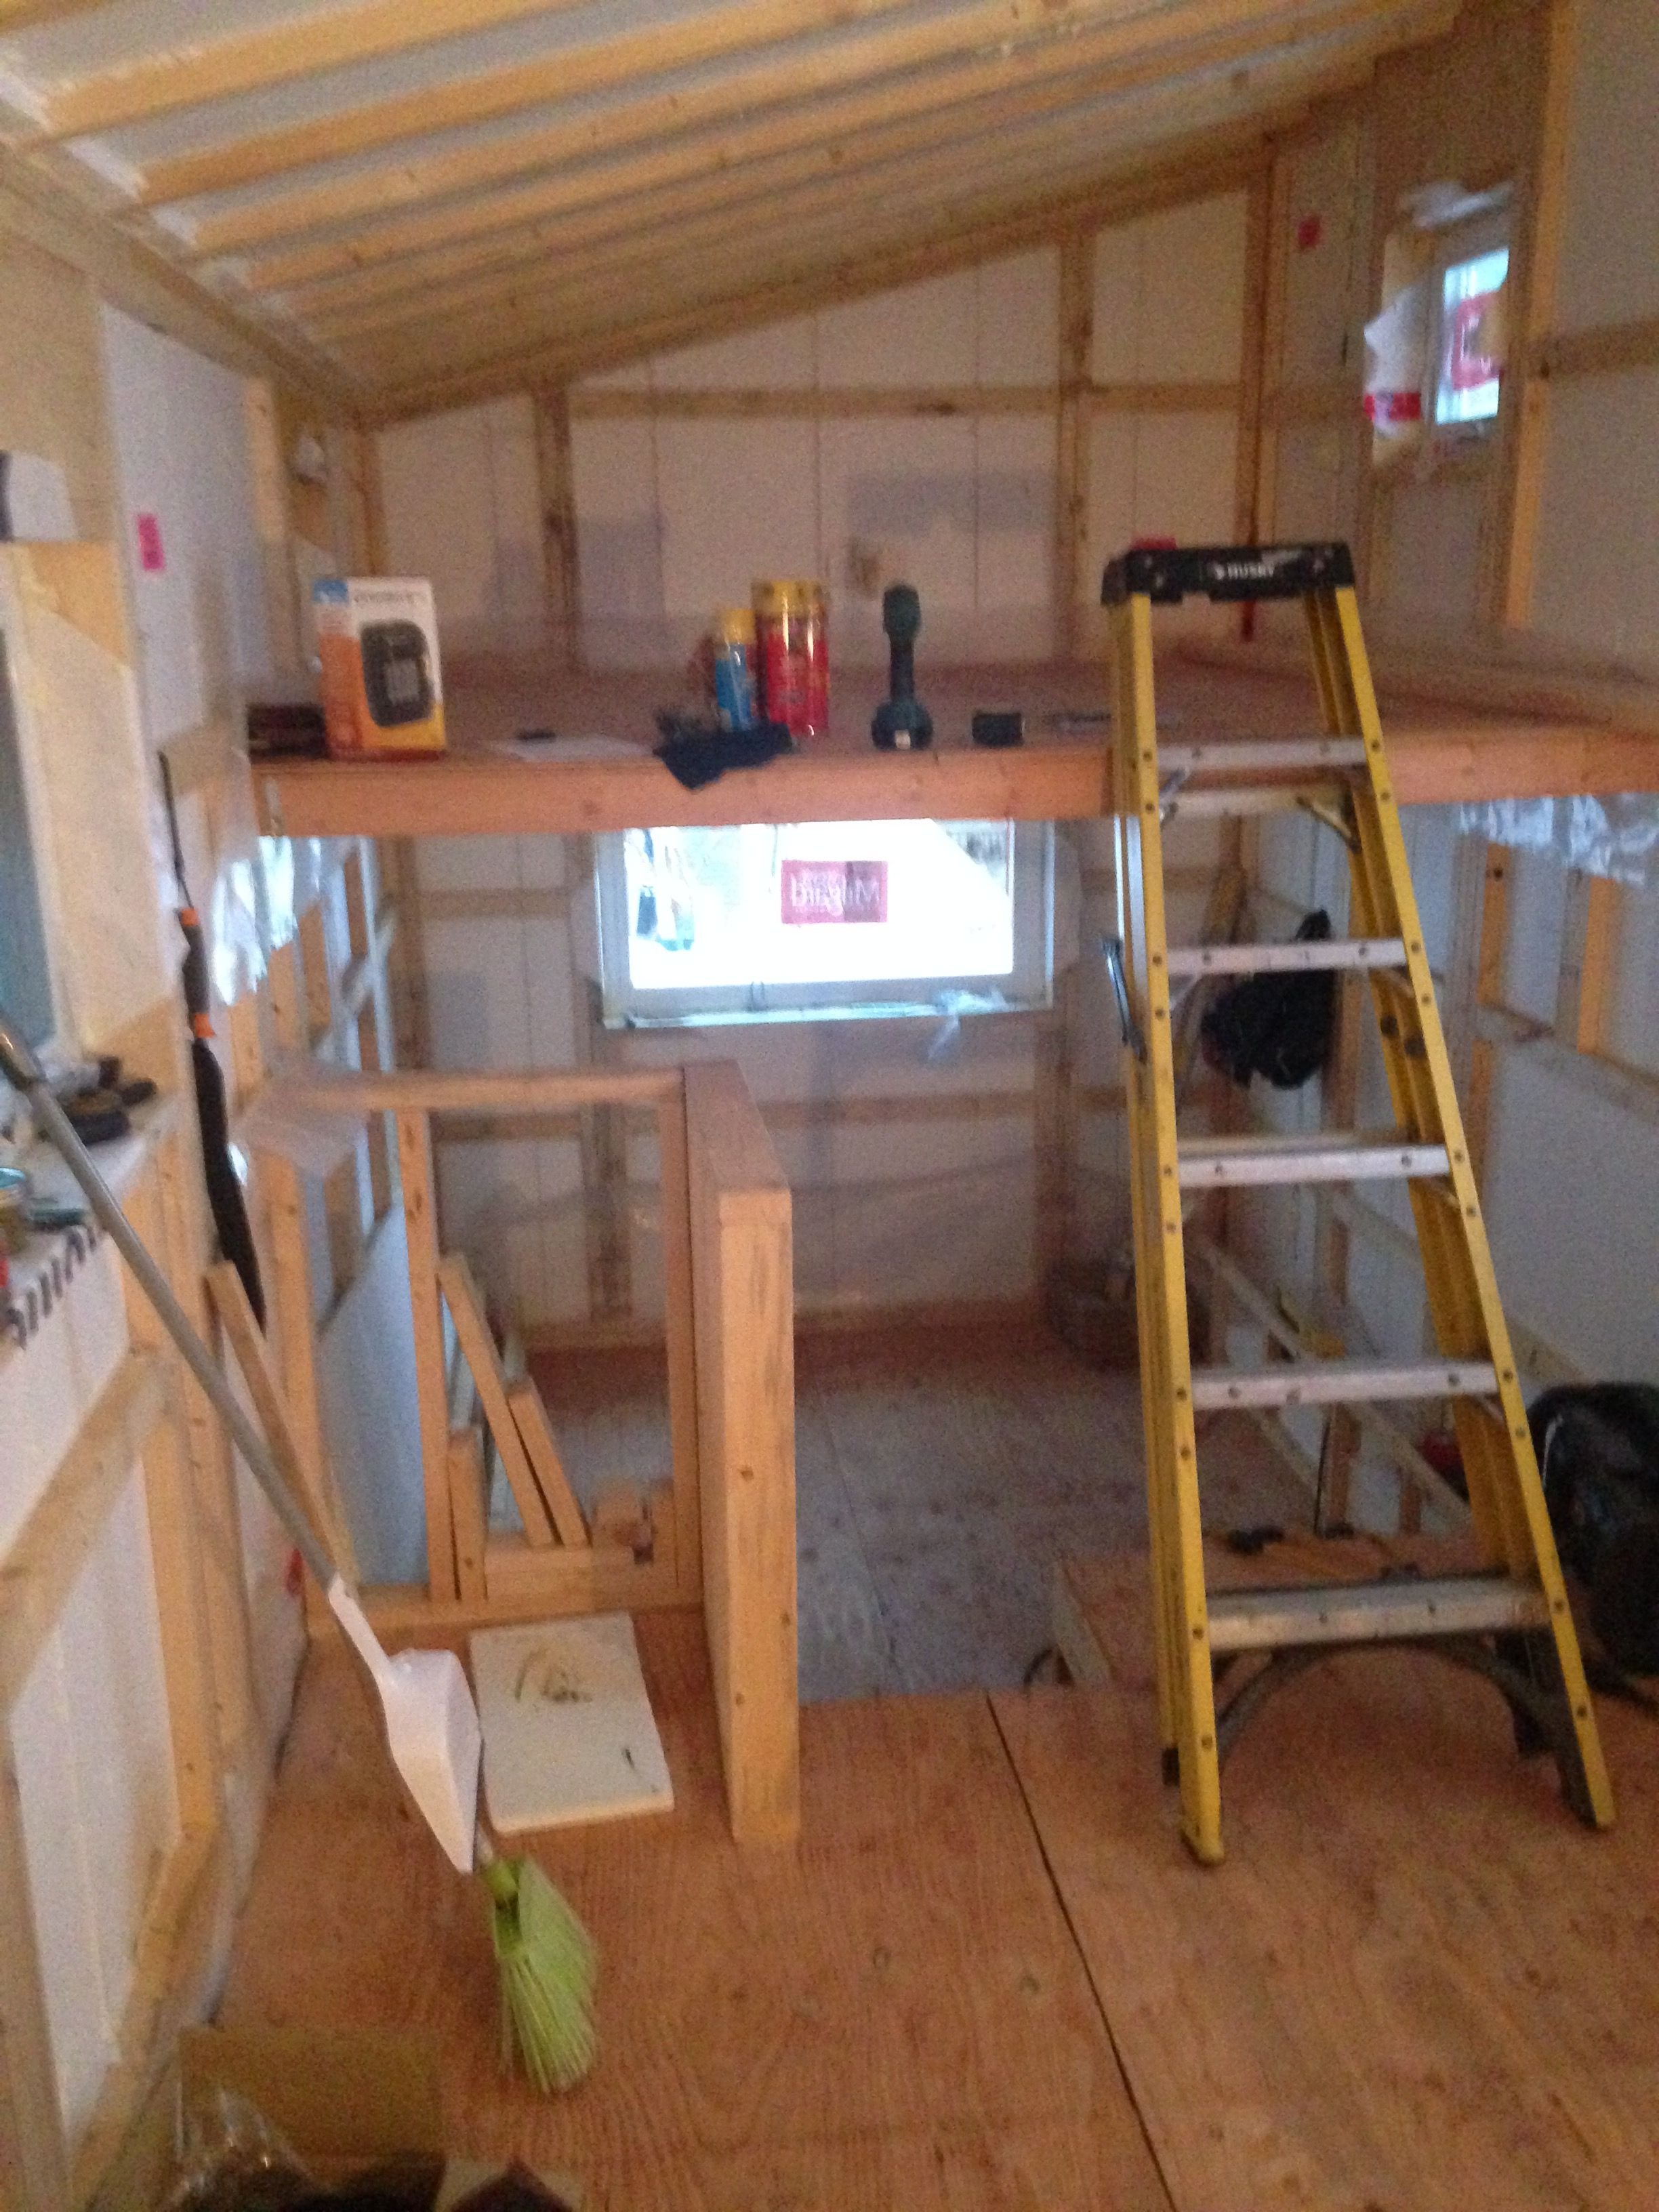
You just turned around again.. On the left is the other kitchen wall....still laughing. Plus I installed some temporary stairs to the loft. ;)
Thanks again to all who made to the end!
If you have any questions or if I missed something please let me know. I will try to answer all questions.
If you missed the first 5 parts here they are: (part 1) (part 2) (part 3) (part 4)(part 5)
Thanks again Brandon and Lindsey