"The Manufacturing Process of Ceramic Floor Tiles & Wall Tiles"

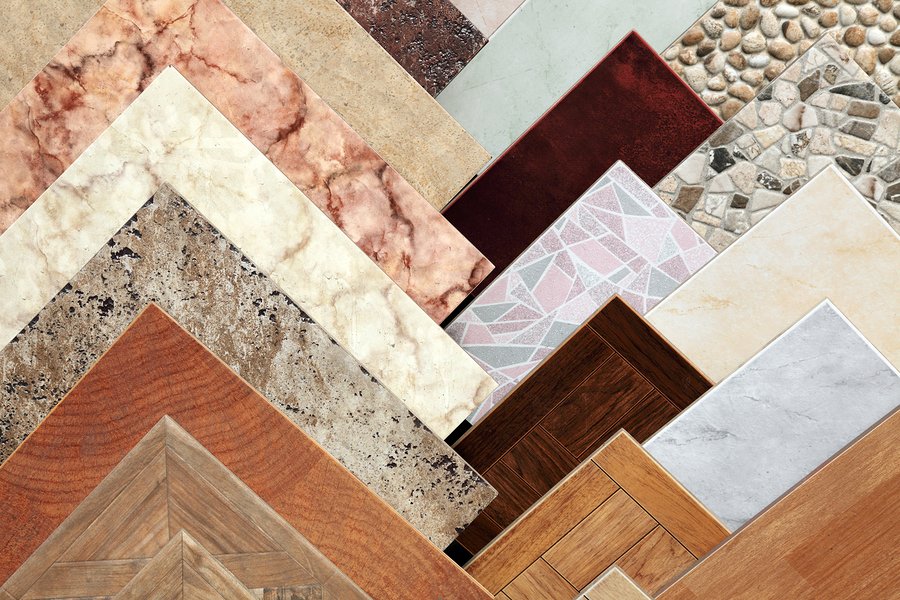
Floor tiles and wall tiles are used as interior and exterior designs in our households, on industrial buildings and other public structures. Ceramic tiles have been the most common and the most popular design that we can notice on every household or buildings. These decorative ceramic products have been used by humans long ago even during ancient times. The first documented indication and evidence of ceramic tile use was dated to 13th century BC when glazed bricks where discovered in the Elamite Temple at Chogha Zanbil. But how are these products made?
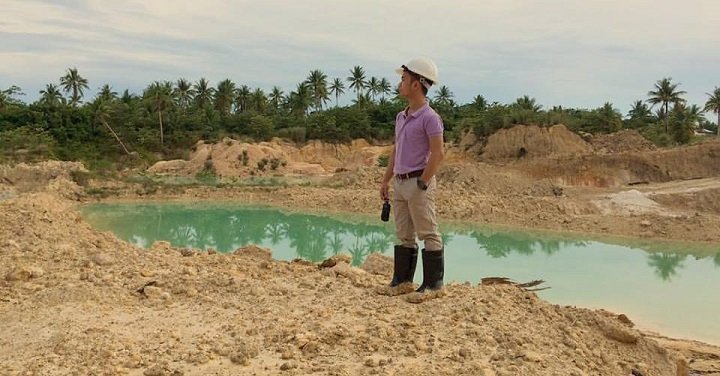
Most of the ceramic industries primarily manufactured floor and wall tiles because they’re economical yet profitable and aren’t complicated to make. The raw materials used in making these ceramic products are abundantly available in nature. Raw materials such as clay, feldspar and silica are the main component in making ceramic tiles. These raw materials undergo site sampling and are examined to determine its elemental composition using X-ray fluorescence or XRF. Oxide and chemical analysis are also determined to be able to formulate raw material ratio and proportion according to target body properties and standards.

After the raw materials passed the initial examination and characterization of its individual properties, excavation follows. Each raw material are placed and stored on separate storage area which is called stock yard and are labeled accordingly. In here, laboratory or quality control (QC) personnel will make sure that the properties of the newly quarried raw materials does not significantly varied with the existing individual raw material’ properties. In case a significant difference is observed, new ceramic body formulation will be made. Below are the main processes in tile manufacturing industries.
BATCHING

The mixing of different raw materials at specific ratio and proportion by weight is called batching. Prior to utilization of these raw materials for batching, moisture content (MC) is determined to obtain the dry weight of each raw material. Heavy construction equipment such as backhoe pay loader is used in moving and mixing these raw materials into certain mixing storage. Prior to that, individual raw materials are stored on their corresponding storage for batching. Initial comminution or preliminary particle size reduction are sometimes involved but such process would just result into downtime in production or unless the process had undergone thorough experimentation which determine manufacturing efficiency.
BALL MILLING

Right after batching, the mixed raw materials are transported to ball mill via conveyor and are added with calculated and measured amount of water then blended, homogenized and grinned by means of alumina balls (or ceramic pellets) for hours to form slurry. There is an initial grinding period for this process but no definite grinding duration. The end point of this process is when the standard properties of the resulting slurry such as the density, viscosity and particle size are achieved. QC personnel will obtain sample right after the initial grinding period to determine this properties using specific laboratory equipment. This procedure will be repeated until the standard properties of the resulting slurry are attained.

AGING
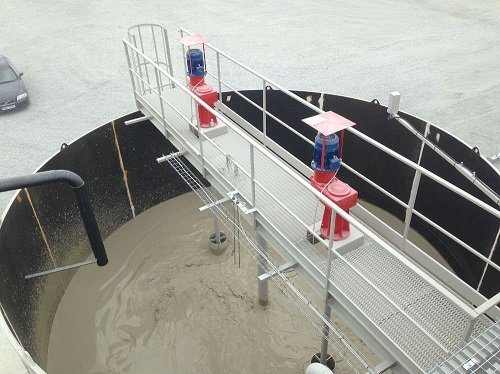
The slurry is then transferred and stored into large cylindrical storage tank called slurry tank. The slurry is then aged for 24 hours prior to its utilization to the next process. Inside the slurry tank, continuous agitation (scientific work for mixing) of the slurry involving constant rotational speed of mixing paddle is observed. This is to make sure that the slurry is continually homogenized during aging period.
SPRAY DRYING

After aging the slurry for 24 hours, the mixture is then feed into the atomizer or most commonly known as the spray dryer (SD). The spray dryer is equipped with nozzles which sprays the slurry into hot air to produced powder. Again, QC personnel determined the powder’s %MC and grain size for the SD operator to be able to adjust nozzle spraying rate and hot air temperature to produce powder with standard properties. Resulting powder are stored inside a certain storage called silo tank. The powder is cured for 12 to 24 hours prior to its utilization in production.
DRY PRESSING

The main manufacturing procedure of these ceramic tiles initially starts during pressing. Preserved powder inside silo tanks are transported into pressing machines’ steel box via conveyor. From the steel box, precise amount of powder is evenly fed into press machine’s mold. As the powder had remaining moisture content, certain pressing force is applied to form initial solid unfired ceramic body called green tile with specific length, width and thickness. Again, QC personnel will make sure that the standard measurements correspond with the set standards.
PREHEATING (DRYING)

Right after the initial ceramic body or the green tile is formed, it simultaneously undergoes preheating or drying at 100-400 degrees Celsius for hours or minutes to remove the remaining moisture or the mechanically bond water. This process is necessary and is very important for the green tile to be stable and not experience thermal shock which will result to breakage during firing process inside the kiln. This will also make sure that the resulting products are strong, durable and are free of defects.
GLAZING

Glazing procedure happened right after preheating process. Glazes are primarily made of silica and feldspar and are glass-like substances which act as vitreous coating to ceramic tiles. Glazes are primarily for decorative purpose only however glazing also covers up pores of the tiles after firing since glaze vitrifies which could also contribute hardness and durability of the resulting product. Glazes are usually applied to green tiles either by roller glazing, spraying, water fall, dipping, screening or dry glazing method. Again, QC inspects gram per tile of glaze to prevent variation of glaze colors after firing.
FIRING

Firing is the most vital procedure in the entire ceramic tiles manufacturing process. So after the tiles are applied with glaze, continuous firing procedure follows inside the kiln. There are different types of kilns but the most appropriate and the most efficient kiln for tile manufacturing is the roller hearth kill or RHK. The RHK is a type of continuous firing kiln with ceramic rollers which transport ceramic tiles at different firing temperature with uniform temperature distribution. Usually the temperature in the inlet of the RHK does not vary significantly with the outlet of the preheating furnace and the RHK’s temperature is usually highest at its 3rd quarter’s section. The temperature of the RHK’s outlet is also control to prevent thermal shock which may result to breakage of resulting tiles.
SORTING AND PACKAGING

At this point, we technically have produce ceramic tiles out of raw materials. After firing, the tiles are transported into quality assurance department using forklift for manual inspections. Here, the tiles are manually checked for defects. Although there are already machines which automatically detect these defects, manual checking is still practiced since most defects such as “chip off” occurred during packaging. Sorting and packaging of ceramic tiles then followed. Ceramic tiles are sorted based on the variation of colors and size. Variation of color of final glaze can happened since glaze nozzles sometimes encounter clogging problems while RHK temperature varies through time. Once the tiles are packed, they are placed in a warehouse for shipping.
Traditional Ceramic Methods in Making Earthenware, Stoneware and Porcelain
Lightweight Ceramics and its Advanced Application in Modern Military Armors
Ceramic Materials and its Advance Application to Aerospace Industry
References:
https://en.wikipedia.org/wiki/Tile
http://www.madehow.com/Volume-1/Ceramic-Tile.html
Ceratec Youtube Video

