Welcome educators! That's another post on "Teaching Physics", where you get simple experiments with everyday materials easy for every teacher or parent to perform with their children.
The first three posts of this series were on air properties:
1-The air has weight and volume,
2-The air is a mixture containing water and oxygen, and
3-The air applies pressure.
This post will be about liquids and our topic is hydrostatic pressure.
OBJECTIVES
Teach what hydrostatic pressure is and some basic rules.
Hydrostatic pressure:
1) is a vertical force over the walls of the fluid's container (experiment 1),
2) is related with the depth of the fluid (experiments 2 and 3).
DETECTING FORMER KNOWLEDGE
First we should ask the class what they know about hydrostatic pressure. We may ask questions like:
- Can liquids "press" things inside them?
- Where would water "press" a fish harder, in a shallow lake or in the deep sea?
- When do you feel your ears blocked, when you swim near the surface of the sea or when you go for a deep dive?
Then it's time to present our theory and move on to our experiments.
Pressure is a force applied vertically over an object. Hydrostatic pressure is the pressure applied by a liquid over the walls of its container and any submerged in it objects.
The math formula is: P = r * g * h
(P=pressure, r=fluid's density, g=acceleration of gravity, h=height,distance from surface)
And now, let's get some trolls wet. I'm sure you missed them since the last time, so here they are!
EXPERIMENT 1
Hydrostatic pressure is vertical to the surface it's applied on.
Materials:
- plastic bottle
- water
- a nail
- lighter
Process:
- Heat the nail with the lighter and open several wholes all over the bottle.
- Squeeze the plastic bottle (cap off).
- Fill it with water.
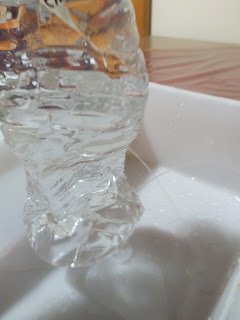
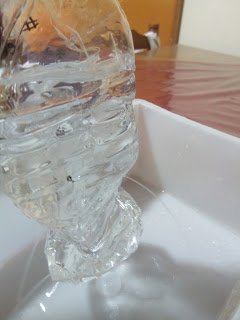
The different water streams from the differently-orientated surfaces flow out vertically over the bottle's walls (in a 90° angle). We will need a goniometer if we want to be more accurate in our observation.
Conclusion: Hydrostatic pressure is applied vertically over the walls of the fluid's container.
EXPERIMENT 2
Hydrostatic pressure is related with depth.
Materials:
- a plastic bottle
- water
- a nail lighter
Process:
- Use the lighter to heat the nail and open two holes on the bottle one above the other.
- Fill the bottle with water.
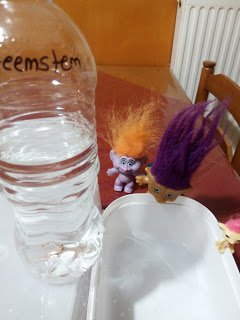
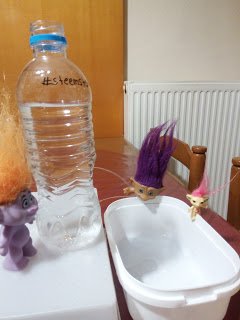
Water coming out the whole near the bottom flows further. (In the first photo there is only one hole on the bottle)
Conclusion: Hydrostatic pressure increases with depth.
An alternative of this experiment
Materials:
- two plastic cups
- water
- a nail
- a lighter
Process:
- Heat the nail and make one hole on each cup in the same height.
- Pour water in the cups, make sure to pour less in the second cup, the volume must be uneven.
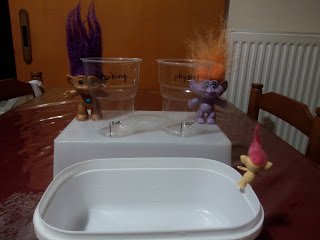
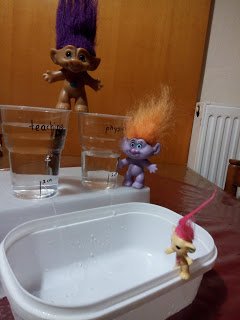
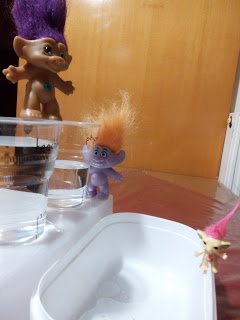
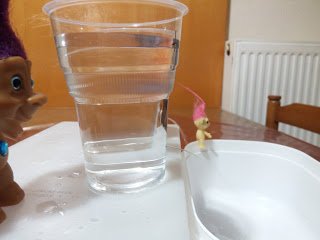
Water flows out from both holes, but the glass that has more water pushes it farther.
Conclusion: Hydrostatic pressure increases as so does depth.
Note: Now the childrren might get the idea that volume has its part with these results because the second glass has less water; but the following experiment will help them understand better that its the distance from the surface that plays an important role and not the volume of the liquid.
EXPERIMENT 3
Hydrostatic pressure is not related to the volume of the fluid, but the distance from the bottom (gets higher in greater depths).
Materials:
- two plastic cups
- water
- a nail
- a lighter
Process:
- Heat the nail and make a hole on each cup in different heights.
- Fill the glasses with the same amount of water.
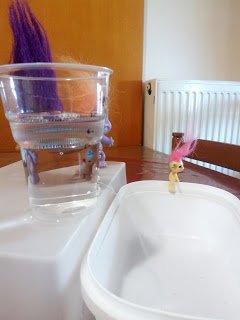
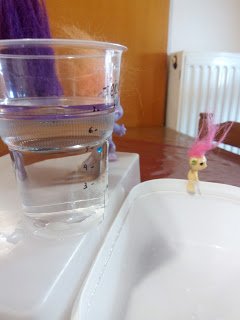
Water flows further when it comes out of the lower hole, in the second picture it's slightly dripping.
Conclusion: Hydrostatic pressure is related with depth even though the volume of the fluid stays the same. It gets greater as depth increases.
References
wikipedia.org
edinformatics.com
Panagiotis Koumaras, "A guide to teaching physics through experiments" - Christodoulidis Editions (Thessaloniki 2005)
*All images by @ruth-girl

Thank you for being here and reading my post, perhaps some of you will find it interesting and give those experiments a try. If you do so, please leave a comment on how they worked for you and your class. You may also want to suggest any other experiments or projects to make this lesson even better. It would make me even happier if you were a parent and tried those simple experiments with your child/children, they are so simple, you can easily do them at home.
Perhaps you'd like to go through my blog, @ruth-girl, and discover plenty of lesson plans along with my bizarre natural phenomena series.

Finally, for those of us engaging with education, @steemiteducation is here to join all steemian educators in their common cause of making our job easier, more effective and more fun, because...
(Original image credits: Nick Youngson - nyphotographic.com)
Thank you for your time and as I like to say,
Steem on and keep smiling, people! :)

