
Today I will show you how I have applied Damascening on the wheelpommel that I made earlier.
Damascening is the English word for mounting one metal into another(not to be confused with Damascus steel which is something completely different), this is what is called tauschierung in German and tauschering in Danish. In Denmark we use the German word, only the pronounciation and spelling is slightly different. That is in fact the case for very many words related to craft techniques and tools.
I suppose it is because in the middle ages when most of these crafts evolved into more organized guilds, and the names of tools etc. was being written down, German was quite commonly spoken in Denmark, and much influence in crafts and science came from our southern border.
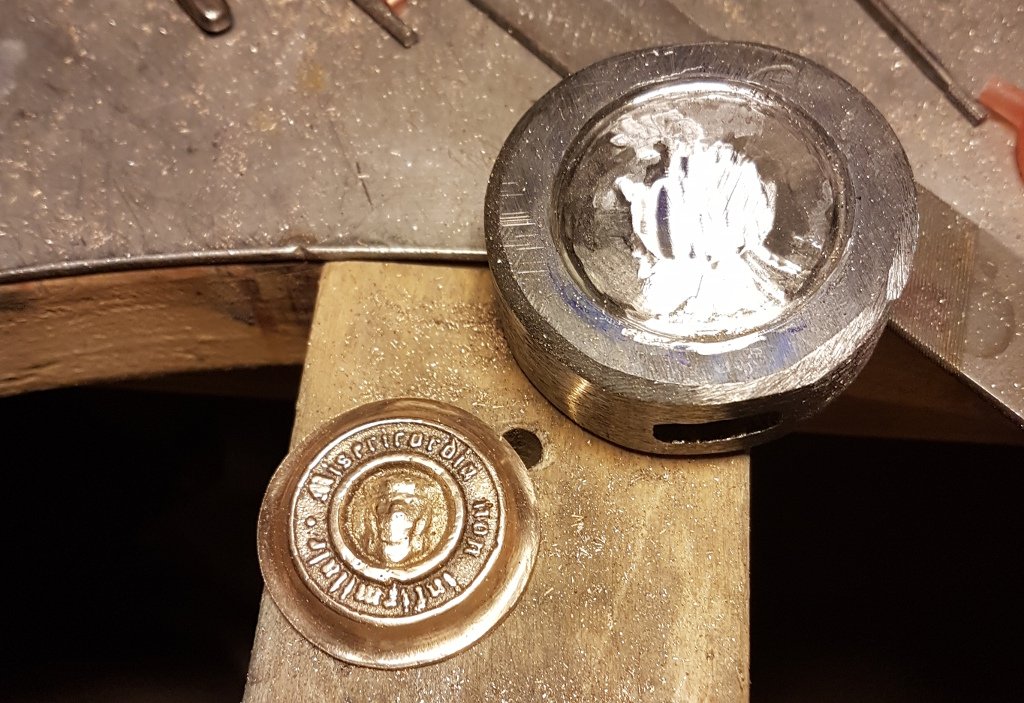
It was very much an experiment,to try and do this, since it is many years since I did any Damascening and I havent done it with steel before. Alot of things went wrong and had to be redone because I was not sufficiently prepared for the stubbornness of the steel.
I did succeed in the end but the finish had to be different from what I thought out originally.
I started by grinding a cavity in the pommel where the bronze-plaque would fit, as snugly as possible.
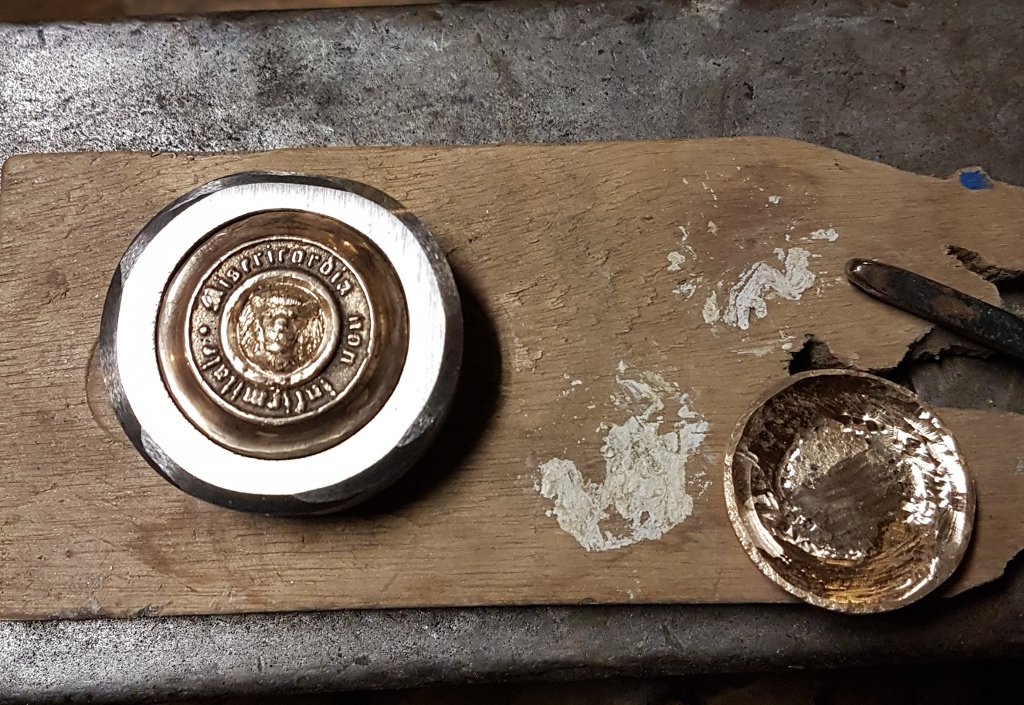
It was very hard going and at this point I tried many different ways, one being my lathe, but I didnt have a proper steel for this so it kept chipping.
Another being grinding it out using my handgrinder(basically an oversized Dremel tool) but that was to unwieldy so I could not really get the precision I would have liked.
I ended up doing most of the work with my small handgrinder(which is a normal sized, luxury version of a Dremel tool), which took forever but gave a fairly good result, even though the lines where not as clean as I would have liked.
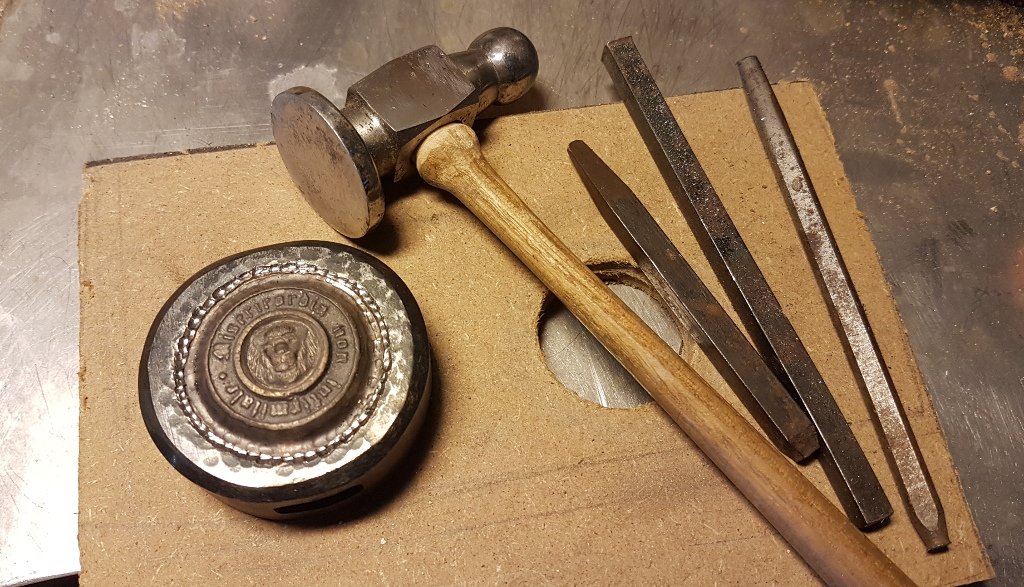
Then I was ready for the actual damascening, It was at this point that I found out that it was probably not the steel for the lathe that was too soft but the pommel itself that was too hard. I had normalized it before starting to work on it but apparently not enough, because when I started hammering in the sides the steel chipped again.
I ran another normalizing cycle, heating the pommel up to cherry red and letting it cool slowly inside the forge, and this morning when i continued my work it was much easier. Unfortunately the many mistakes I had made when grinding the hole meant that I was unable to get a nice clean smooth finish, so I decided to accept the consequences of this and go for a hammered surface. This means that I do not need the very crisp lines, but can accept a slightly more wavy line.
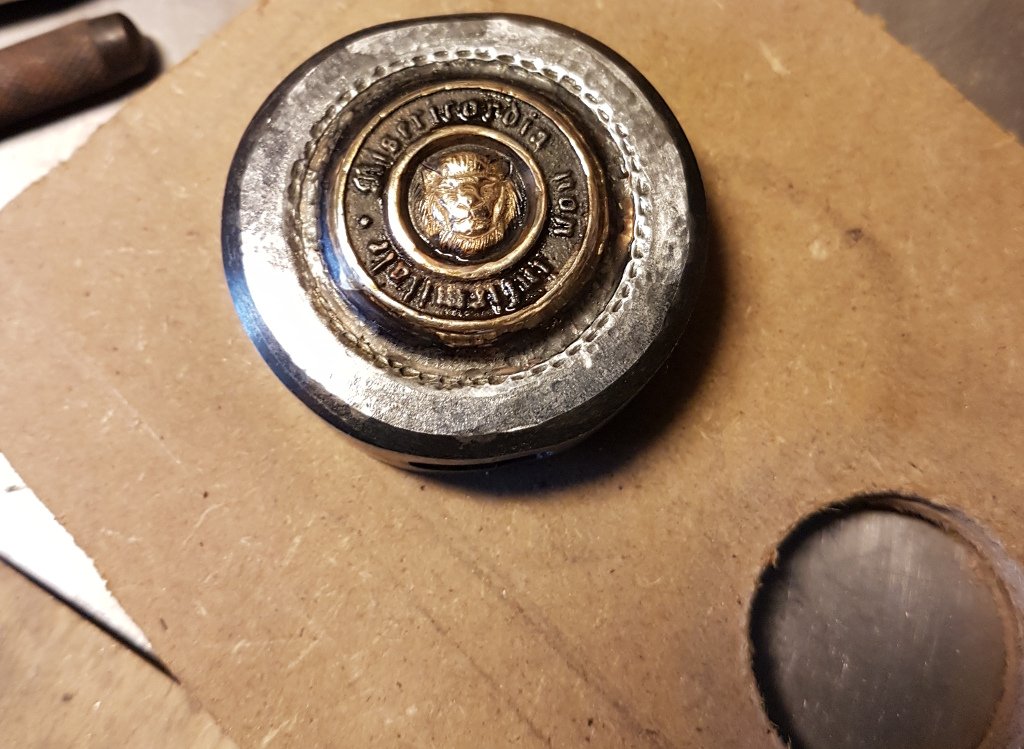
Fter I got the bronze to sit tight I gave the bronze a wash with liver of sulfur and the steel a wash with iron chloride. That makes both surfaces blackish blue, and means that the polished parts of the bronze will stand out more.
At this point i decided to peen the pommel in place even though I was not entirely finished with the pommel. Peening is hard on the surface so it is quite common that I have to clean up some hammer marks after I peen.
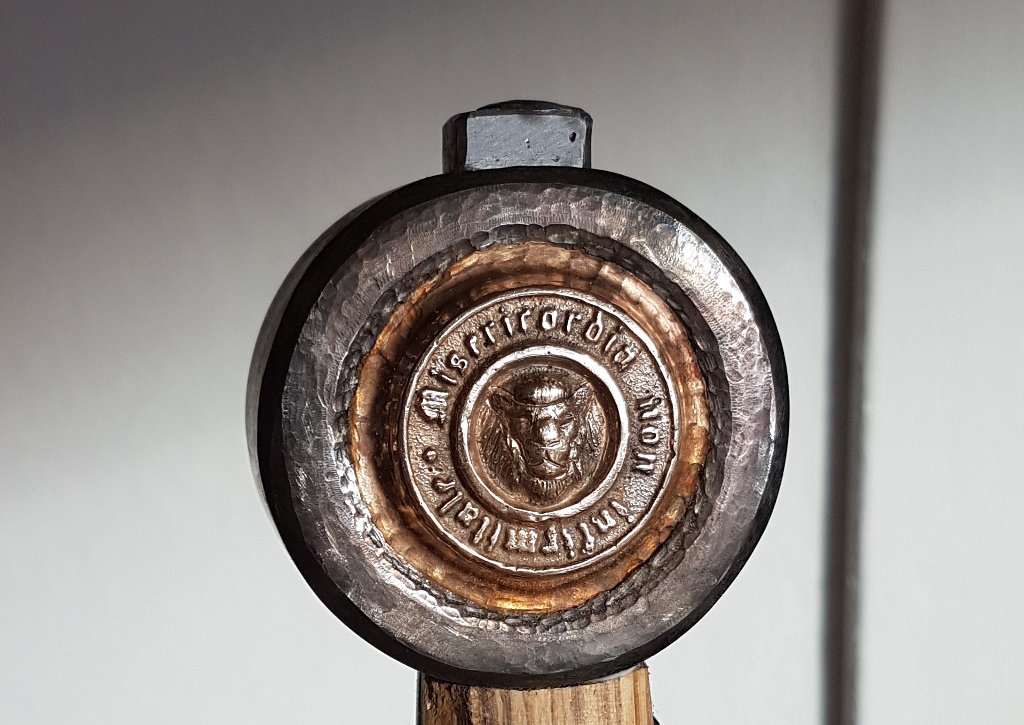
in this case it was more because I didn't want to risk rattling the bronze disks loose, so I will be doing the final finish of the pommel last, just before I do the wrapping.
I think it was very educative to do this, and there are definitely things that would come out much better, should I choose to redo it, but this is exactly the point. I make these swords as much as a learning experience as actual objects.
Even though it did not turn out as I had originally intended i think it looks very nice and I can't wait to wrap teh handle and get this one finished.

Im EvilHippie, a compulsive creative and jack o' trades. If you want to know more about me, check out my introduction post here
If you like what you see, feel free to upvote, follow and resteem
or you can check out these recent posts
