Only one thing is still missing to make my detailed description of swordmaking complete. The Quillons. If you are not a sword geek like me, and you are not a native english speaker, you may not know what quillons are(or maybe you do, i suspect the word is french in origin since it is pronounced "kijon").
The more common word for it is grossguard, and the reason quillons are always in plural is, that a quillon refer to only half the crossguard. The quillons are an essential part of a european sword, and the only handprotection available on most medieval swords. in later times the handprotection became much more elaborate, but for hundreds of years it was a simple bar.
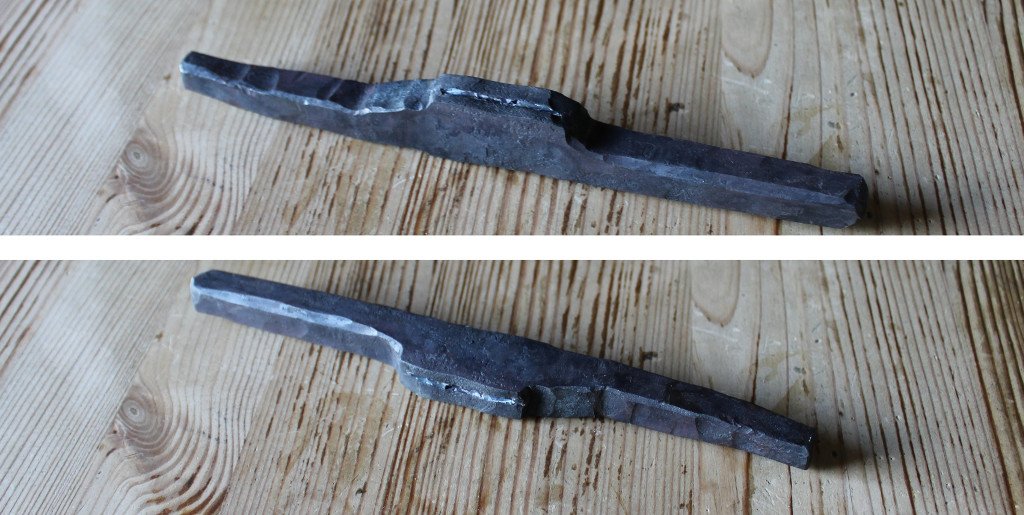
I usually make the quillons out of mildsteel. It is ok that the steel is comparatively soft because it need to absorb the hits, and are therefore not hardened. Being the primary protection against hand damage, they get a lot of hits. I start with a simple rectangular bar and work out each of the quillons, making sure to leave a fat portion in the middle
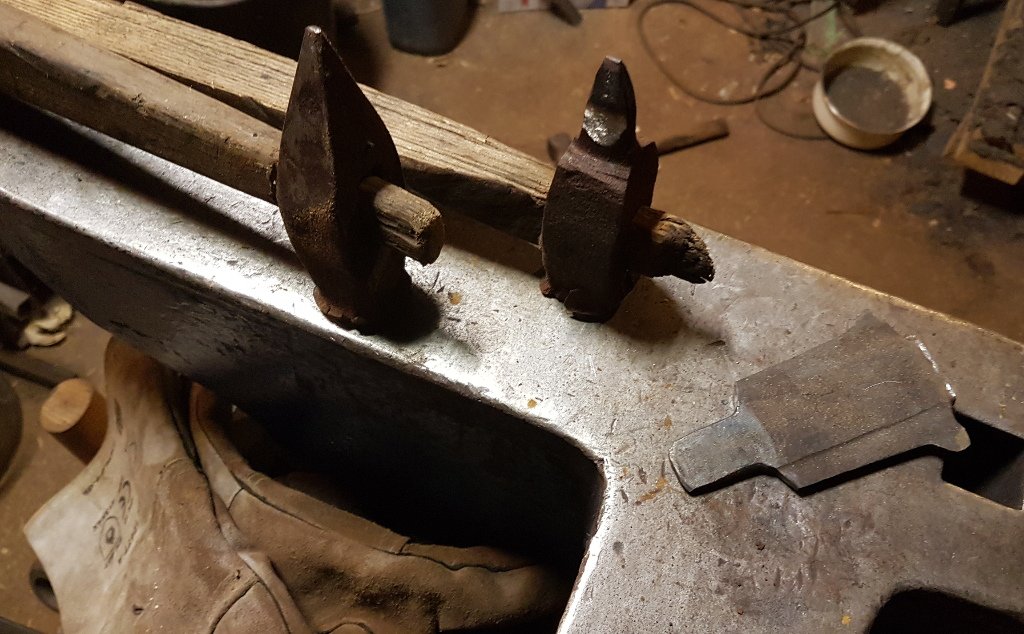
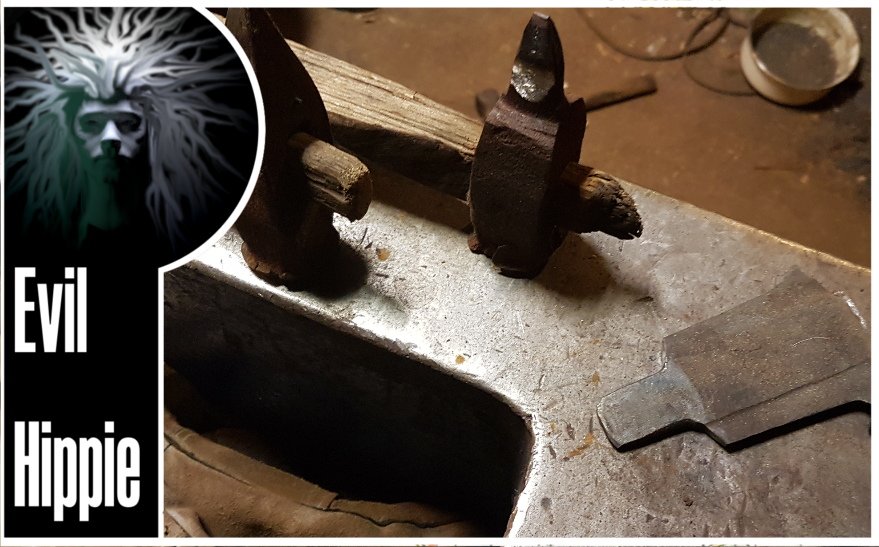
This is where the tang will go through, so I need to make a slot for it. I use various different hot- and cold-chisels for this, the flat strangely formed plate is for last. It is in fact a small piece from an earlier, failed attempt to make a longsword. I simply cut off the lower part of the blade and a little bit of tang , and repurposed it into a chisel.
It is really nice for the final shaping of the slot since it has the exact shape of the portion of the blade that goes through the quillons.
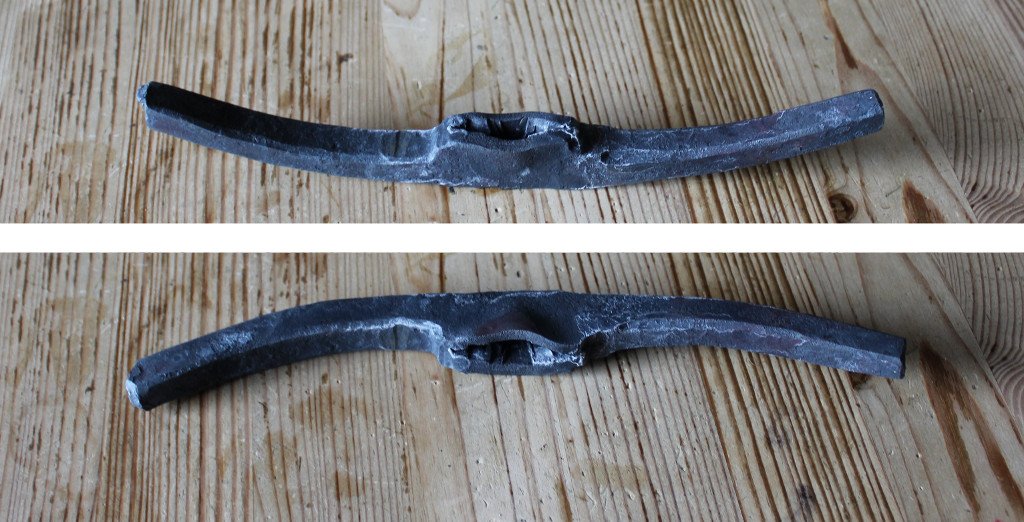
I roughly shape the quillons before doing any grinding. At this point the weight distribution and basic shape is more or less decided but the final profile is still malleable. the last forging bit i do is the final shaping of the slot. After that there is only grinding work.
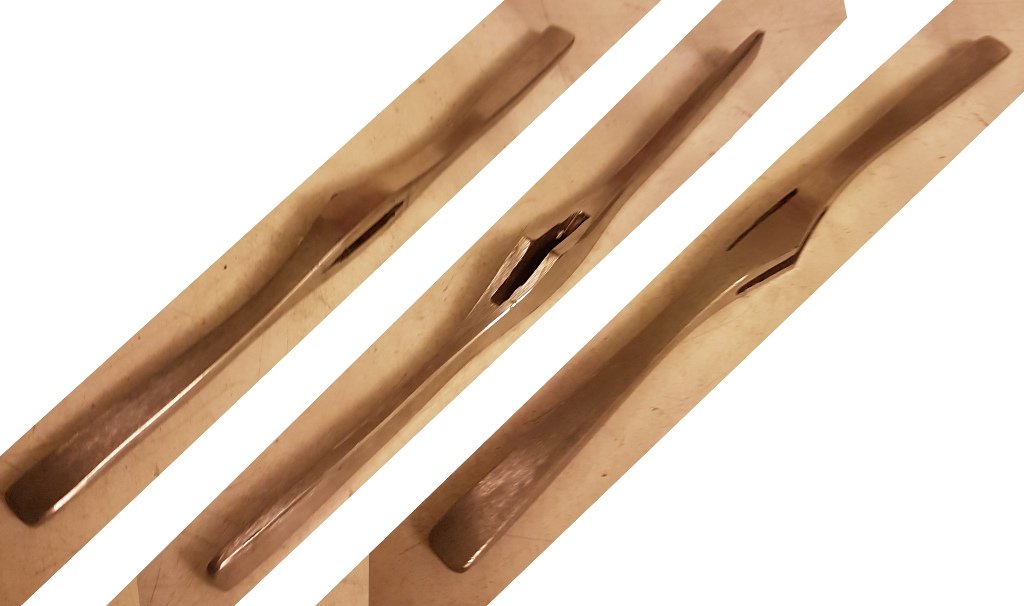
The grinding has two purposes, first it needs to make a pleasant surface without any sharp edges (your hand will be resting against the quillons most of the time).
Secondly but equally important, it need to fine tune the balance and weight.
The quillons should be of equal size and shape both visually and in terms of weight or the sword will act strangely when swung. Therefore, there is a lot of measuring going on at this step to make sure they are perfectly symmetrical.
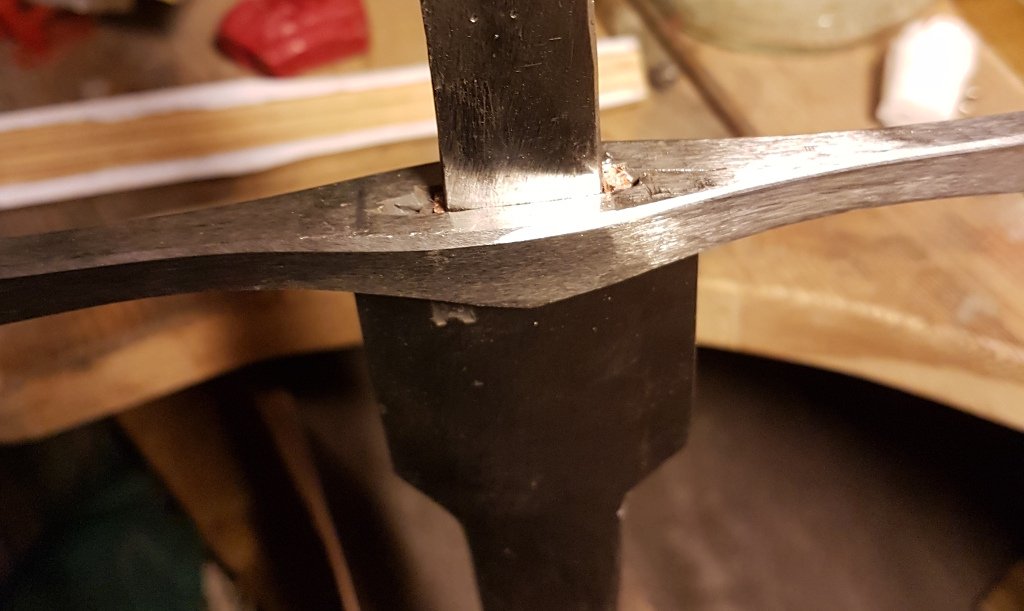
When I am satisfied that they are finished, it is time to mount them. Quillons get a lot of heavy hits and they are quite prone to begin to rattle. It is almost unavoidable that they will at some point, but it should happen later better than sooner so it needs to be a solid fit.
When making the slot i make it just a little bit to small compared to the tang.
That means I will have to use a hammer to mount it, but it will also mean that I get the tightest possible fit and thus minimize the chance of rattling.
Even so, there is often some small gaps between the tang and quillons. I fill these with small pieces of copper that I hammer into place(this technique was also used on the japanese swords to mount or remount tsubas)

Thats it. The mounting of the quillons take place before the mounting of the pommel and before I mount the handle as well. I posted it in a different order because I needed pictures of the process in order to make a proper post, and I had to find these first.
I hope you liked it.

Im EvilHippie, a compulsive creative and jack o' trades. If you want to know more about me, check out my introduction post here
If you like what you see, feel free to upvote, follow and resteem
or you can check out these recent posts
handling handles part 2
pommel, patina and peening
handling handles
printing tolerances
alternative pommel
silent wood
upgrade!
