
I promised @steemitadventure to make a post when I had wrapped the handle of my latest sword so here it is. I will make another with some nicer shots of the entire sword later.
I chose leather for this handle. I like leather more than string wrapping because it feels nicer in the hands. If I was to do this the traditional way I would use boneglue or rabbit-skin glue.
Luckily I have access to modern glue so I use a combination of outdoor woodglue and contact-cement.
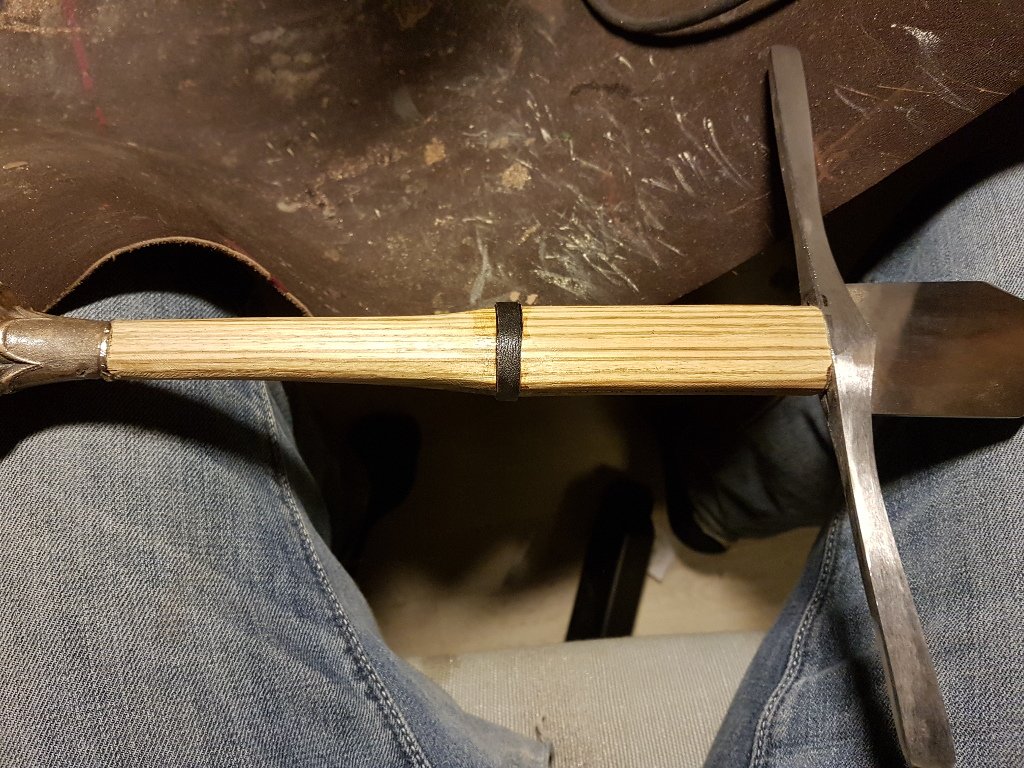
The first thing is to profile the handle. This was traditionally done both as a decorative feature and to give increased grip. These profiles can be very complicated and elaborate but for this sword, I chose a simple banding to mark the part where the front hand rests. I coat a slim strip of leather in contact cement and glue it twice around the handle.
Since it is contact cement I can continue immediately and doesnt have to wait for the glue to dry, before wrapping the hilt.
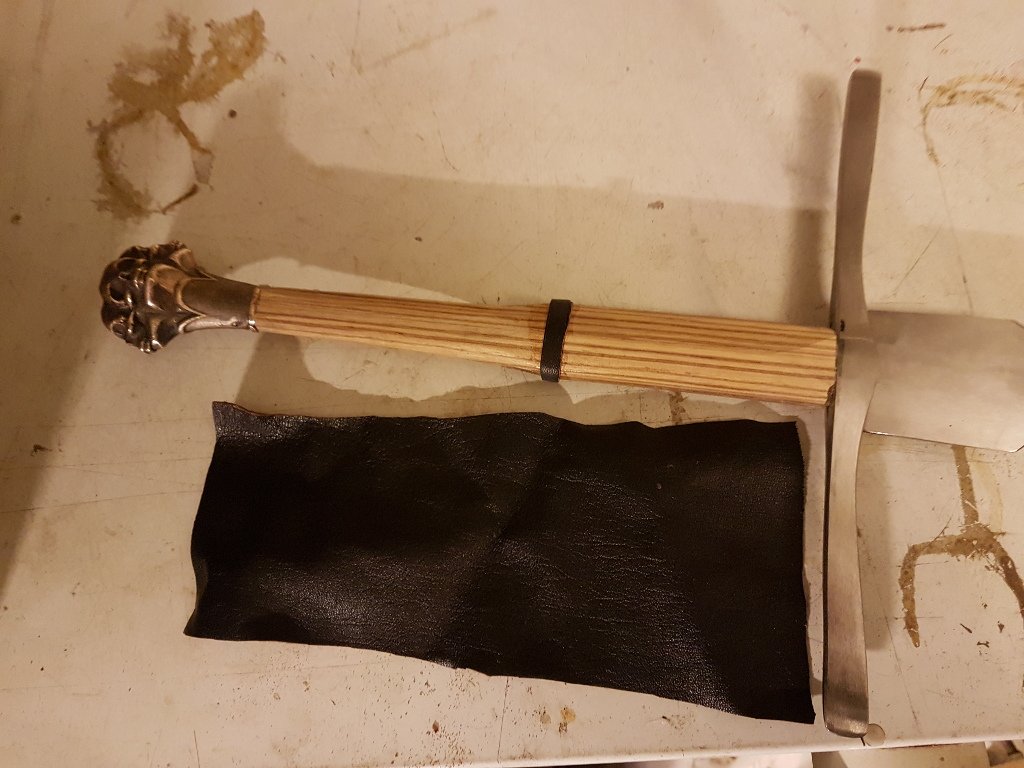
I find a nice piece of black leather (old leatherjackets from thrift-shops are a great source of durable handle leather). It is cut approximately to size, but will be trimmed further after it is glued. I make sure there is an overlap when it is wrapped, just 5 mm or so.

Then I coat the entire handle in woodglue. and wrap the leather tightly around the handle. While it dries I wrap it with cord.
When doing this it is important to make sure the cord is very evenly bound because it will leave a permanent pattern in the leather.
If you do not want this pattern, you will have to first cover the leather with additional layers of padding (I use 2 or 3 layers of scrap leather).I like the pattern so I usually don't use padding.
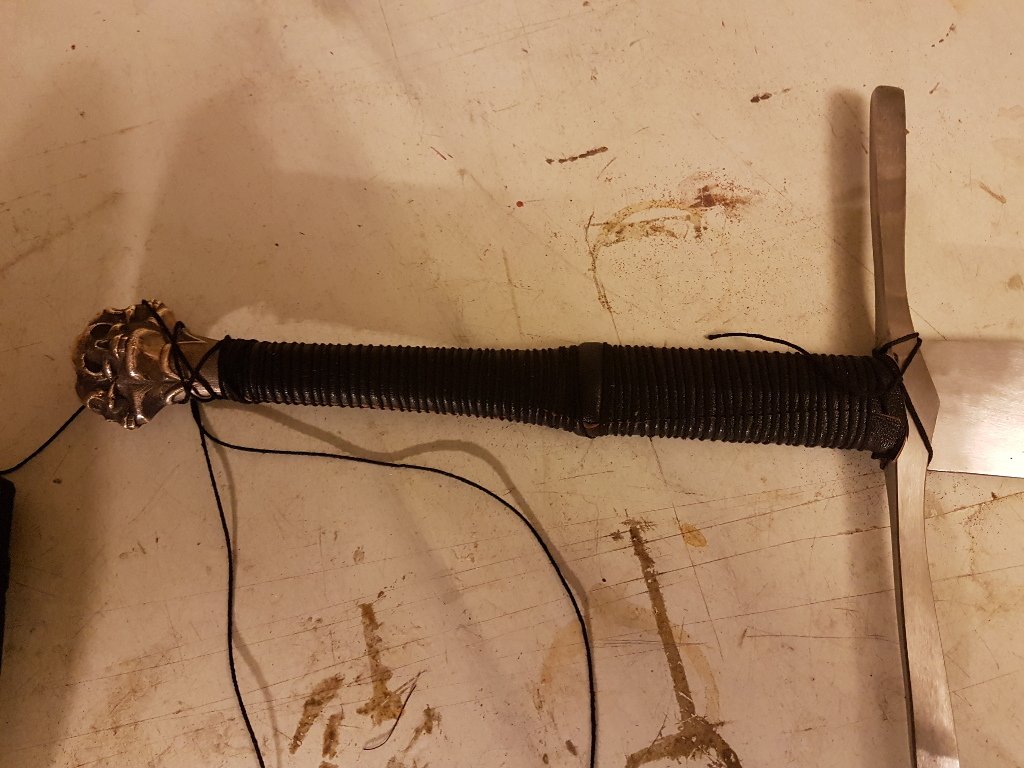
Then i tie off the cord and leave it to dry. Usually I leave it overnight. when it is fully cured i lift the small overlap and apply contact cement to both sides. It is a bit fiddly to keep the two sides apart while the contact cement dries, but it gives a much more durable bond at the edge, so it is worth it.
Again the traditional way would be to sew the two edges together, but I find the glue to be both prettier and just as durable.

Now the sword is finished. Only thing left, is to clean and oil it ready for use. If it is a sharp sword, I usually also make a scabbard for it but for a blunt training sword like this I don't. Scabbard making is an art of its own, and easily takes as much time as the sword itself.

Im EvilHippie, a compulsive creative and jack o' trades. If you want to know more about me, check out my introduction post here
If you like what you see, feel free to upvote, follow and resteem
or you can check out these recent posts
pommel, patina and peening
handling handles
printing tolerances
alternative pommel
silent wood
upgrade!