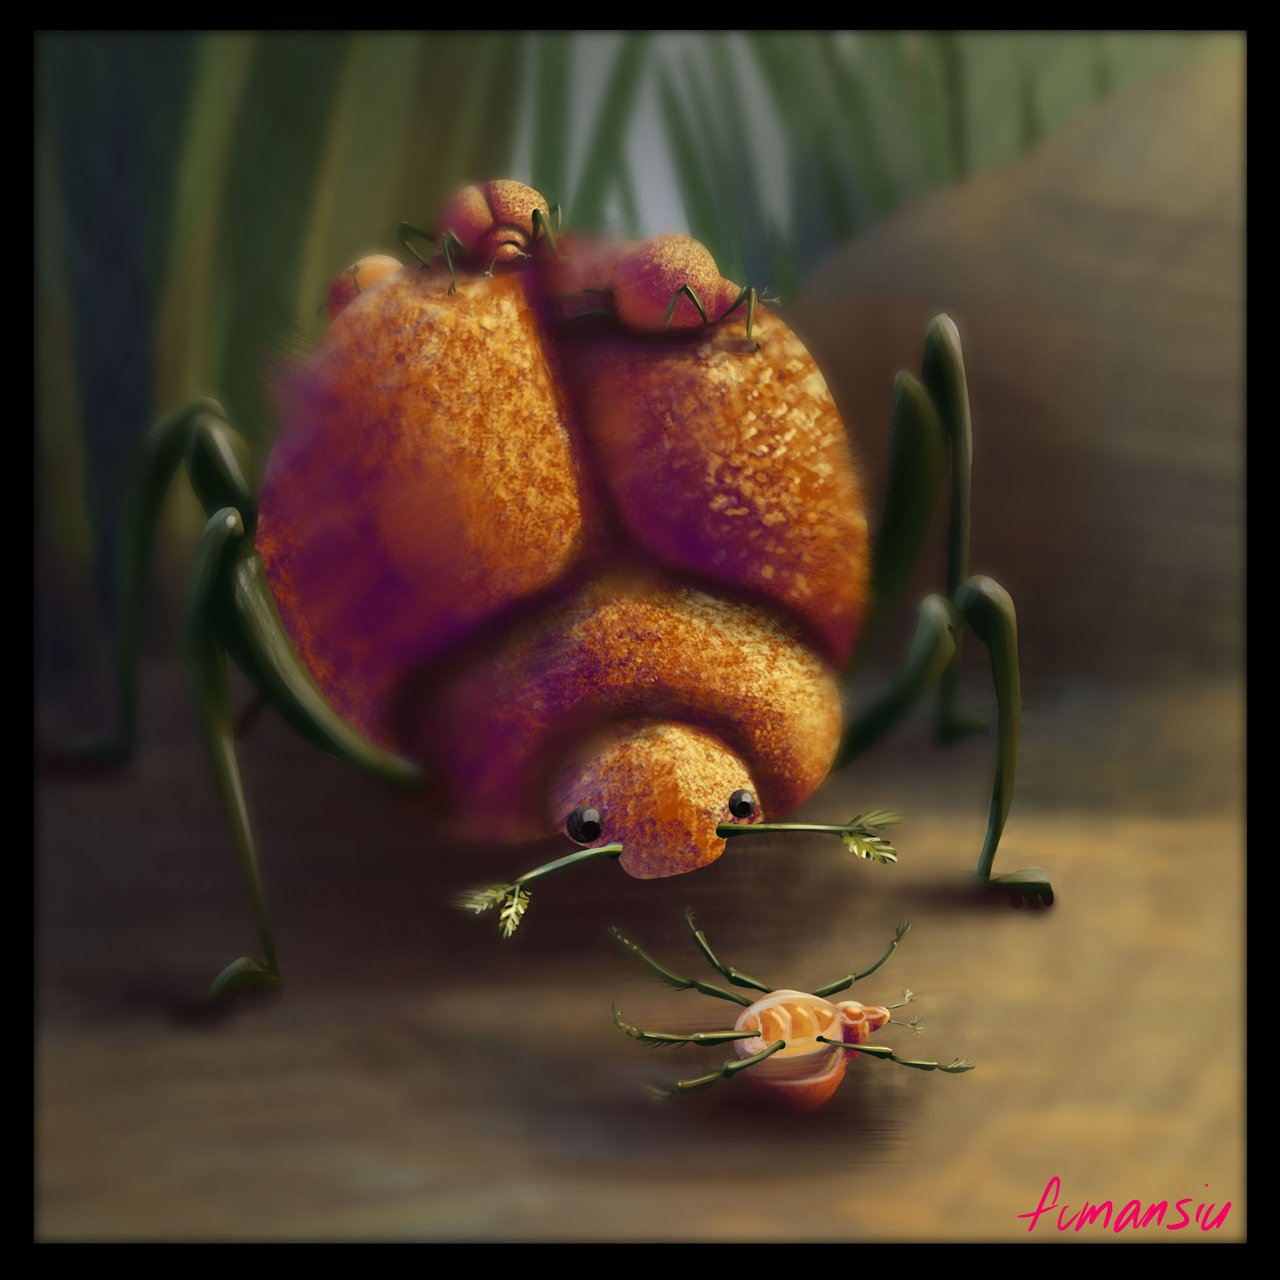
Ah yes, the WILD round. Thanks for joining me to finish up our orange studies. For this one I decided to see if I could take a beetle and apply "orange" to it. One of the fun things we can do once we understand a material is put it on just about anything! Now obviously this is totally out of the ordinary and that's the point. Without having previous knowledge of the subject in the last round we are forcing our brains to solve a very difficult problem and this creates a completely new neural connection for us to rely on later. In this way we are not just copying anymore but actually assuring that we very much understand the subject and can recall the information when we need it.
Let's go!

Basic Sketch
Just a basic beetle. There are some Japanese beetles that hang out around the property and I remembered them having little leafy antennae. I had this idea after my walk this morning that a big mother beetle came across one of her babies stuck on it's back. A little story telling moment, and a chance to try out a bunch of little orange bugs!
We remember our mantra so I won't go into too much detail unless it's weird or different.
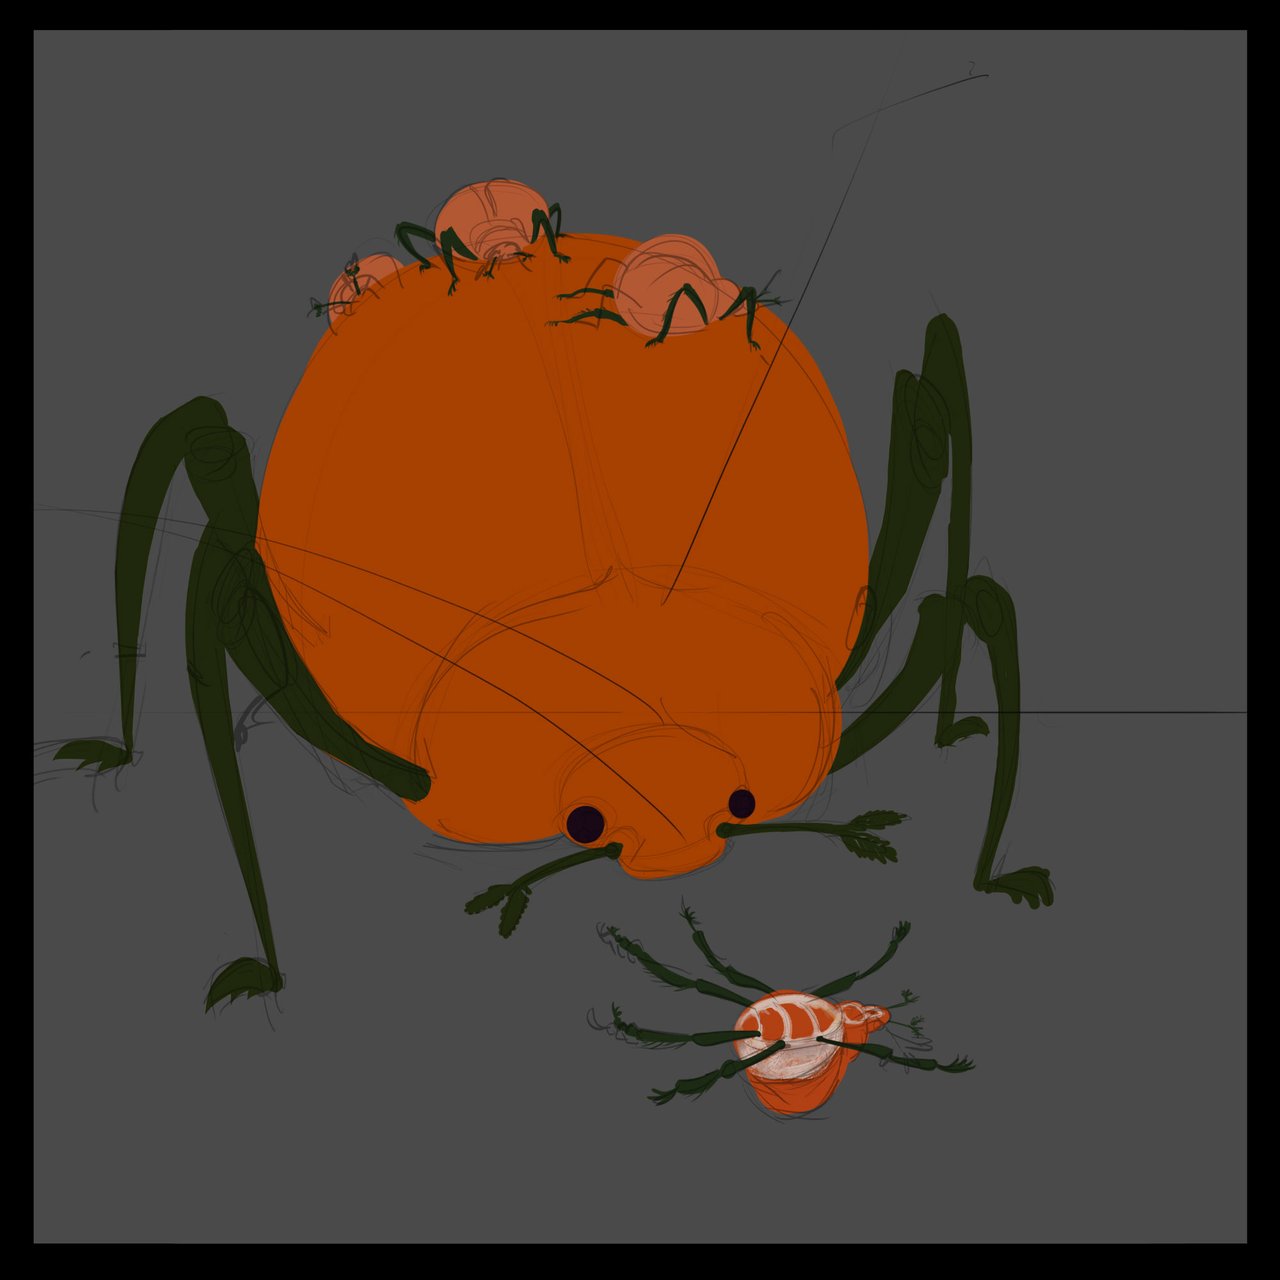
Base colors

Shadow colors
I know, I know, I dropped in a background all sneaky. I wanted to bring this down into their world so I threw in some larger than life grasses and took a very low angle. Placed a rock on the right side to keep the beetle as the main focus.

Light colors
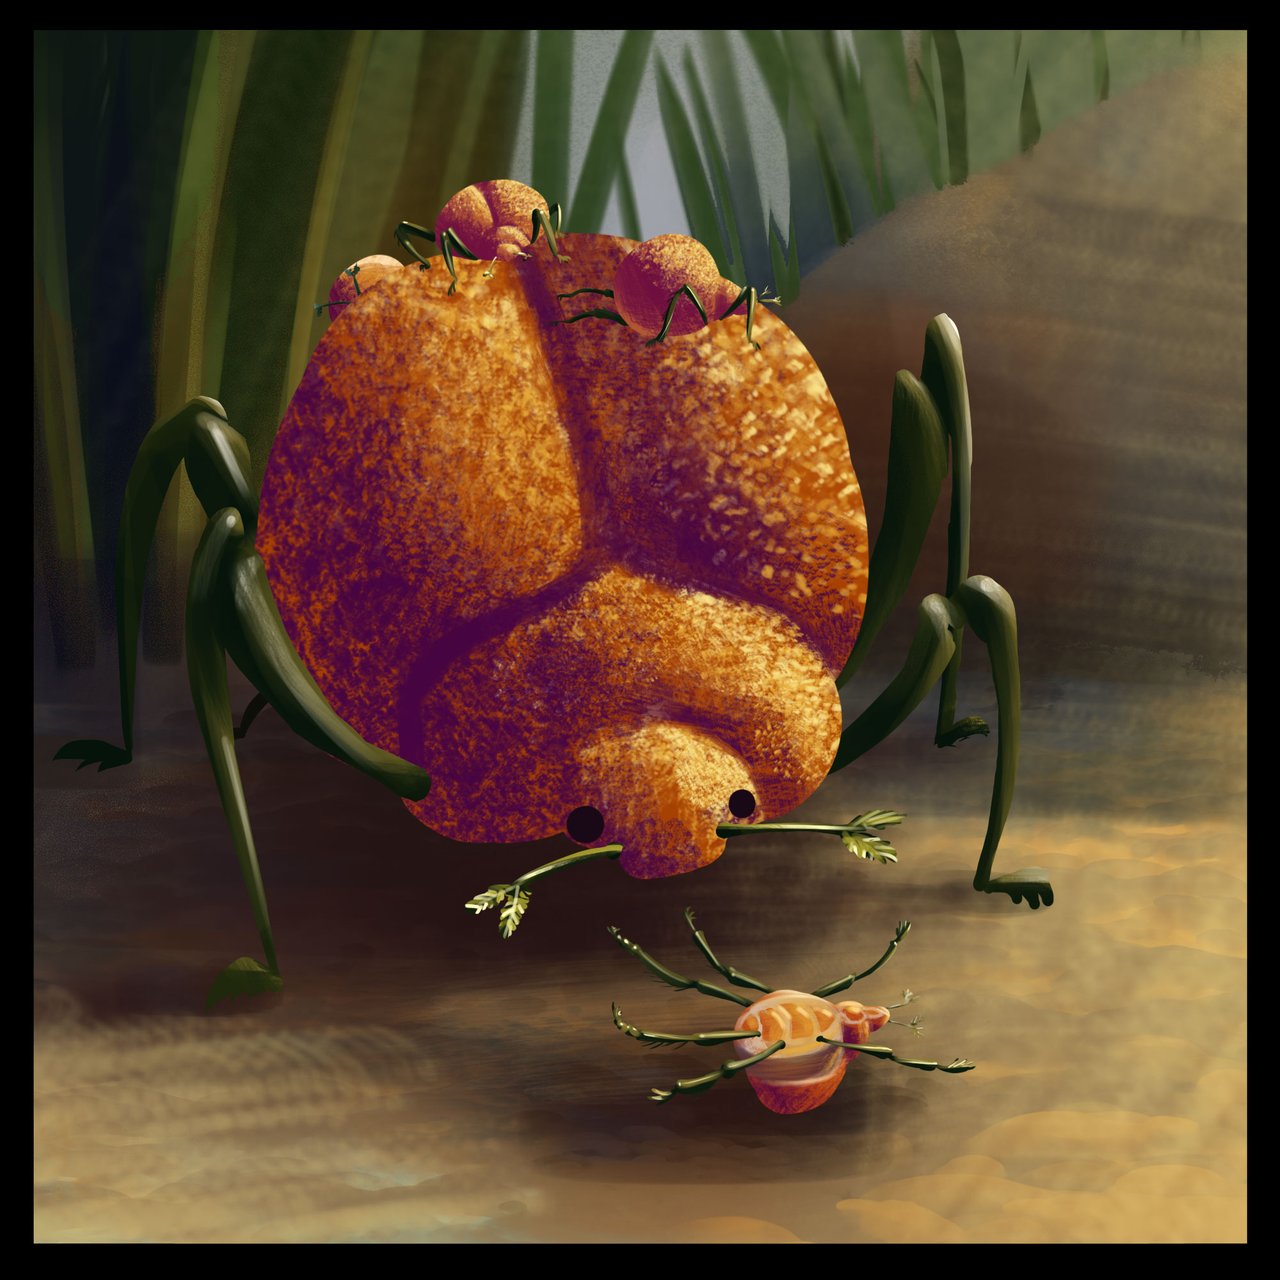
Highlights!
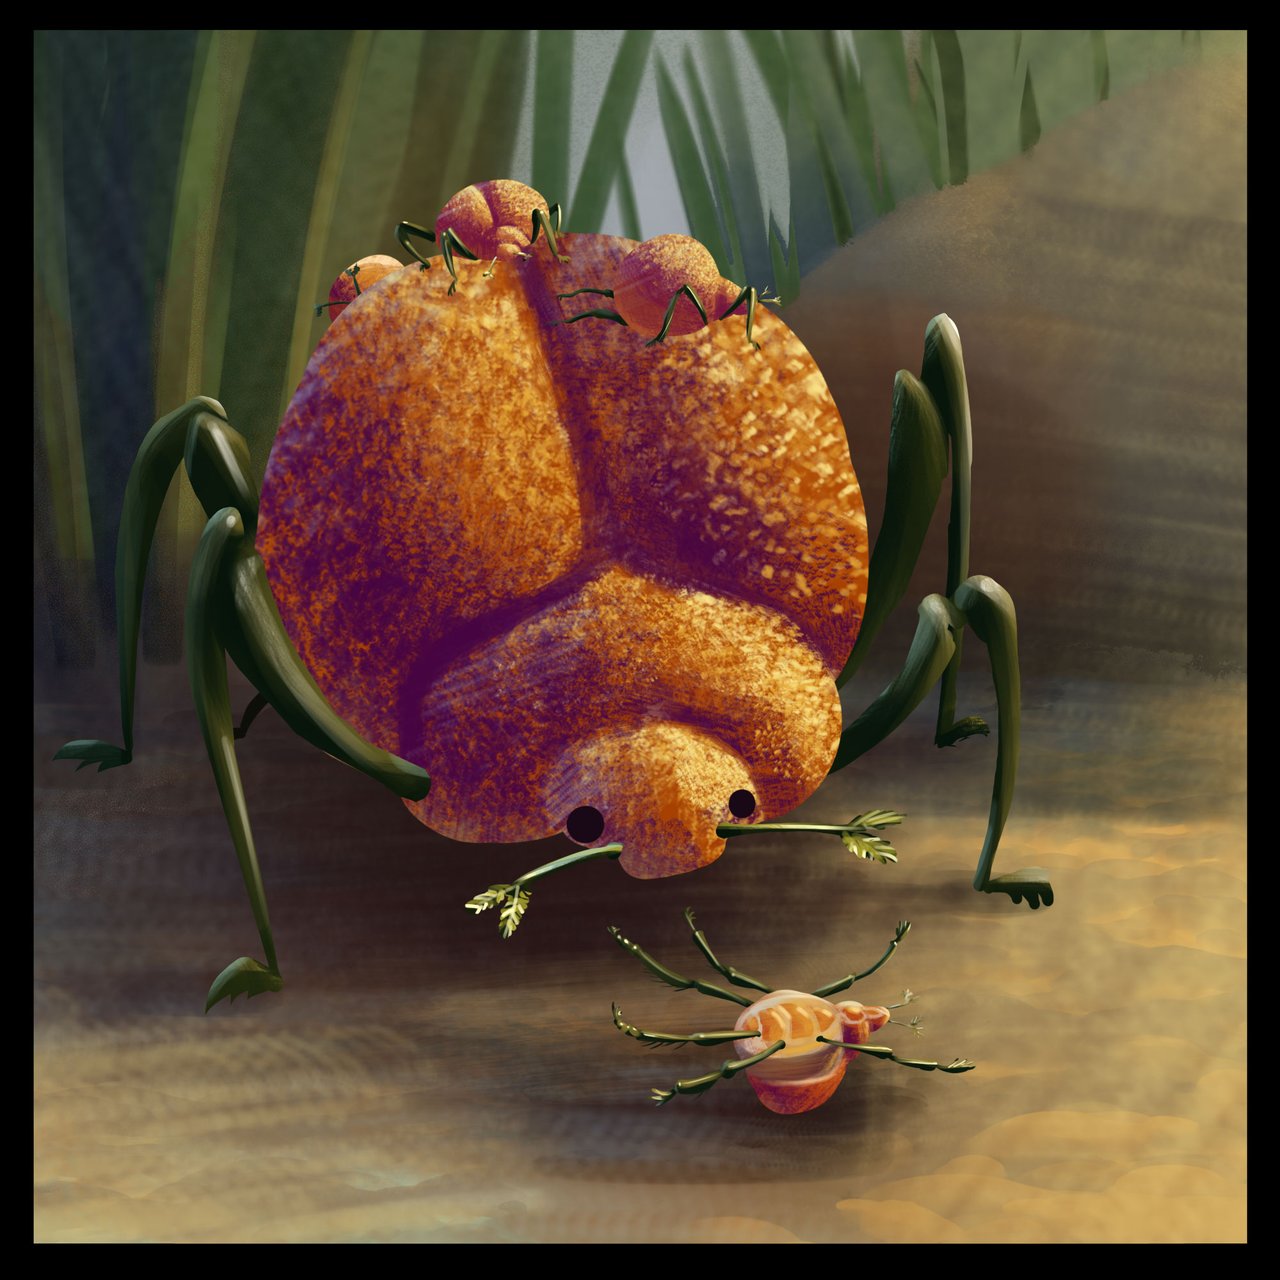
Bounced Light
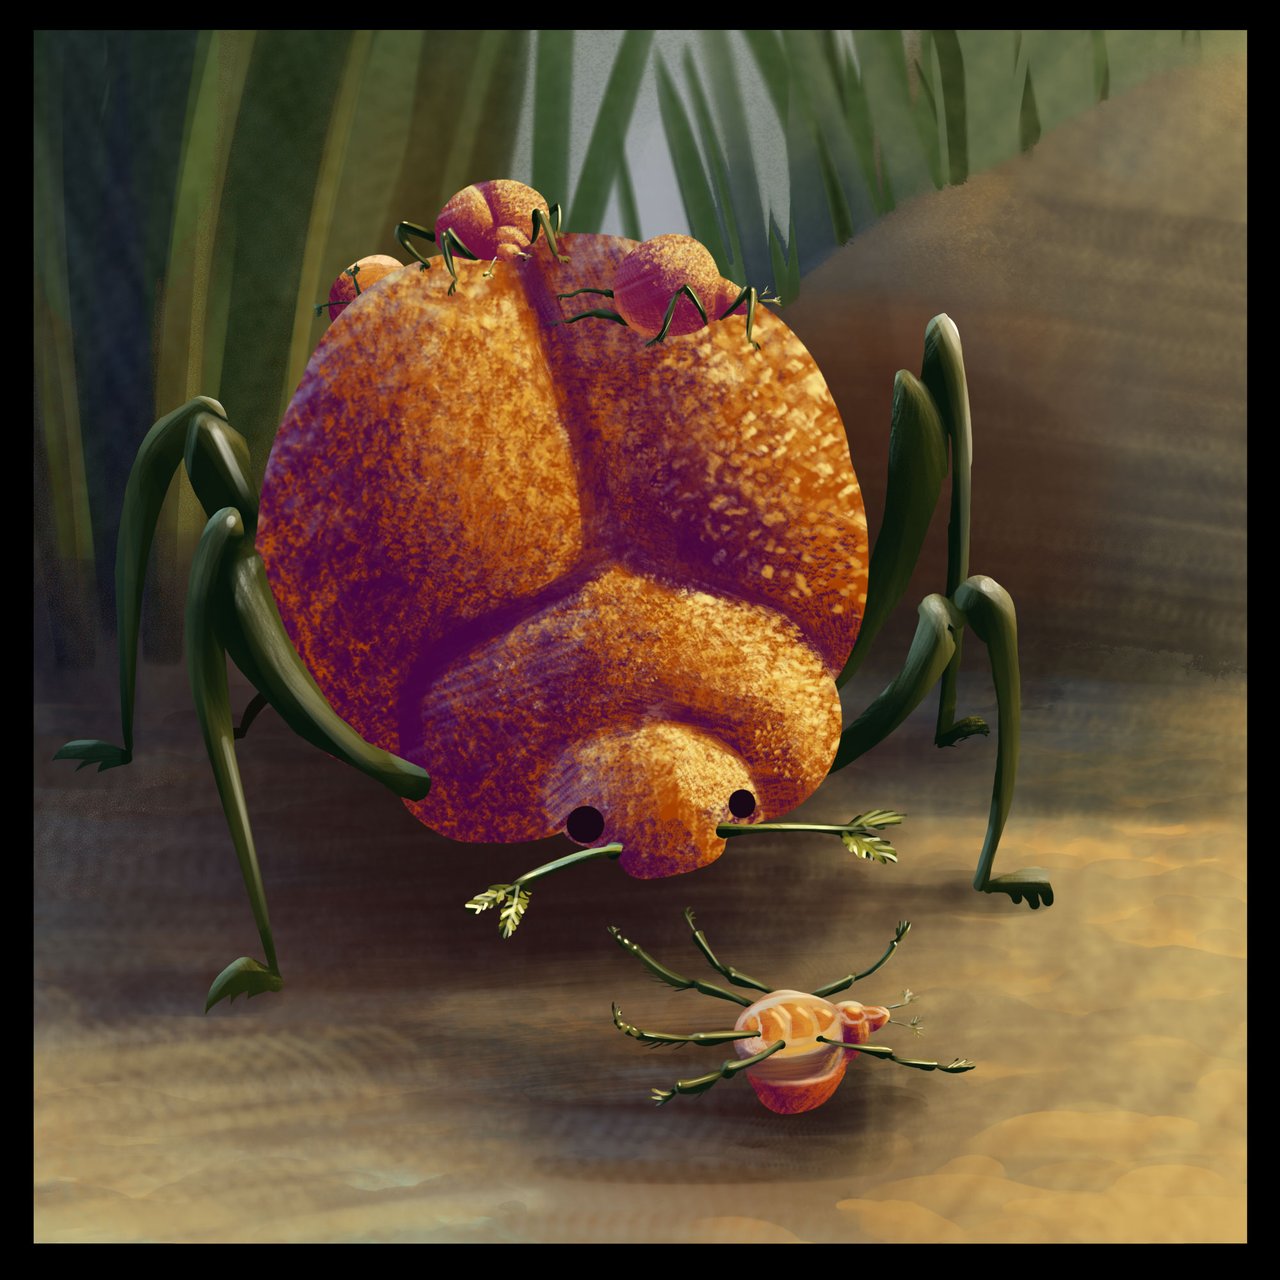
Skylight
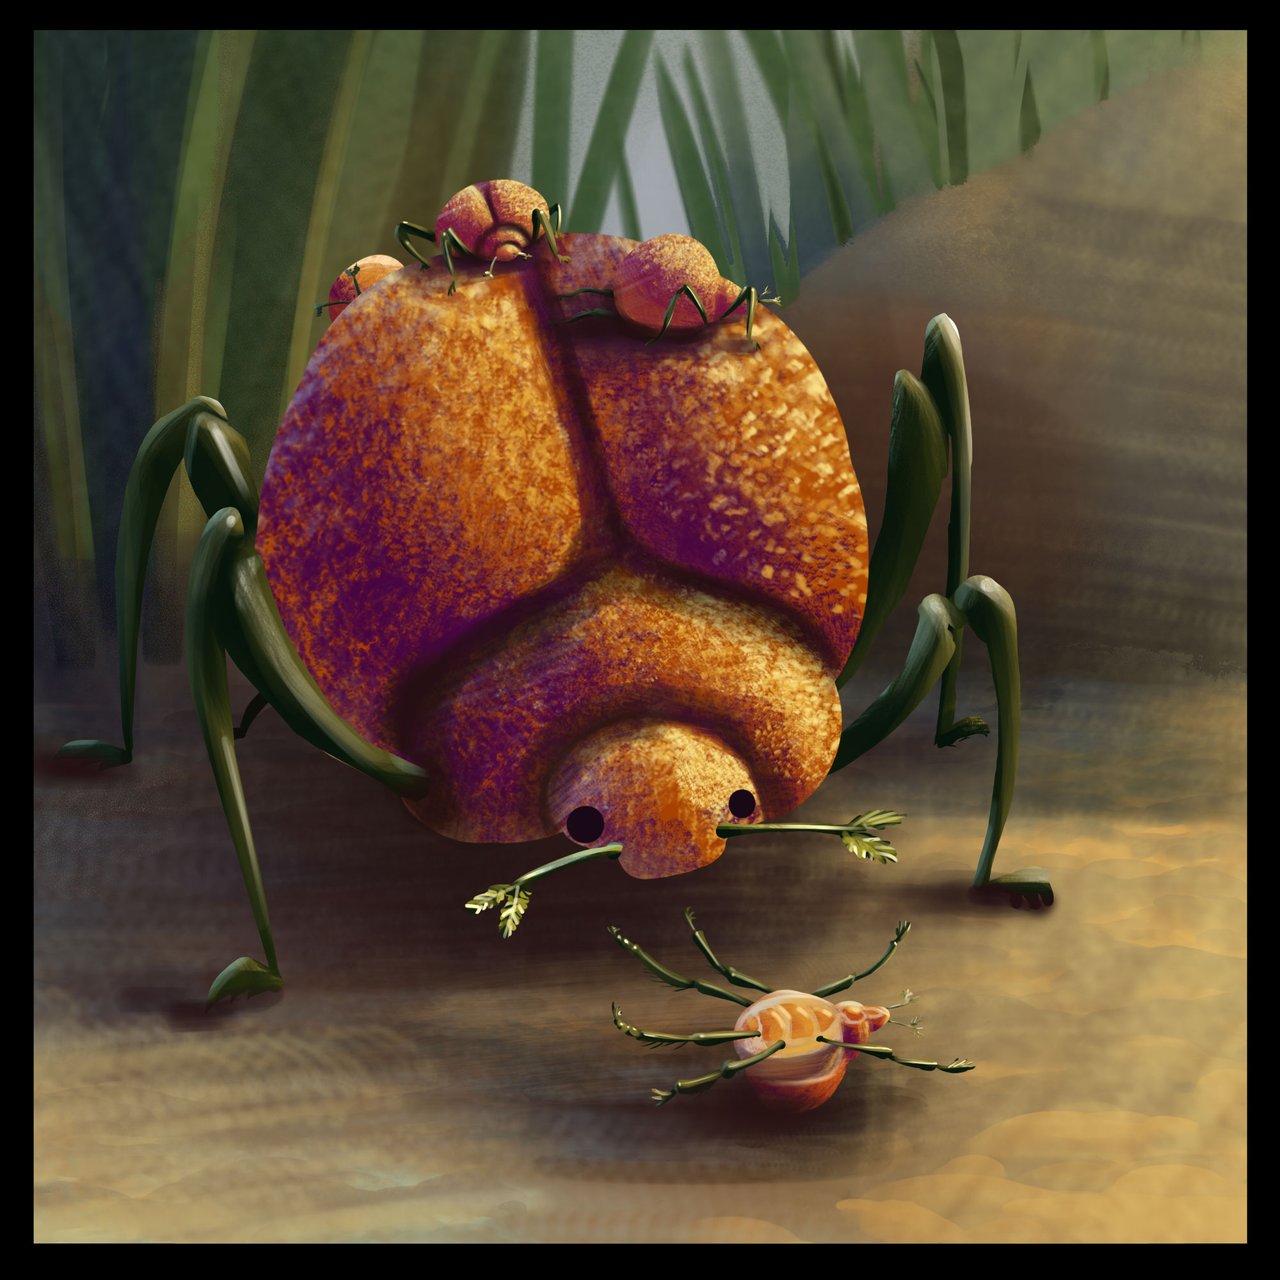
Occlusion
Yes, it's totally strange. I can't help but try to see the orange but I see beetle and if I don't focus on the eyes of the bug I see orange. The image as a whole needs a bit more nursing though. It's too sharp everywhere so we need to soften things up to lose some of the detail.
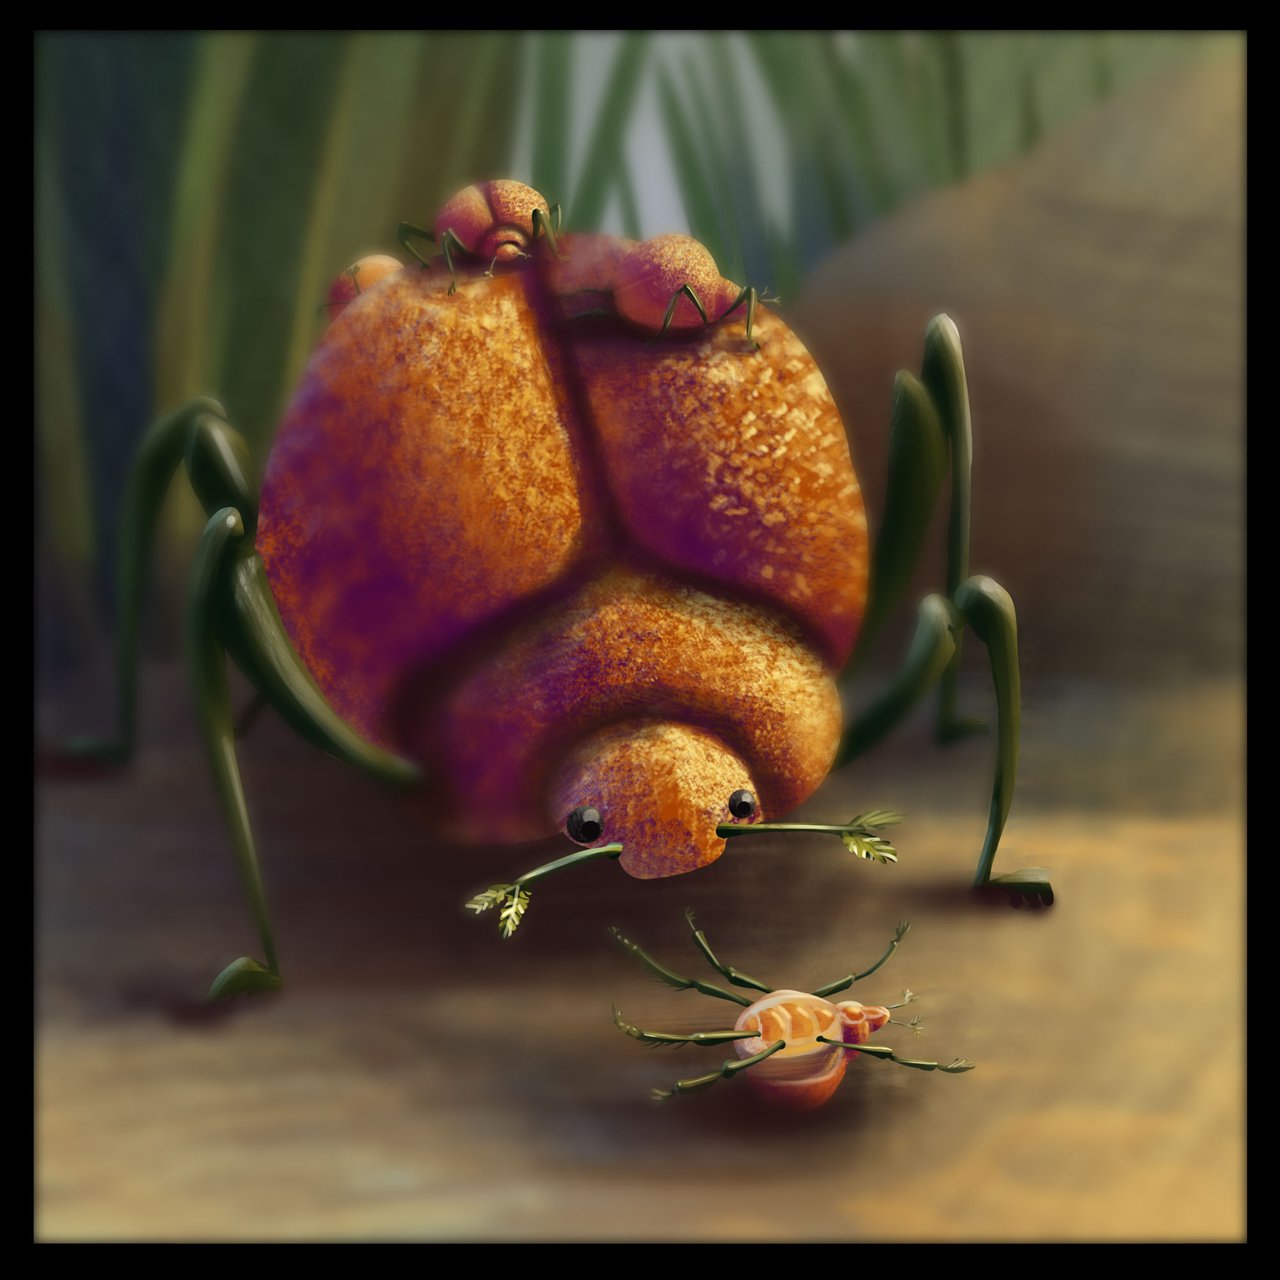
Softening edges
I've tried to keep the sharp areas in the story here. It's about the mommy bug and the baby bug so I'm trying to keep the sharp edges as a leading line down that moment.
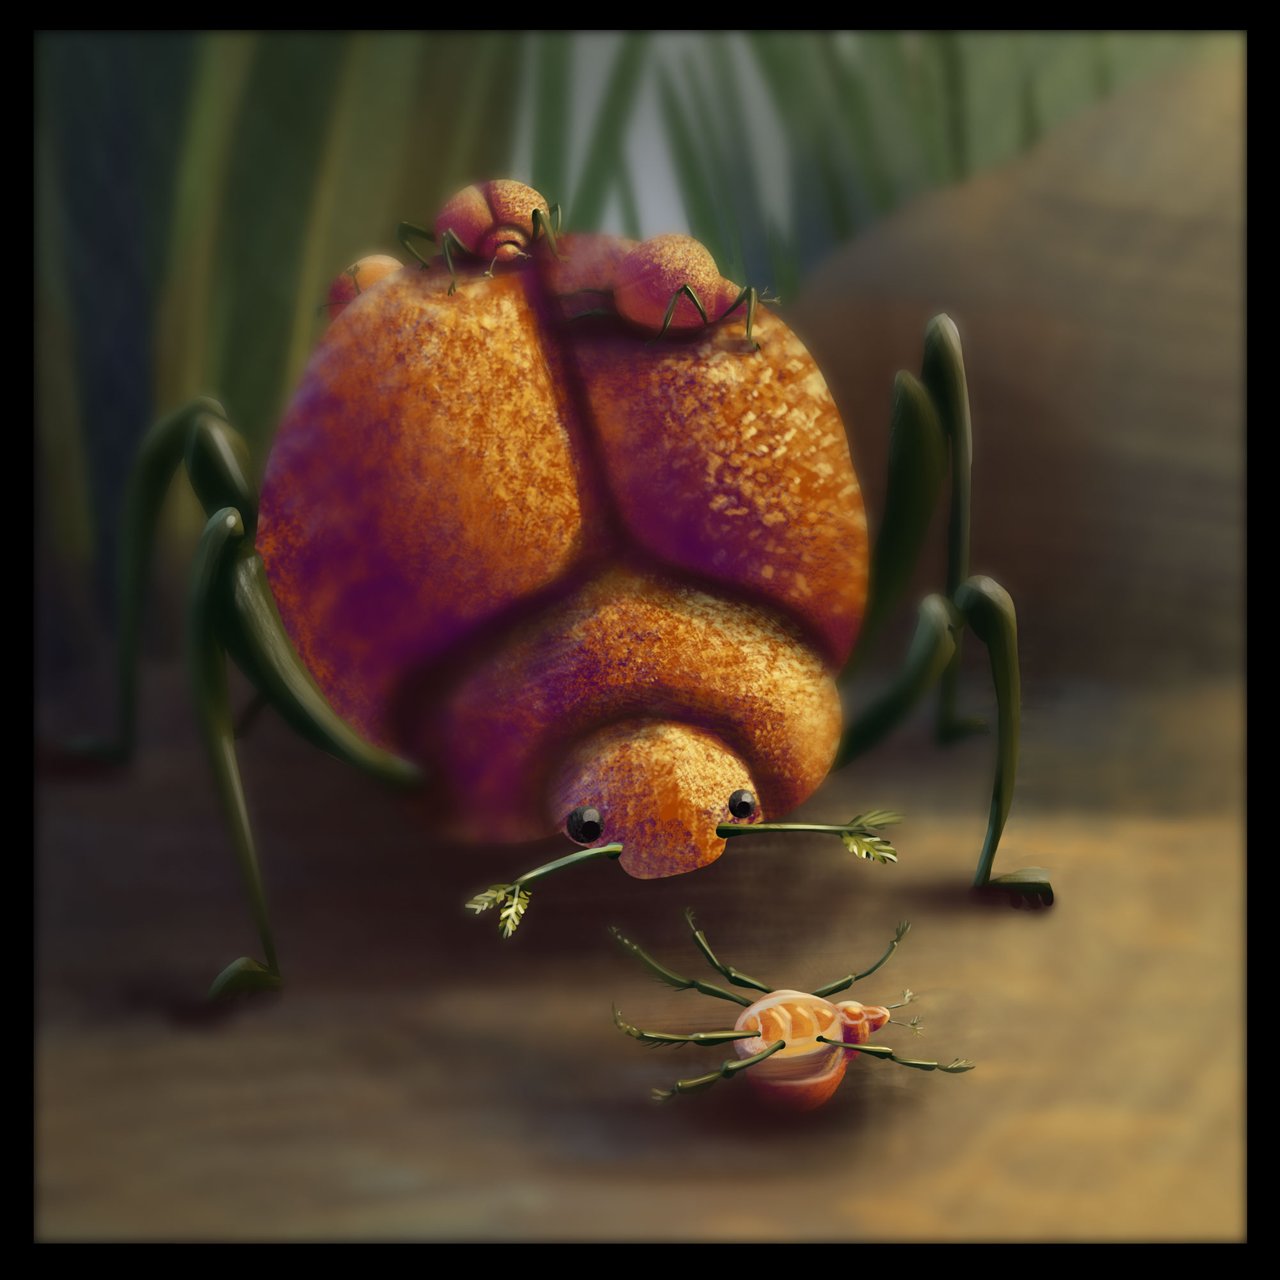
Something I did differently here was I decided to kind of spotlight the moment by creating a little bit of a vignette around the edges. I felt like everything was very bright and it was sort of distracting from the story so I used a soft air brush to darken up around the outside edges.

Areas of Focus and losing edges
A little more of that pushing and pulling and I think we're there!
I really appreciate you sticking it out for another round of paintings. We're finished up with orange now and if you've followed along, we're getting pretty good at this! We can do shiny things, matte things, furry things, and now bumpy shiny things. Not only that, we've learned how to manipulate 4 colors now in a painterly and fun way! We're going to keep going a bit further with color studies but I think we're getting very close to you being able to set off on your own and start to choose your own subject to study.
If you follow this recipe you will be able to build up your visual library super quickly and your ability to paint just about anything will start to feel... easy. Don't get me wrong, the challenge never goes away, but having a system to learn will give you the confidence to take on anything that comes up in your painting journey!
If you want to go over how I made some of these color choices in this study you'll find a basic primer here.
If you'd like to get started with color studies we've got yellow, green, blue and orange now ready to go!
Yellow Bananas
Green Tomatoes
Blue Buddies
Oranges!
If you need help getting started drawing, I highly recommend you head over to @jorgevandeperre's blog and start following along his lesson plans. @jorgevandeperre has over 60+ posts now to get started!
Thanks a ton, see you soon!
