
We finally have these little buggers cooped up in a nice big area safe and sound. I am sure they are so much happier now that they've got some space stretch their legs. We finished the pen on Sunday, and things are still going swimmingly!
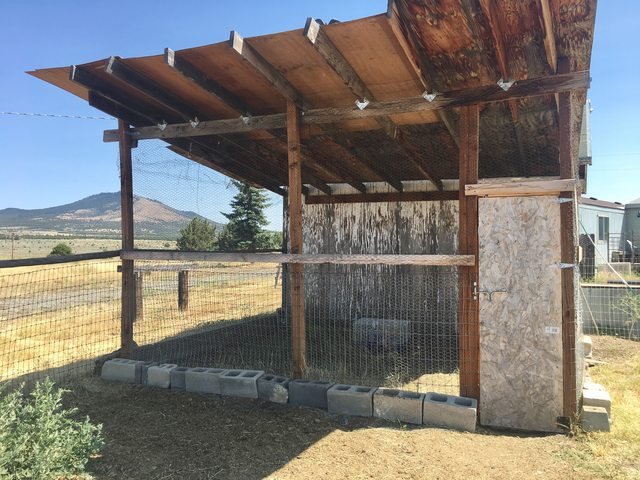
This is the only animal shelter that the property came with. It's a little wonky, but all the best things are, right? Right.
In any case, we needed to do a bit of patching up in order to get this space done up right for the quail!
Tasks
- Plywood on roof
- Chicken wire over the fencing on the bottom portion and covering any sort of holes possible.
- This included between the rafters! No sneaky gaps! In my opinion, it's always best to be a little overkill on protection factors! I'd rather be safe than sorry!
- Chicken wire skirting around bottom of the pen.
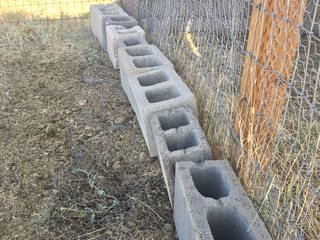
- Lay rocks at base of fence to keep down skirting.
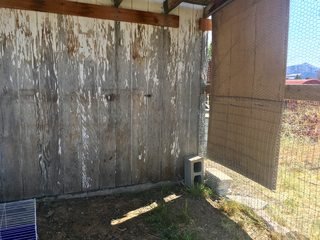
- Fix door hinges.
- Fix gal under door.
- Locking mechanism.
- Make sure you don't get locked in or out of this during the whole process. Haha
- Create shaded area for afternoons.
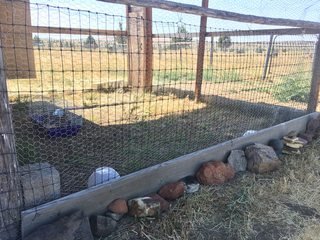
In the first picture you can see that there is two sets of fencing (maybe you can? Anyway, there is.). The 2x4inch holed fencing was already there, but since the quail can fit through those holes, we decided to stick chicken wire in on the inside so that they wont be able to get through. Had temporary thoughts of putting it on the outside, but then decided not to because I was worried they'd get stuck in between or something. We didn't want to remove the original fencing because it creates extra strength for the enclosure, that and it would have been just more work! Haha.
Put up a board for shade in the afternoons, mighty sunny out here. Decided it would be best to create a skirting around the bottom of the pen with the chicken wire to deter digging predators (digging it down wasn't an option) and put cinderblocks and other rocks on top. We used whatever scrap wire we had around to be sure and close up any holes around the structure, like between the rafters. I had a pic of that... but I guess I lost it, oh well, not that exciting! lol
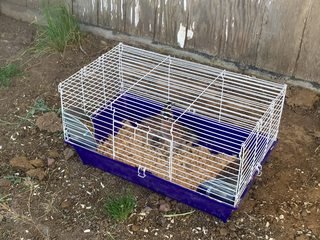
In the last pic there, we kept the quail in their cage for the rest of the day so that they could get used to the area. In the evening we released them into their pen!
It never seems like that much work until you start. See, it's summer here in Central Oregon and we are often dealing with 95+ degree weather (F). So we get hot and cranky way too fast! But, the pen is completed! They seem happy in their new area. I got one egg from them on Sunday, but hadn't gotten another egg until yesterday. So now I have three or four eggs for the incubator!
I am thankful to have had this structure already available to use and modify into a quail pen. It would have been much more expensive and way more work to have to build one from scratch. We only had to buy one roll of chicken wire, and that ran us about $40.
Check out my most recent Steemit Posts.
- #FollowFriday
- One Month Steem-a-versary! 400 Followers! (nearly)
- On Getting Caught Up in Drama
- Super Simple Tacos [Recipe]
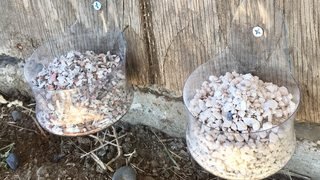
- Your Chickens NEED Grit! [DIY Dispenser]
- Your Hens NEED Oyster Shells!
Blog Series
- Nature on the Farmstead - These posts will be educational and informative about the nature that happens on my farmstead. Look forward to posts about wild animals, birds, wildflowers and plants, insects, and more!

Photos by me using my iPhone 6s, unless stated otherwise!


Badges by @daddykirbs and @allforthegood!