Пришло время поговорить о технологии HDR.
Её суть заключается в сшивании нескольких фото в одно. Для этого вначале необходимо сделать эти несколько кадров. Мы имеет желание сделать красивый снимок против солнца или другого яркого источника света. Таким источником может быть белый снег в солнечную погоду или даже само небо, когда другие объекты имеют недостаточную освещённость. Очень широкий диапазон освещённости (от яркого до тёмного) не позволяет камере сохранить детали на снимке одновременно в светлых и тёмных областях кадра. (динамический диапазон).
It's time to talk about HDR technology.
Its essence lies in stitching several photos into one. To do this, you first need to take these few shots. We have a desire to take a beautiful picture against the sun or other bright light source. Such a source can be white snow in sunny weather, or even the sky itself, when other objects have insufficient illumination. A very wide range of illumination (from bright to dark) does not allow the camera to preserve the details in the picture at the same time in the light and dark areas of the frame. (dynamic range).
In this case, you can take several pictures (usually three are enough, maybe more), which will differ in the camera settings. What are these settings?
В этом случае можно сделать несколько снимков (обычно достаточно трёх, возможно и больше), которые будут отличаться настройками камеры. Каковы эти настройки?
Желательно иметь штатив, но достаточно принять стабильную устойчивую позу и при производстве снимков не перемещать камеру. Например, запомнить деталь в одном из углов фото и каждый раз следить за еёё положением в одном и том же месте.
Далее, вы должны выставить желаемую глубину резкости открывая или закрывая диафрагму. В дальнейшем мы её не трогаем. Это константа для всей серии. Значение ISO желательно иметь в пределах 100-250 для избежания шума матрицы и зернистости.
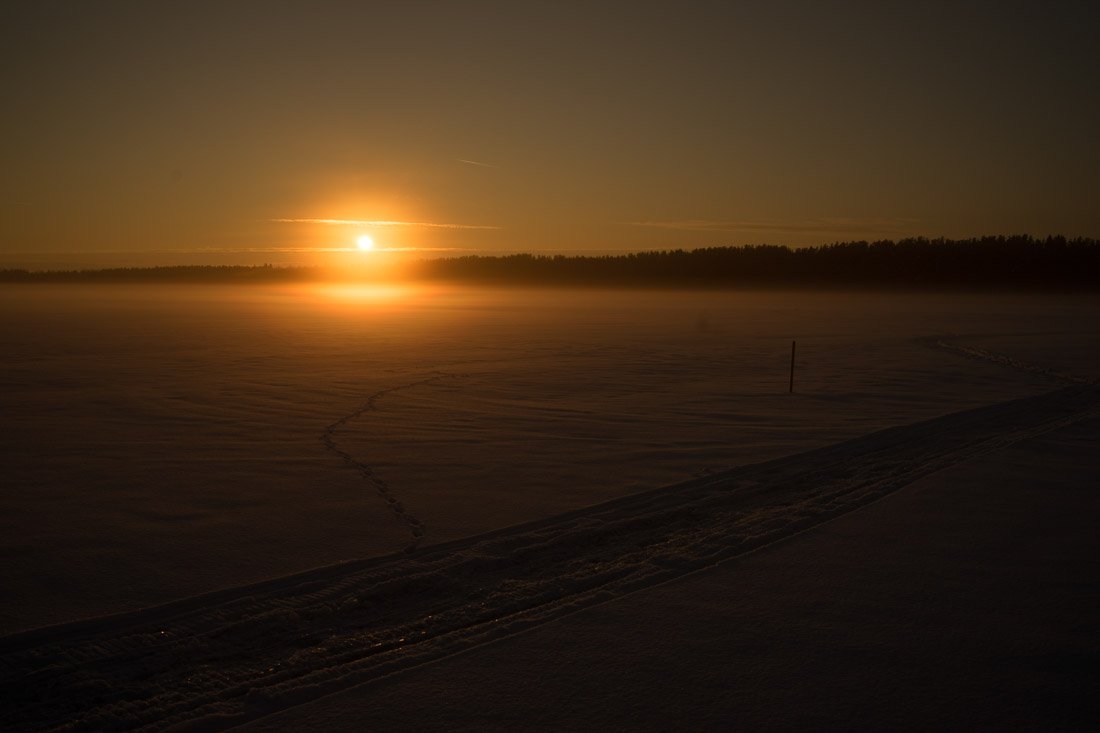
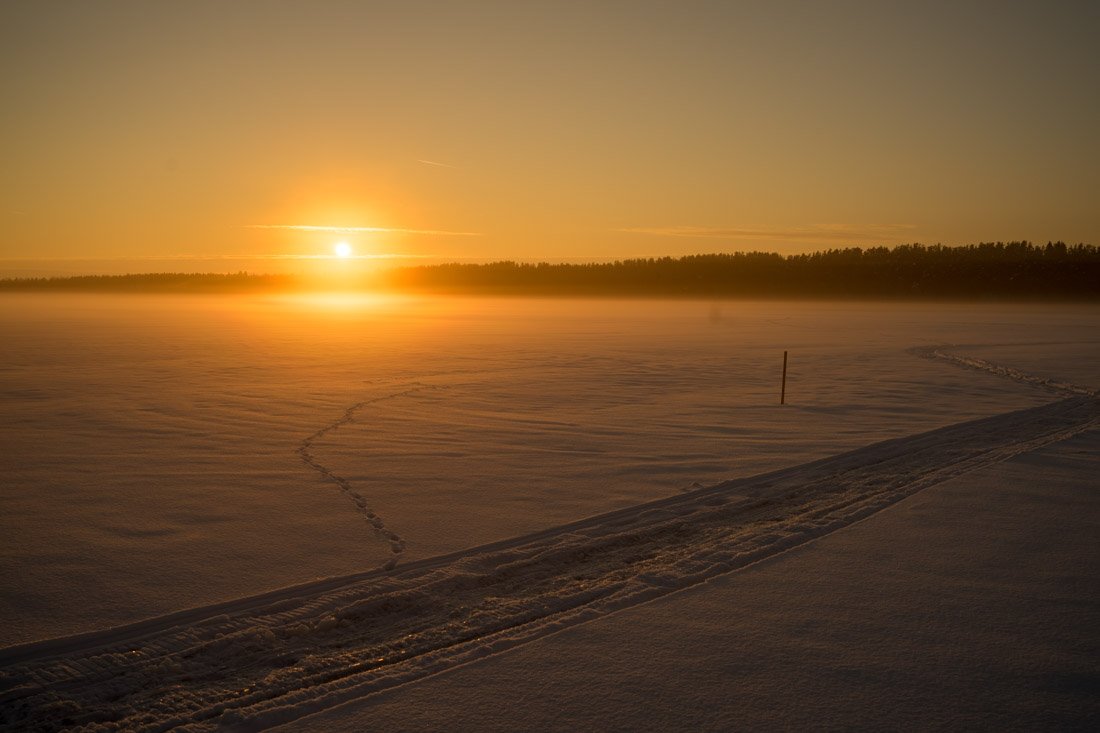
Далее вы настраиваете камеру таким образом, чтобы были видны детали в яркой области фотографии. Это удобно сделать с помощью значения выдержки. Делая её короткой, мы затемняем кадр. Затемнять его следует до такой степени, пока детали в тенях не начнут пропадать. Делаем снимок. Это первое фото.
It is advisable to have a tripod, but it is enough to take a stable, stable posture and not move the camera when taking pictures. For example, remember the detail in one of the corners of the photo and each time follow its position in the same place.
Next, you must set the desired depth of field by opening or closing the aperture. In the future, we do not touch it. This is a constant for the entire series. It is desirable to have an ISO value in the range of 100-250 to avoid matrix noise and graininess.
Next, you set up your camera so that you can see details in the bright area of the photo. This is conveniently done using the exposure value. By making it short, we darken the frame. It should be darkened to such an extent until the details in the shadows begin to disappear. We take a picture. This is the first photo.
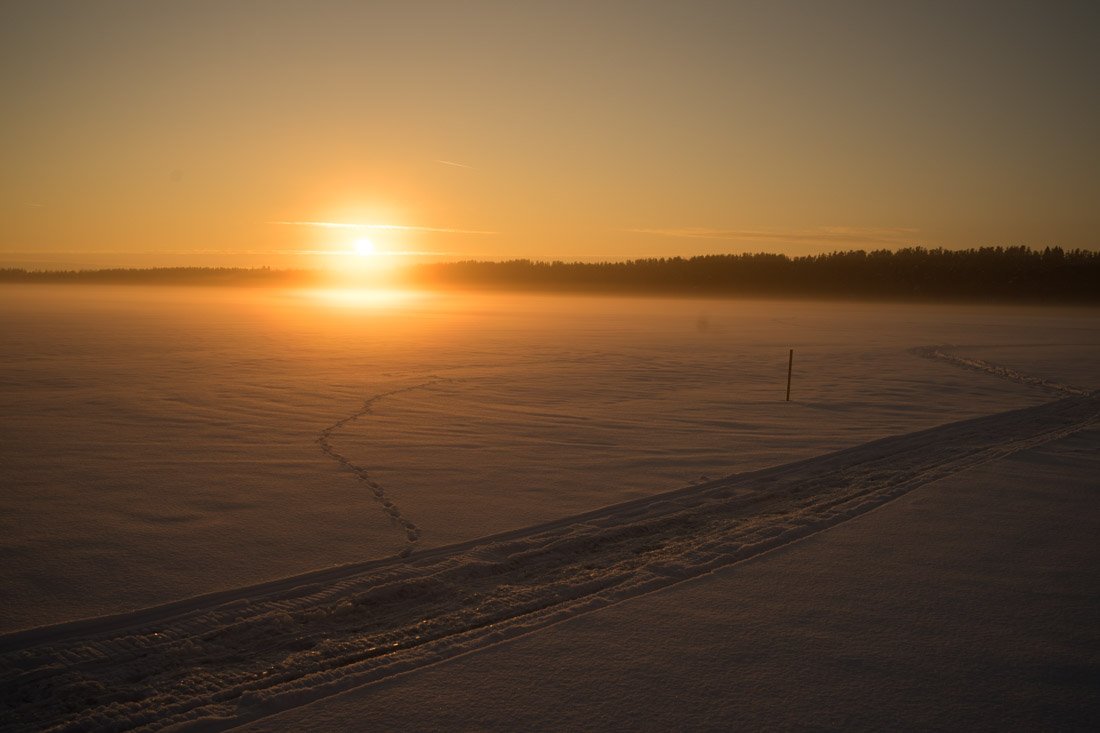
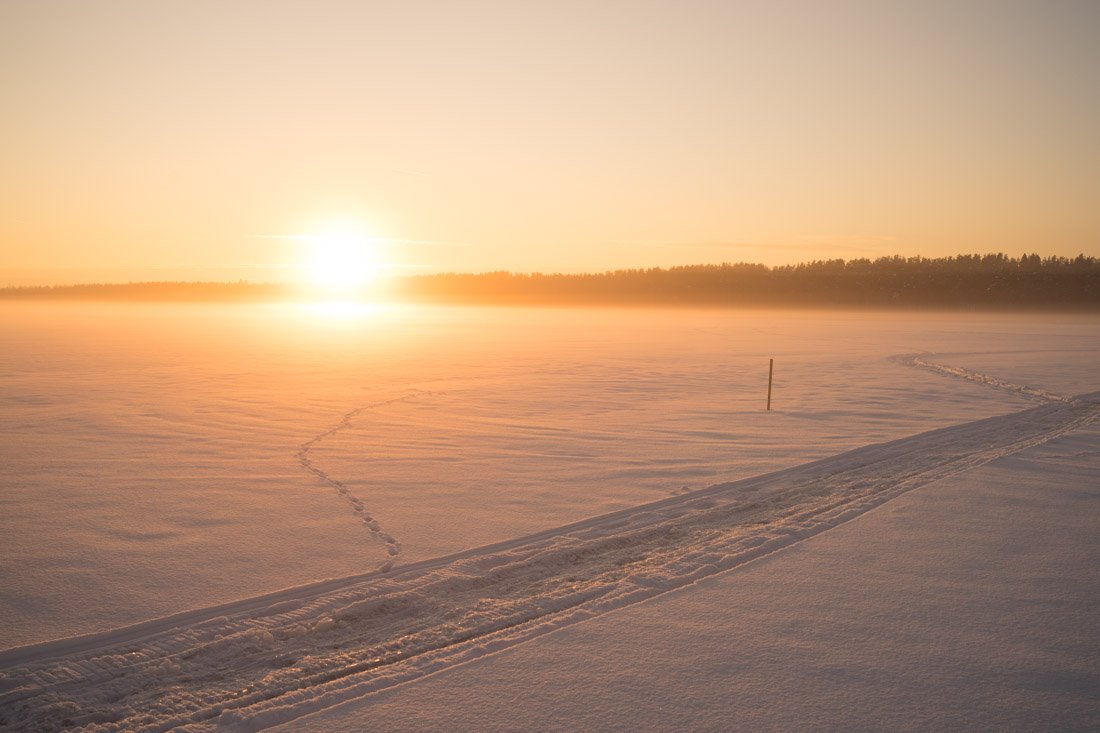
Without changing the position of the camera, turn the shutter speed wheel by 2-3 stops and take the second picture. Once again we turn the wheel a couple of stops and lengthen the shutter speed even more. And so on until the details in the shadows are clearly visible. Thus, we get a series of identical shots with different shutter speeds.
You can move and vice versa from long exposures to short exposures.
Не меняя положения камеры крутим колёсико выдержки на 2-3 стопа и делаем второй снимок. Ещё раз крутим колёсико на пару стопов и удлиняем выдержку ещё больше. И так до тех пор, пока детали в тенях будут отчётливо видны. Таким образом мы получаем серию одинаковых снимков с разной выдержкой.
Можно двигаться и наоборот от длинных выдержек к коротким.
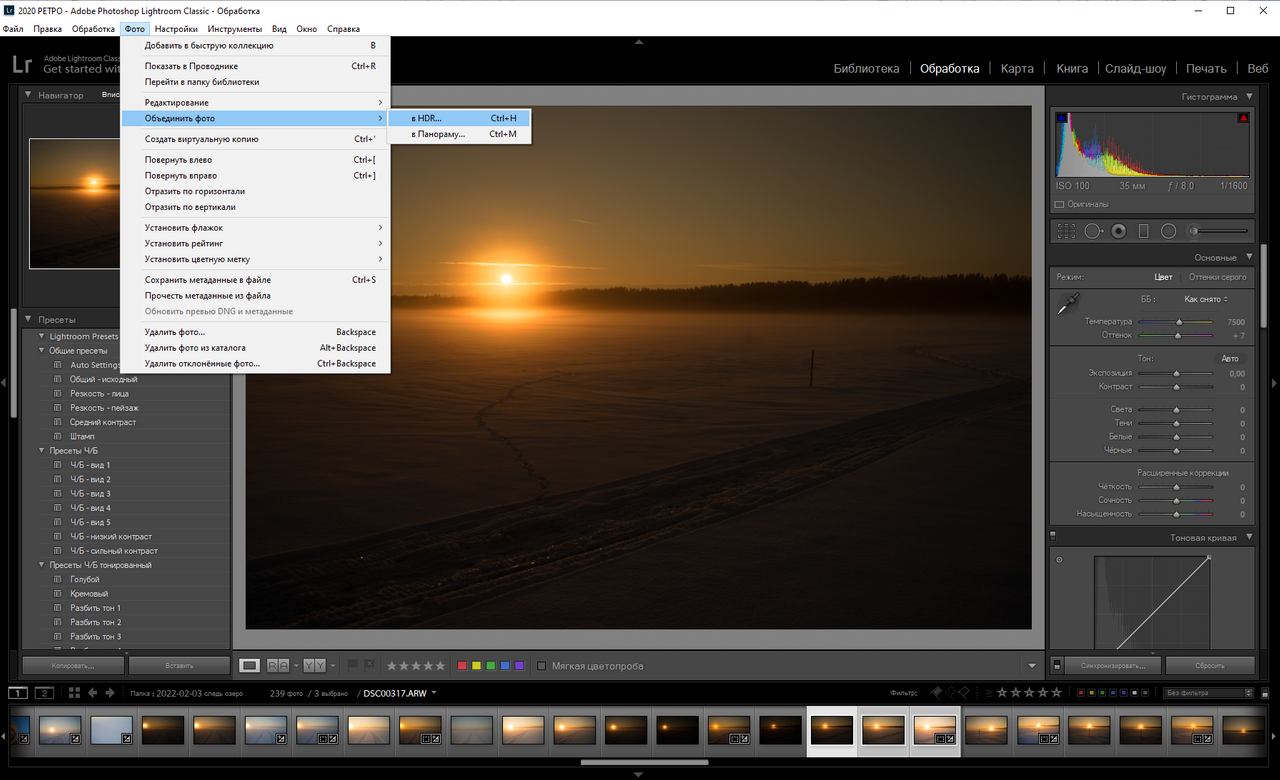
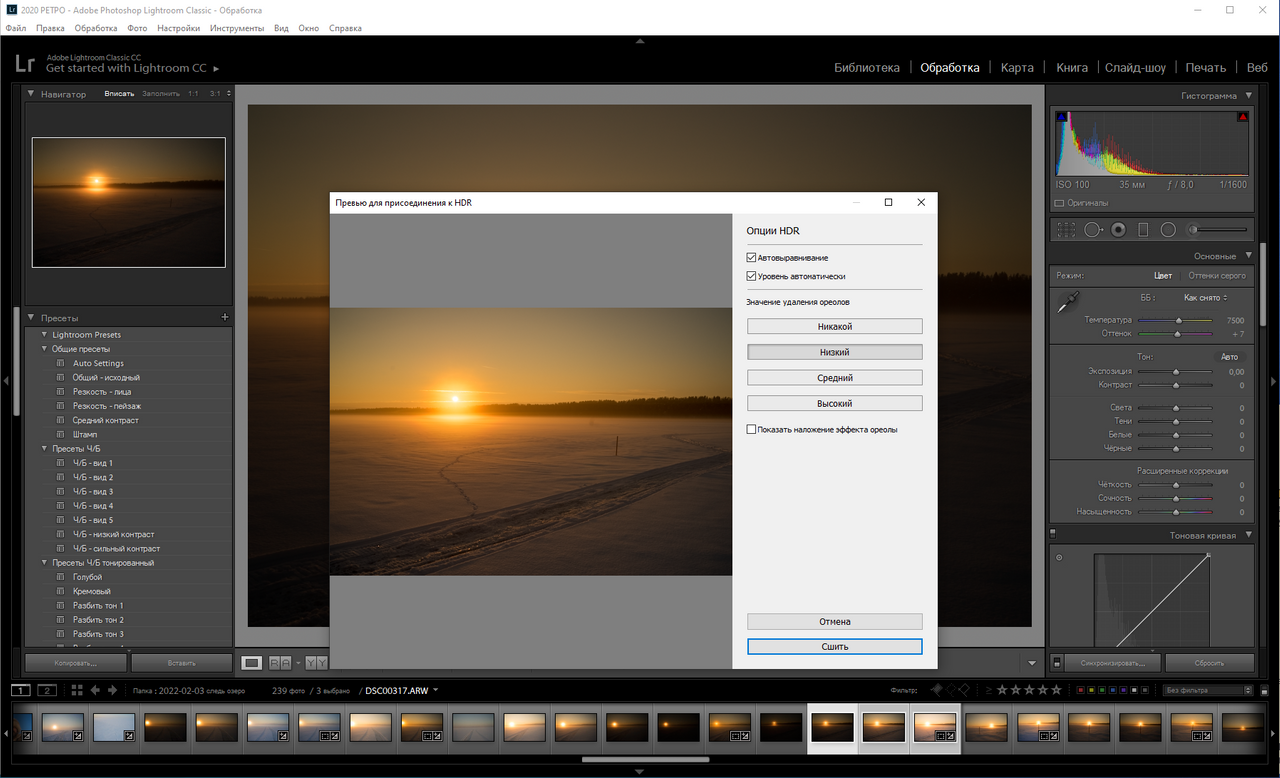
So, here are the original photos without processing. Here we have 3 photos. We select them in the Lightroom program (or in some other), open the tabs: photo-combine photo-HDR.
Итак, вот исходные фото без обработки. Здесь имеем 3 фото. Выделяем их в программе Лайтрум (или в какой-то другой), открываем вкладки: фото-объединить фото- HDR.
The program makes a preview of the result and if everything suits us, we press the "sew" button.
Программа делает превью результата и если нас всё устраивает, нажимаем кнопку "сшить".
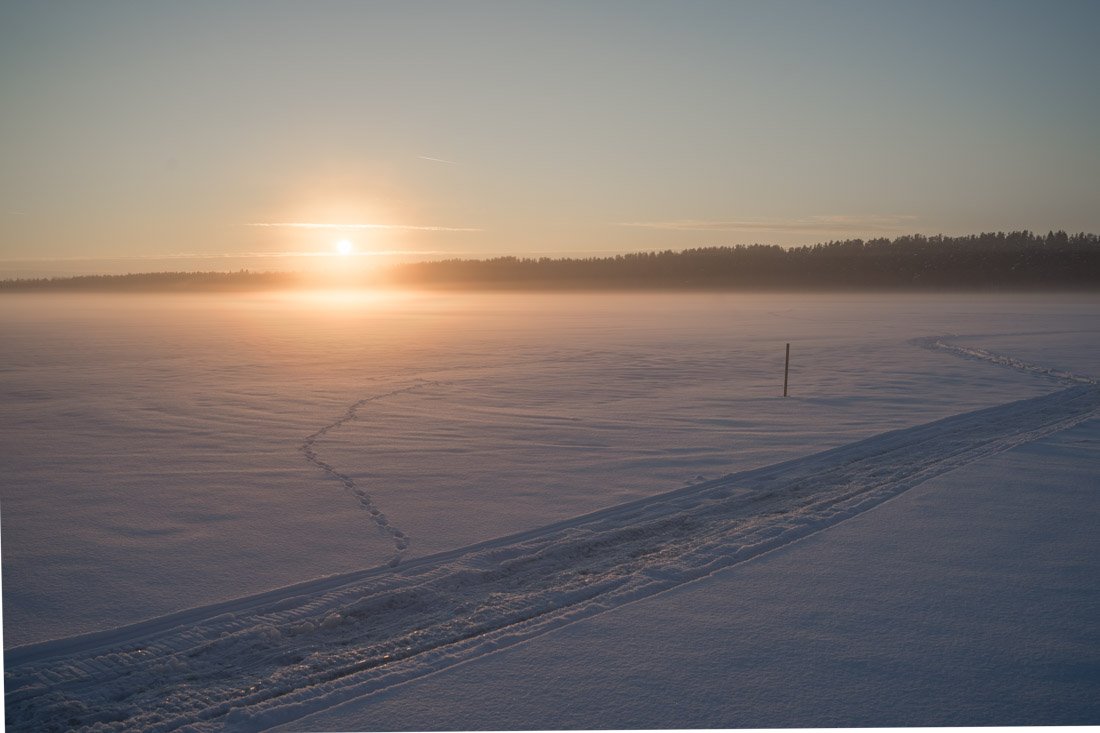
As a result, we get such a photo.
There are no overexposures and black areas without details. Further processing allows you to get any desired result, since all data is in RAW format. For example like this.
Здесь нет пересветов и чёрных областей без деталей. Дальнейшая обработка позволяет получить любой желаемый результат, поскольку все данные находятся в формате RAW. Например такой.
In any case, you have a suitable starting material.
В любом случае у вас подходящий начальный материал.

Previous materials:
Basic photo editing for beginners
Manual camera settings: exposure
Applying a polar coordinate filter
Basic photo editing for beginners - Photo against the sun
Basic photo editing for beginners - Panorama
100% SP (manual translation to SP)
#club100

The time has come to build our own steem power
| ▽ | ▽ |
|---|---|
| Camera | Sony A7М2 |
| Lens | Samyang 35 1,4 |
| Location | Russia |
| Post-production | in LR |
Manual processing in Lightroom
From Russia with Love


SUBSCRIBE Here to join WORLD OF XPILAR Community
Regards, @bambuka