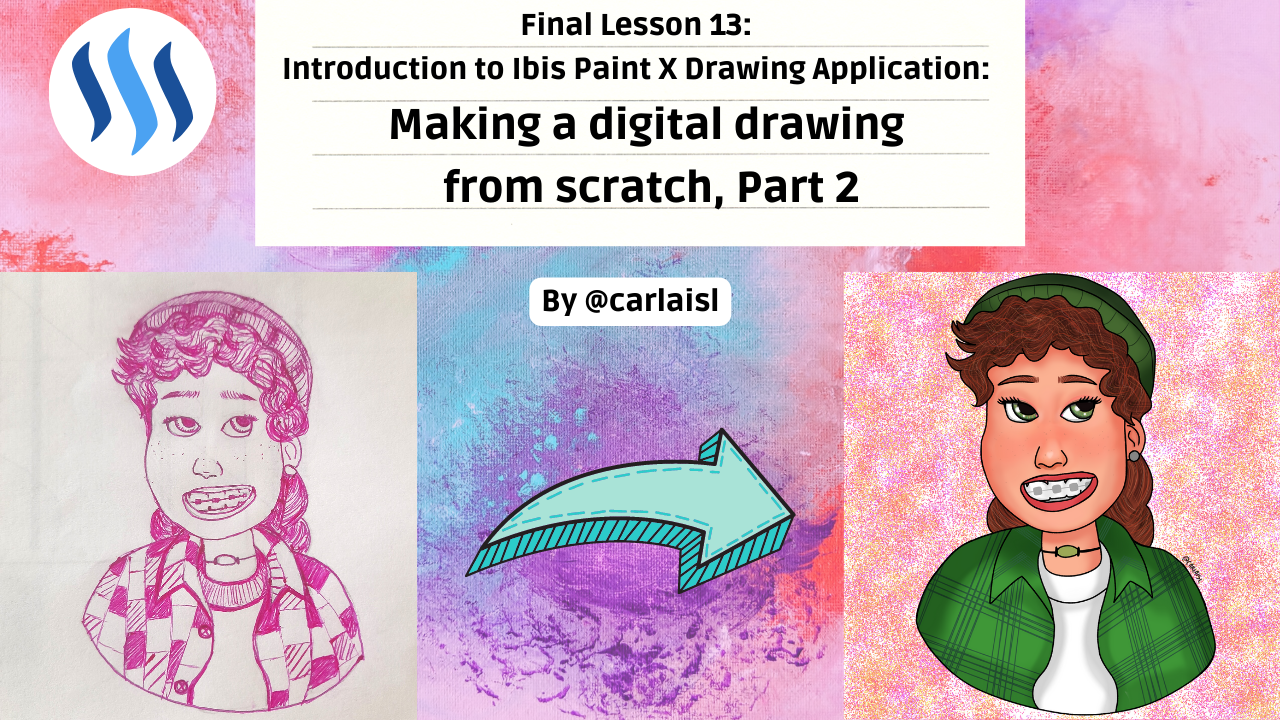
Greetings my dear friends of Steem Kids. 💜🎨
I am pleased to present to you my final post in the community as a Digital Drawing Tutor. Through my drawing lessons, I will be teaching and guiding you in the wonderful world of colors, based on everything I have learned self-taught. I hope you like my work and that you learn a lot!

Are you new to drawing or already experienced? My dear student, you can still participate in this lesson and learn more every day, because “You don't need to be an expert to be a great artist” – Rui Torres.
Today I present to you my final lesson, related to the Ibis Paint X Drawing Application, which I will be using for the lessons and will be the main protagonist of them. You can download it through the following link: Ibis PaintX
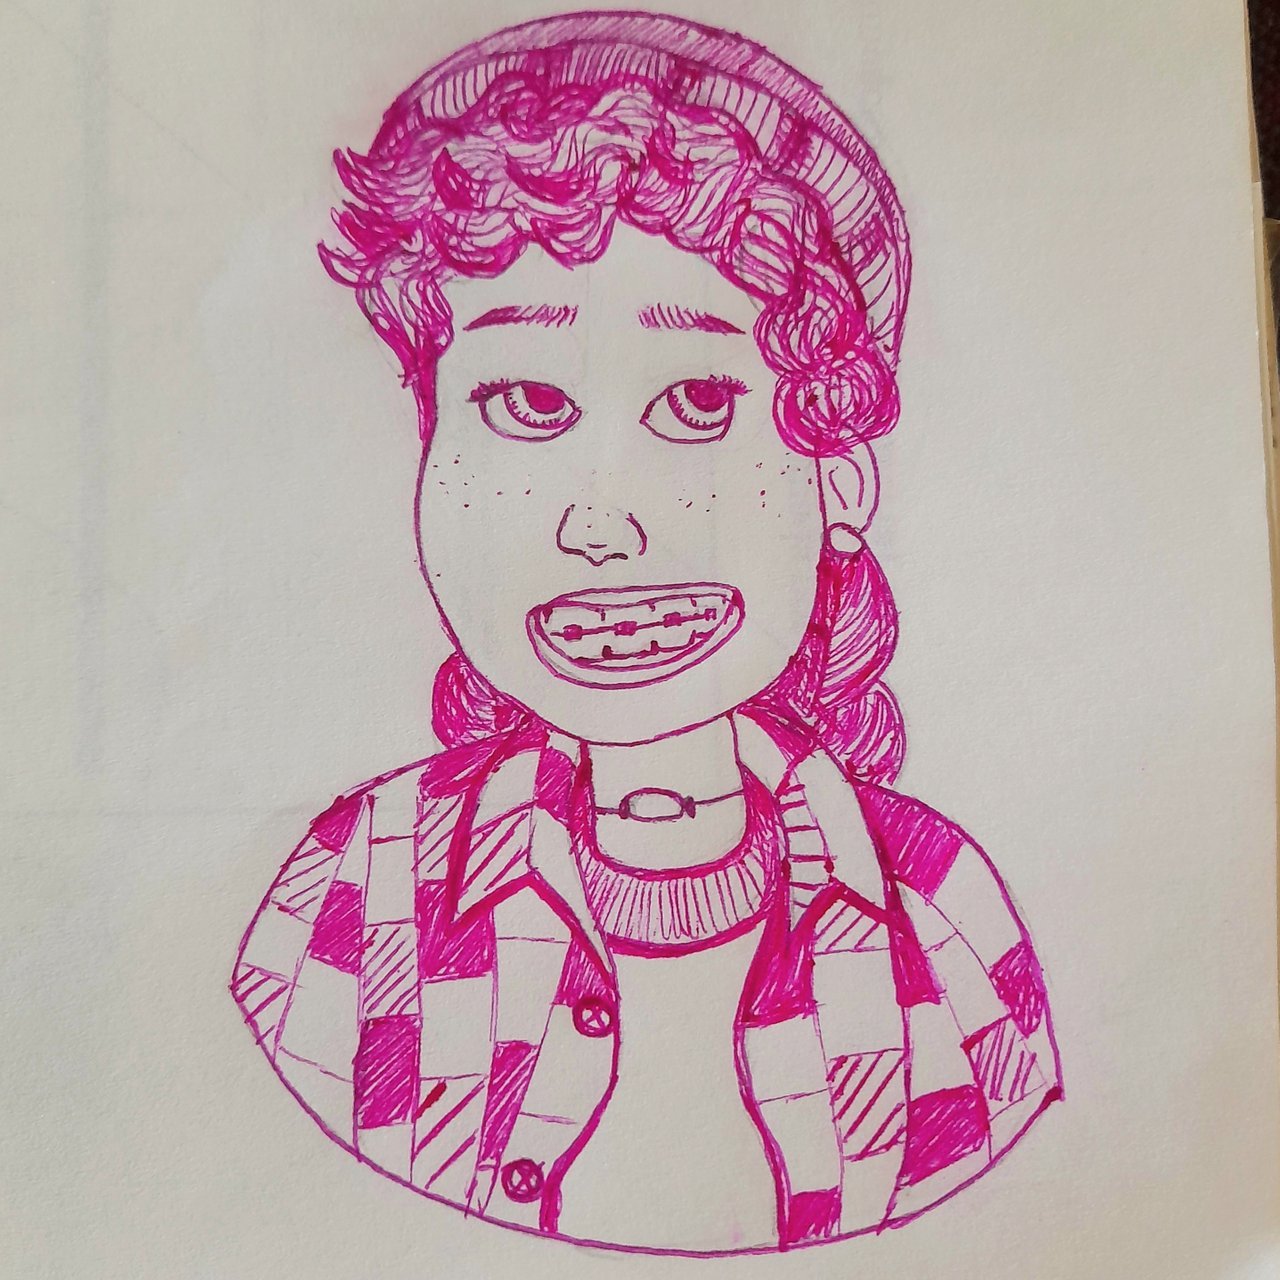
In the previous class, I showed you step by step how to draw Miriam by hand, a cute character from the Disney movie "Turning Red".
In this lesson, we are going to digitize the aforementioned drawing with our beloved Ibis Paint X application.
Considerations:
* To make the Drawing I will be using the "Maru Soft Blurred" brush but you can use the ones you like the most.
* Each step by step I am going to work on different layers to have greater control and ease when working.
* When the shadows are drawn I am going to lower the opacity of the layer to taste, so that they are not too dark.
* I use a 1:1 square size canvas
Step by Step of Digitization
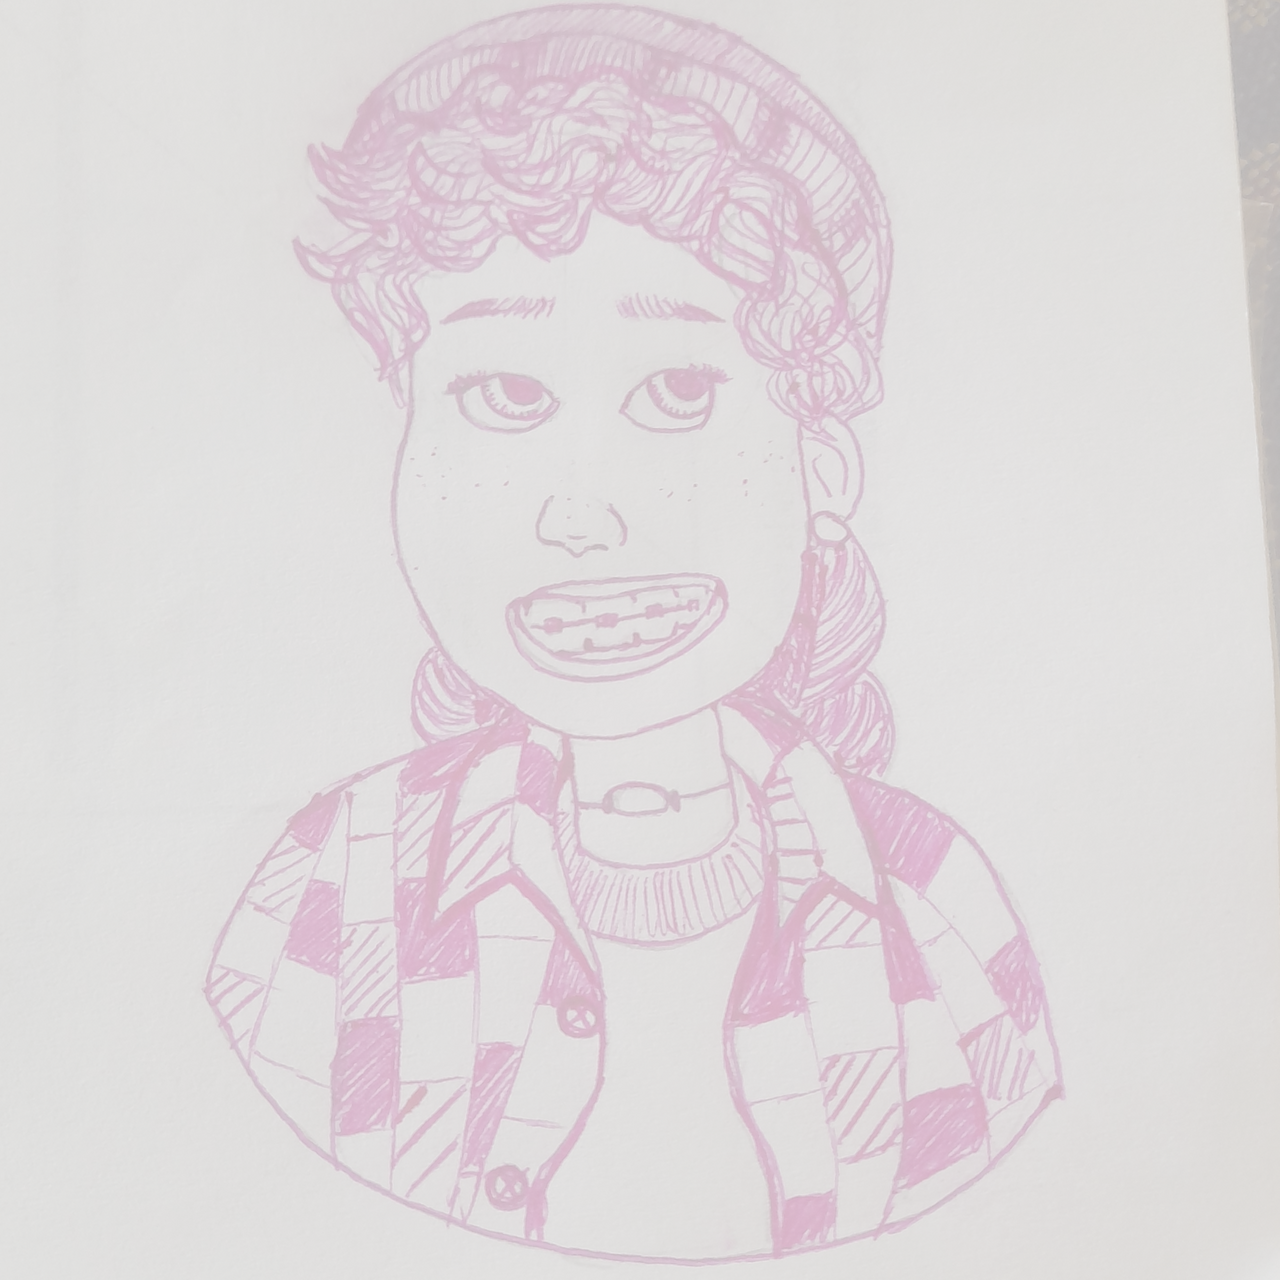
1. In a layer we attach the drawing by hand and lower its opacity, with the bar explained in previous lessons.
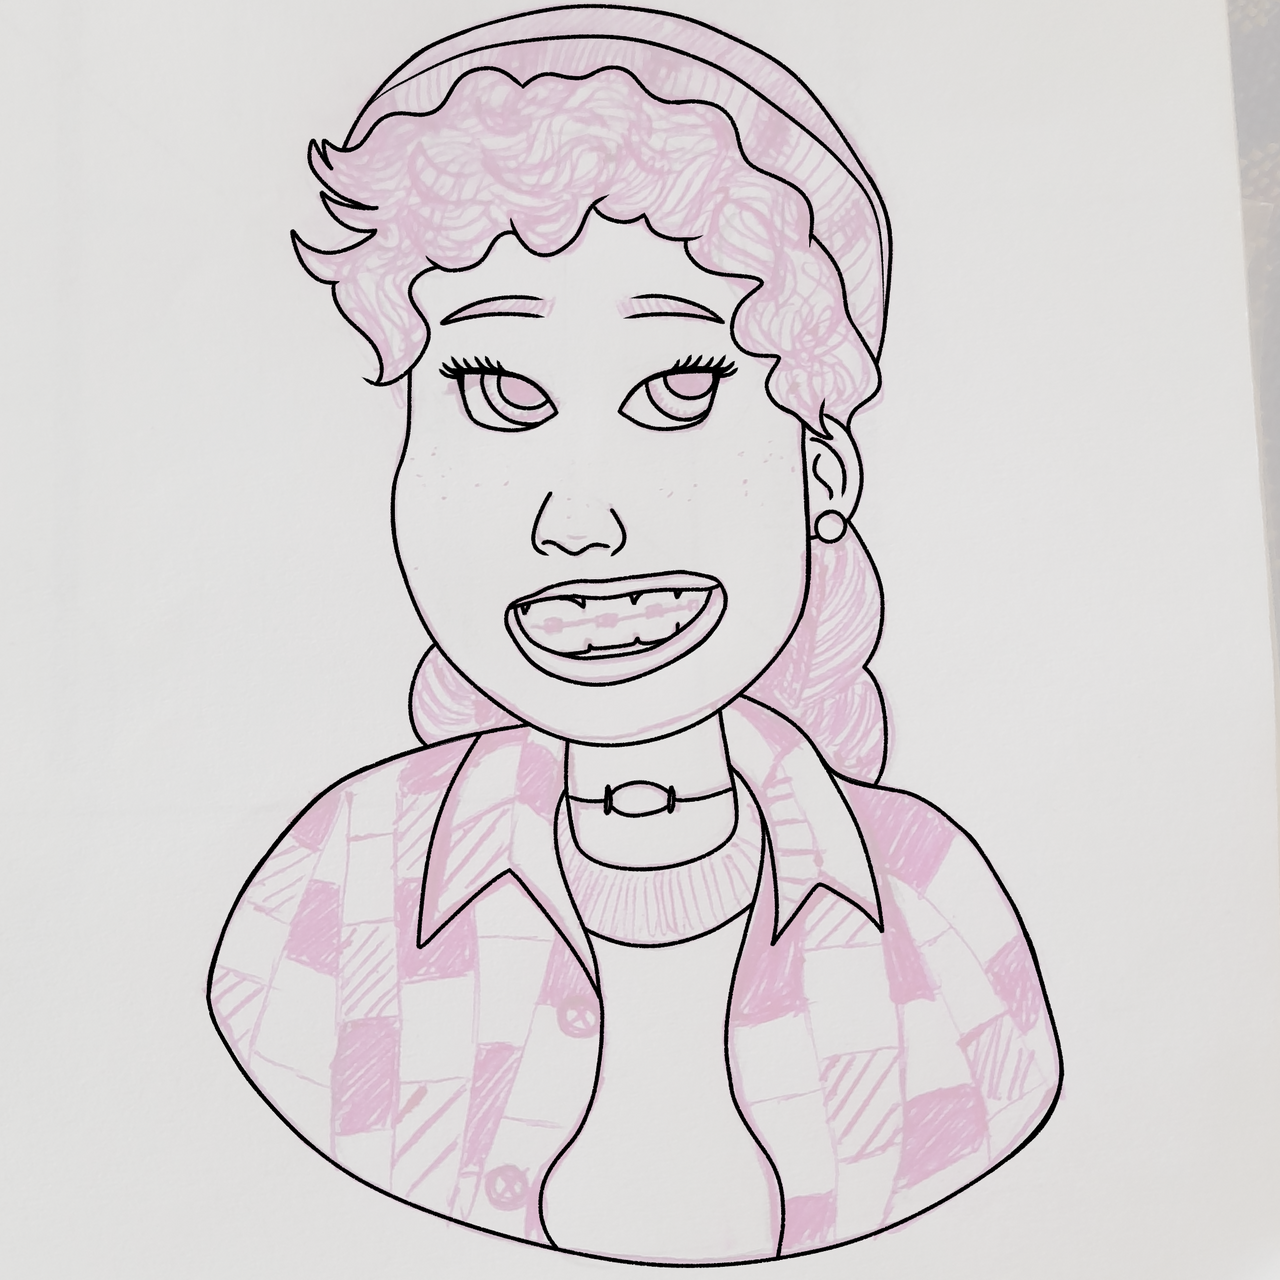
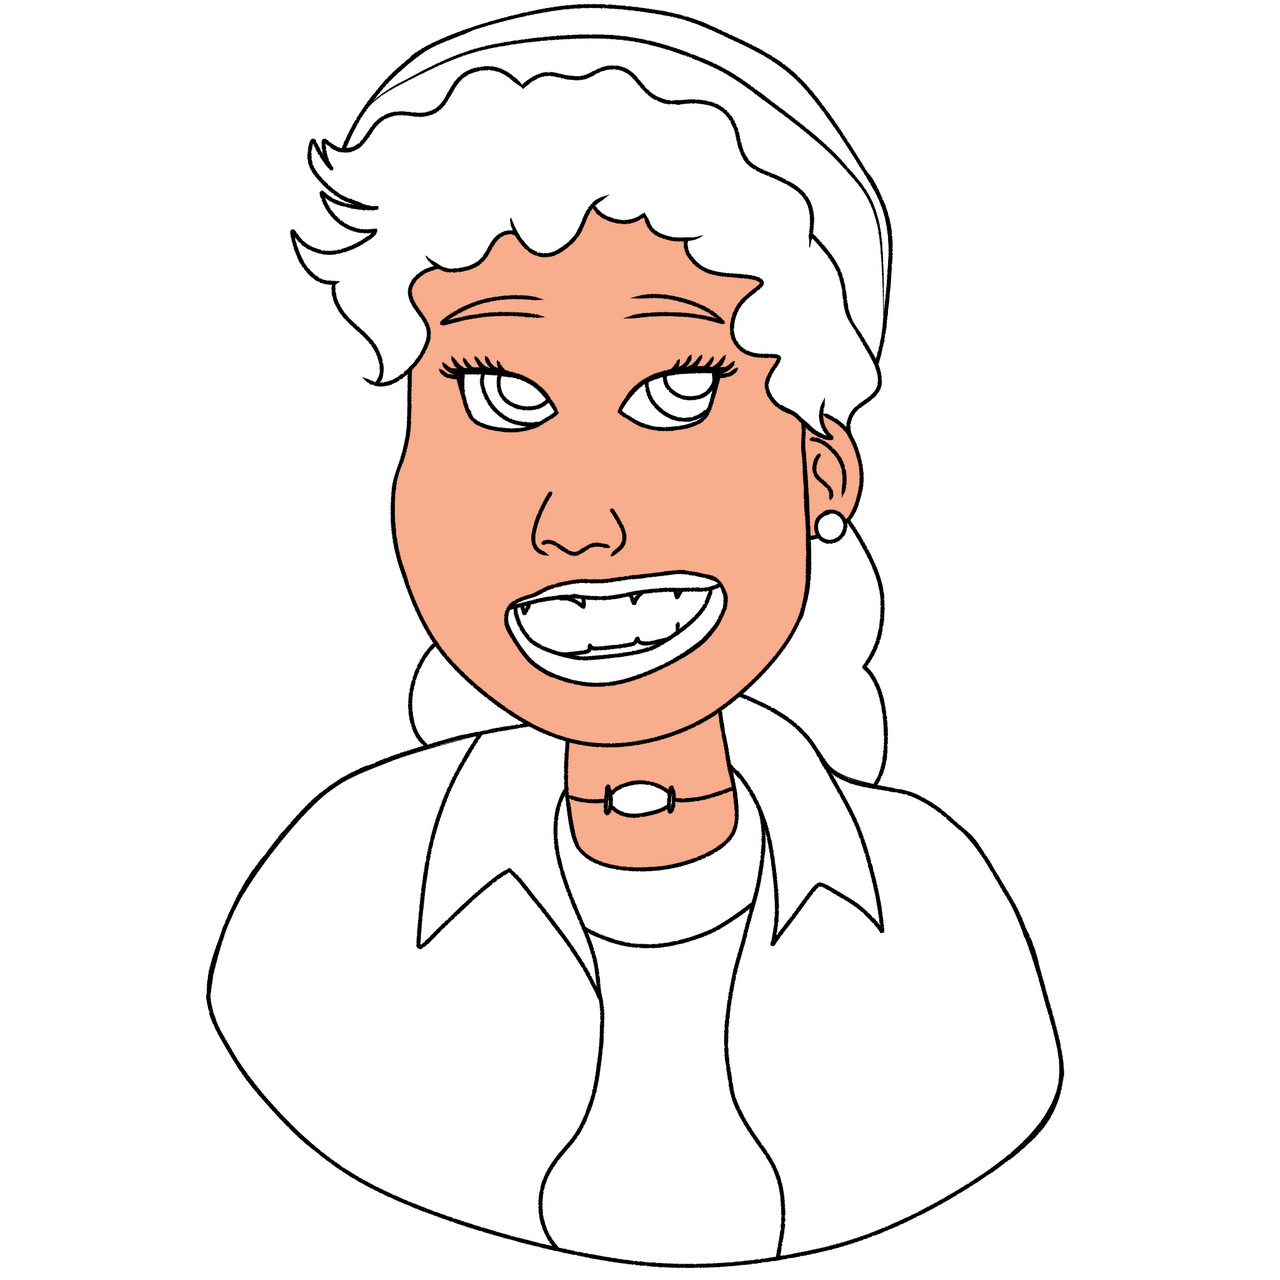
2. In another layer we outline the entire drawing with the brush in black or the "Bézier Curve". In this way we will have our sketch ready and we can delete or hide the layer with the hand drawing.
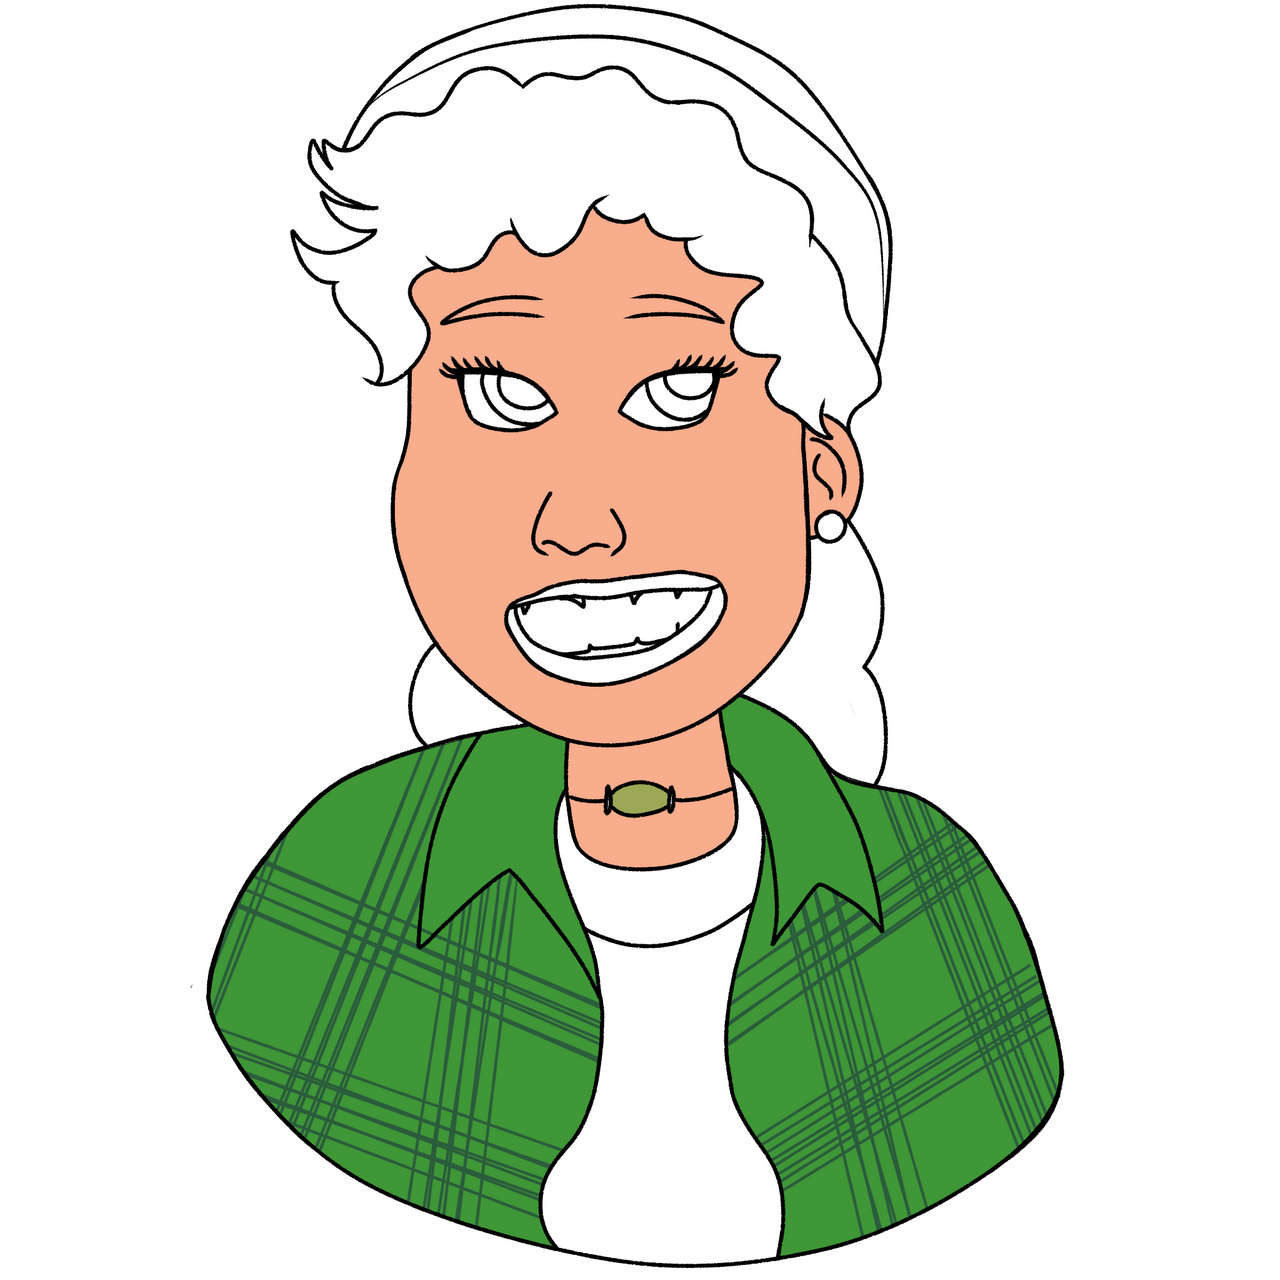
3. With the "Paint Bucket" tool and the same brush as before, we begin to add the base colors to our friend Miriam, in different layers. I added some lines for the t-shirt print.


4. We begin to add a bit of realism to the drawing, starting with the skin. We add a layer on top of which is the base color of the skin, activate the "Clipping" option and start adding a little red on the cheeks and brown around the face, neck, below the nose and throughout the ear.
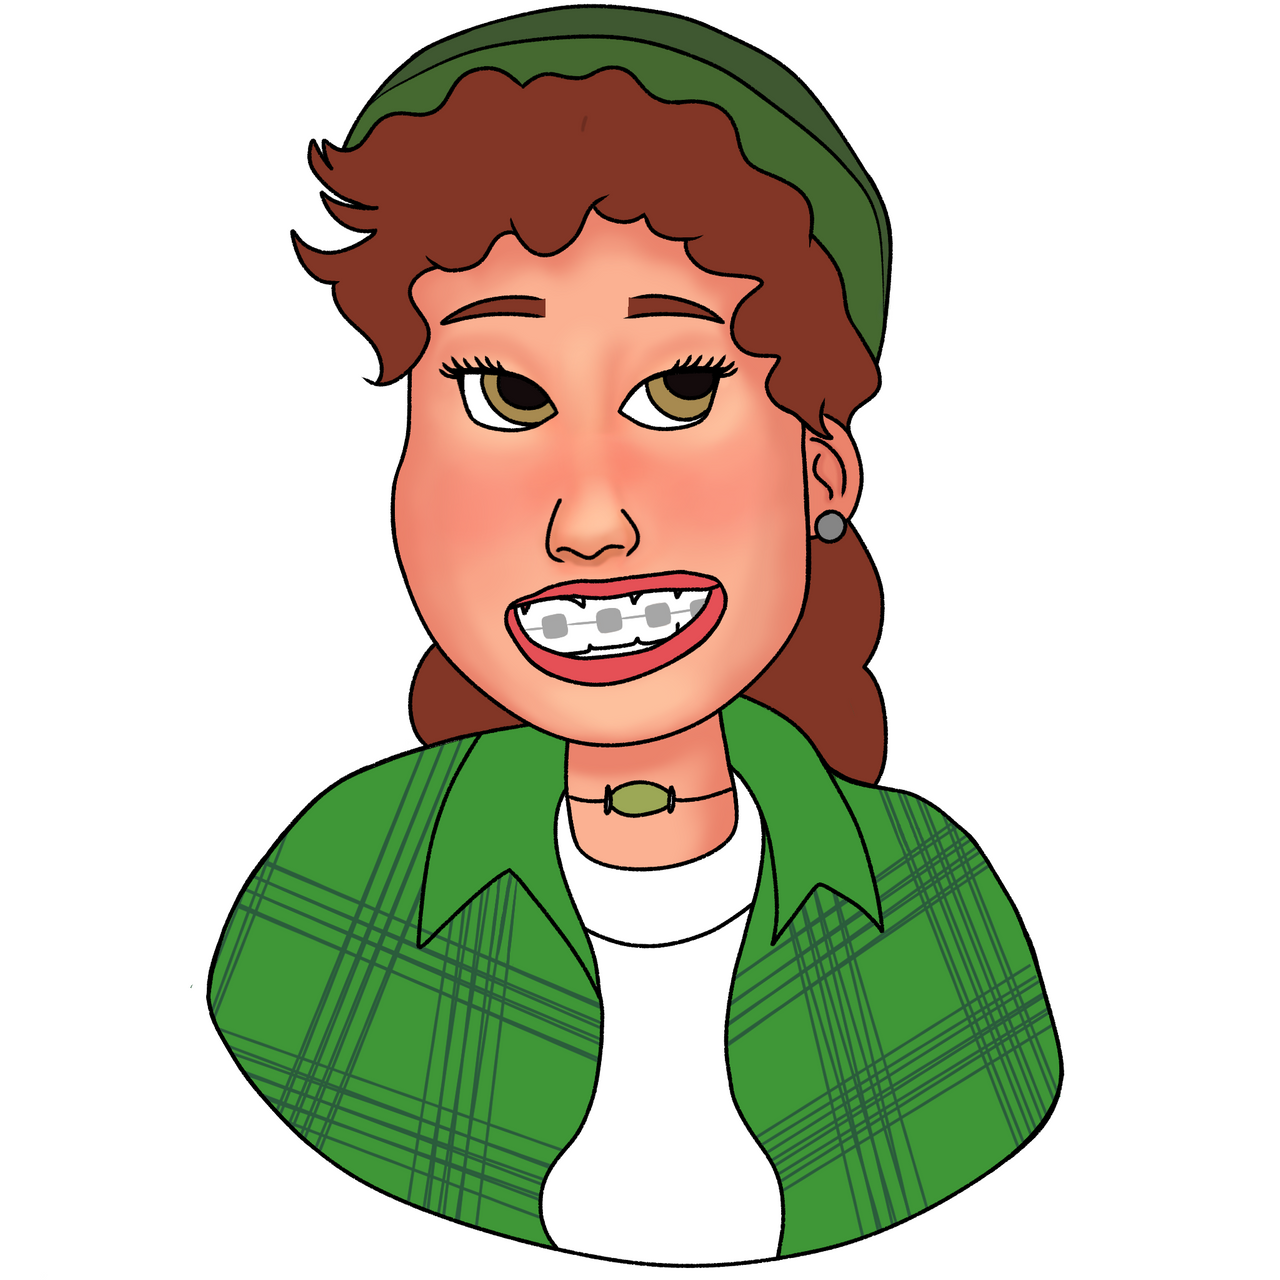
5. In another layer, above which is the base color of the hair, we activate the "Clipping" option and with the "Dark hair" brush we shape the hair with waves. Then, with the brush used previously, we make more details in lighter colors.

6. On another layer, above which are the base colors of the clothes, we activate the "Clipping" option and start drawing shadows on the edges with a dark green color, then we improve them a bit with the "Smudger". We apply the same for the white shirt, to which we add some shades of gray.

7. In another layer, we make some lines of different shades of green in the eyes, and gray around the white part of the eyes. We also added more hairs to the brows that are a bit lighter in color than the base.

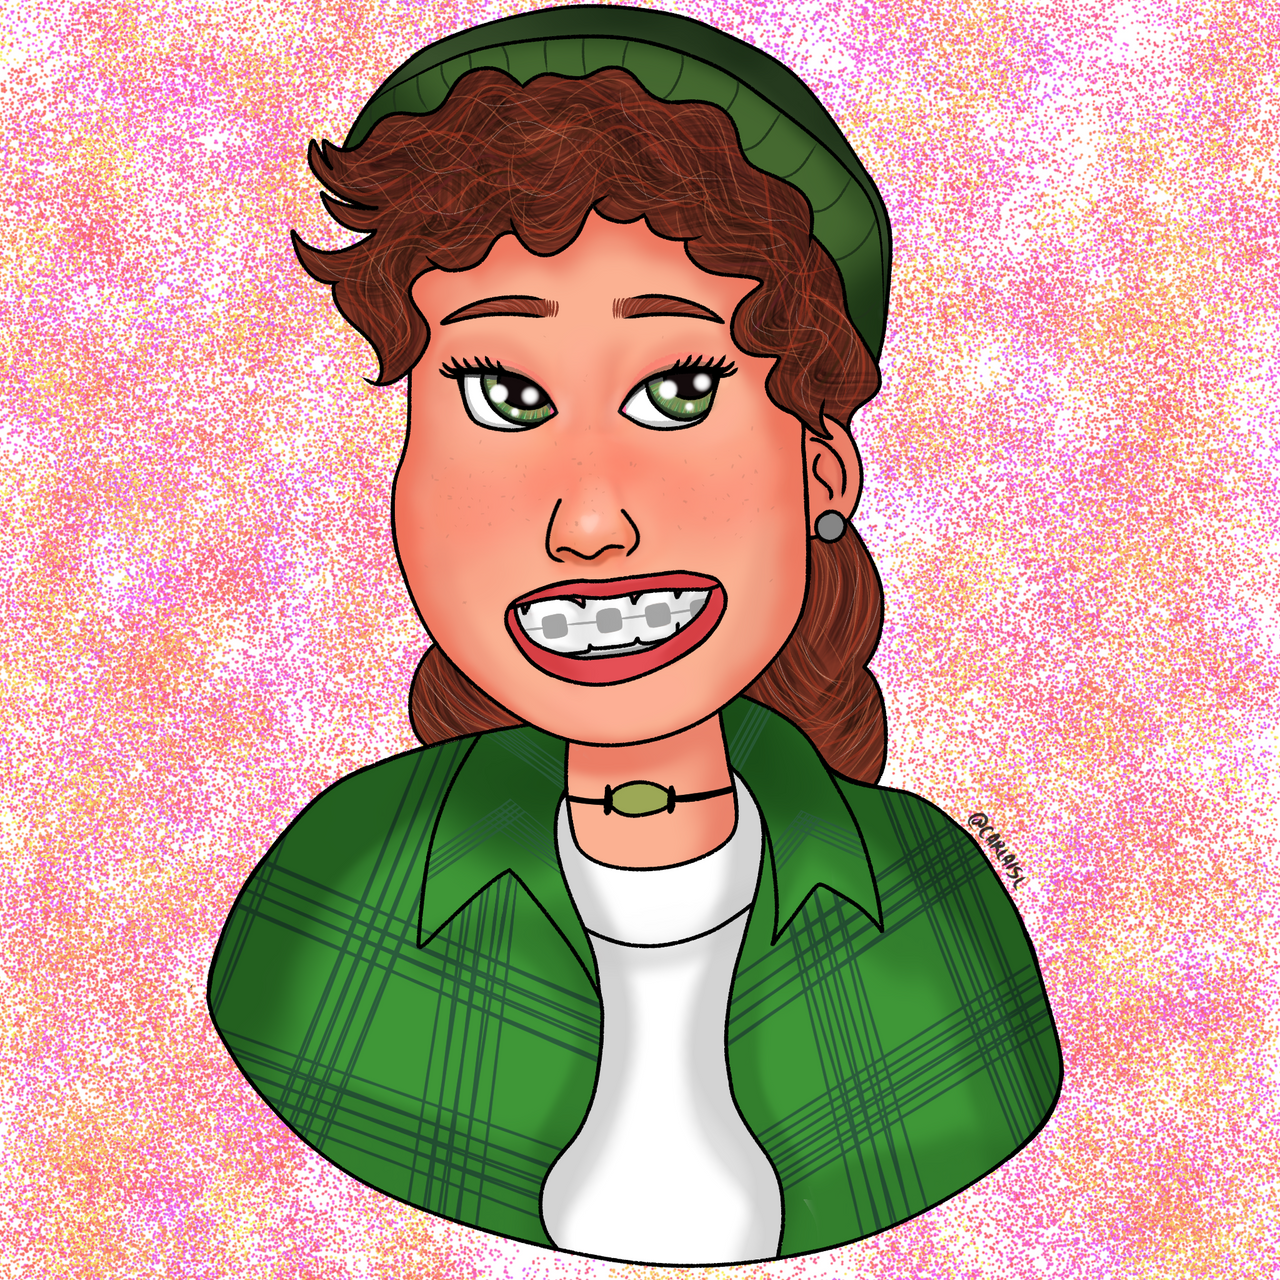
8. With the "Soft Pen" brush in white, we dab on the eyes to make some pretty circles that represent the light in them. We also draw the lines of the front part of the hat and draw brown dots on the cheeks for freckles.
Then on another layer we draw a background, being in my case, one with colorful dots. Ready my drawing! 💜🎨
Drawing Step by Step Gif
Homework
Make a digital drawing of the character Miriam from the movie "Turning Red". Guide yourself step by step that I taught in this lesson. Present your step by step and final result of the drawing by hand. Enjoy the process.💜🎨 Remember to give it your personal touch, not everything should be exactly the same as how I elaborated it.
Help Content: Compilation of my Lessons:
🎨Lesson 1: LINK
🎨Lesson 2: LINK
🎨Lesson 3: LINK
🎨Lesson 4: LINK
🎨Lesson 5: LINK
🎨Lesson 6: LINK
🎨Lesson 7: LINK
🎨Lesson 8: LINK
🎨Lesson 9: LINK
🎨Lesson 10: LINK
🎨Lesson 11: LINK
🎨Lesson 12: LINK
Special thanks
This is the ultimate digital drawing lesson. It was a pleasure to be able to share my knowledge with all the users of the platform, I hope they have learned something from each lesson.
Special thanks to @patjewell and @ngoenyi for giving me this space as a Tutor in the Community. Many thanks to the children who participated in the lessons, the community, curators and users for all the support. 💜🎨
Rules for doing your homework:
1- You must be a community verified child.
2- You must make your publication in the Steem Kids community and leave the link of your entry in this publication, in the comments section.
3- You must belong to club5050, club75 or club100.
4. Your publication must have a minimum of 300 words and the appropriate tags; being essential # steemexclusive.
5. Your content must be your own. If you use information from a third party, indicate the sources correctly to avoid plagiarism and its consequences on the platform.
6. Use the tags in your publication correctly.
Recommendations for doing your Homework:
1. Please resteem this post so more kids can join the lesson.
2. If you have any questions, leave them in the comments of this post. I will gladly answer you!
3. Have fun and learn Make your publication without any fear! I will grade and correct you with love and respect.
Homework is accepted until the expiration of this publication.
10% of rewards from this post go to the @steemkidss community account
CC: @patjewell, @ngoenyi