Hi friends!
Starting with a freehand drawn rhombus, then divide it into equal parts so you can draw a circle in perspective.
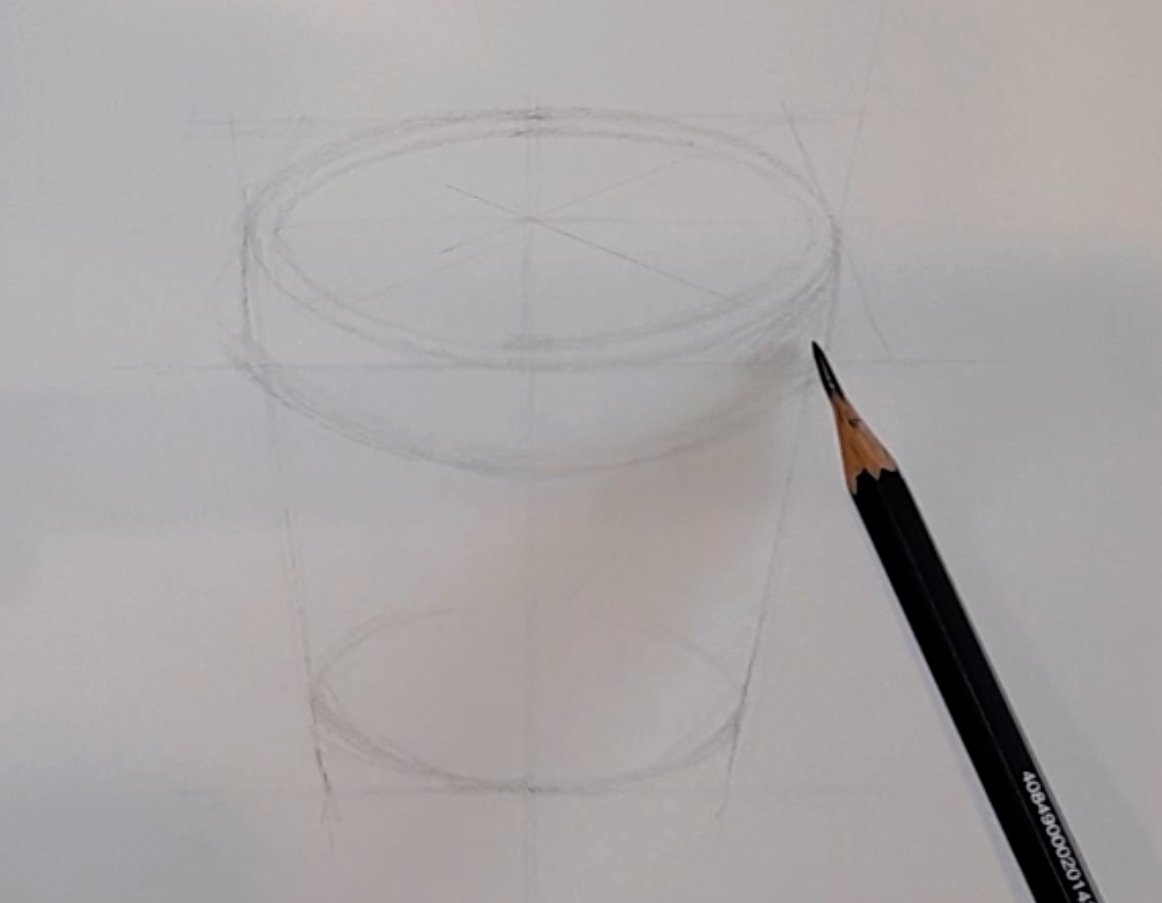
Continue drawing oblique freehand straight lines to define the sides of the flower pot, then we finish drawing the circle at the bottom to make the base of the pot.
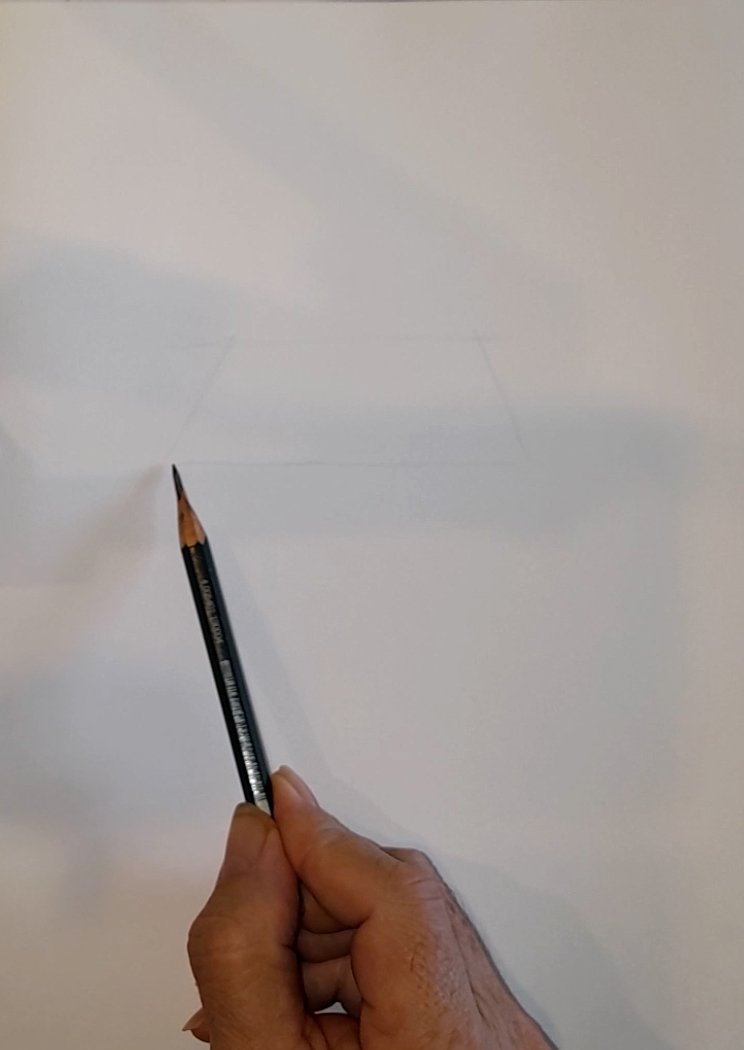
Look at this image that I have started to draw with an HB graphite pencil and notice that the drawing is almost invisible. This is how you should start, drawing very smooth lines, almost invisible.
Pay attention to how to hold the pencil to draw!
Knowing how to hold the pencil to draw is important so that we can draw easily, freely and without damaging the paper. 5-Introduction
Also, note the size of the drawing relative to the size of the sheet, and also notice that the drawing is centred relative to the width of the sheet and slightly up vertically. It is important to have defined the size of our drawing with respect to the sheet on which we are going to draw.
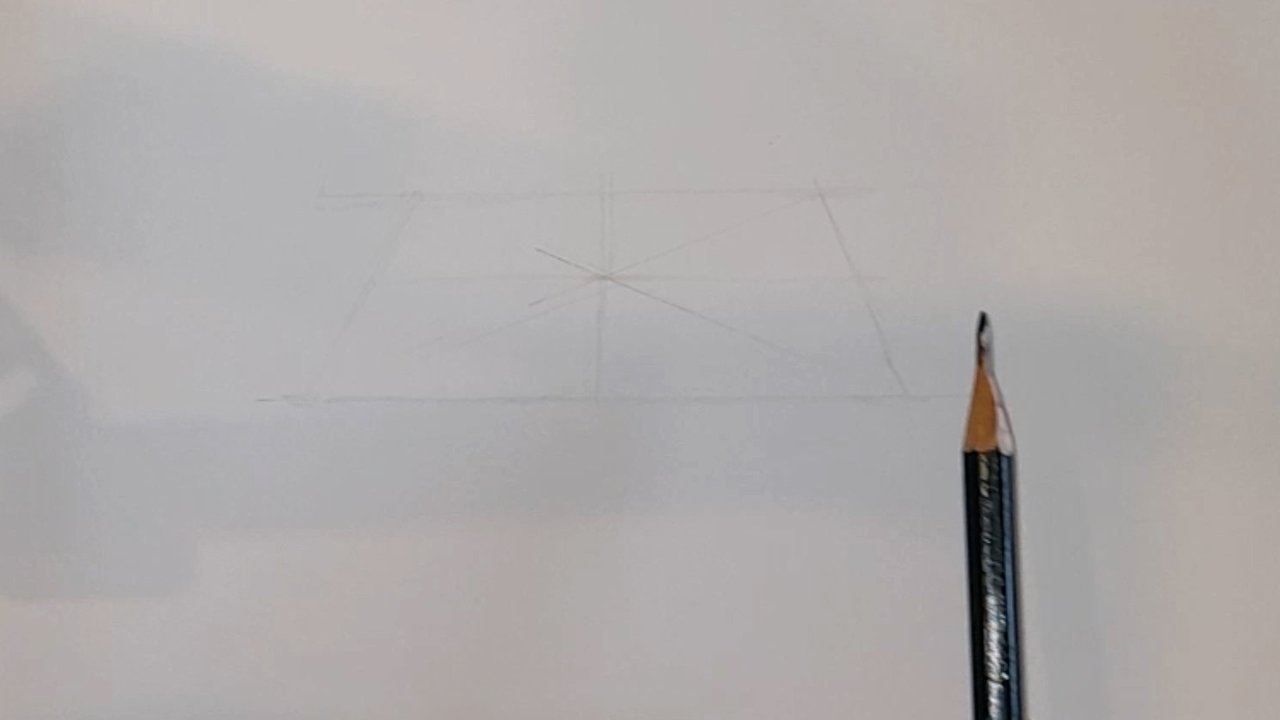
By drawing diagonal lines, I found the centre of the shape, then by drawing a parallel horizontal line and a vertical line, both passing through the centre point, I found the middle of the four sides of the shape as is shown in the image below.
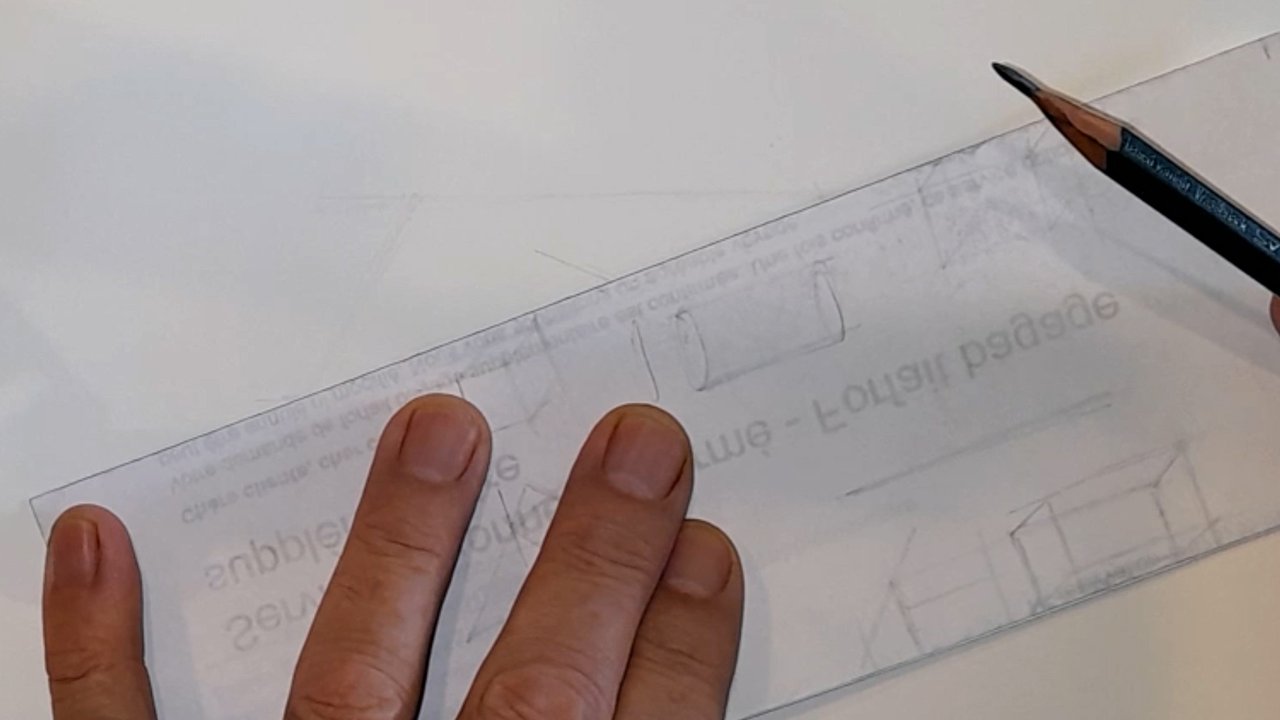
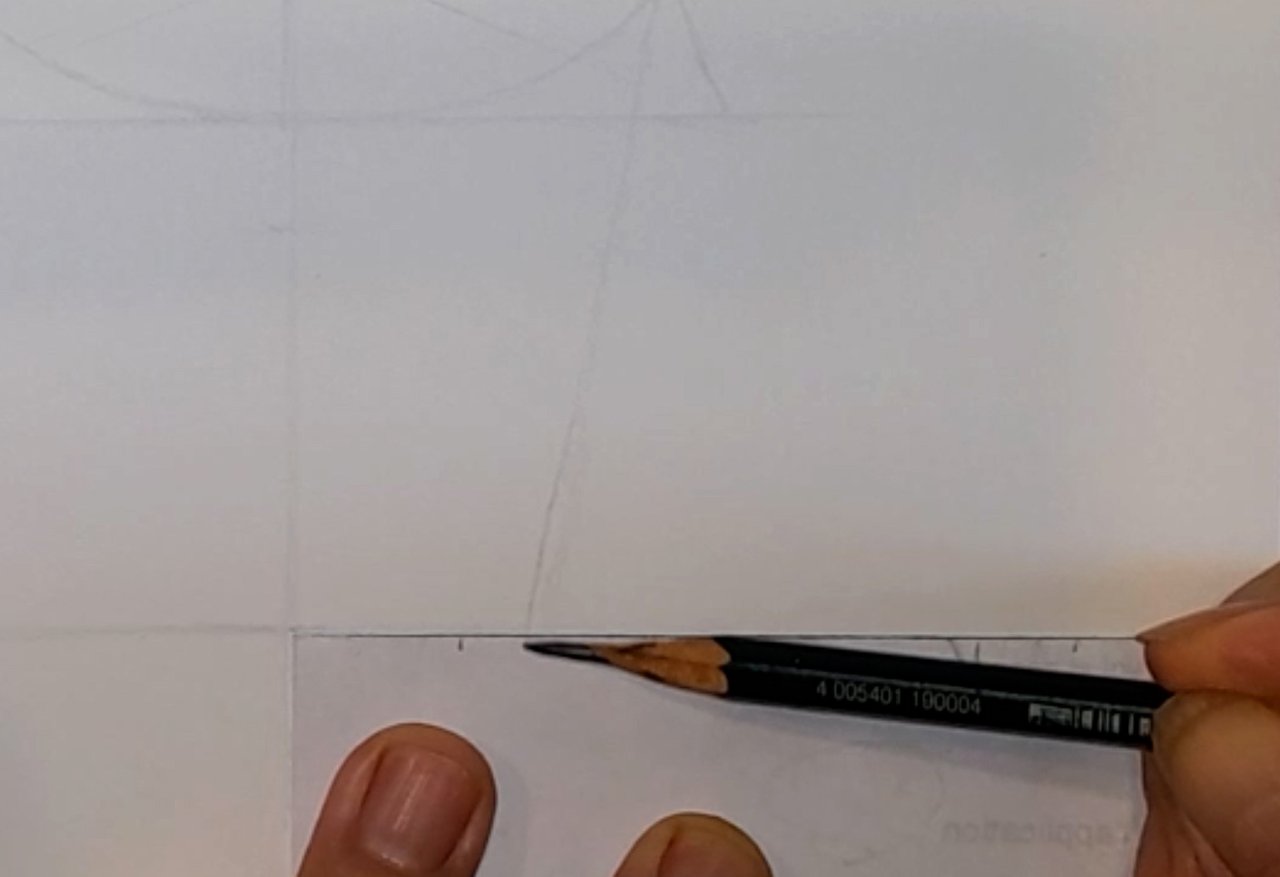
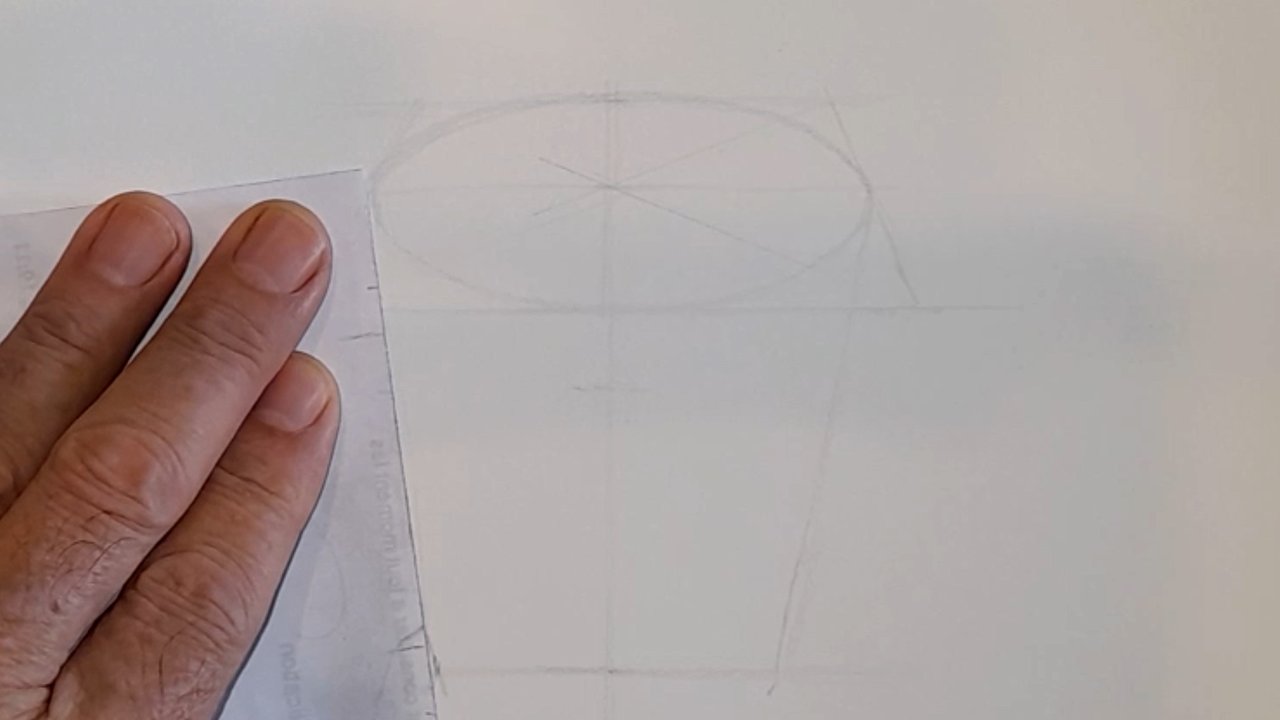
You can use the paper ruler to verify that all lines are straight drawn. I advise you to make the drawing freehand first then with the ruler so you strengthen your skills to draw straight lines.14-Lesson
Here we draw a circle that touches the midpoint of each side of the rhombus.
Next, we draw a straight vertical line that goes through the center point of the shape above.
Then we define the height of the pot that we will draw and trace a straight line diagonally downwards as shown in the image.
We will also make a line marking the width of the top edge of the pot..
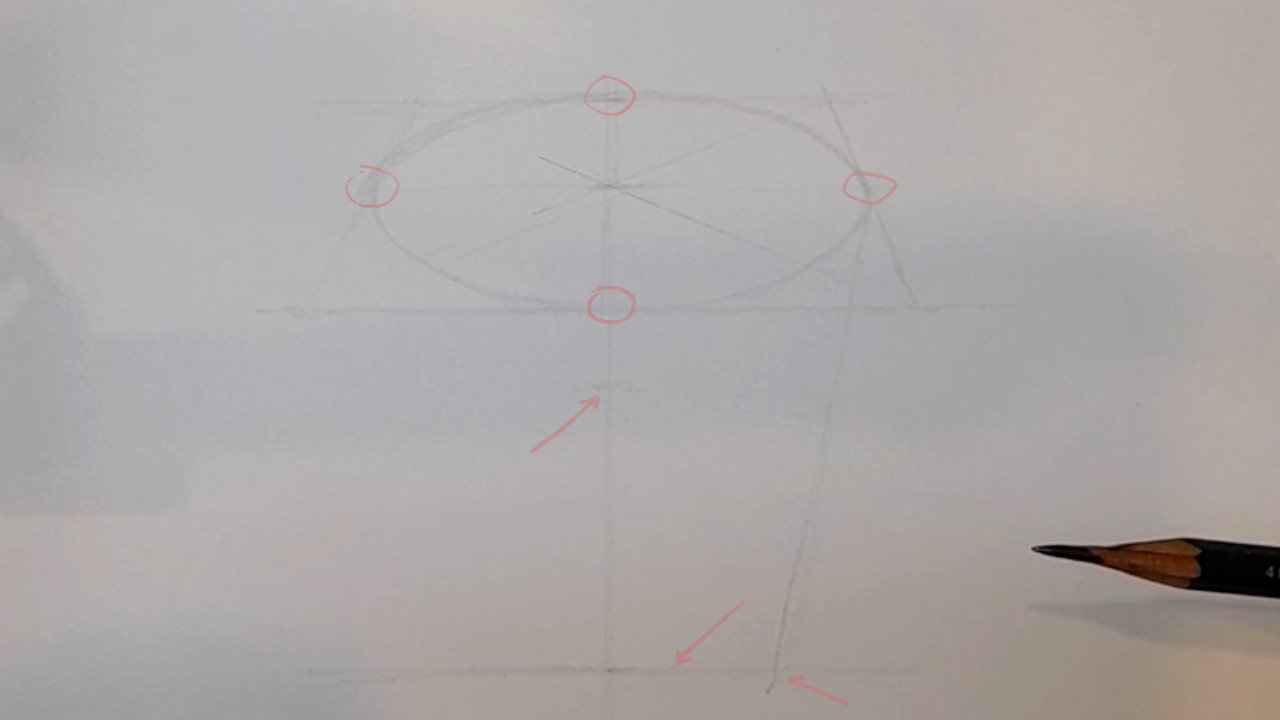
Measuring the length of the middle of the base to reflect the diagonal line in the left side.
Drawing the round base... notice I have drawn the entire circle.
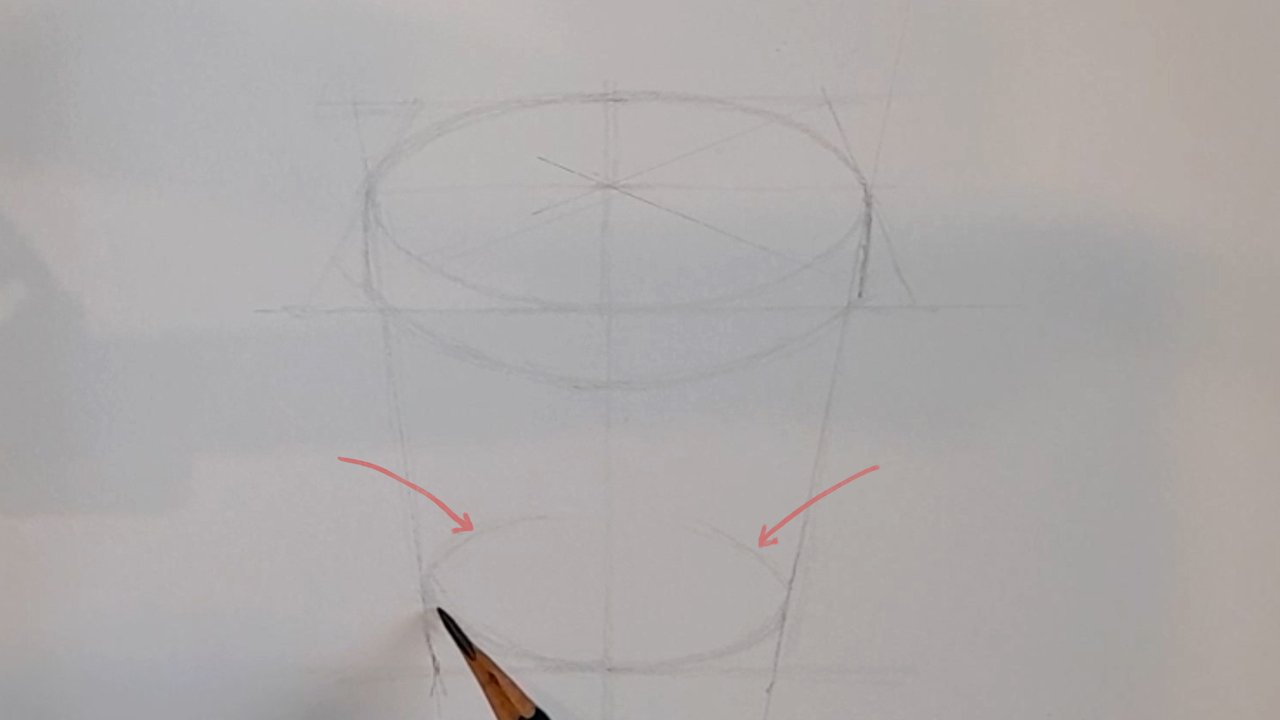
We draw the inner circle above to finish the line drawing.
I hope you have enjoyed this lesson.
I wanted to show you that with a few simple strokes you can draw all you want.
To make this sketch I used an HB graphite pencil.
I wish you a very nice day and good exercise!
Homework in the next post! Stay tuned
Here are the links to the previous related posts.
1-Introduction - 2-Introduction - 3-Introduction - 4-Introduction -
5-Introduction - 6-Lesson - 7-Lesson - 8-Lesson - 9-Lesson - 10-Lesson -
11-Lesson - 12-Lesson - 13-Lesson 14-Lesson - 15-Lesson - 16-Lesson -
17-HW results
100% SP (manual transfer to SP)
#club100