I started and finished this drawing last night. I thought that it was the best time to draw because there was no destruction. The night is just quiet and perfect to be creative.
I also believe that there should be timing to really create something that you will like after, something that you will be proud of and something that you will love and treasure.
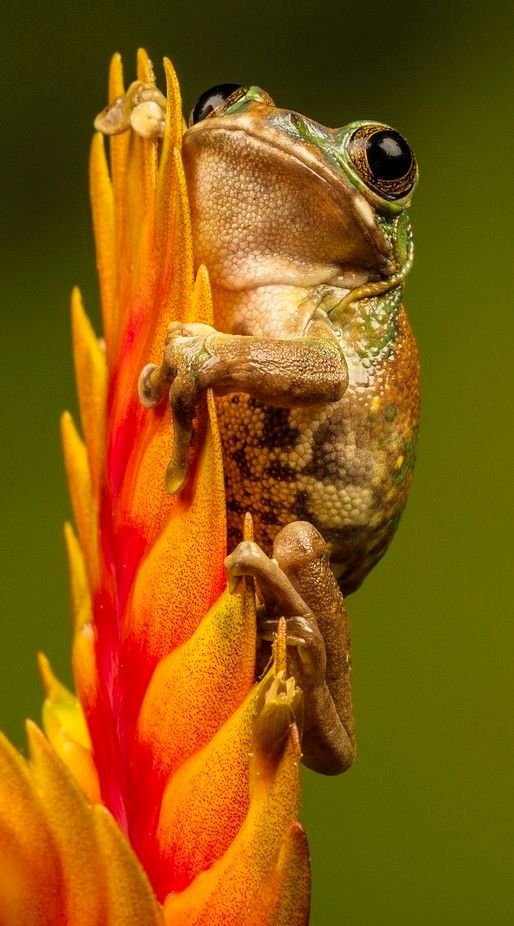
There is absolutely no reason why I have drawn this except that I just want to use my time wisely before sleeping and for the reason that I am in love of the photos in the pinterest where I have gotten my drawing reference.
So, come join me and let’s get started...
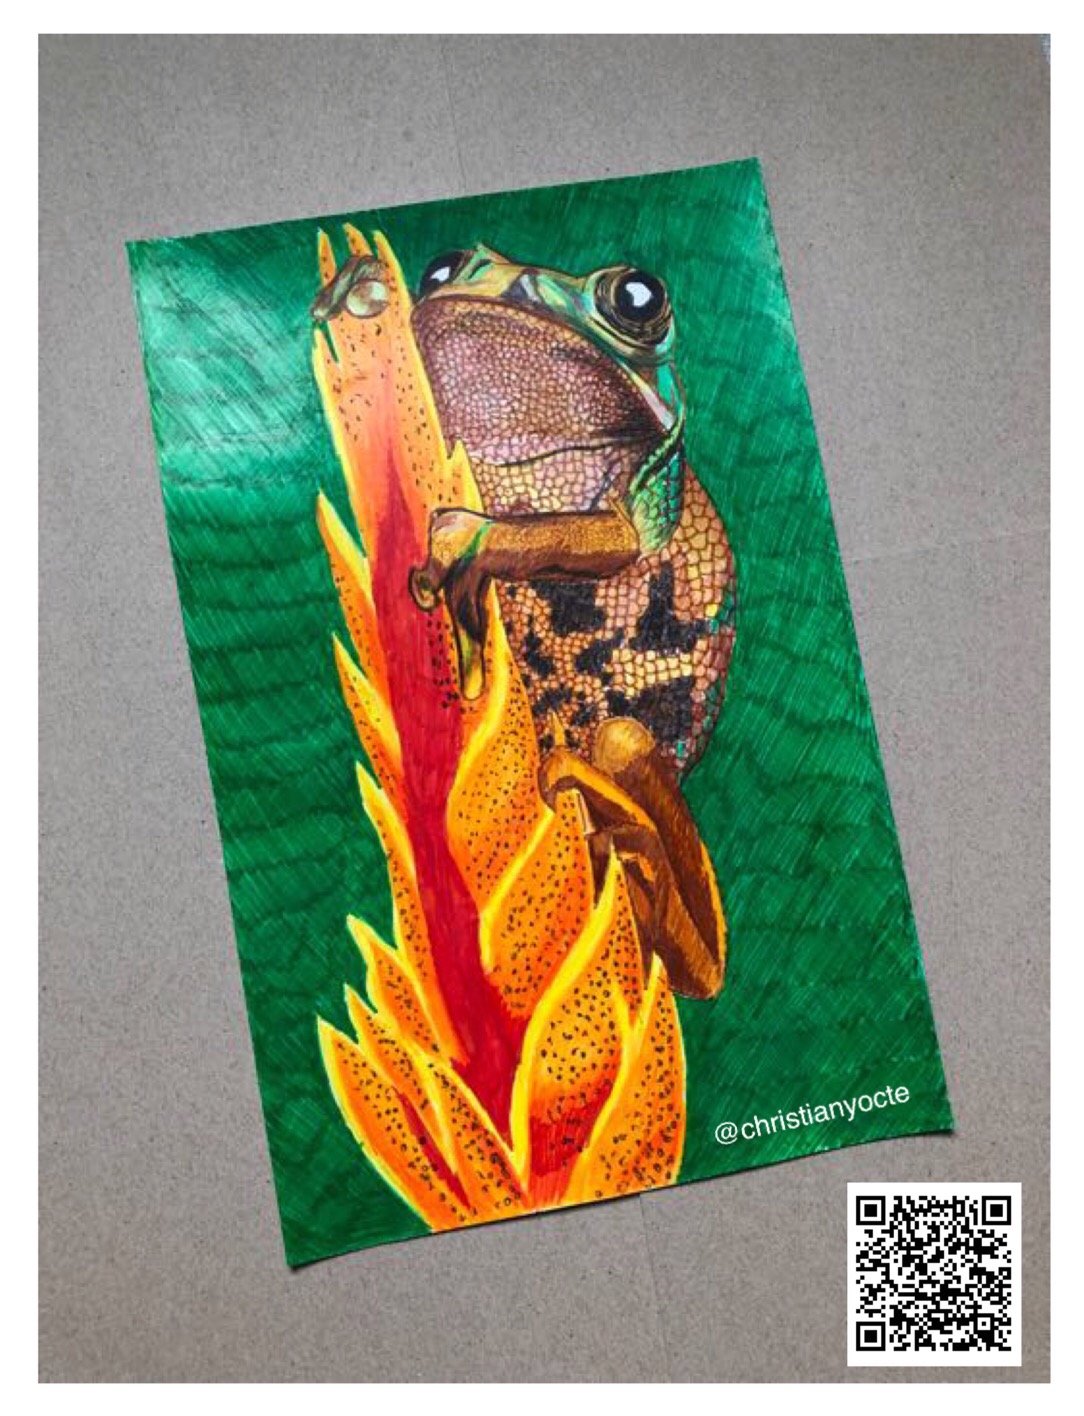
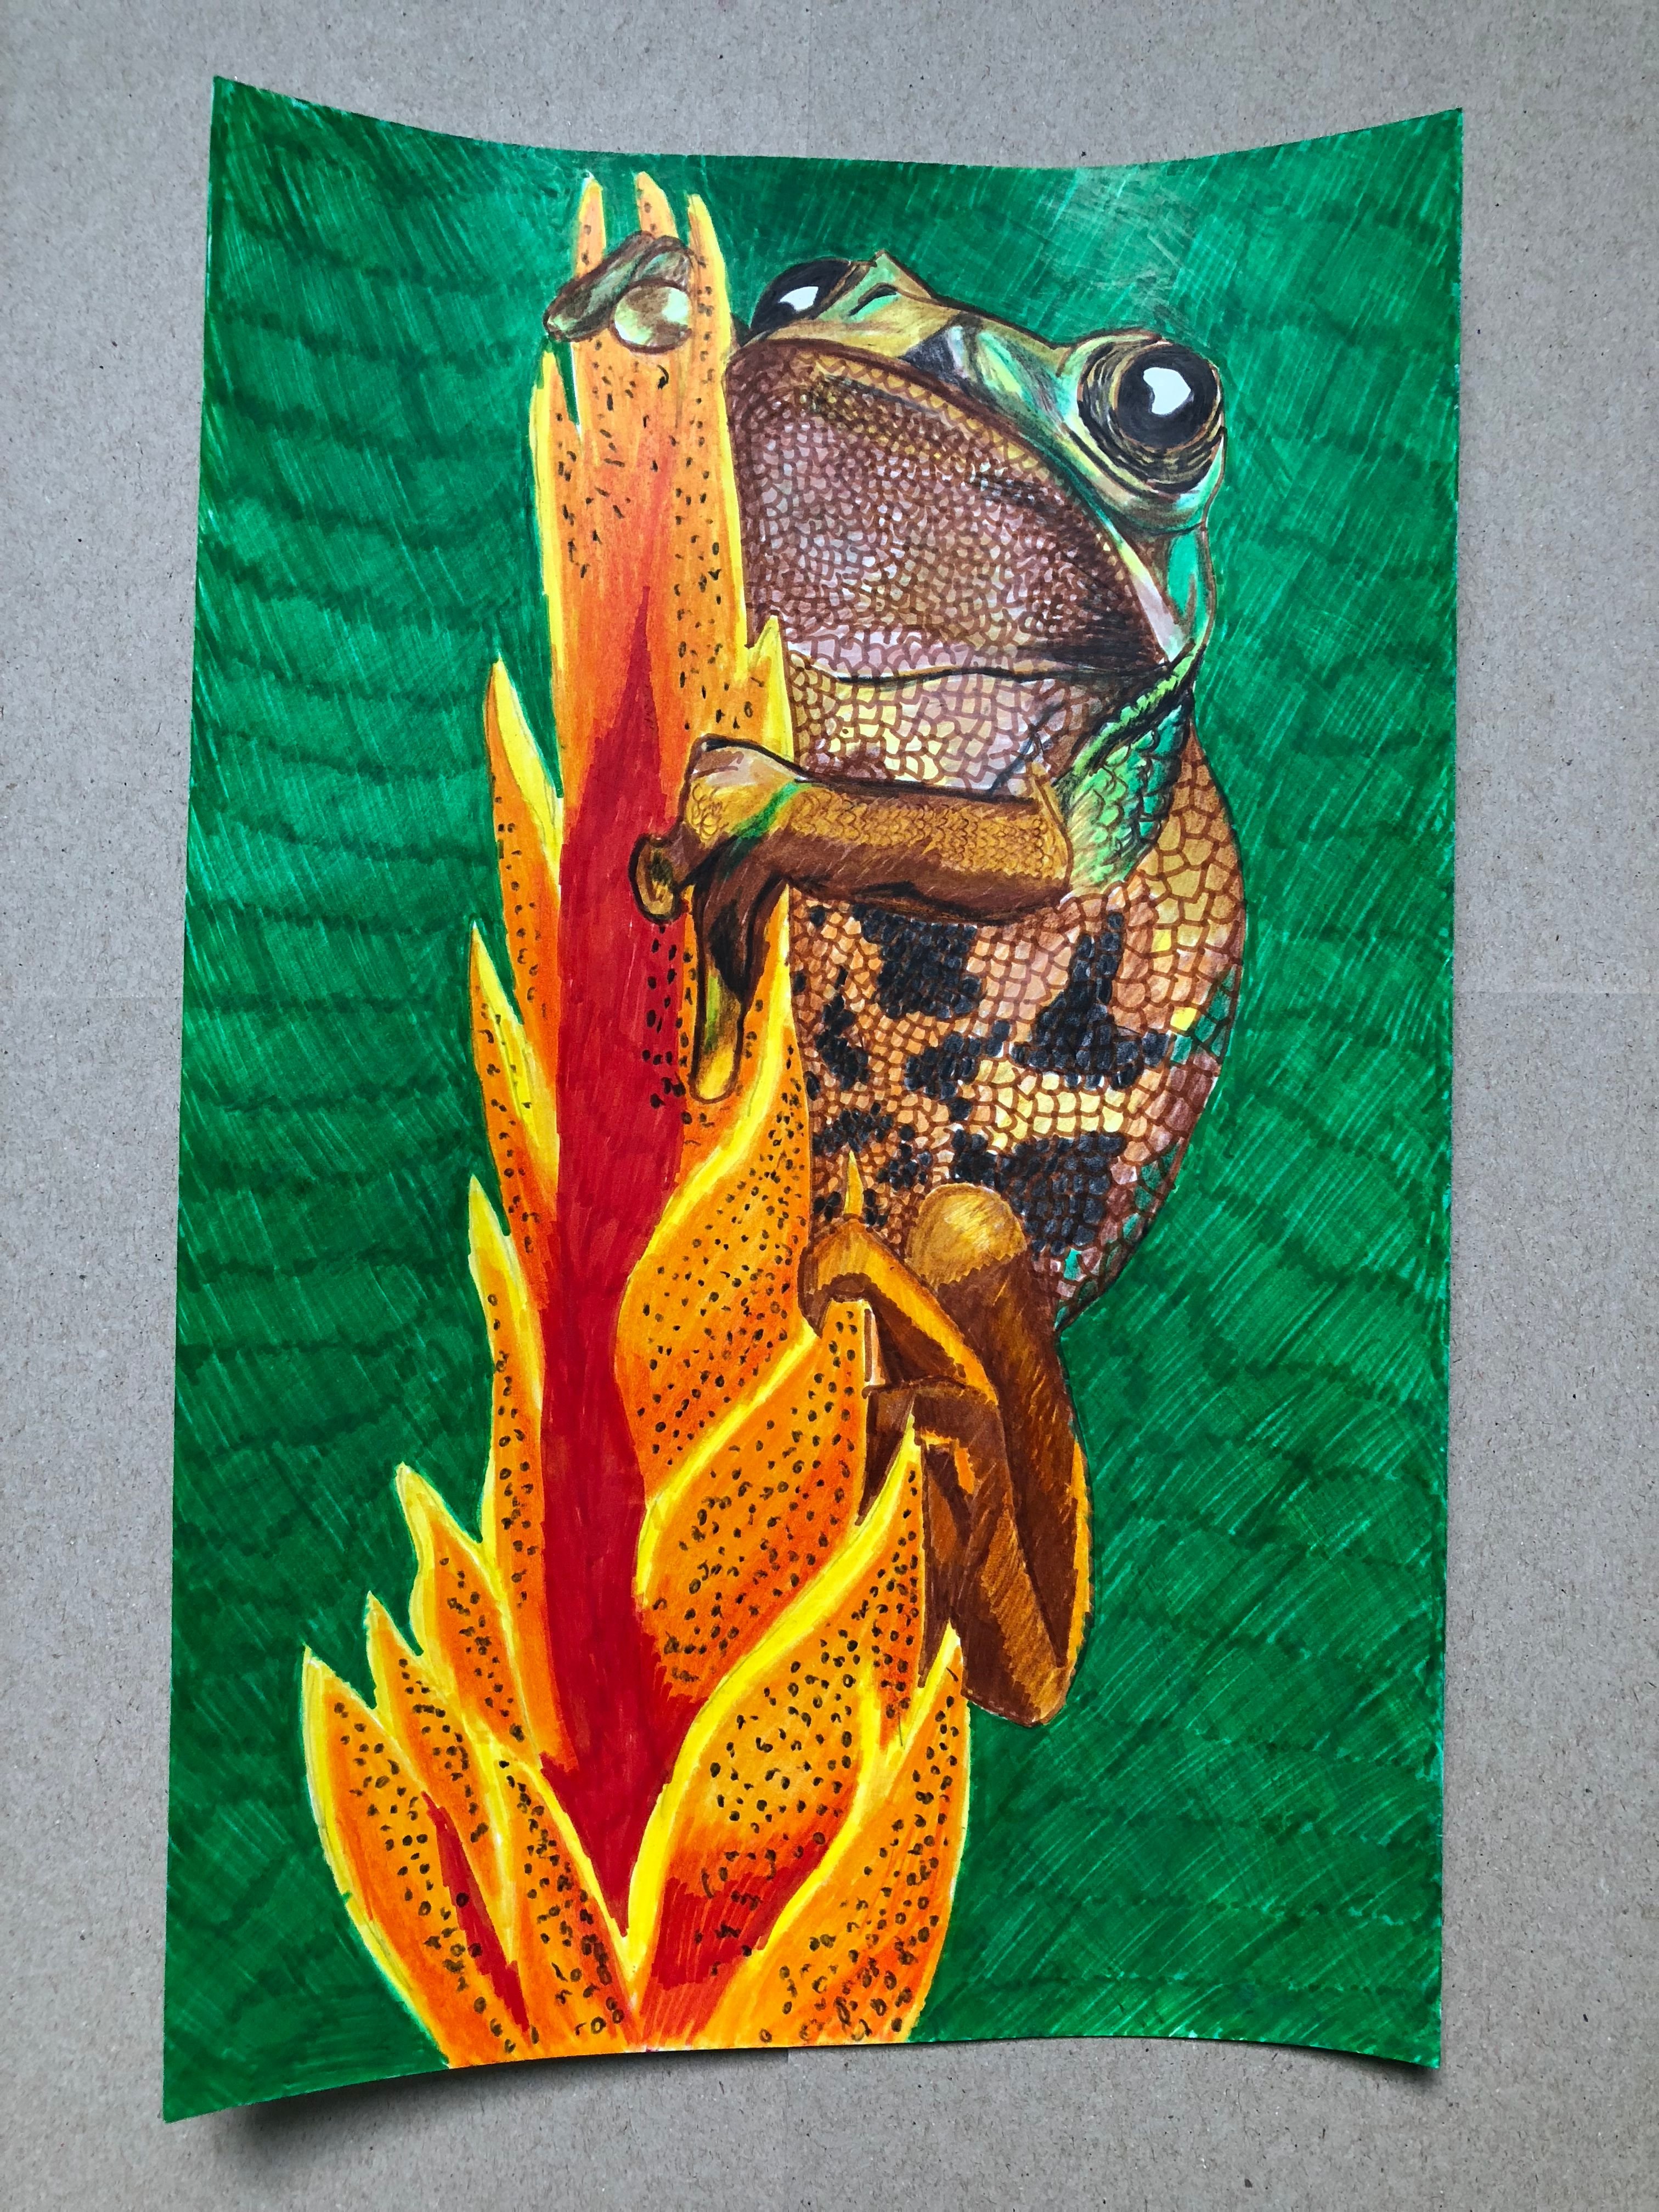
Title: Peacock Tree Frog | 8.5 x 13 inches Vellum Board | Color Sketch Pens & Watercolour Pencils
GIF Drawing Process
I understand that there are people who do not want to see and read the long process of doing this art. So, to cater their needs to see the process quickly, I made a GIF of it. I hope you will like it.
The Drawing Process
I first looked for a picture in pinterest that will be used as my reference photo. This site gives you plenty of good photos in high definition. I think that is very important if you want to create a very nice realistic artwork. Here is the link of the reference photo.
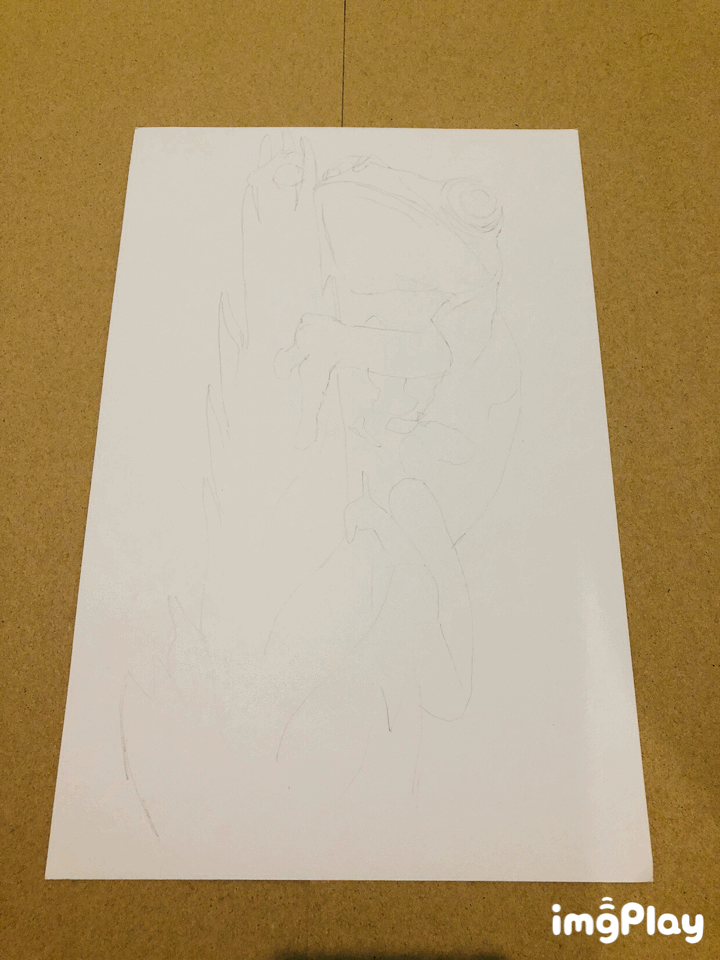
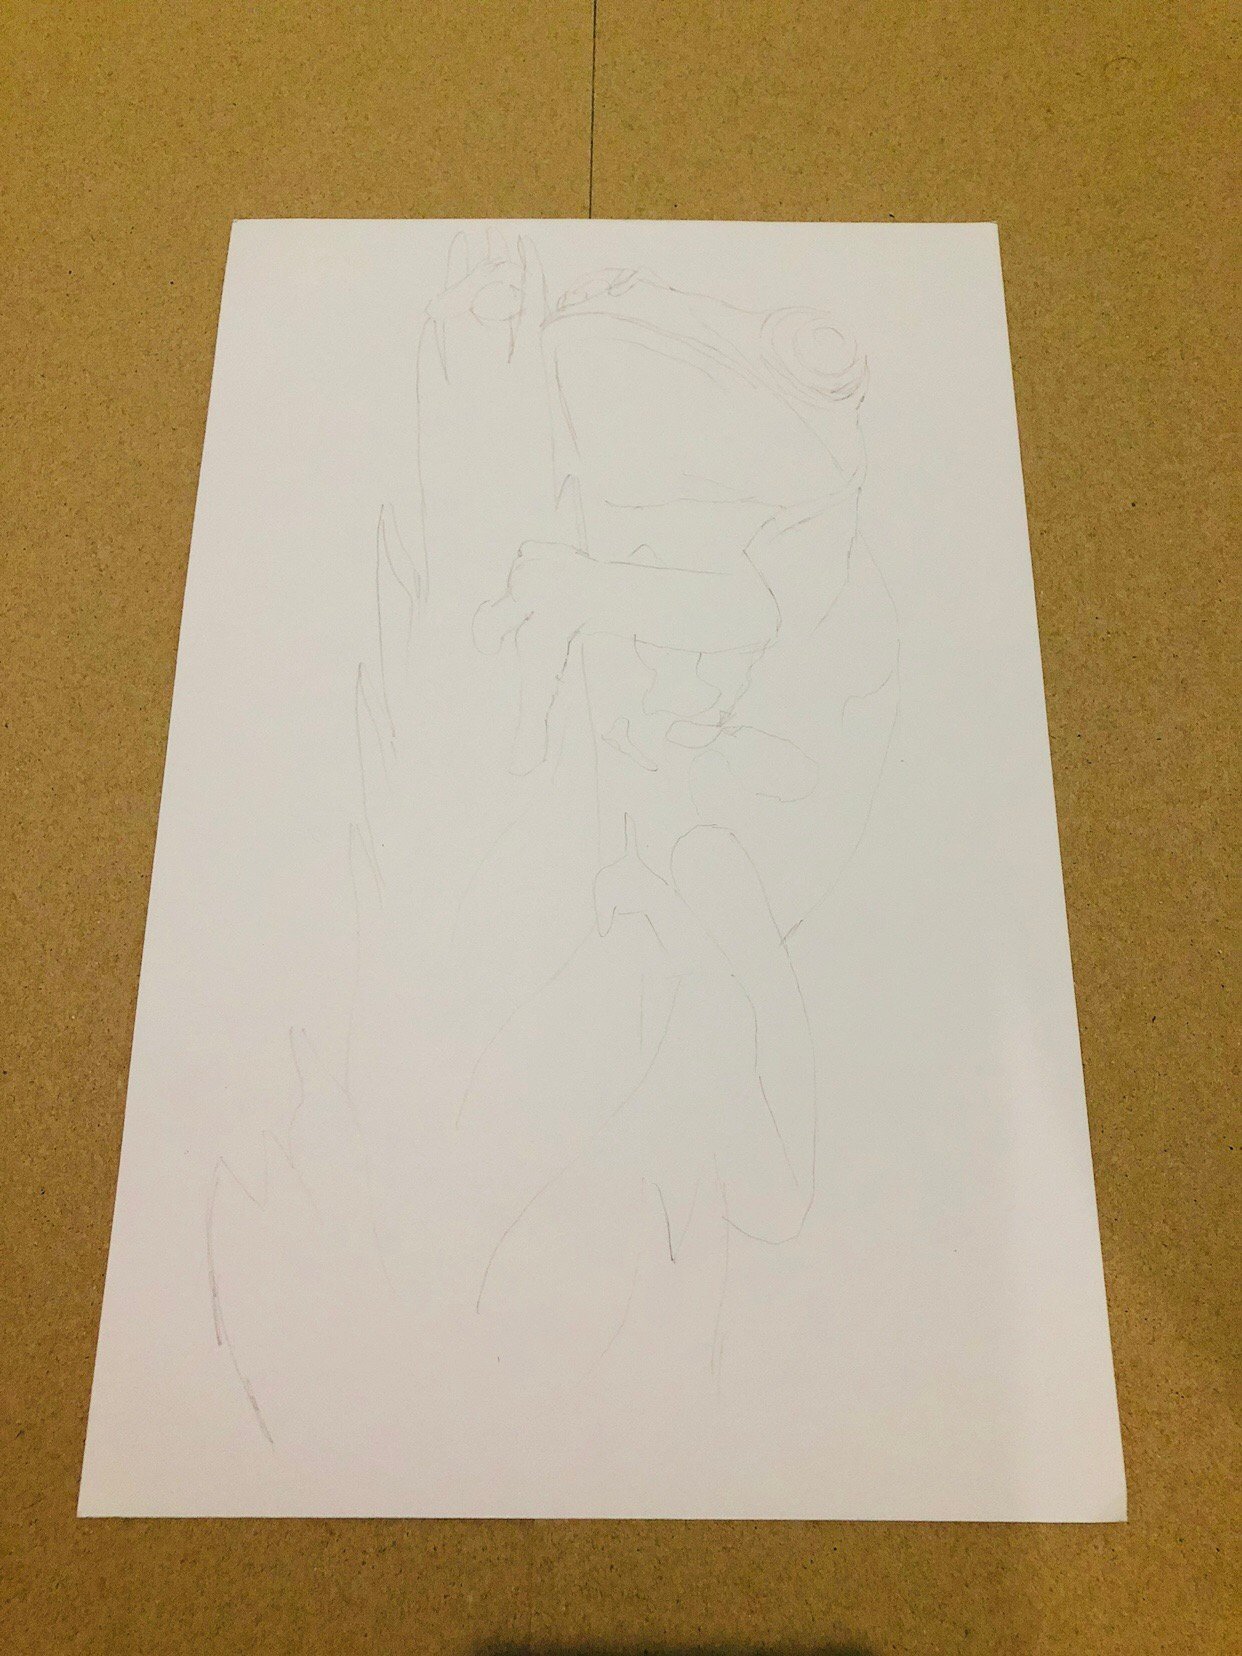
Then I sketch the outline on a vellum board using a 2B pencil. A vellum board is a good drawing paper especially if you are working with color pencils. In sketching the lines here, I made sure I didn’t put too much pressure on it so that the lines can be easily be erased if you need to alter and revise.
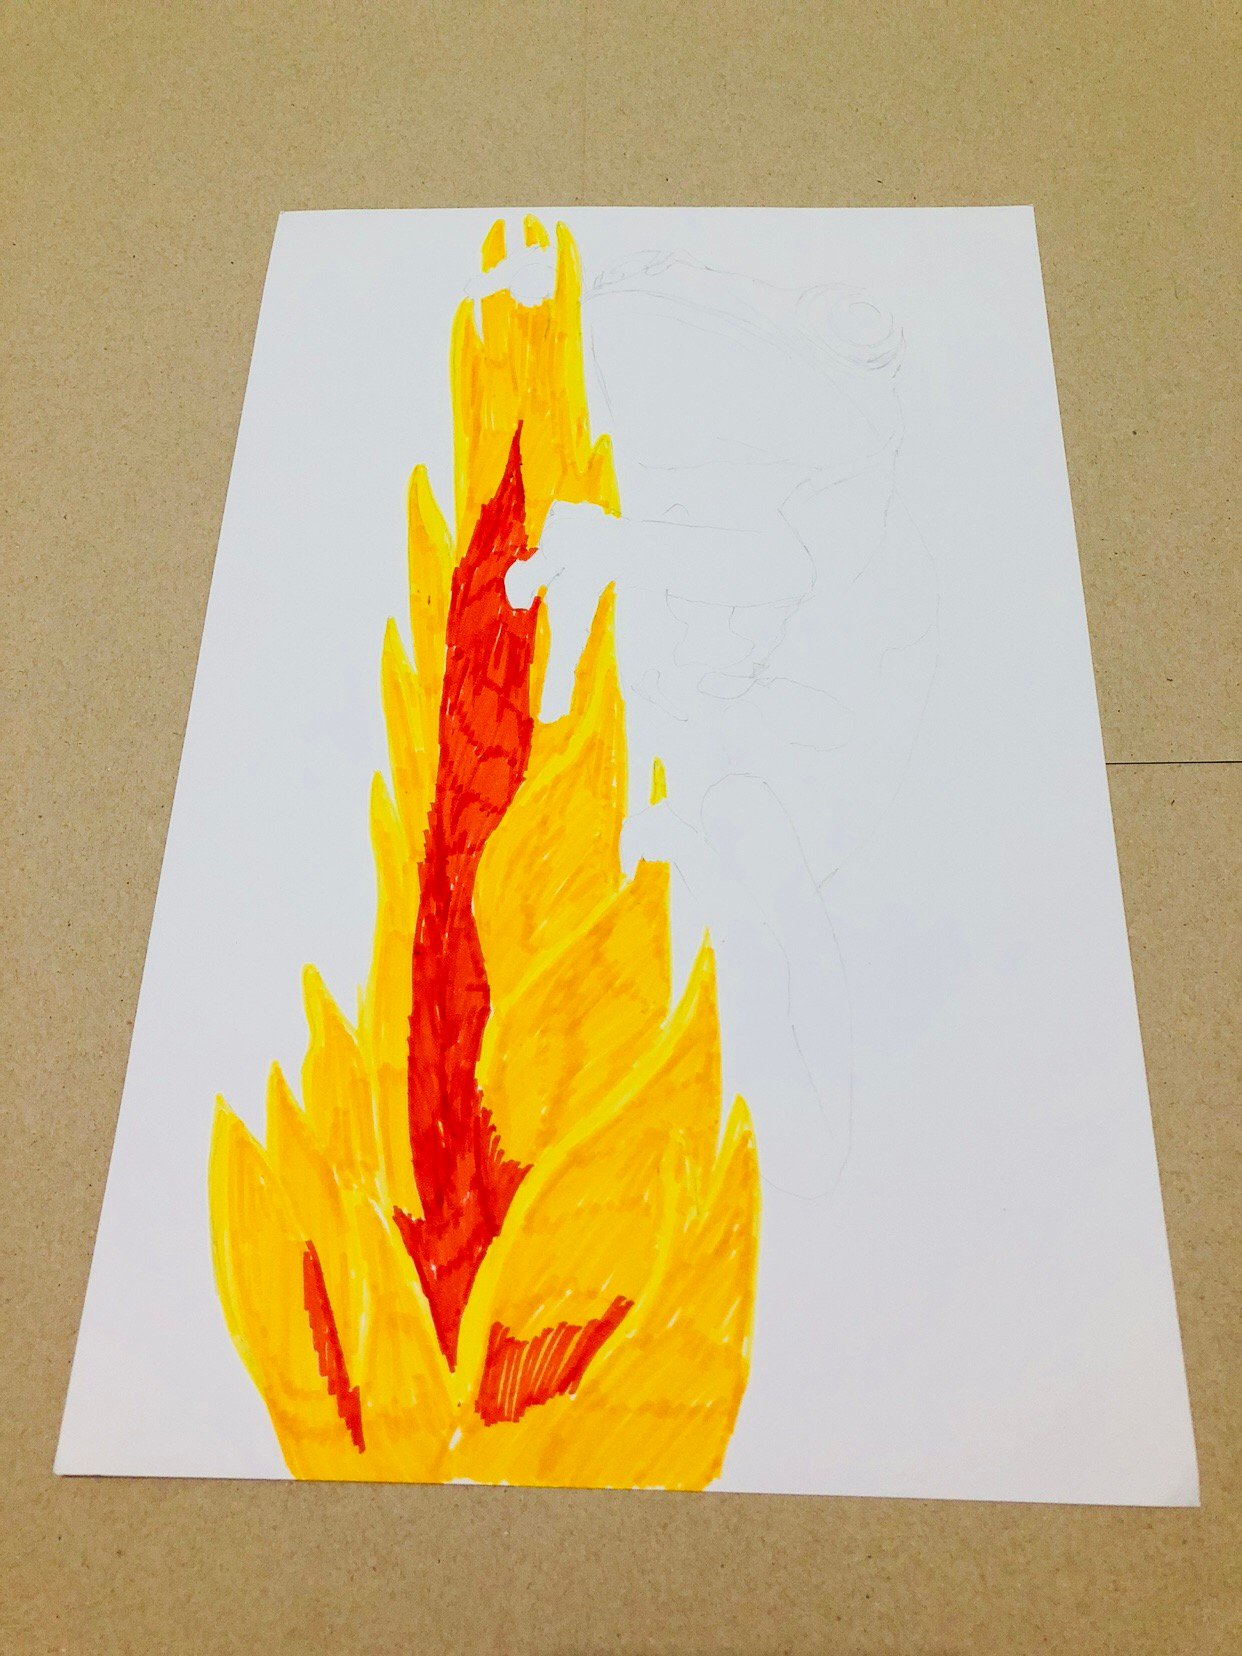
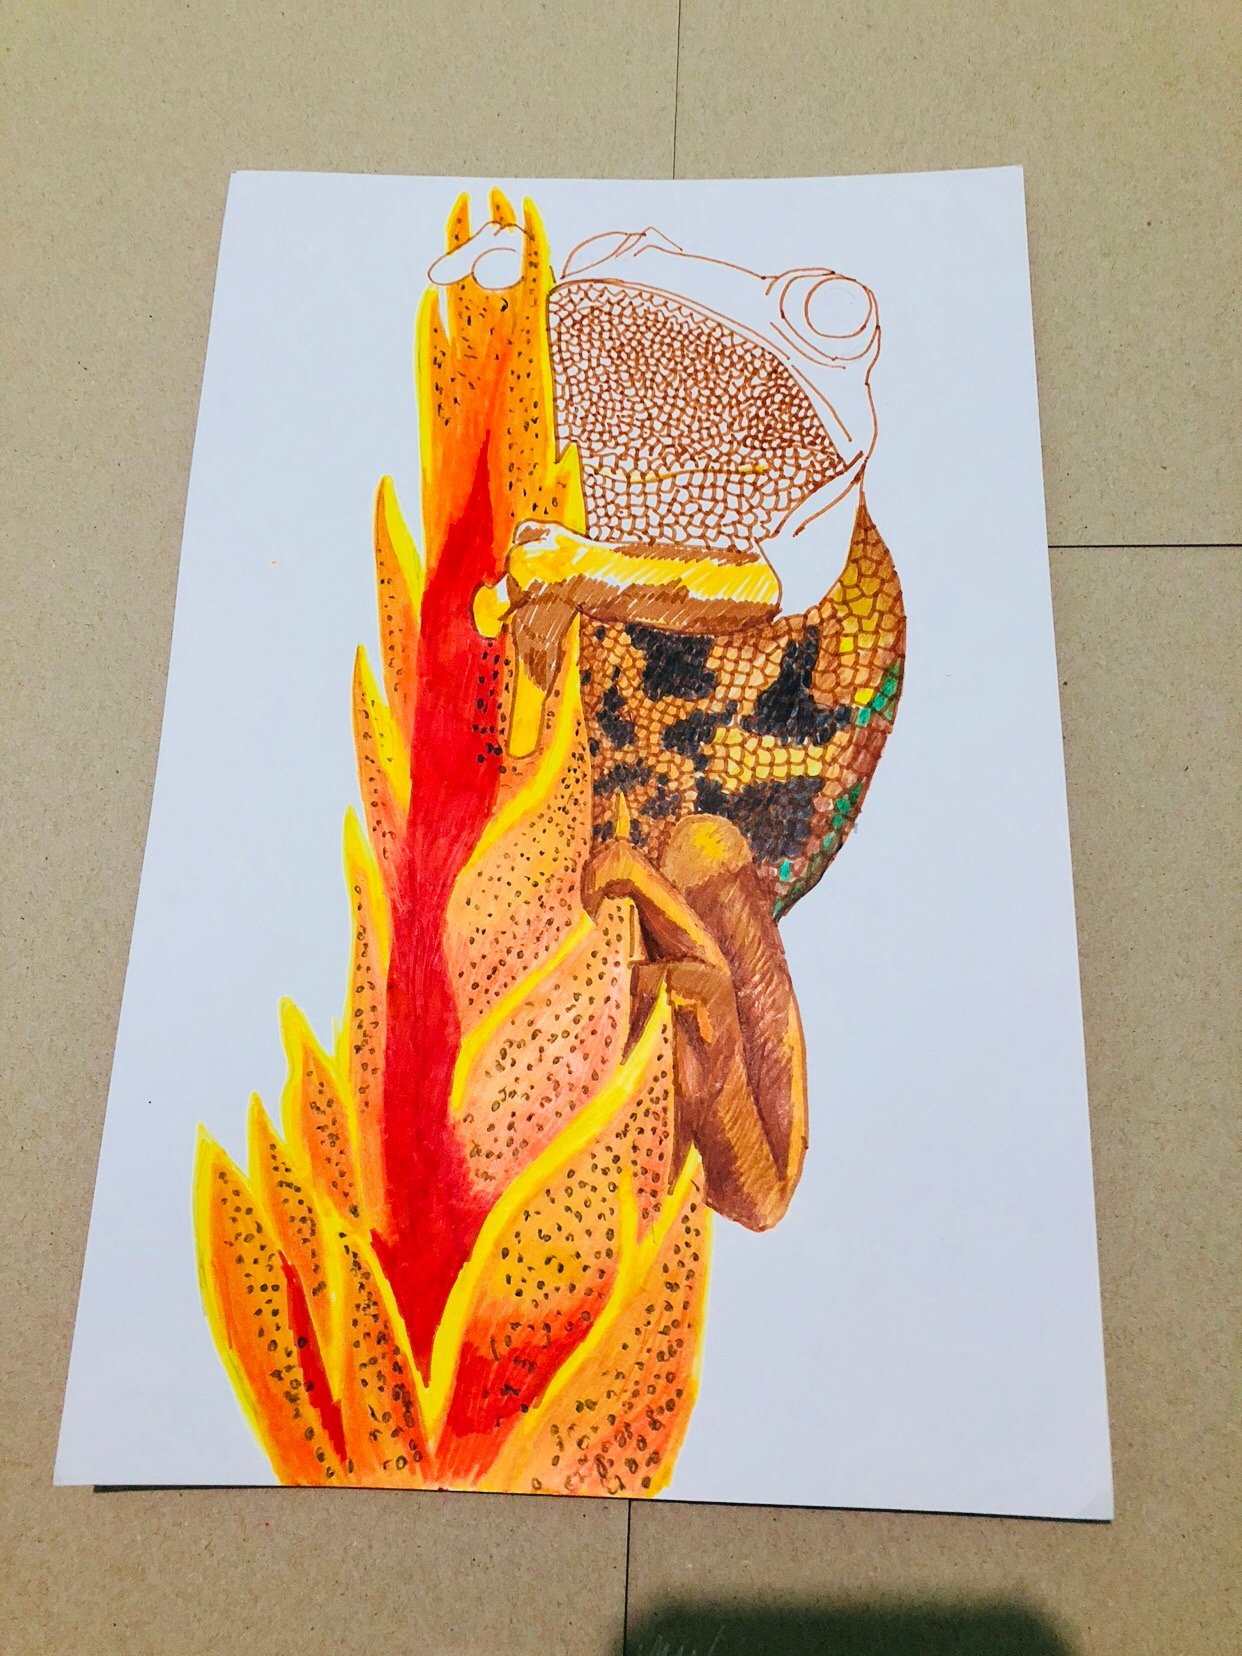
The next step is I used a color sketch pen as base of my drawing. This is done if you want to achieve vibrant colors with colorpencils. I usually choose a base color that is lighter compared to the color of the reference photo so that I can still play with it later on. Here I use yellow, orange and red orange to color this beautiful plant.
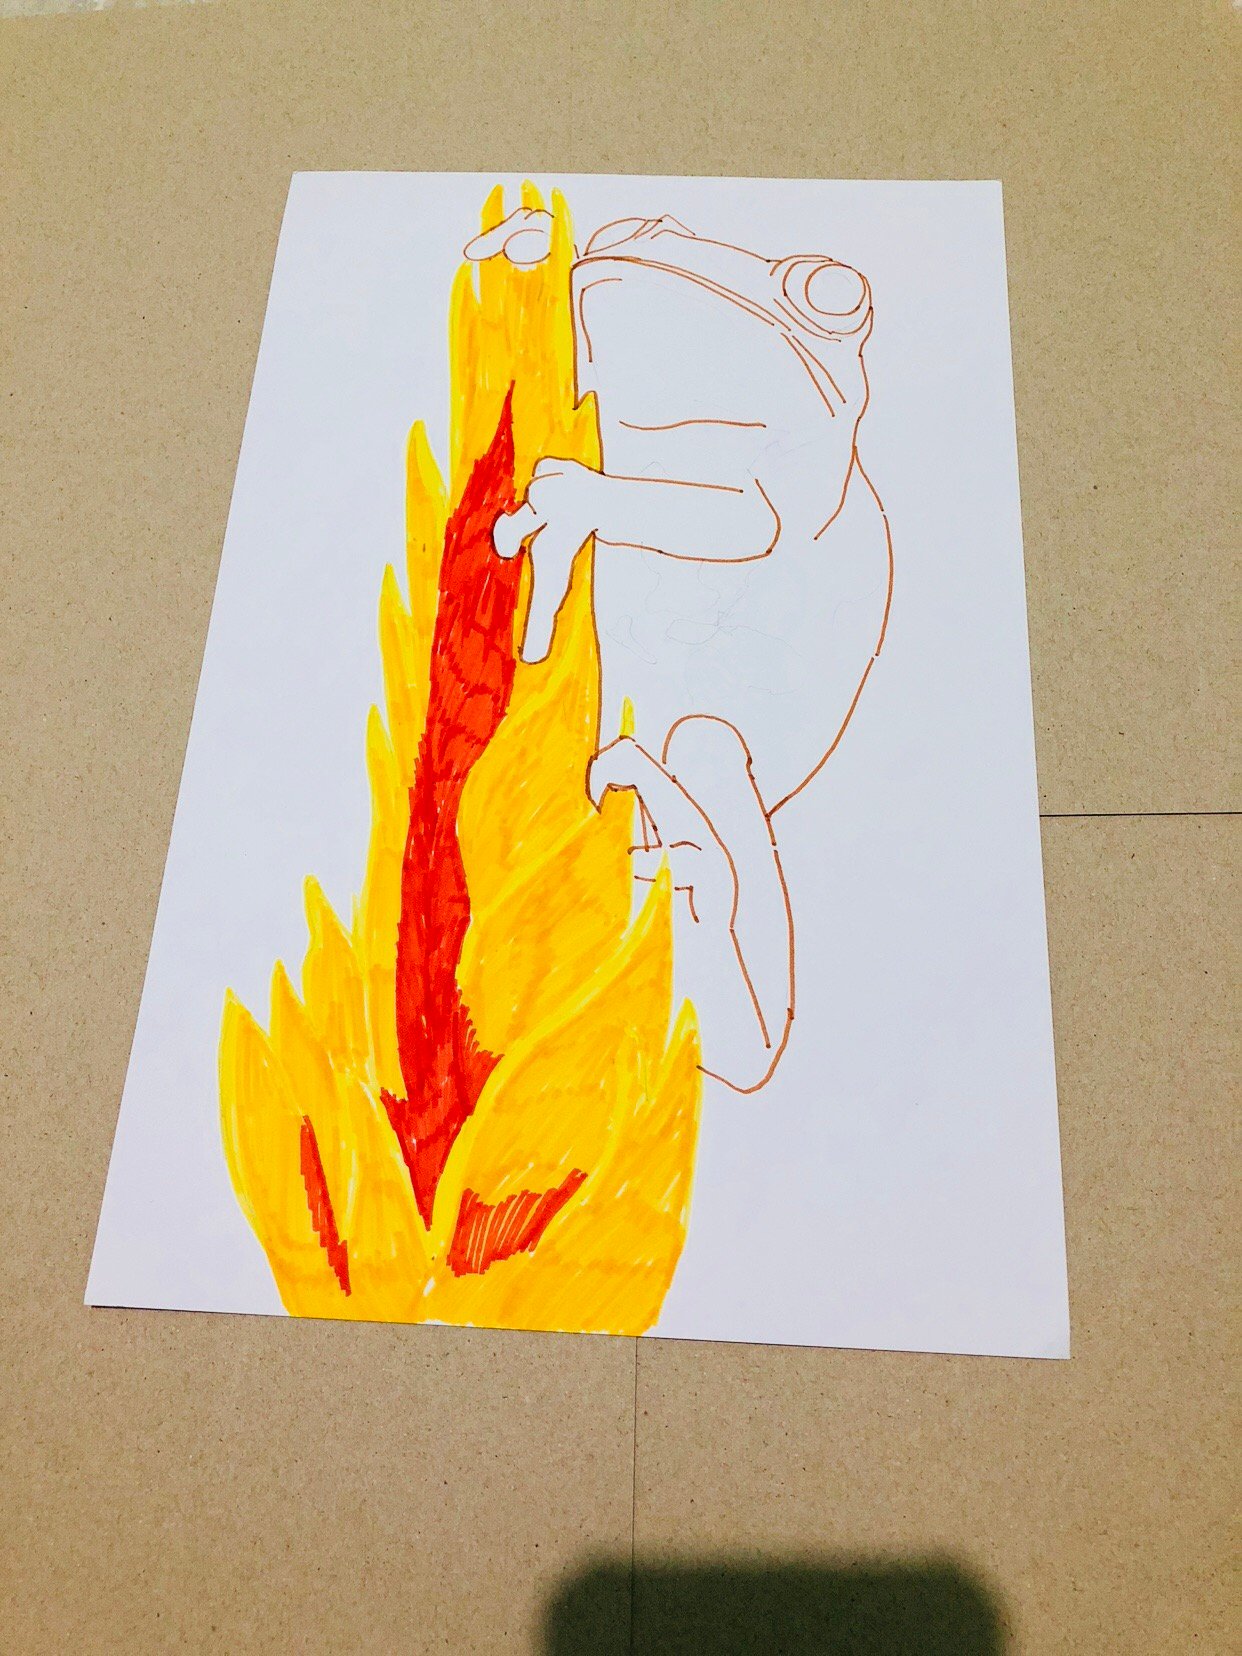
Then, I outlined the main subject using a light brown sketch pen. I did this so that it would be easy for me to know the limits of my coloring.
The next step I did was to put circle-like shapes on the belly of the peacock tree frog. I zoomed my reference photo to clearly see important details. And I found out, that the circles get bigger going to its arms and back. You have to be very keen to details so that you can get good results.
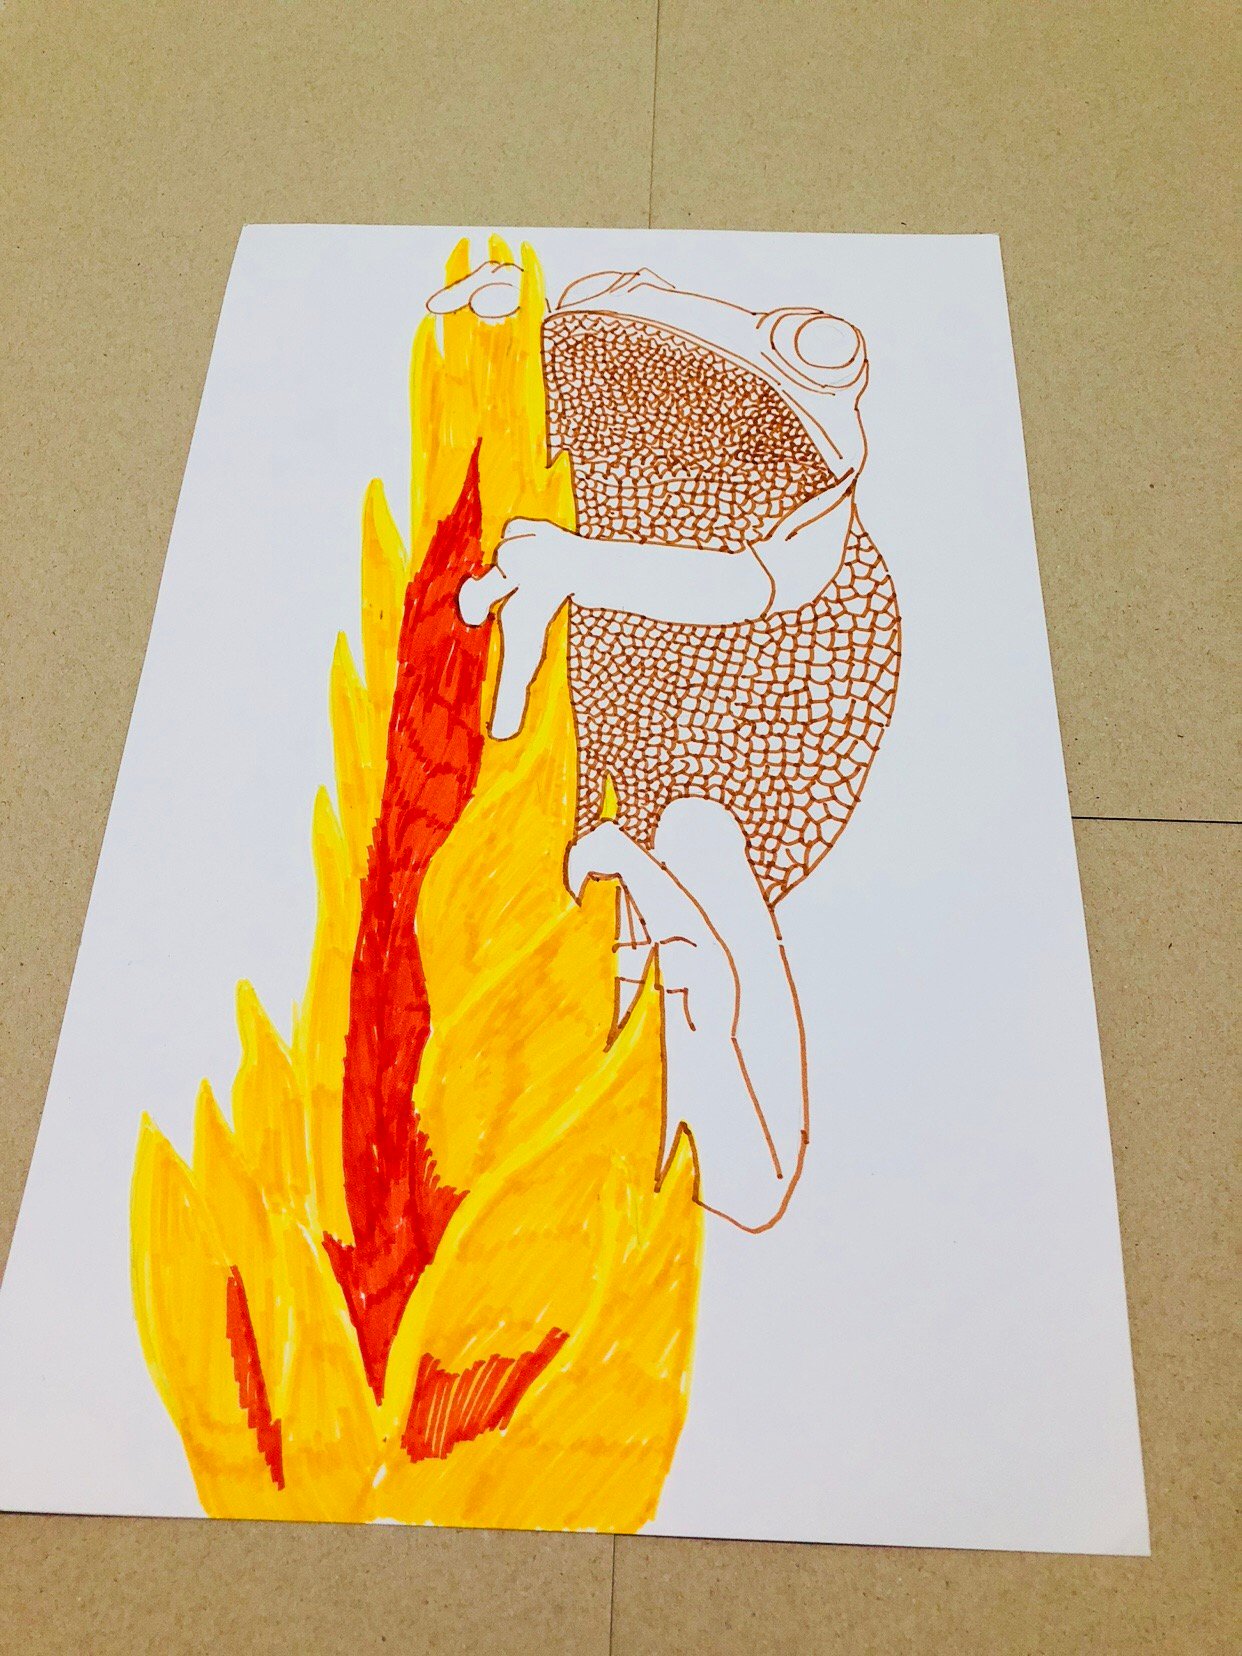
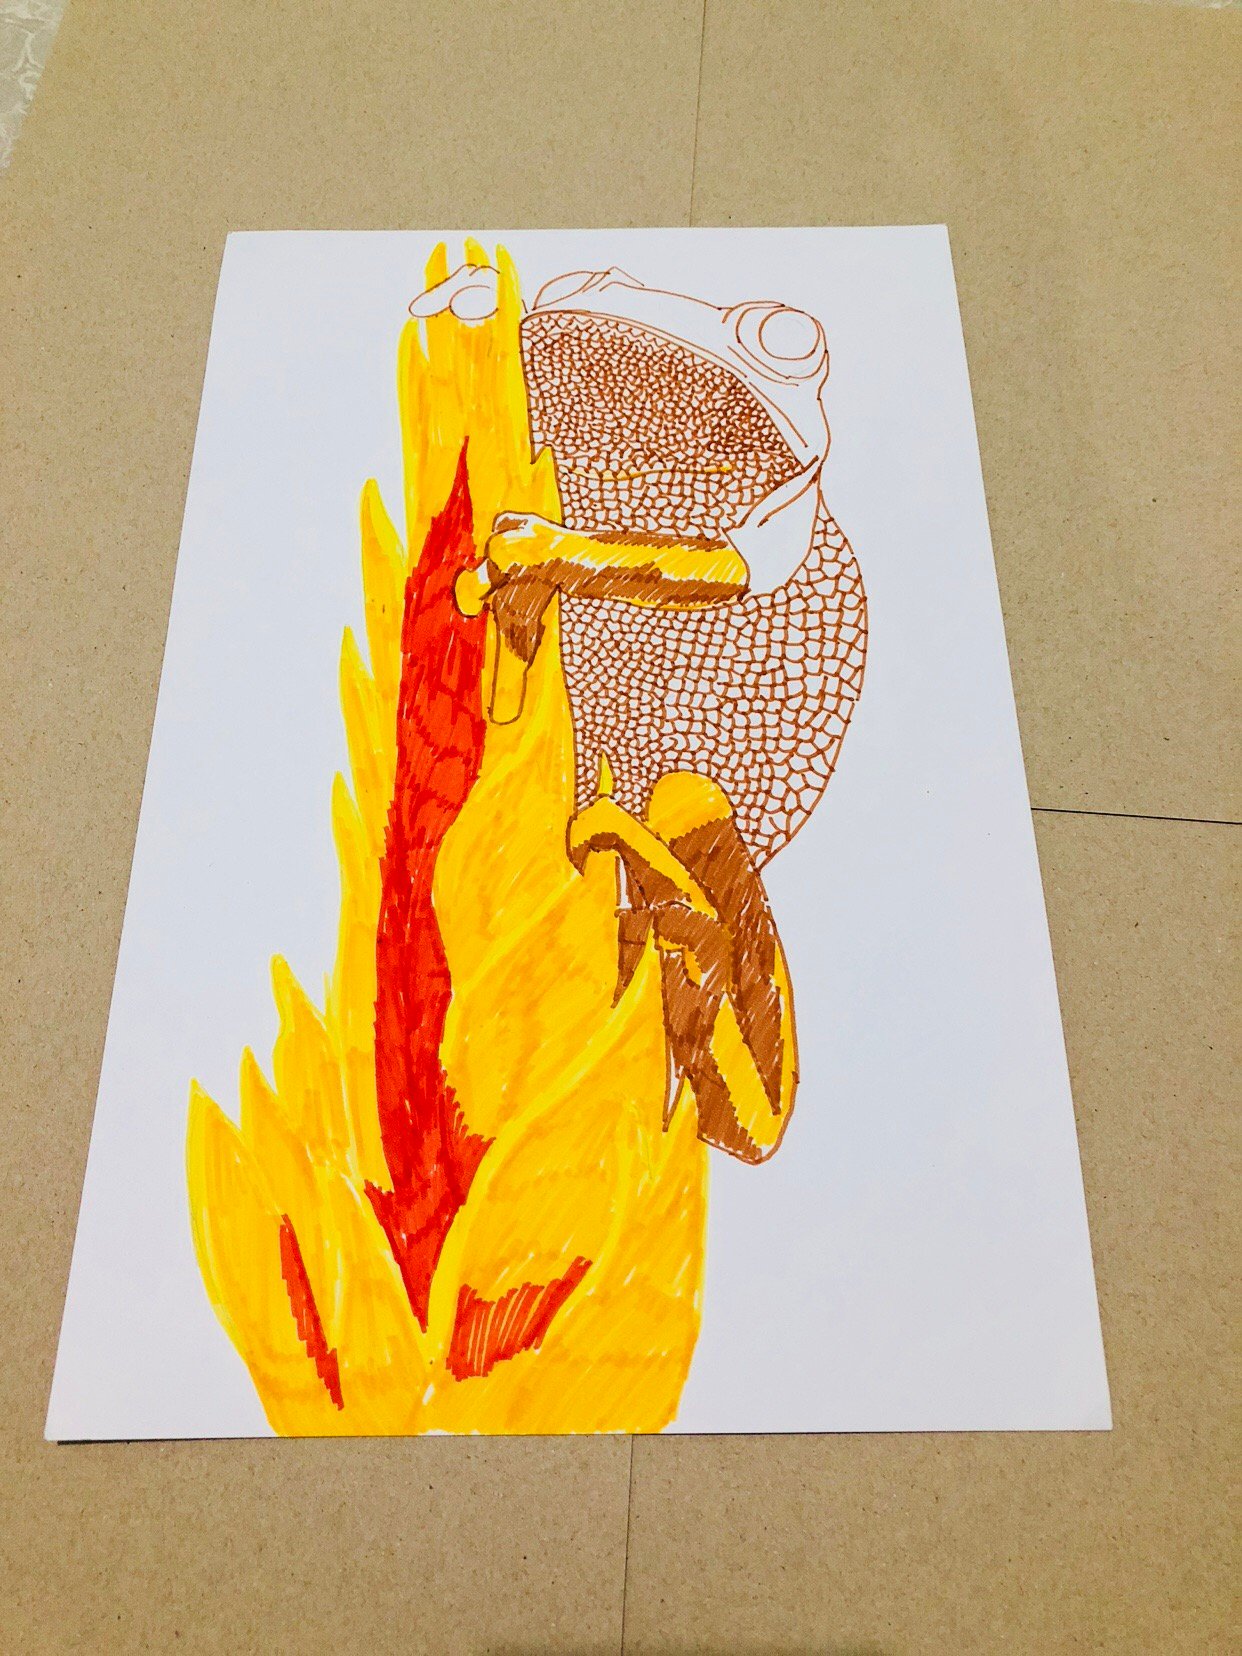
Then, I shaded the legs of the frog. Again, this is just a base color of the drawing so I selected a light color.
Then I went back to the colorful plant, this time I used a watercolor pencils. Look the output seems to be very vibrant and rich. Thus, it adds more beauty in the drawing.

Then I shaded/colored the body of the main subject using different colorpencils such as brown, green, black and yellow. Choosing the appropriate colors is very important so you better be very careful in this matter.
The next procedure I did was to apply the base color for the background. I did not finish the upper part of the frog because I find the details very difficult. So, I did first the easy thing because I surely would need a great time of study and analysis to that part. Again, in this step I added the base color of the background using a light green color sketch pen.
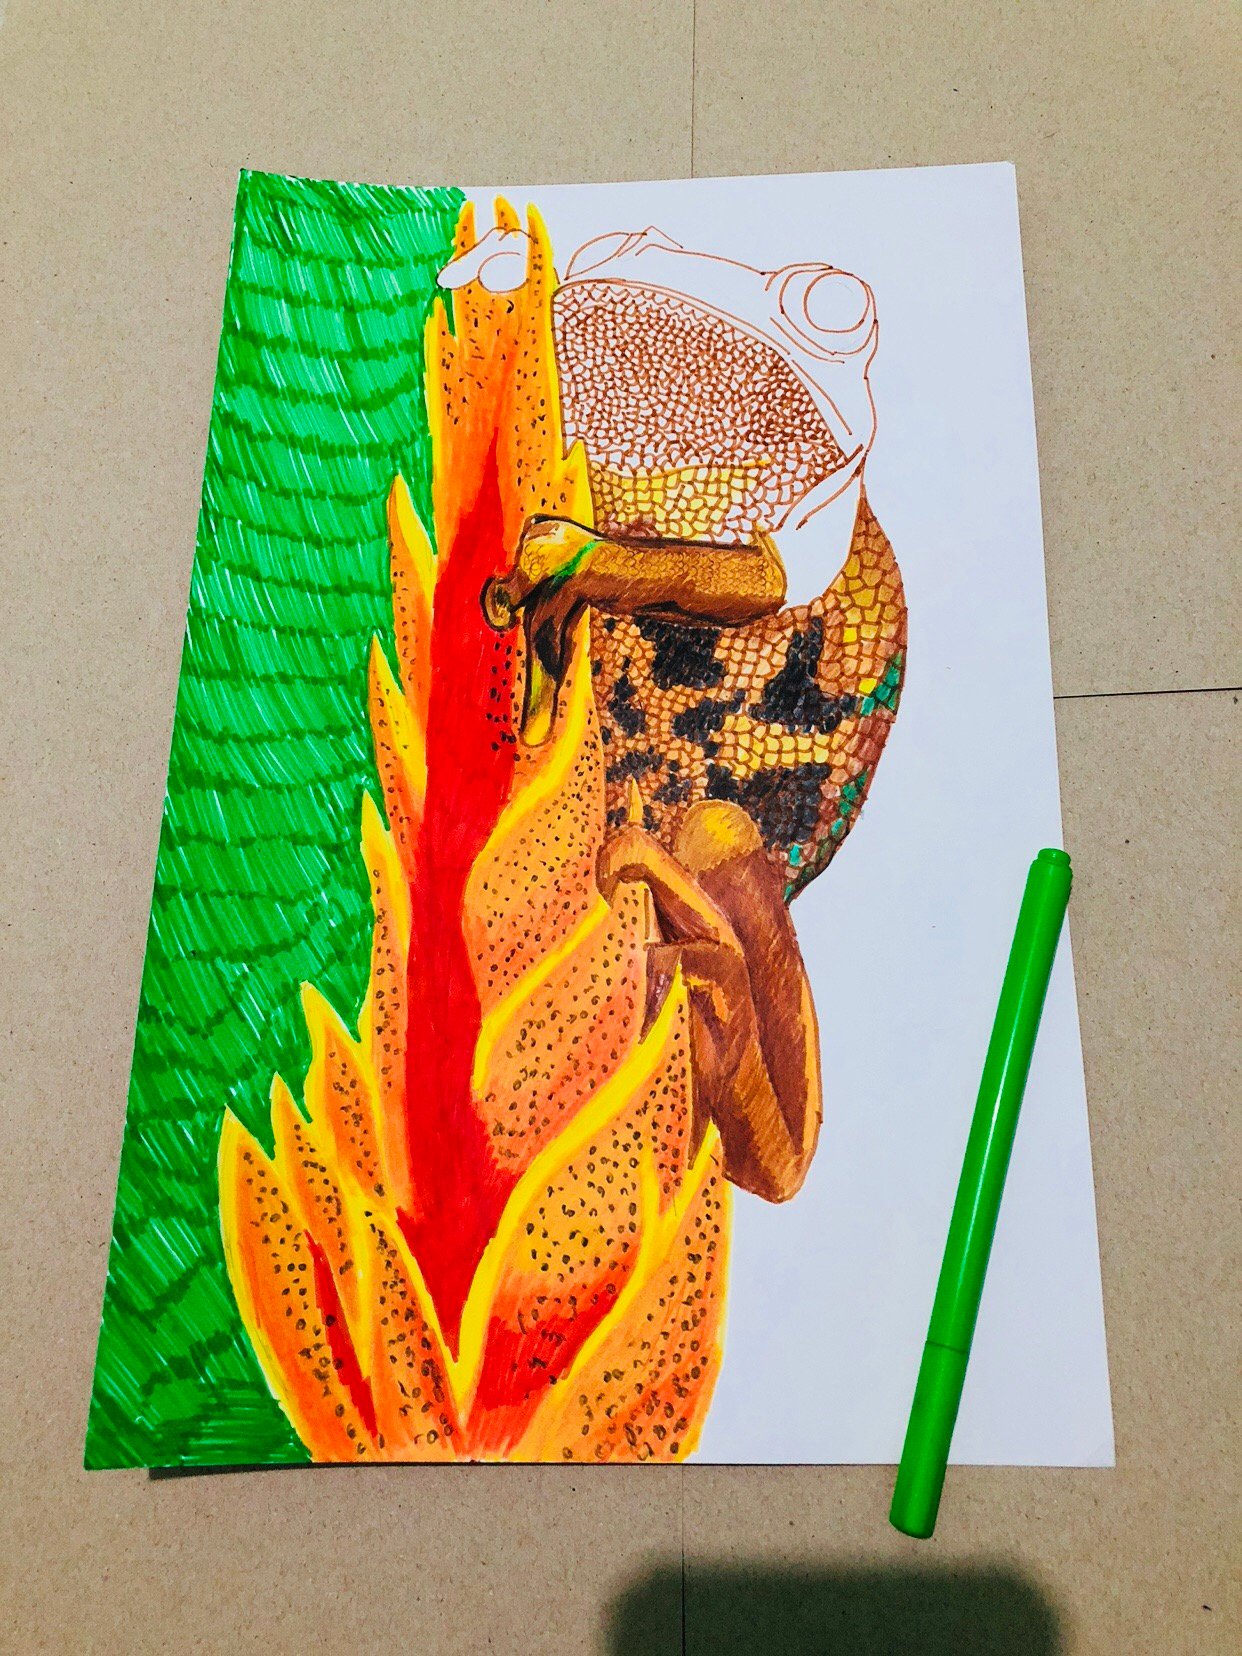
Right after that I added a green watercolor pencils for the background. To contrast the stroke I did with the color sketch pen, I used the upper-left to lower-right direction of the stroke. This is to create balance of the strokes and for easy applying of the second coat color.
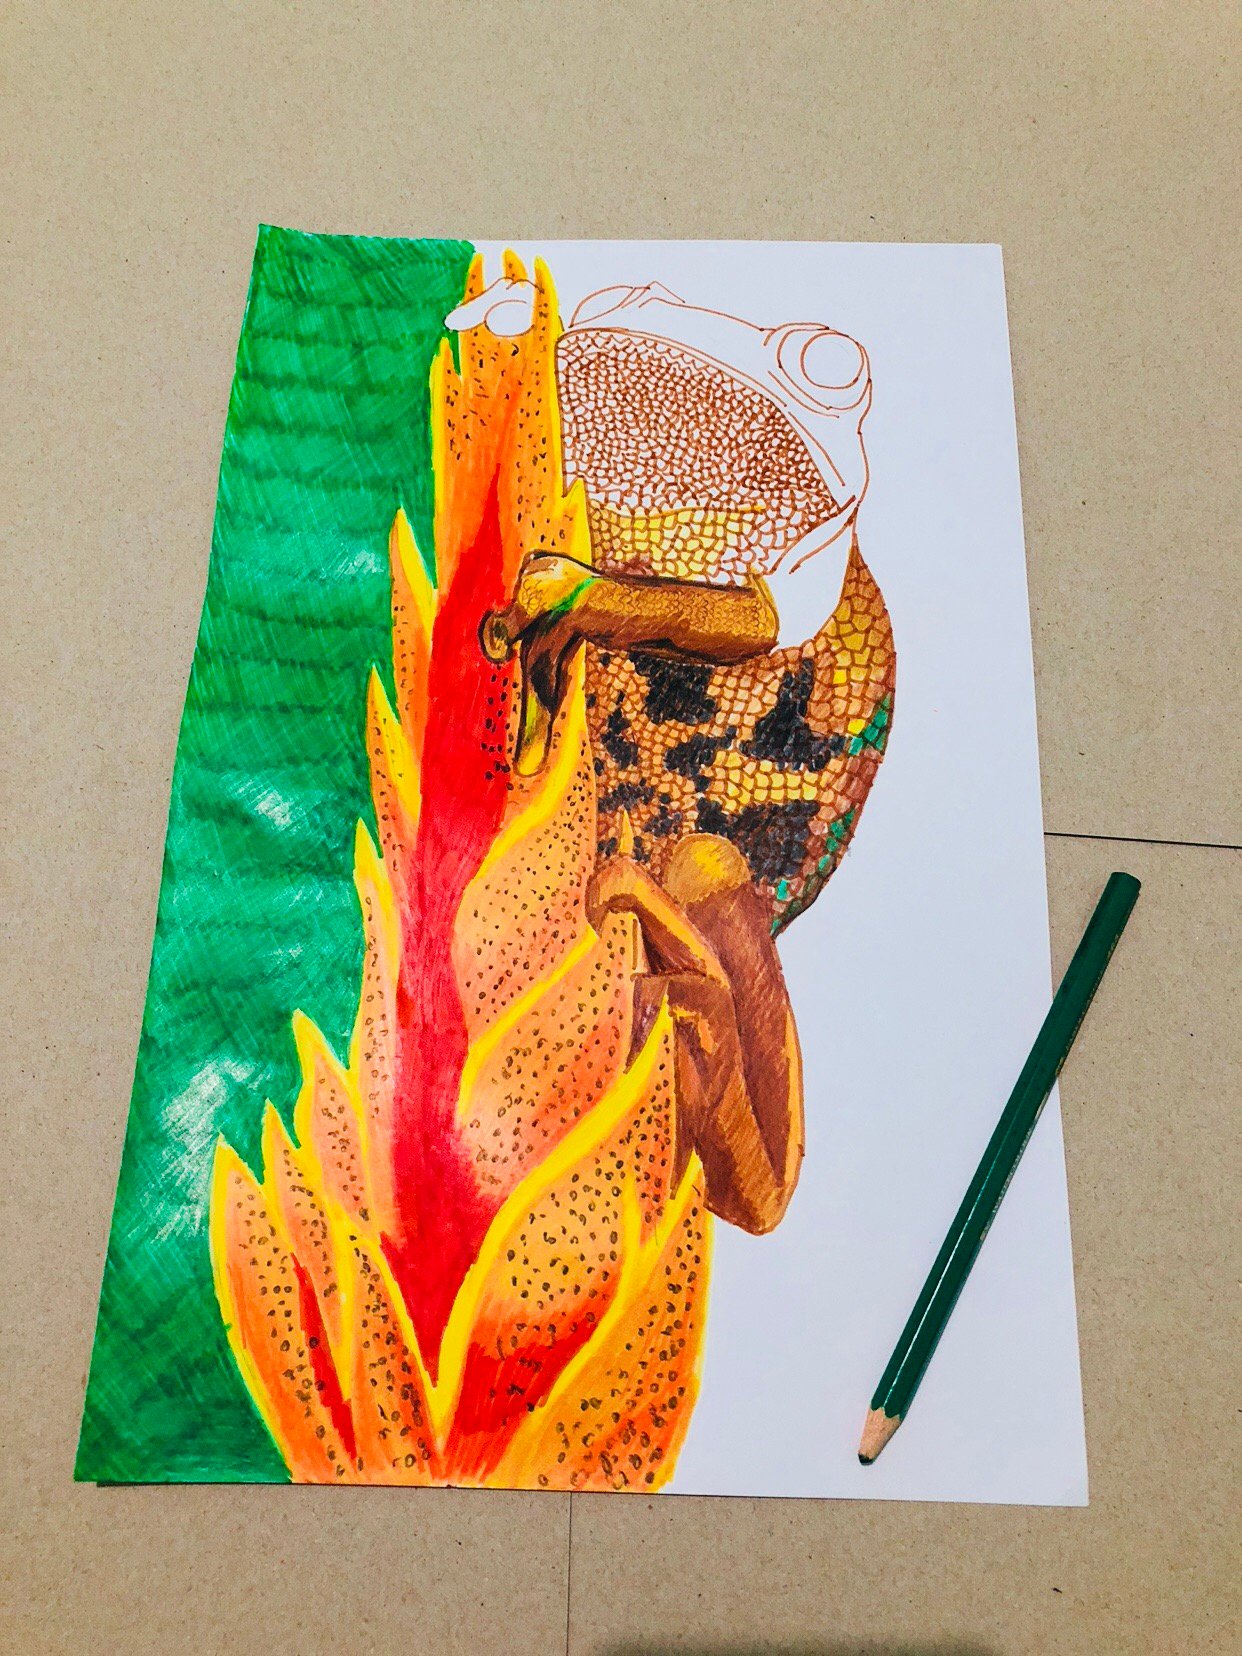
I repeated the previous two steps again for the other side. I used a green color sketch pen as base color for the background and then added the second coat.
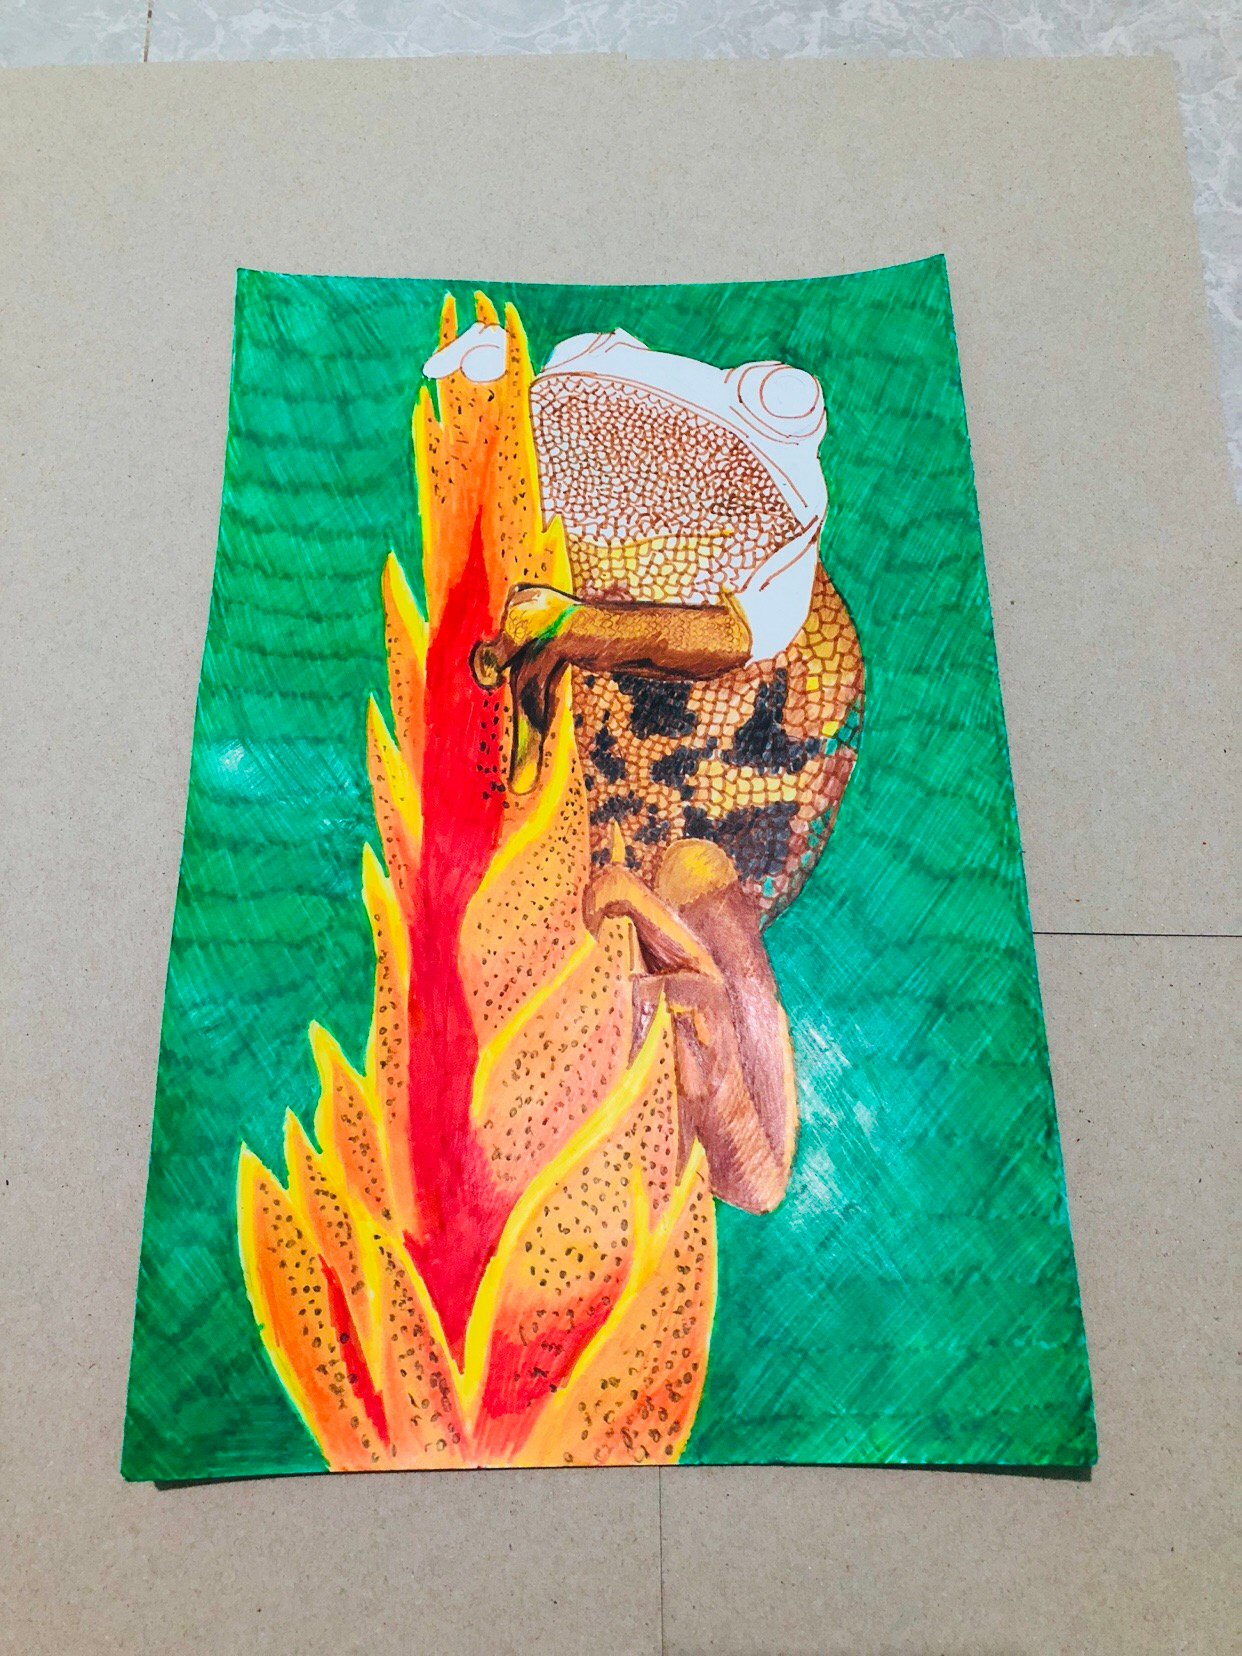
Now, we are heading to the head of the peacock tree frog. Kokak kokak kokak! Here I colored the eyes and the mouth using different colors. If you notice the paper seems to roll this is because of the pressure I put in while coloring. But do not worry because that can be fixed! Instead, celebrate because we are finally done! Congratulations!
FINAL WORDS
I hope you had fun reading this blog. If you like it please do not forget to upvote. Also, if you have some thoughts in mind, please let me know by commenting it below. Lastly, if you want to see more art blogs from me, you can click any number below:
67 66 65 64 63 62 61 60 59 58 57 56 55 54 53 52 51 50 49 48 47 46 45 44 43 42 41 40 39 38 37 36 35 34 33 32 31 30 29 28 27 26 25 24 23 22 21 20 19 18 17 16 15 14 13 12 11 10 09 08 07 06 05 04 03 02 01