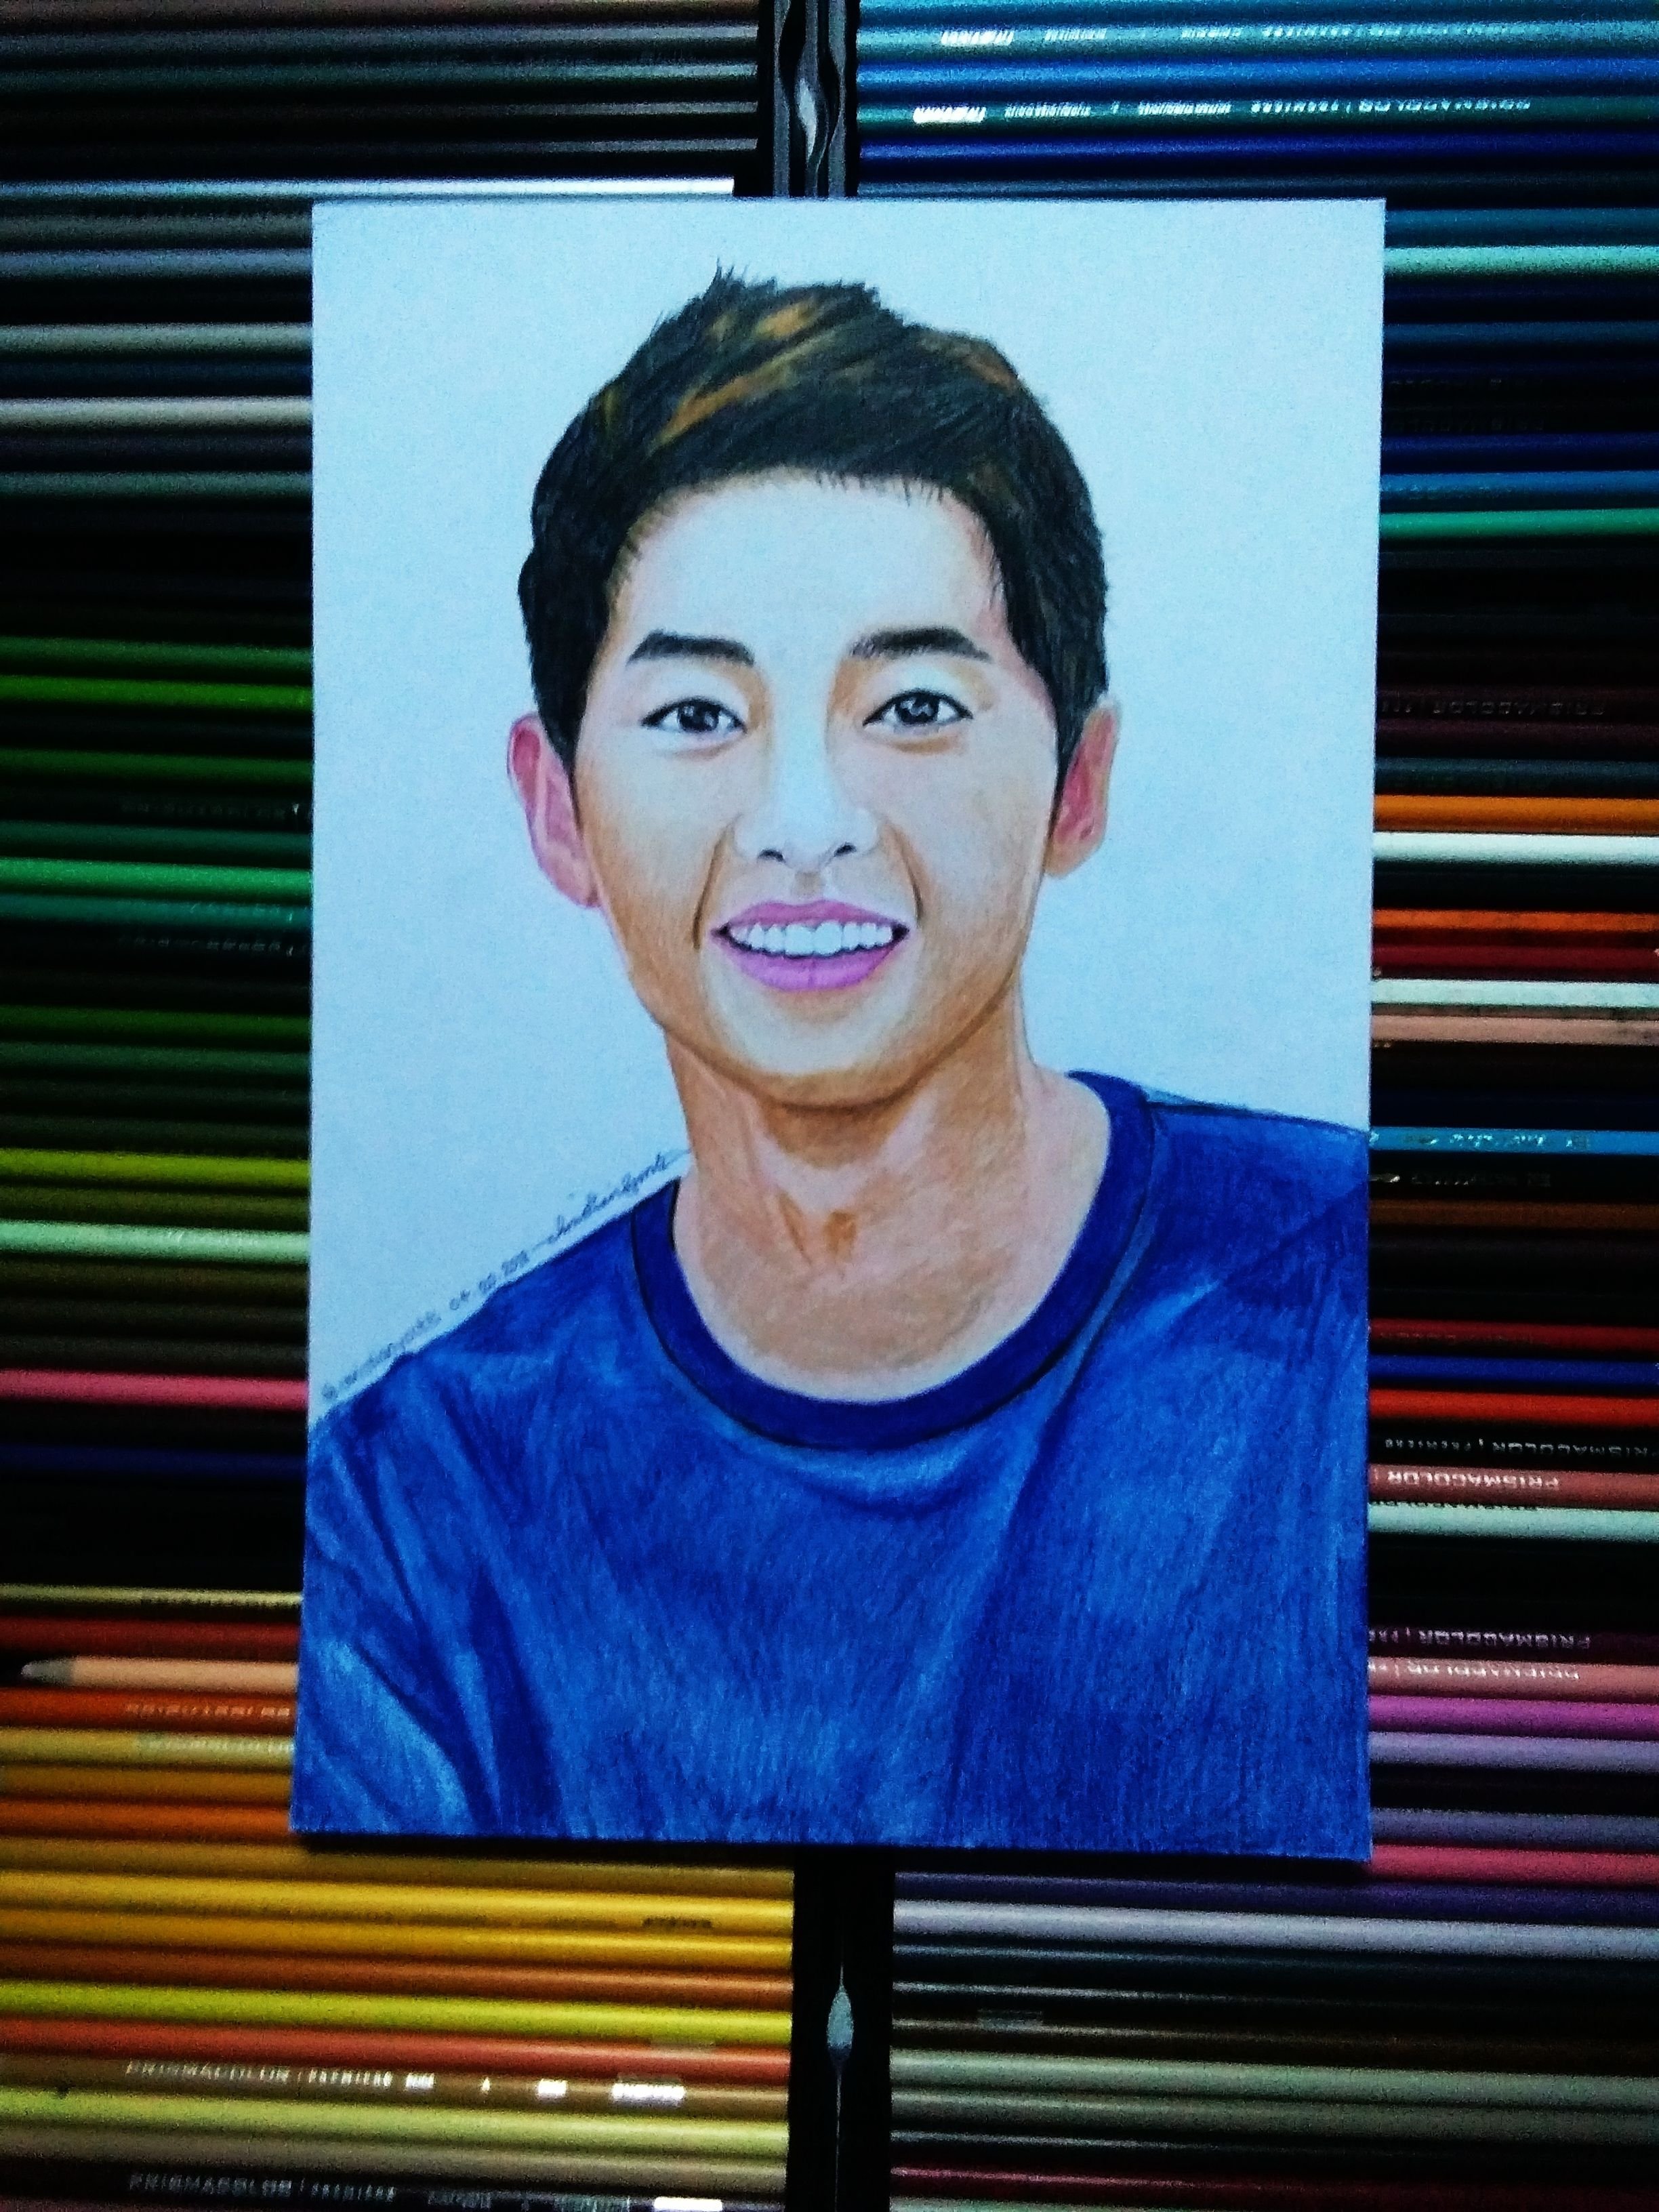
My Soong Jong Ki Drawing
By: @christianyocte
Since my last drawing of Chanyeol of Exo I receive many requests that I will draw their favorite star or idol. I was very happy because they will of course pay for it. I only ask 500.00 for this drawing. However, I also give discounts to my friends (20% off) and students (20% off). Anyway, I am not really working when I do my creations, I am enjoying it.
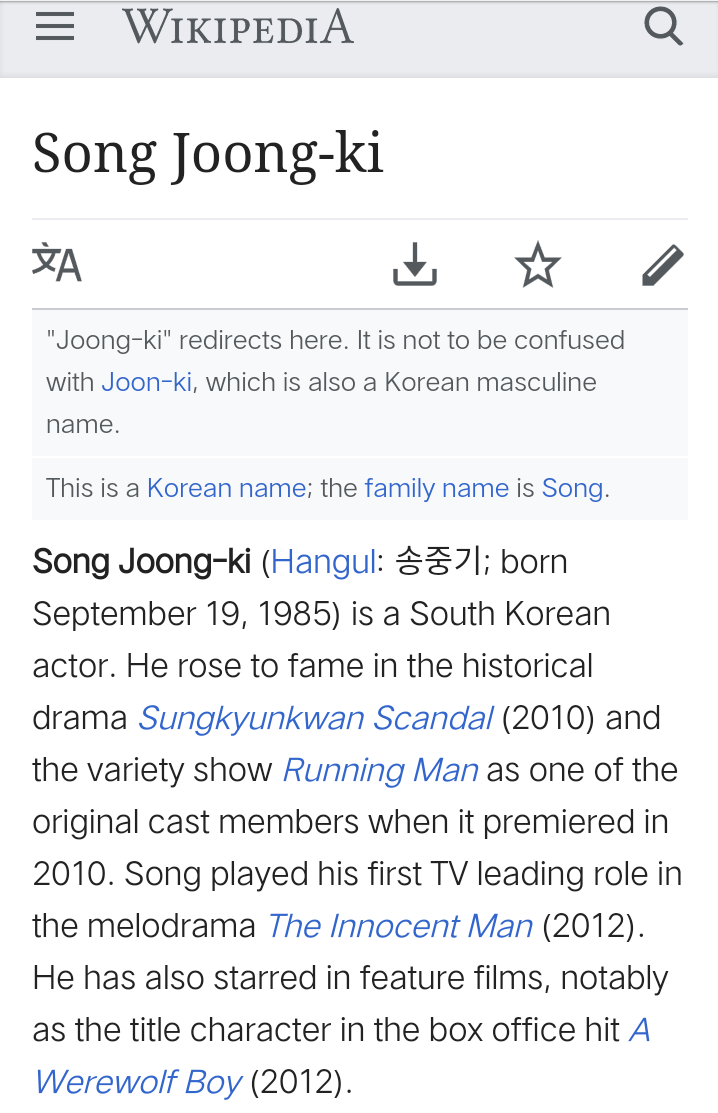
Song Joong Ki is the fourth Korean idol I have drawn and shared here in Steemit. Clearly because Filipinos love KPop and KDrama, and Koreans in general. I know only very little about this Korean artist but I have also watched his very popular show entitled Decendants of the Sun which is a big hit here in the Philippines. Also, I have known in the news that he married his love-partner in that show in real life.
I want to give you more details about him so I took a screenshot from wikipedia.com about Song Joong Ki. And here it is:
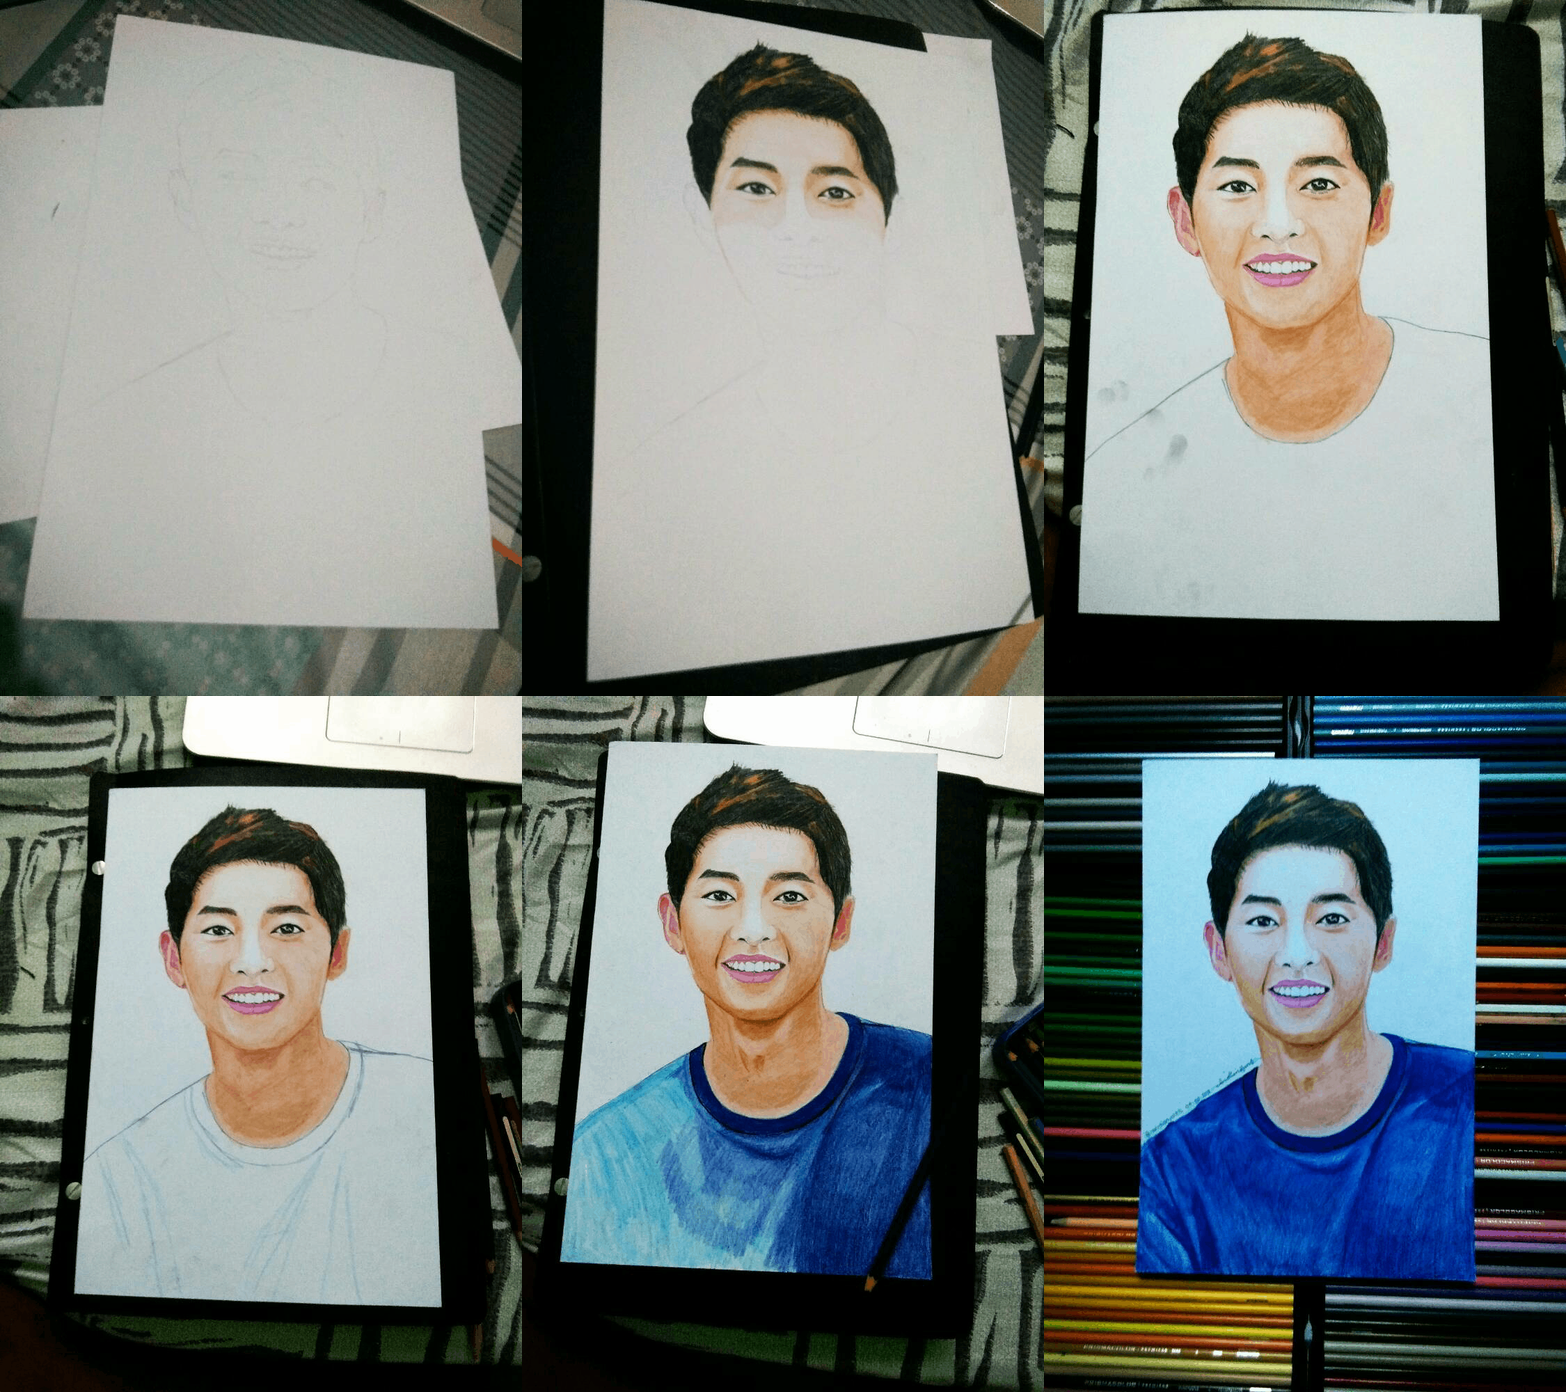
However, I want this to appear as an art blog. So, I documented the drawing process. I made a GIF of it in case you don't prefer the lengthy process which you will see below this GIF:
| Process | Photo |
|---|---|
| Prepare the materials first. I used a pencil, colour pencils, vellum board, eraser and pencil sharpener. | 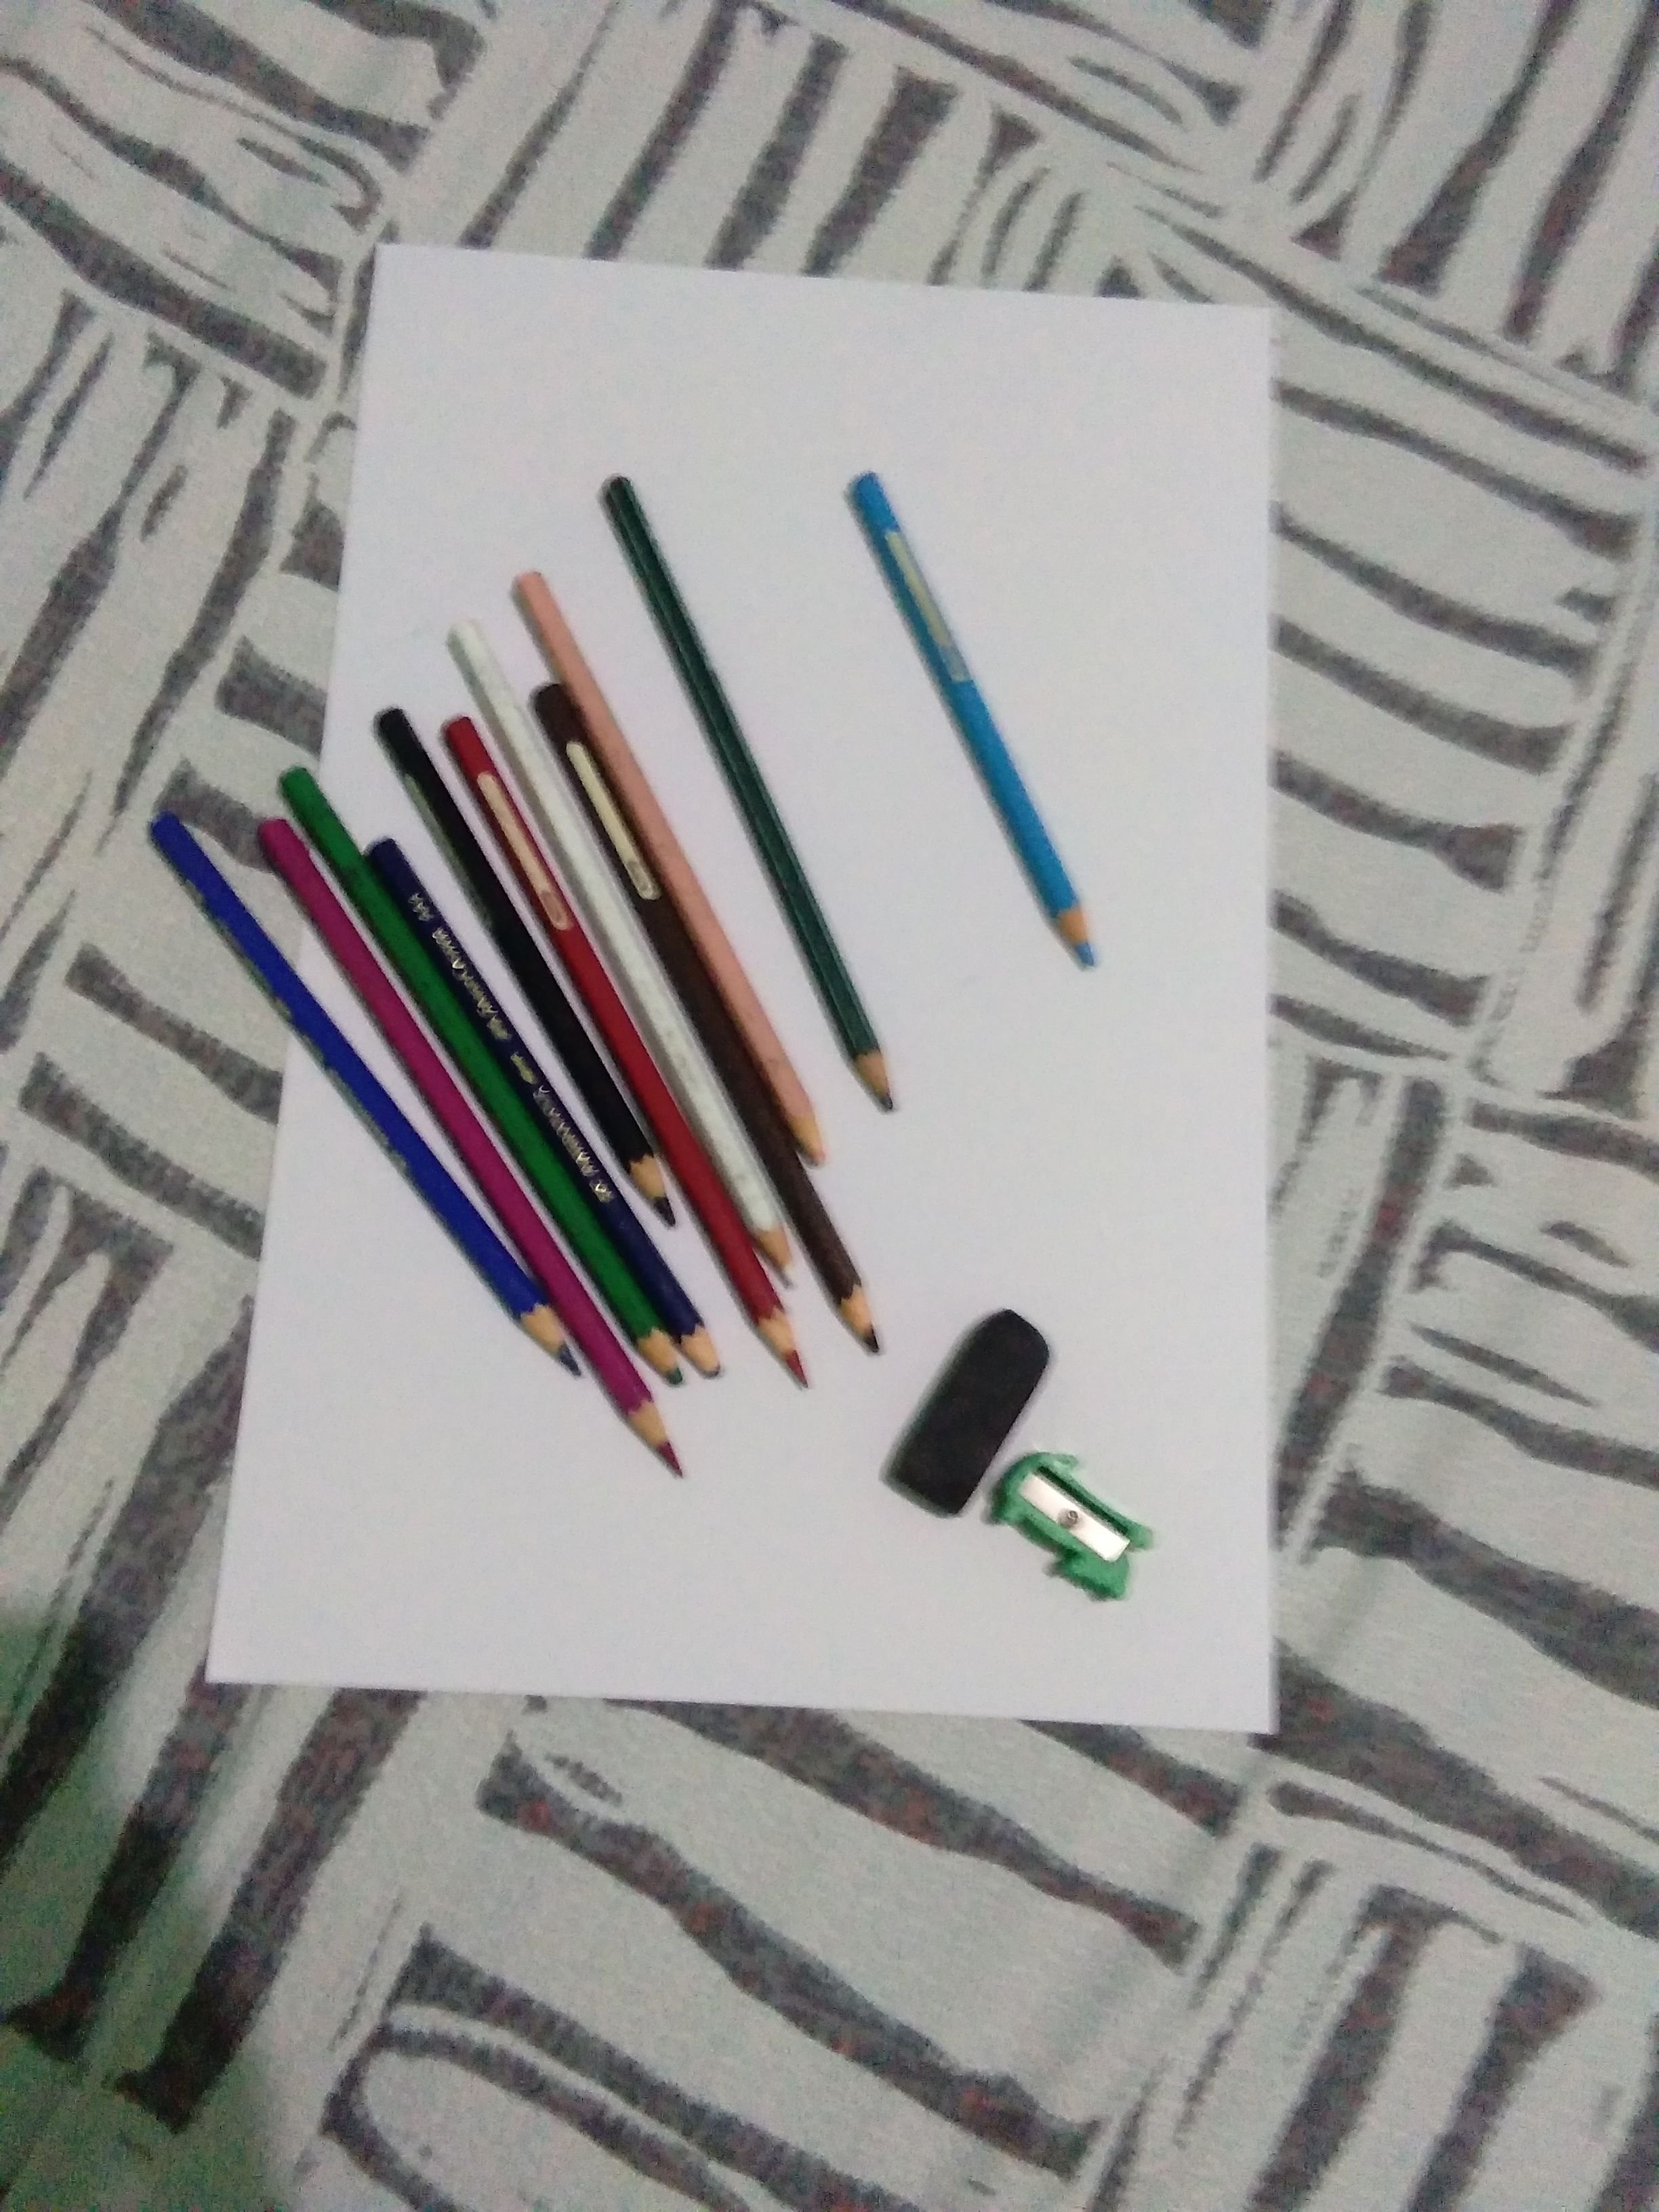 |
| Draw the outline of your subject using graphite pencils. Do not apply too much pressure when doing this for easy erasing | 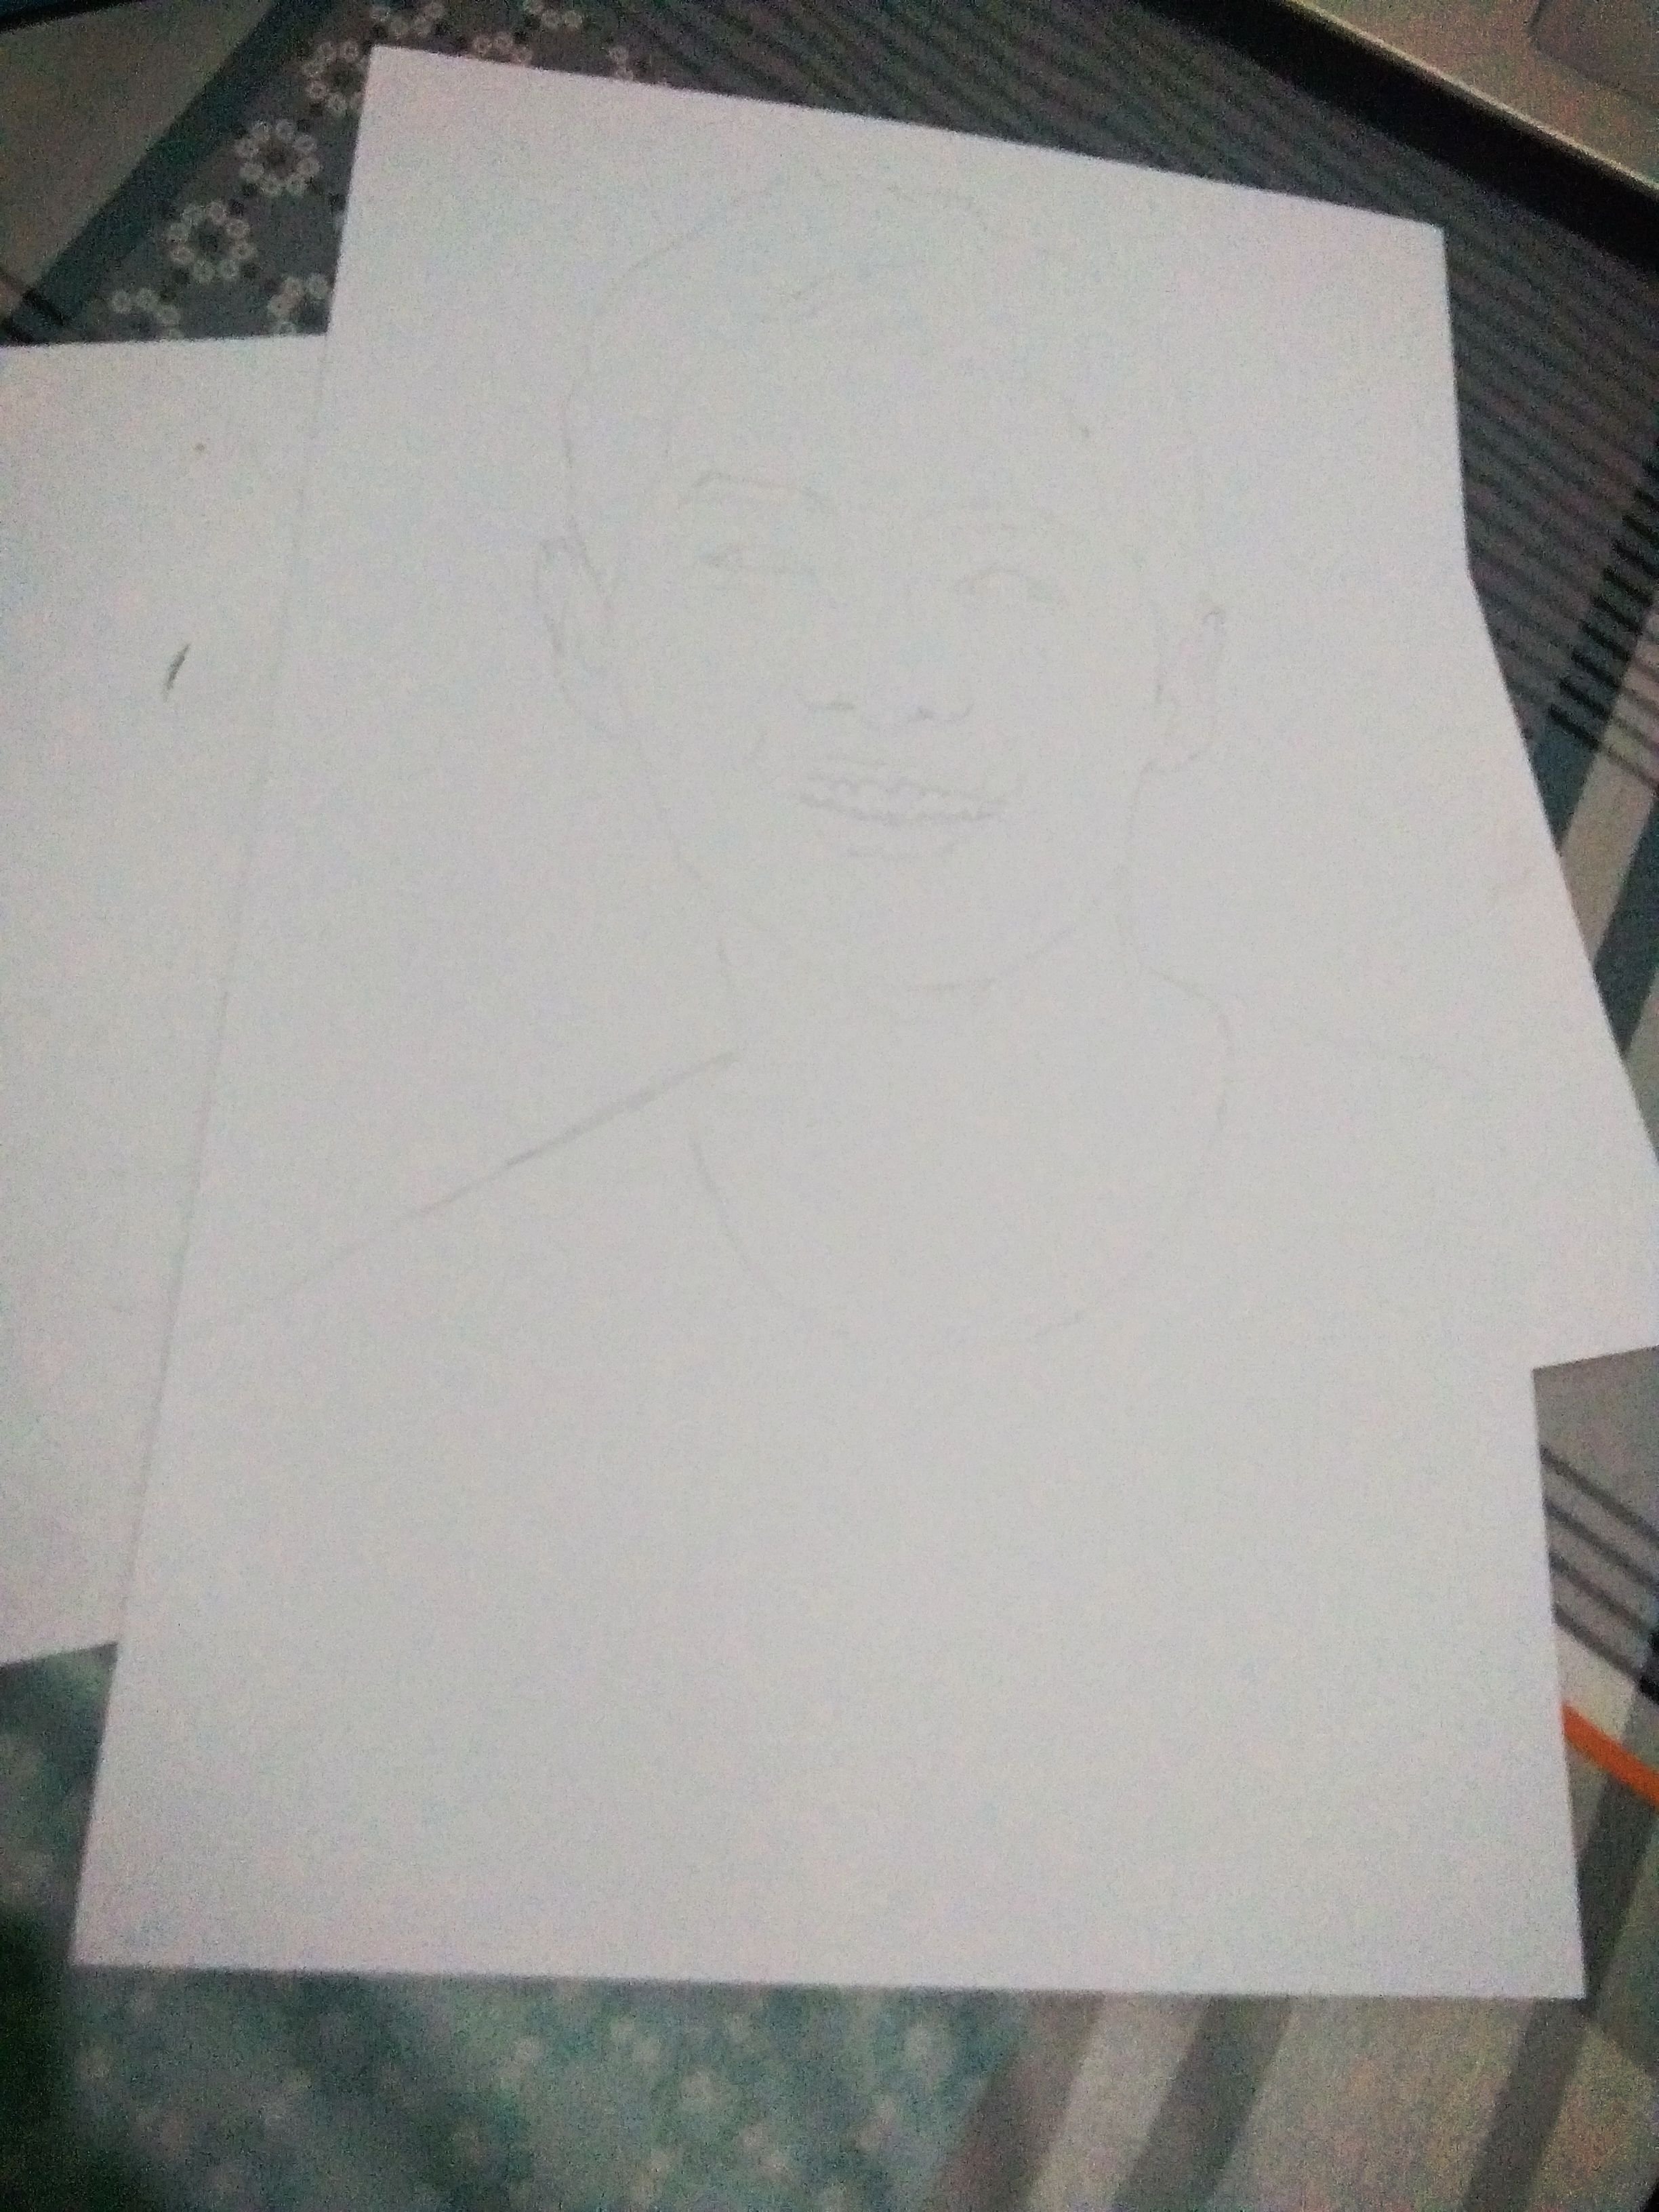 |
| Draw the hair of Song Joong Ki. I am lucky enough that he has a simple hair style here. So, the begginerd can choose simple reference first before going to the complicated subject. | 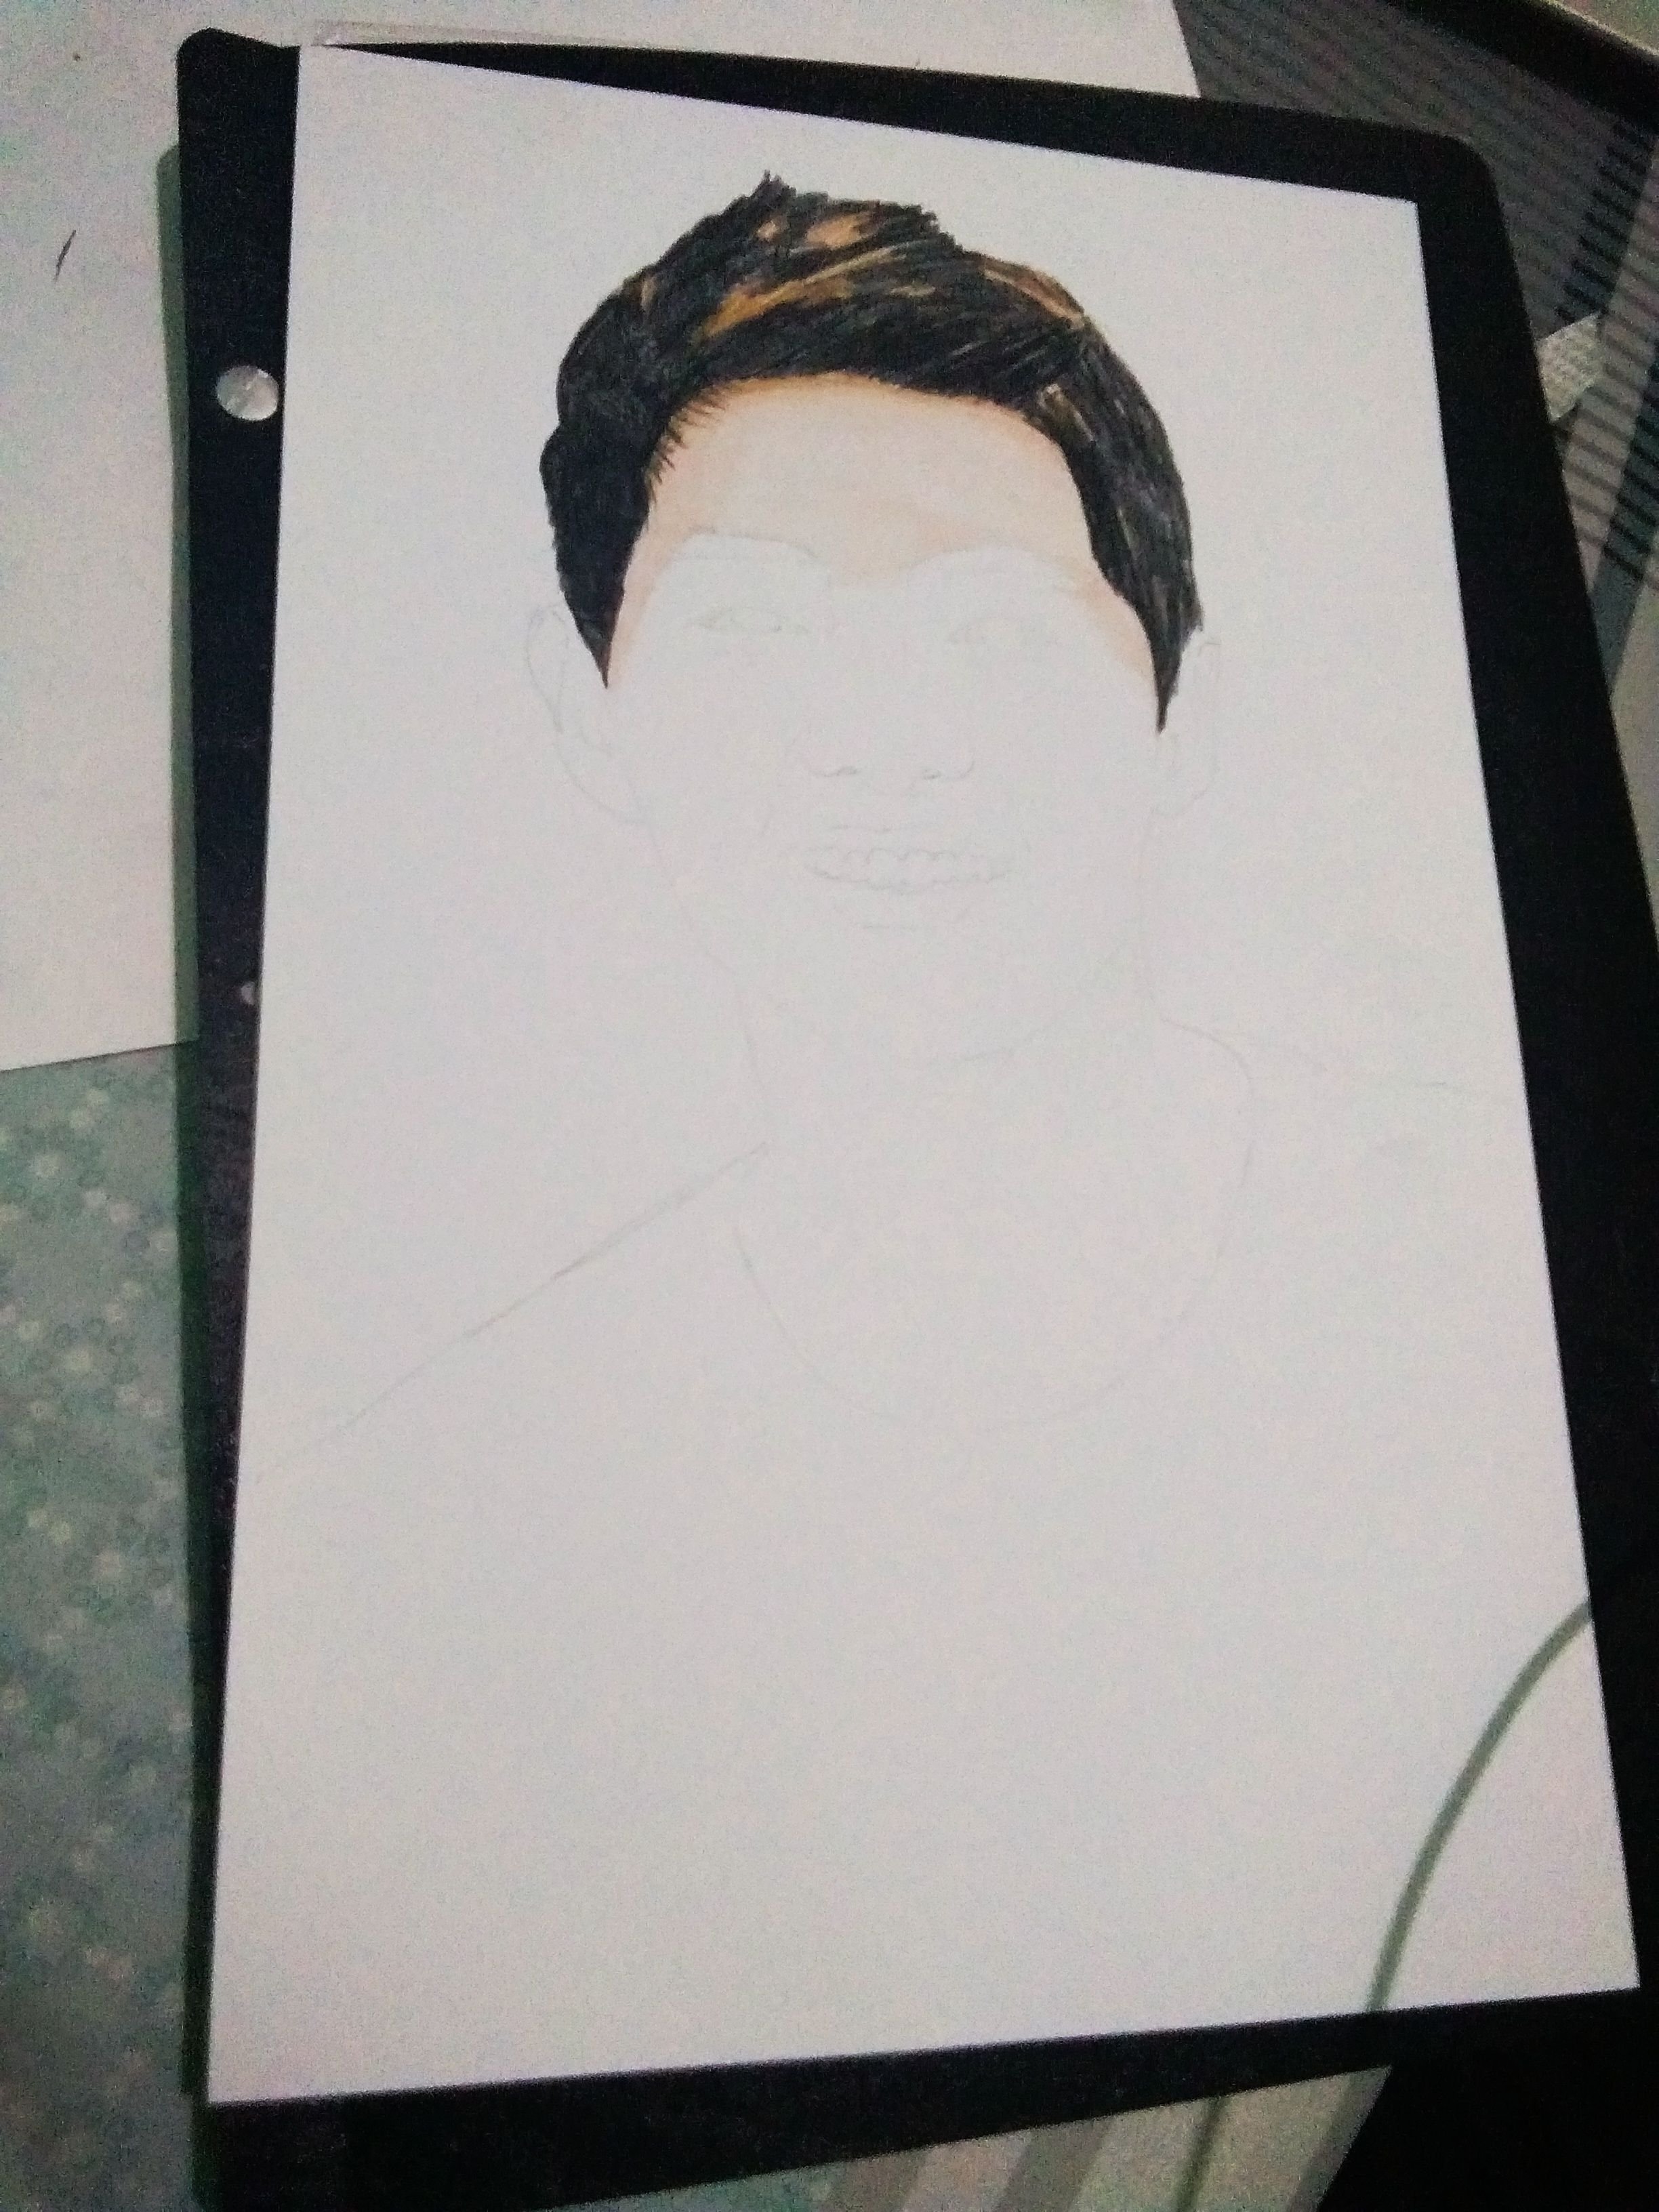 |
| Draw the face. The most important thing that you have to consider is the skin. Use the appropriate colour pencils for the skin. I also suggest that you start with the light shade first. | 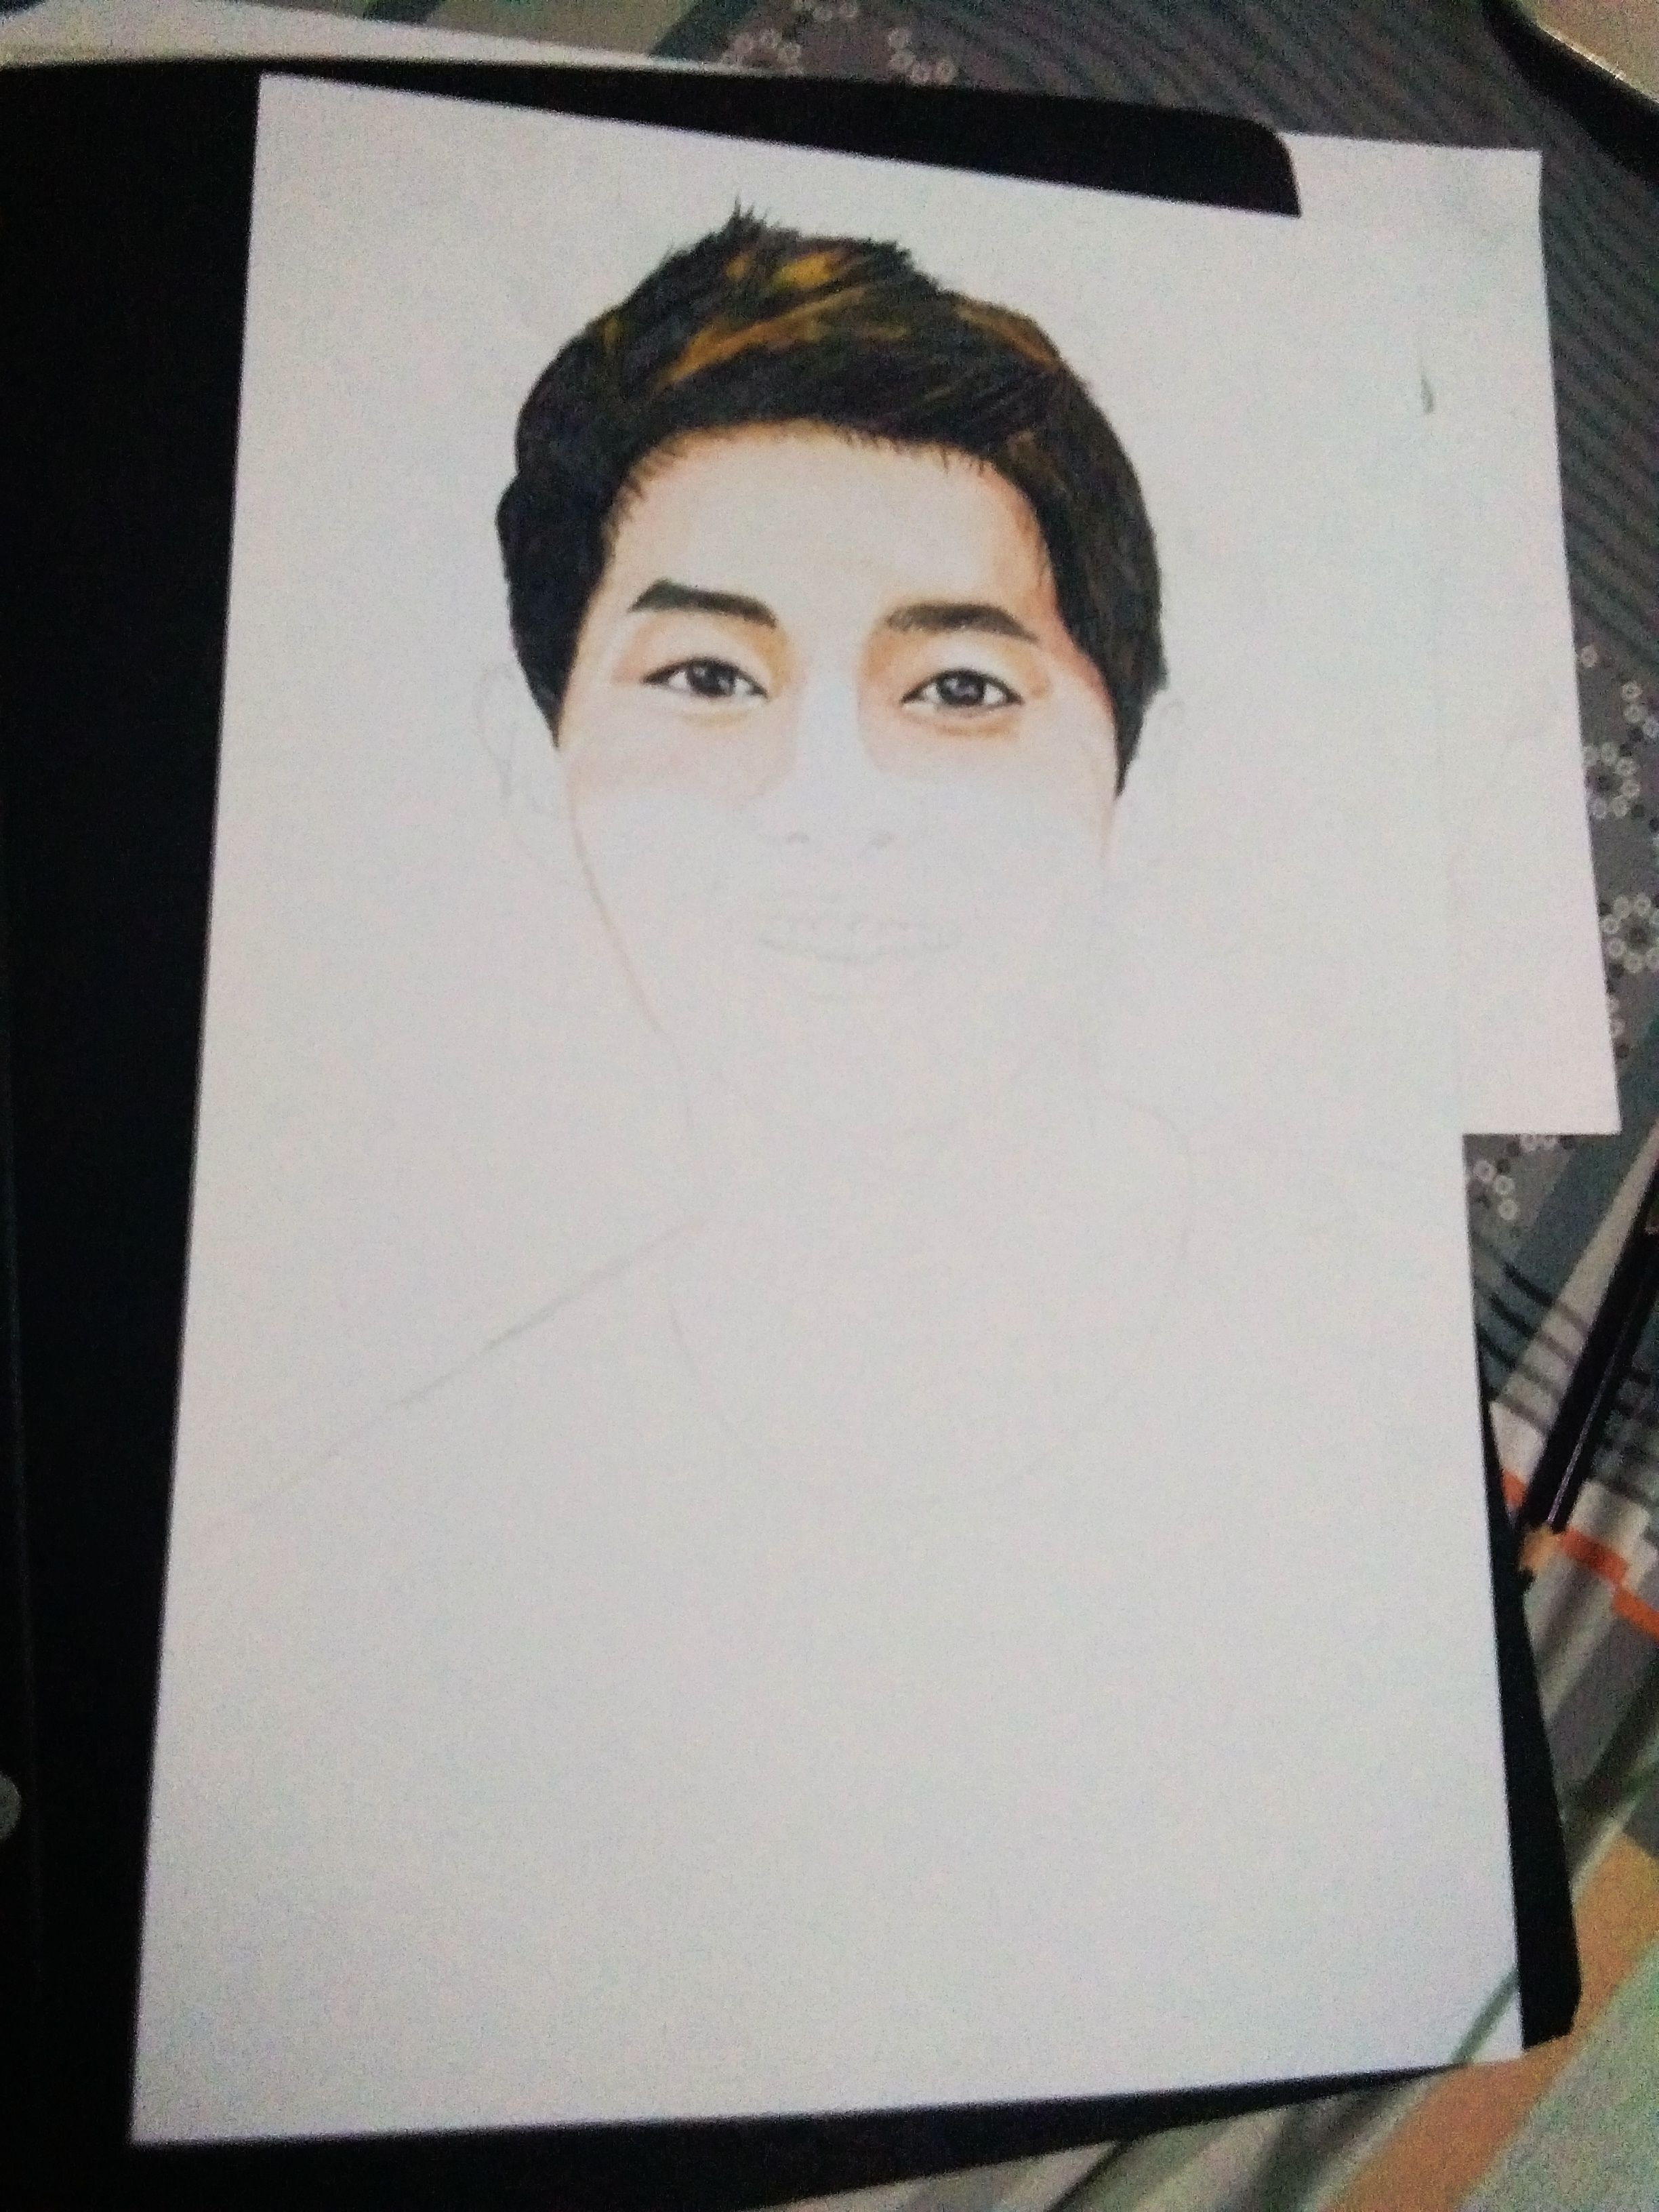 |
| Draw the ears and start with the neck. If you notice, the direction of my drawing is going down that is because I do not want to get my drawing messed up. | 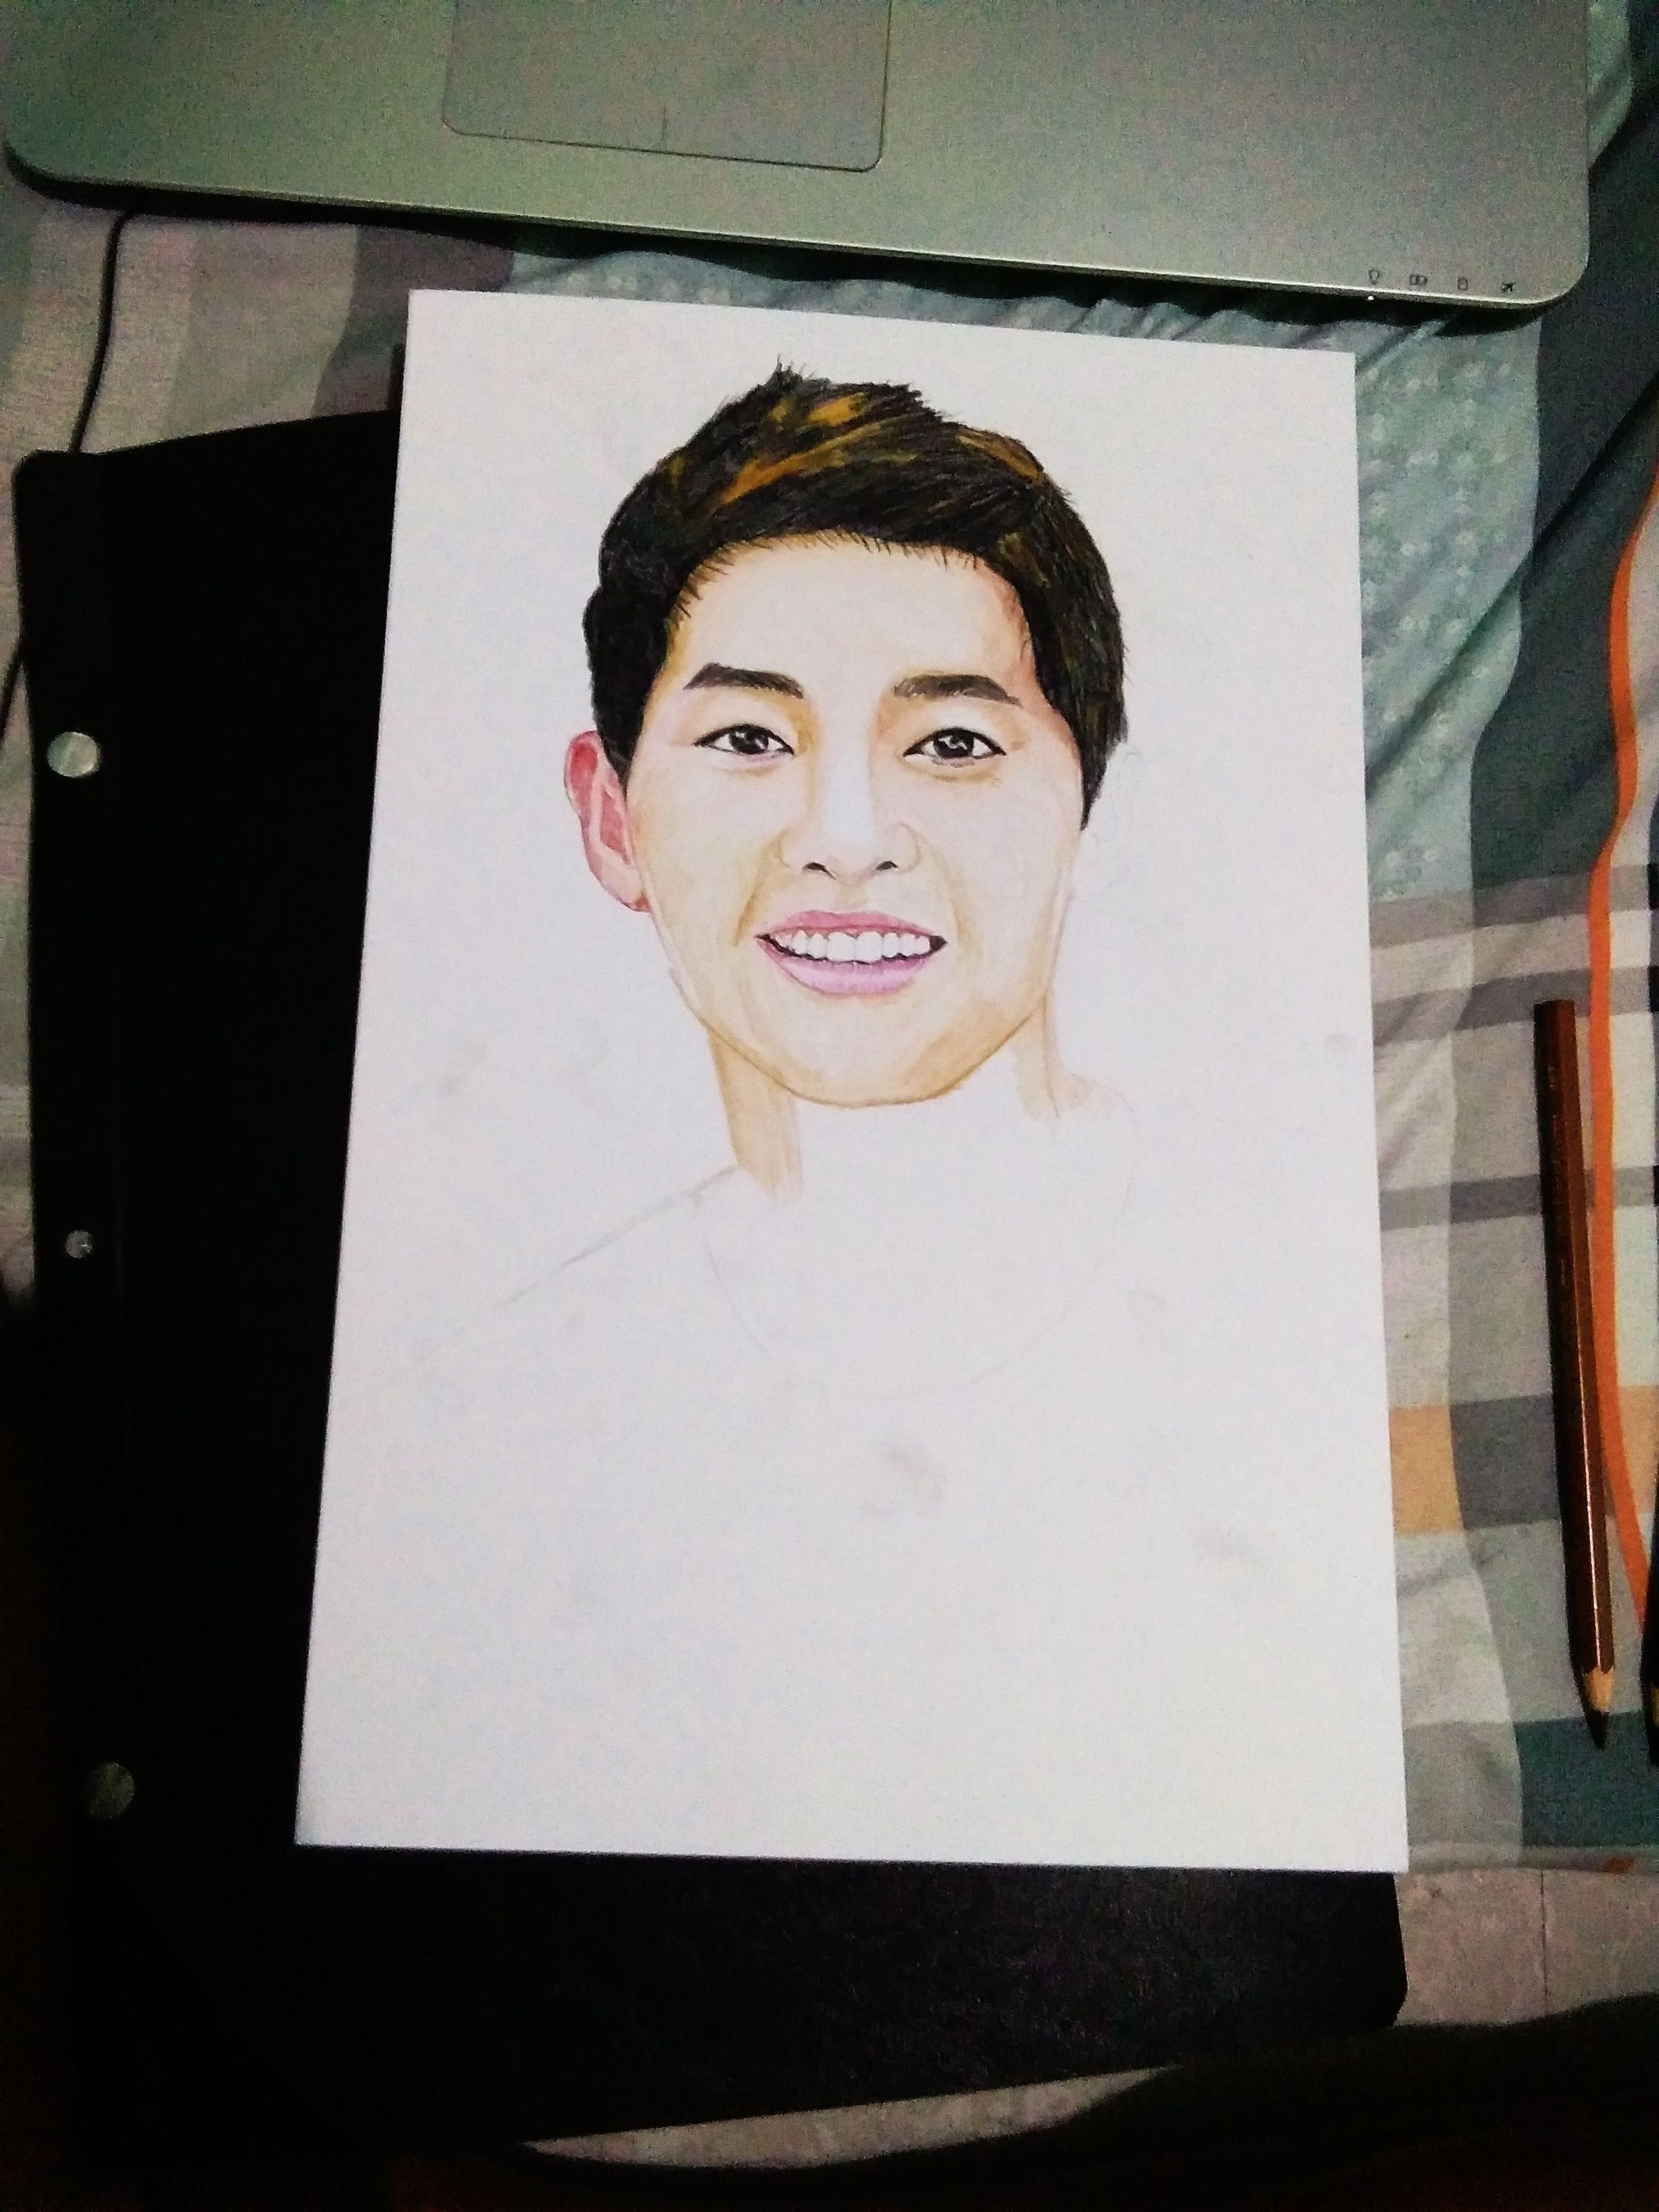 |
| Let's continue doing the neck and the other ear. In drawing the neck I only did the base color here. I just want to know where the dark shades should fall. Do not mind the black spots or the dirt, the eraser can solve that. | 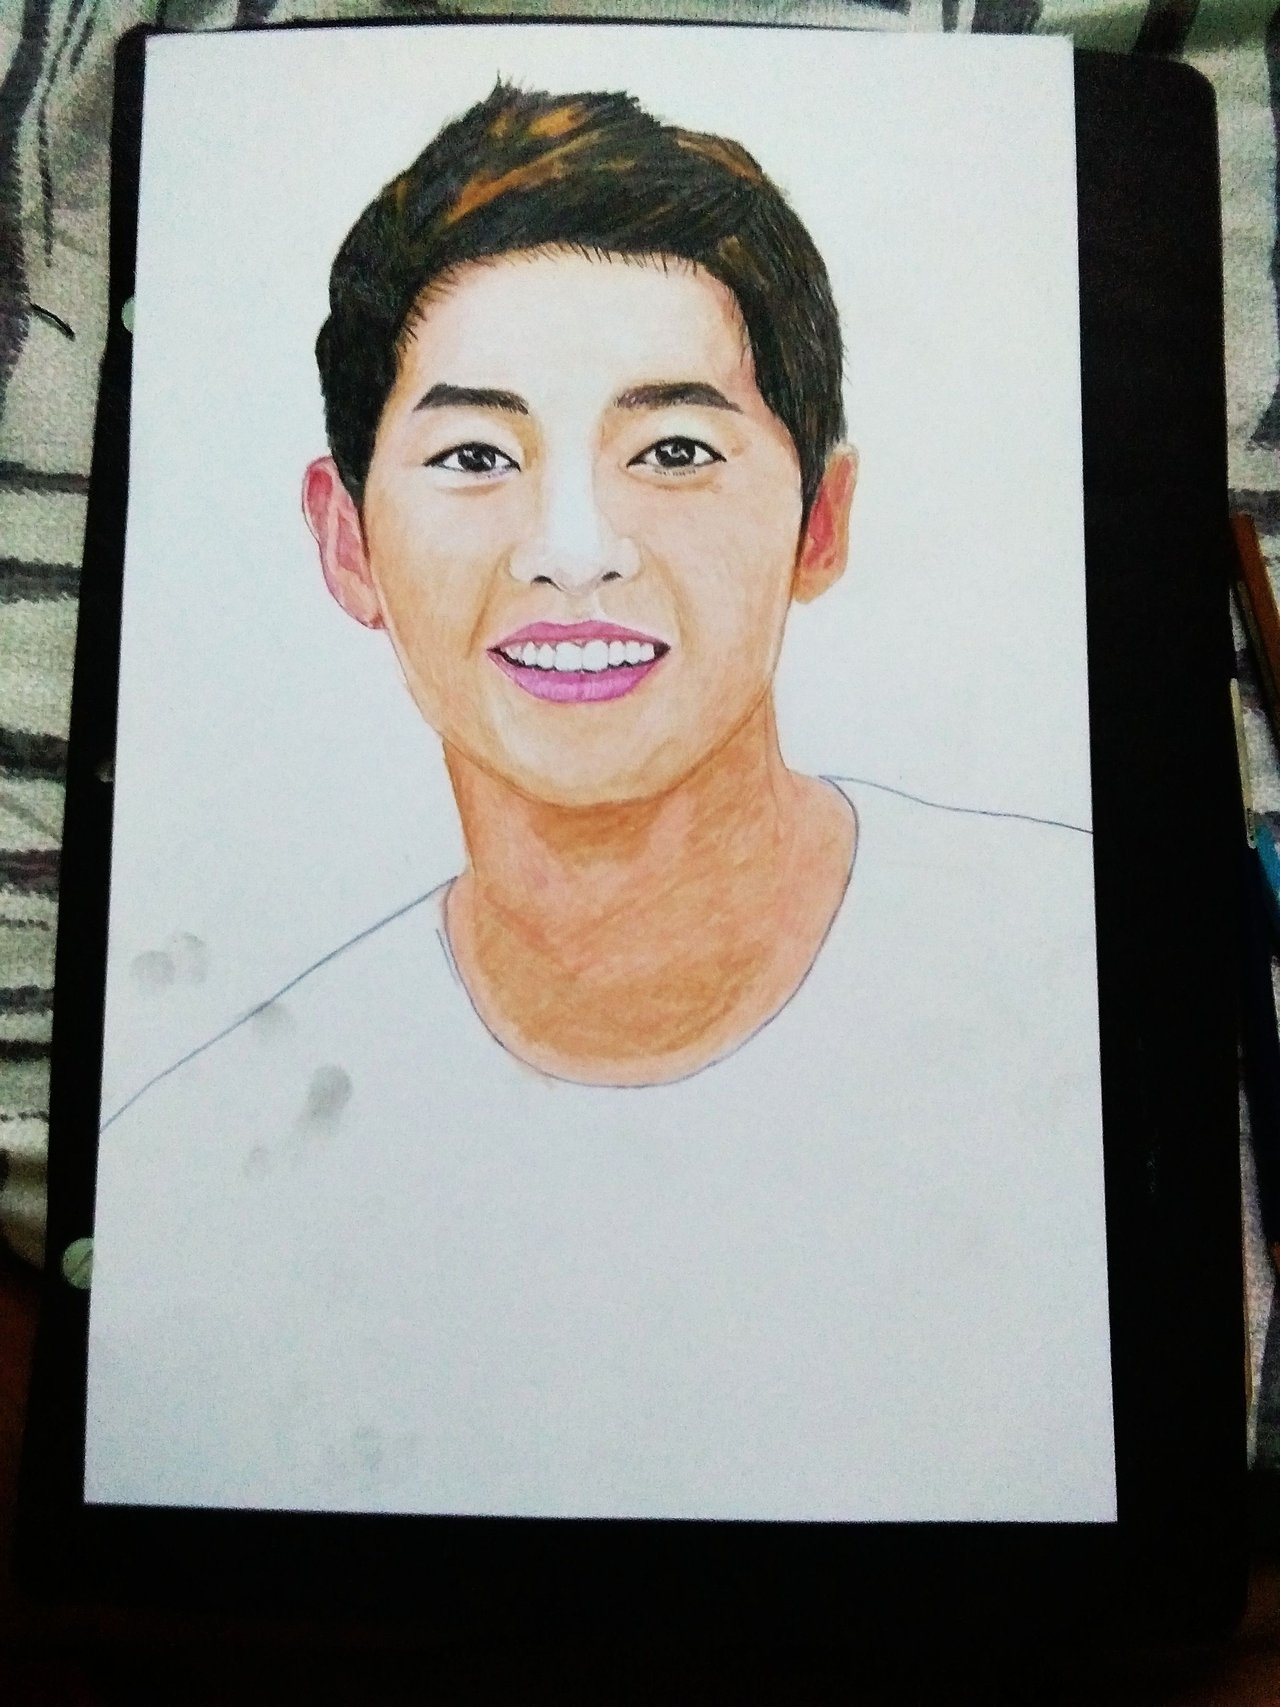 |
| Now we are on the shirt. I started by sketching where the folds of the shirt are. I used a light blue colour pencil. Anyway, it won't be visible later. | 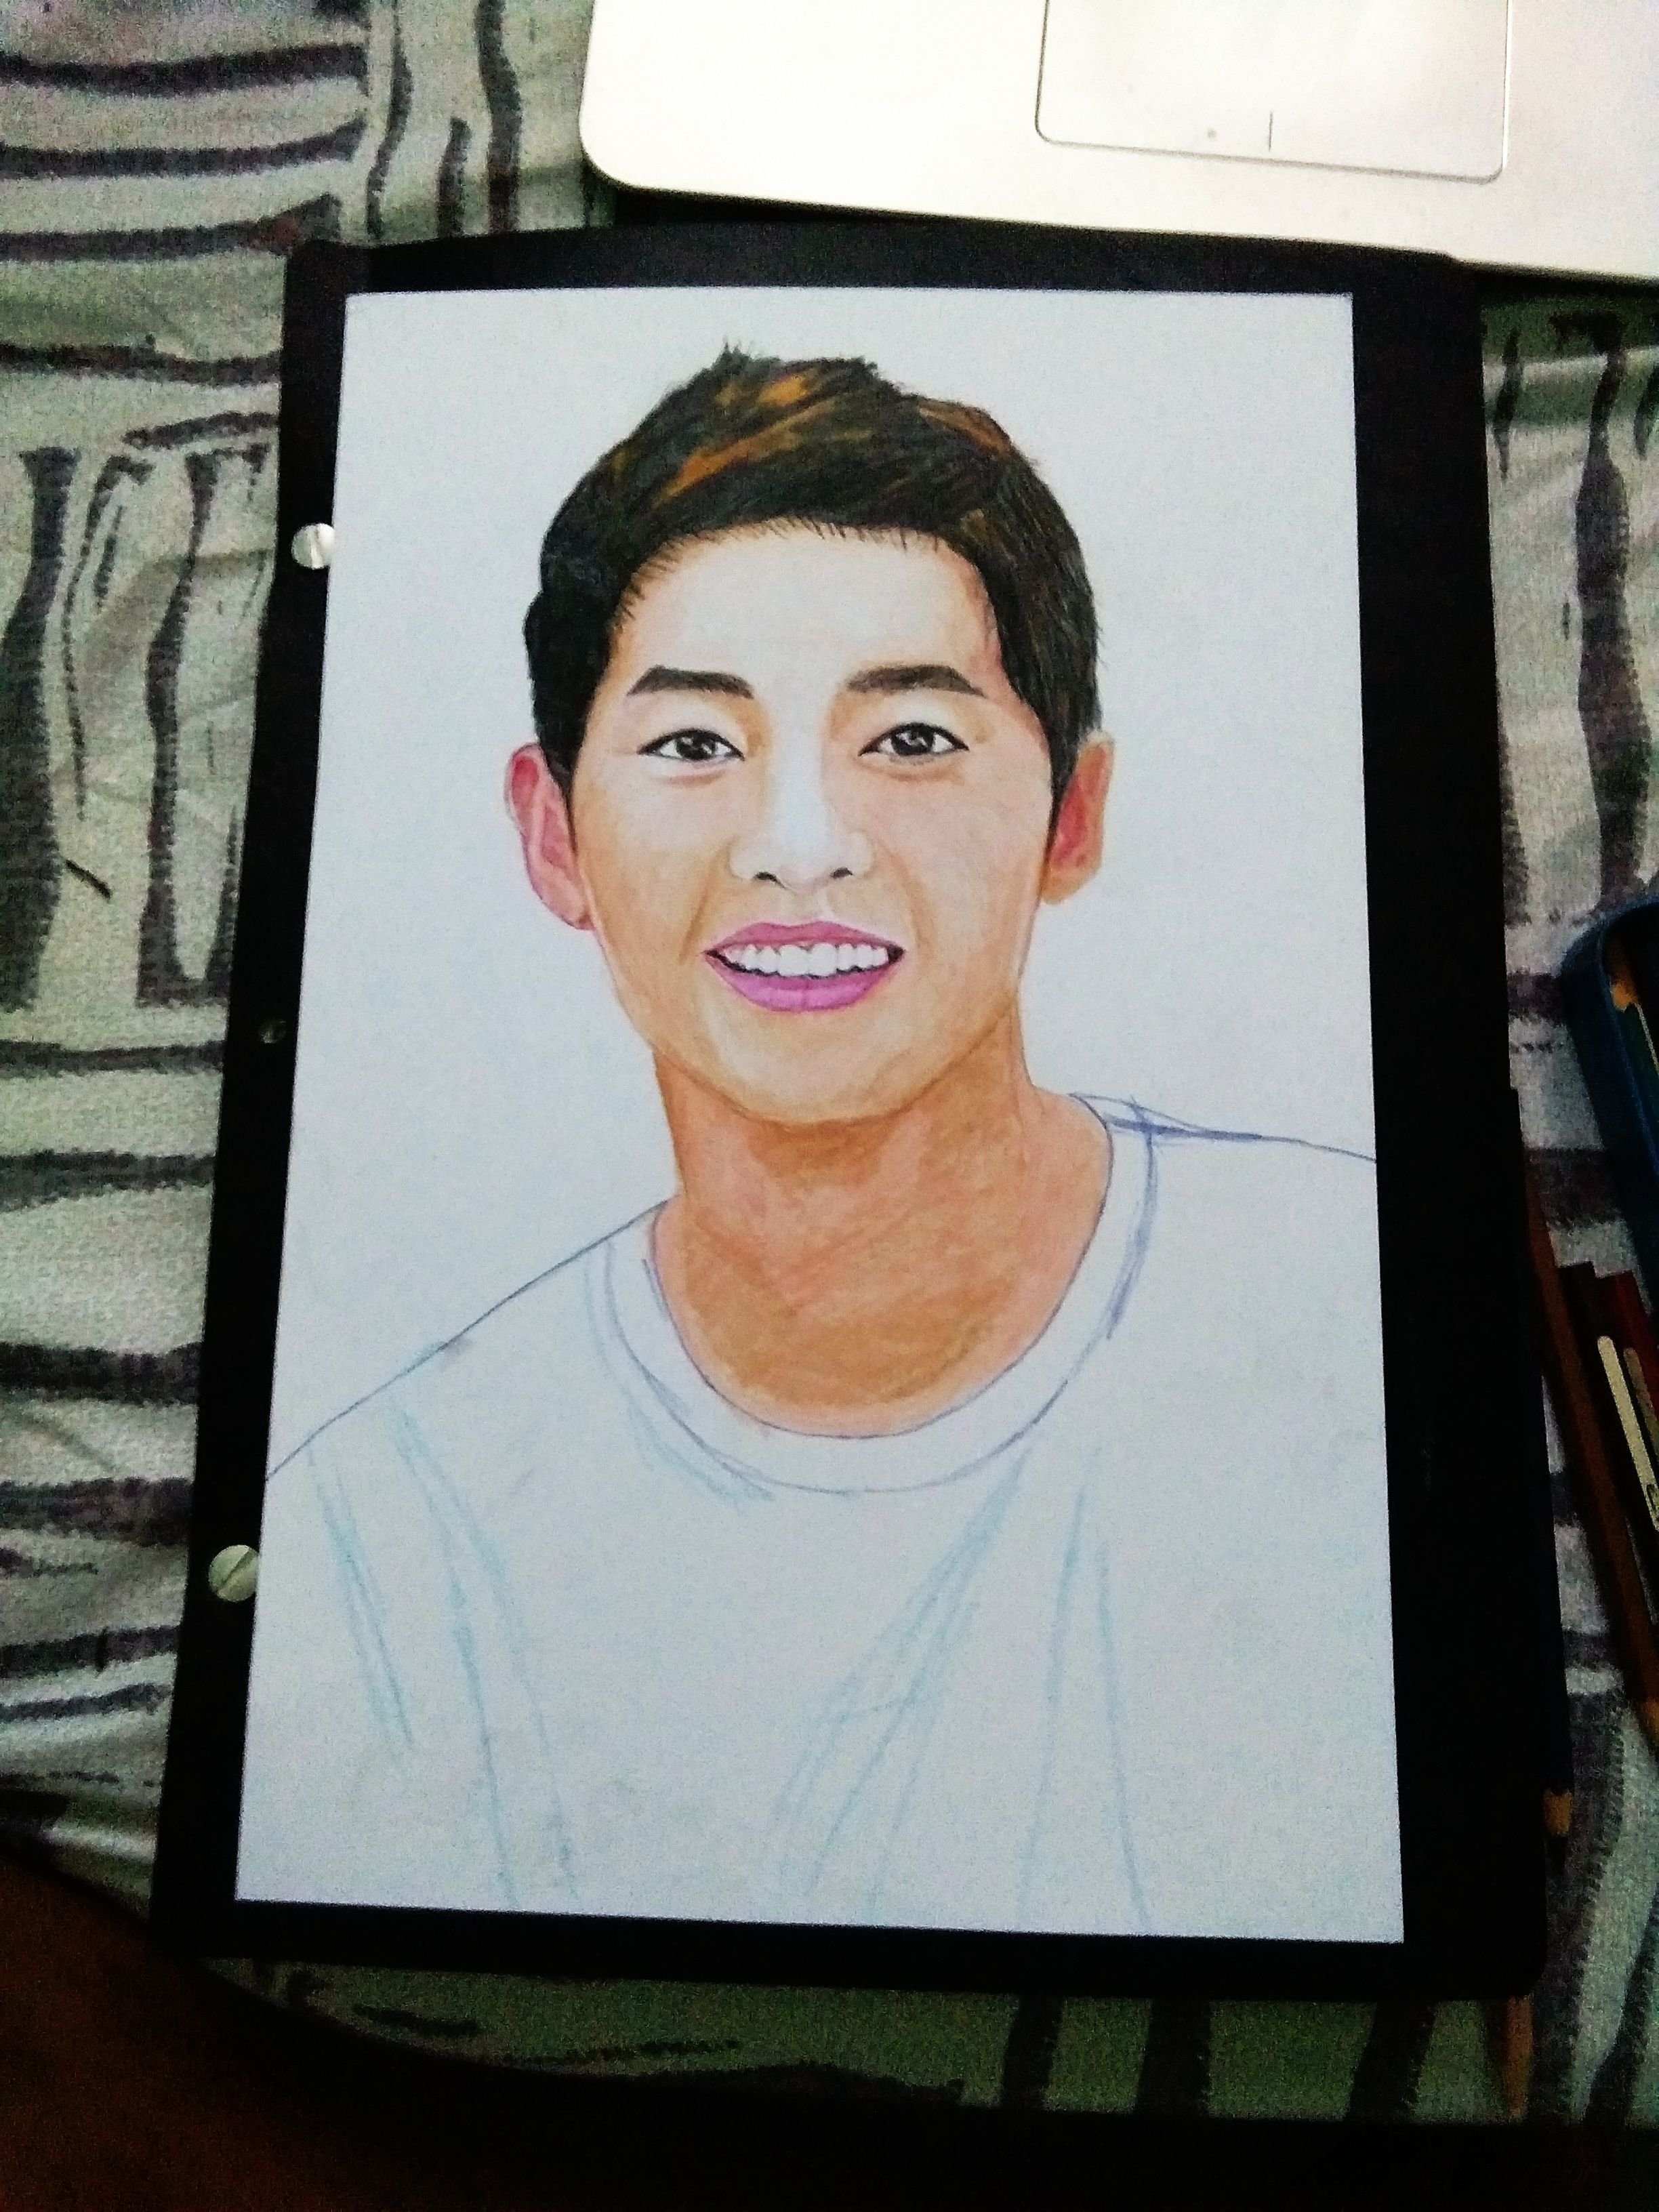 |
| Then, you can use a light blue as base of the shirt. I filled everything with this light blue colored pencil before I worked on the dark blue shade | 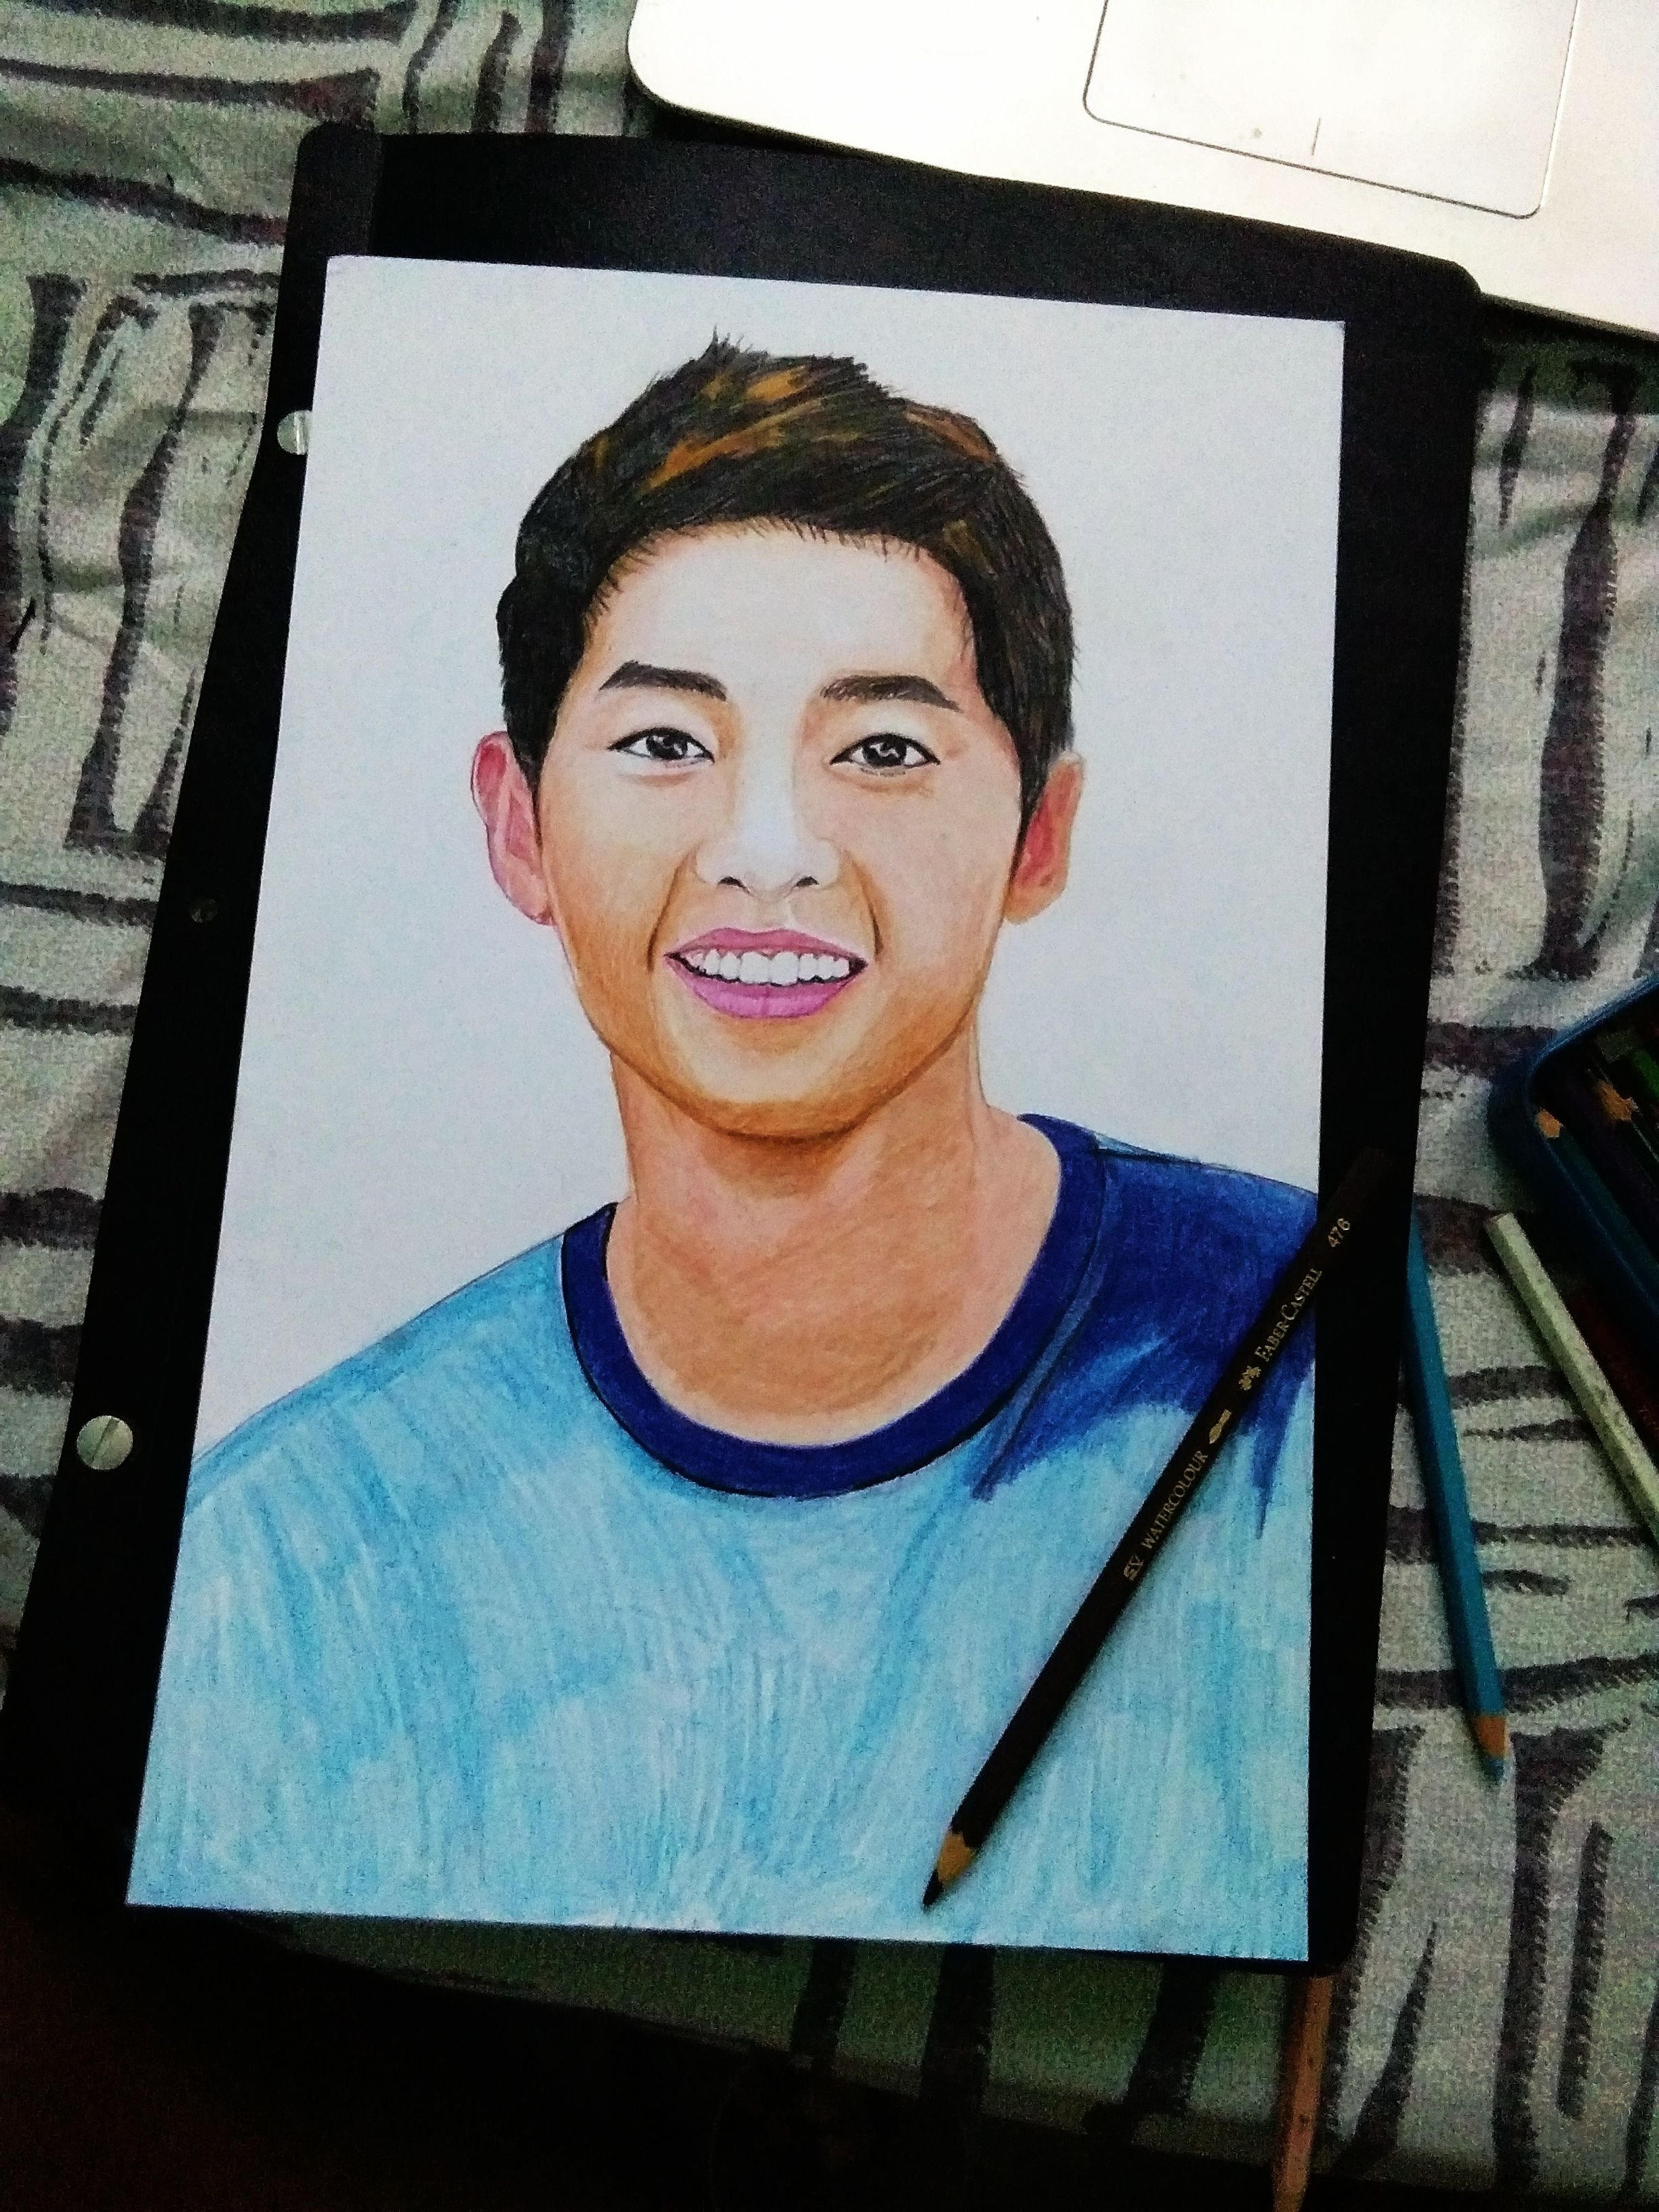 |
| Breathe in, breathe out. We are now very close to the end of this artwork. I used the dark blue colour pencils now. Just be careful where the folds fall and the value of the color in different areas. Study your reference closely. | 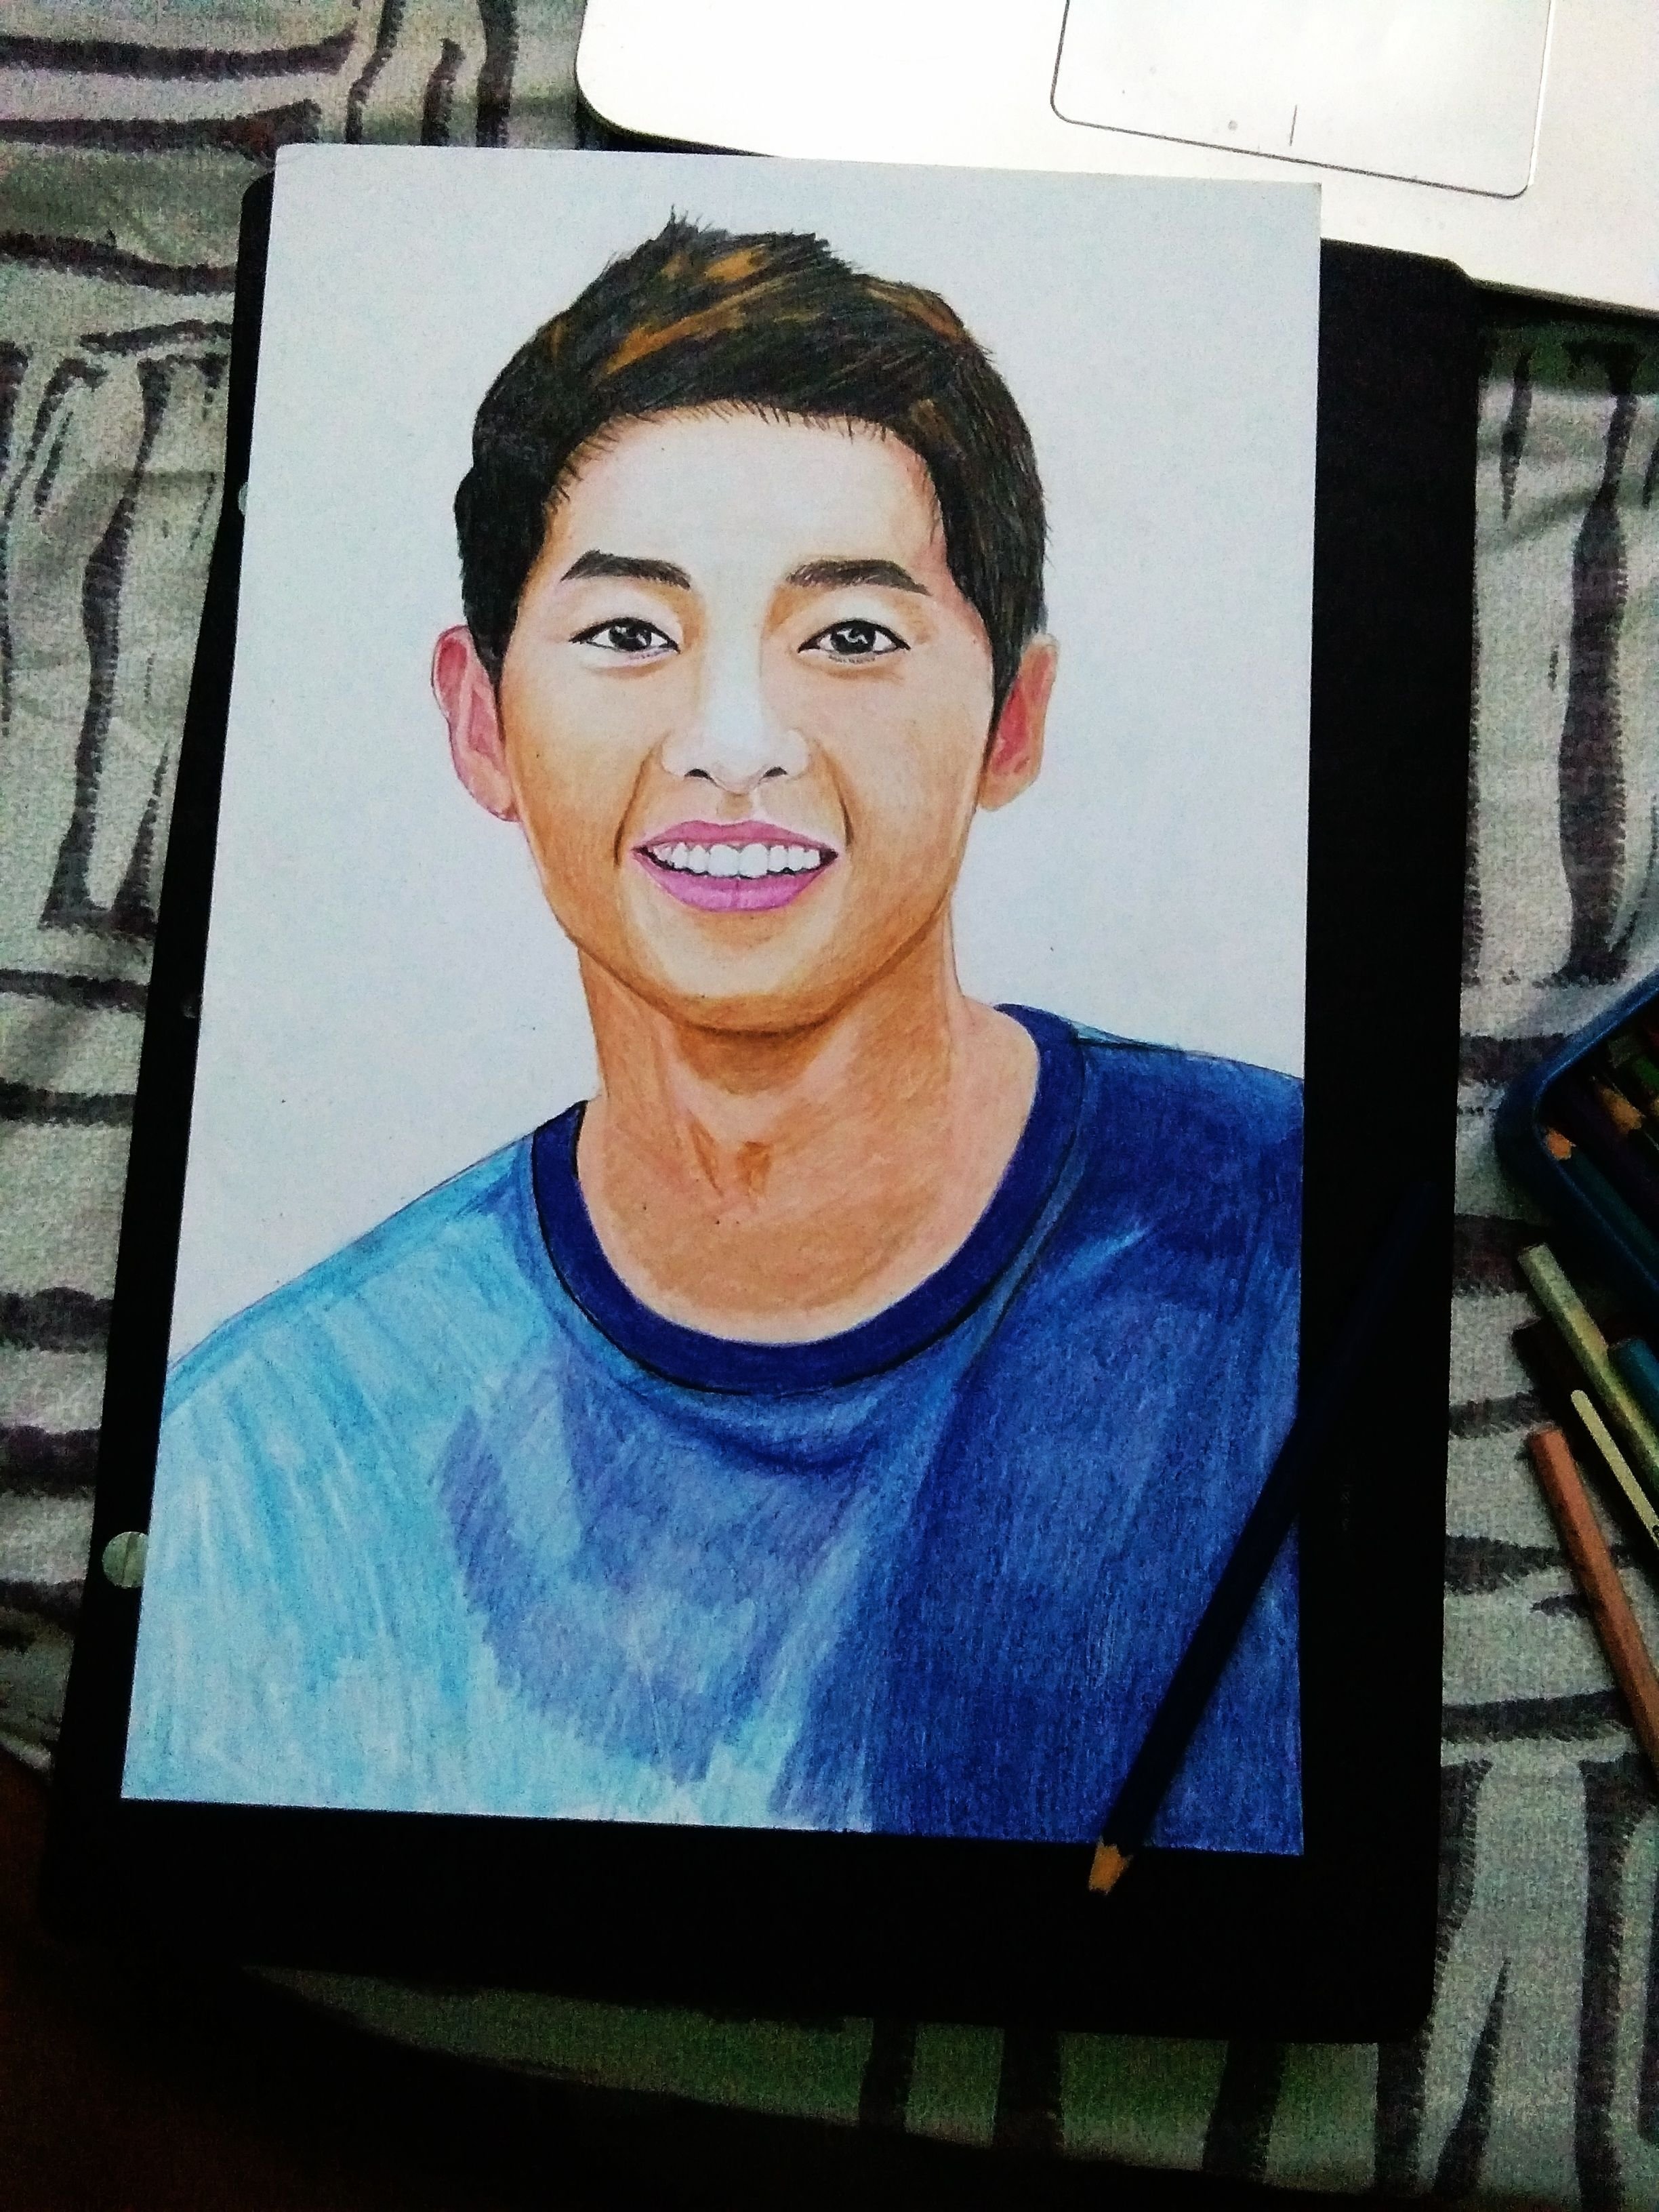 |
| Finally, do some finishing touches. I usually update (hehe) the eyebrows, eyes, face and skin tone because they are very important. |  |
I hope you learn something from the drawing process. I want to share what I know even if I have not gone any formal art training before. Like me, you can do it too if you first believe in yourself.
I hope you had fun reading my art blog. If you are so, please do not forget to UPVOTE. Also, if you have some thoughts in mind, please let me know by commenting it below. Furthermore, if you want to see more art blogs from me, you can click any number below:
62 61 60 59 58 57 56 55 54 53 52 51 50 49 48 47 46 45 44 43 42 41 40 39 38 37 36 35 34 33 32 31 30 29 28 27 26 25 24 23 22 21 20 19 18 17 16 15 14 13 12 11 10 09 08 07 06 05 04 03 02 01
Reminder : Especially to Cebu Steemians


