Hi friends!
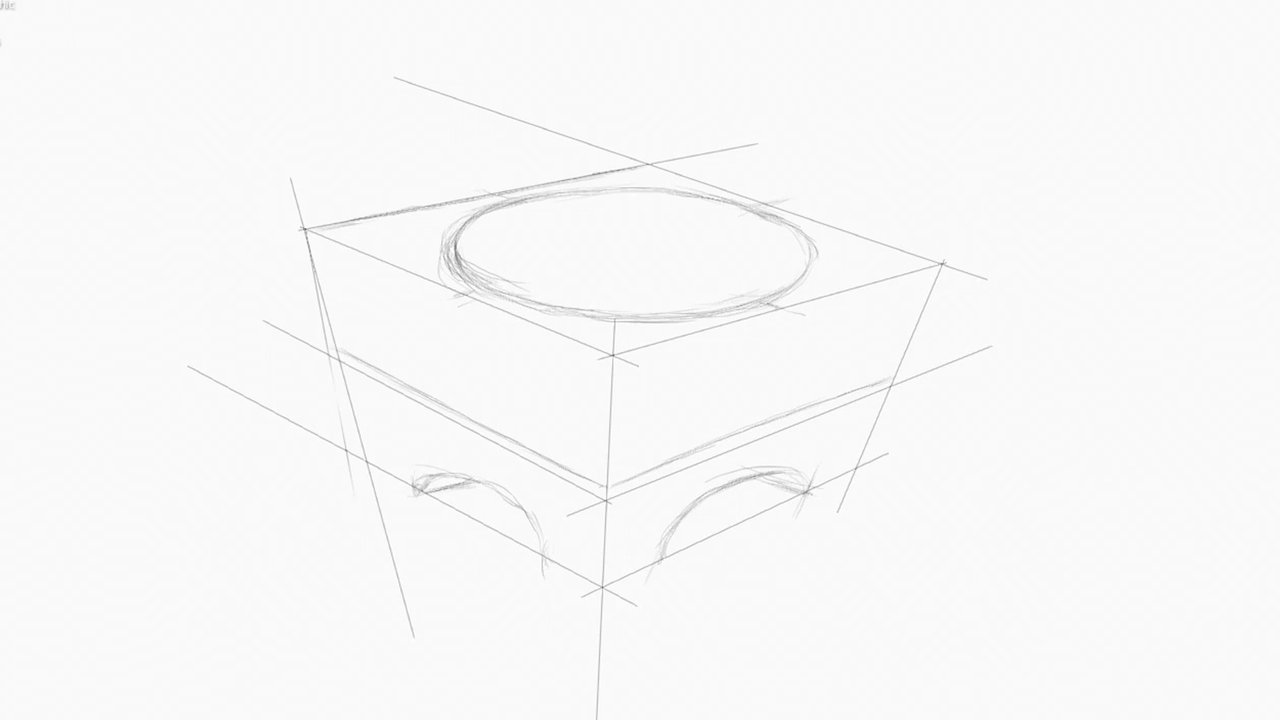
Draw the first lines and circle with very soft strokes as I have explained in previous lessons. See 18-Masterclass and 19-HW Contest.
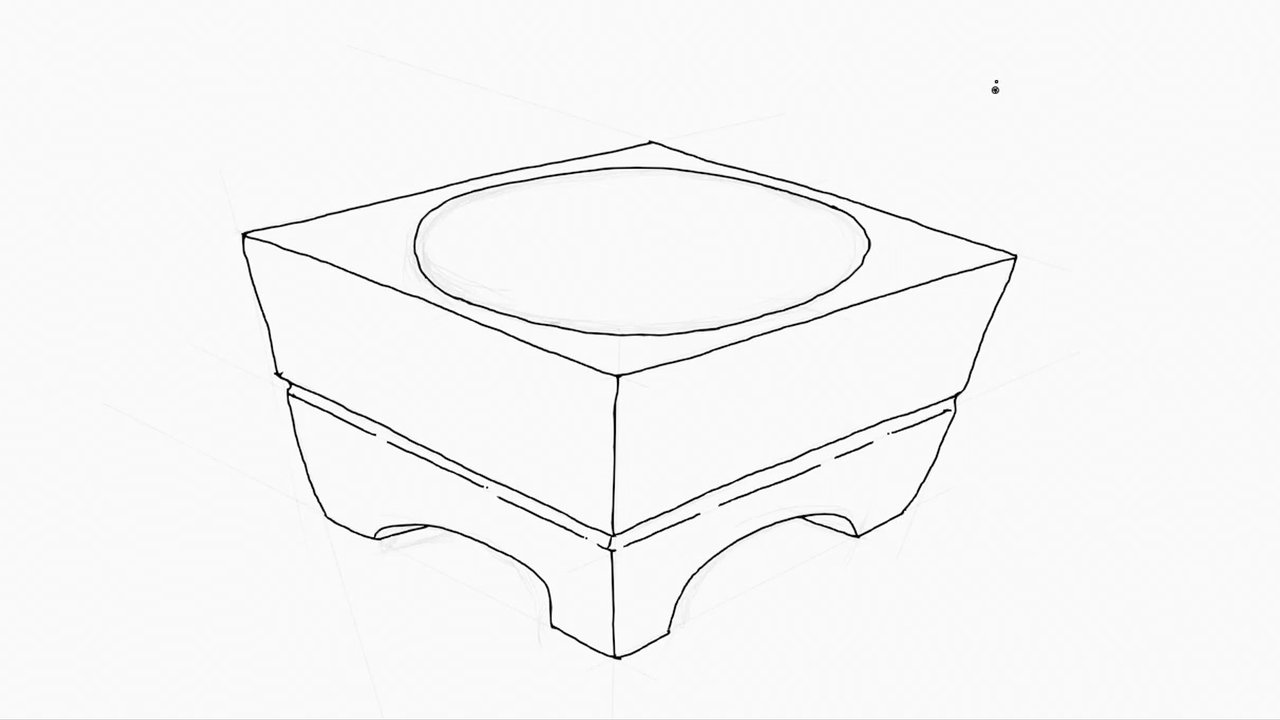
If you want, you can outline the sketch with ink.
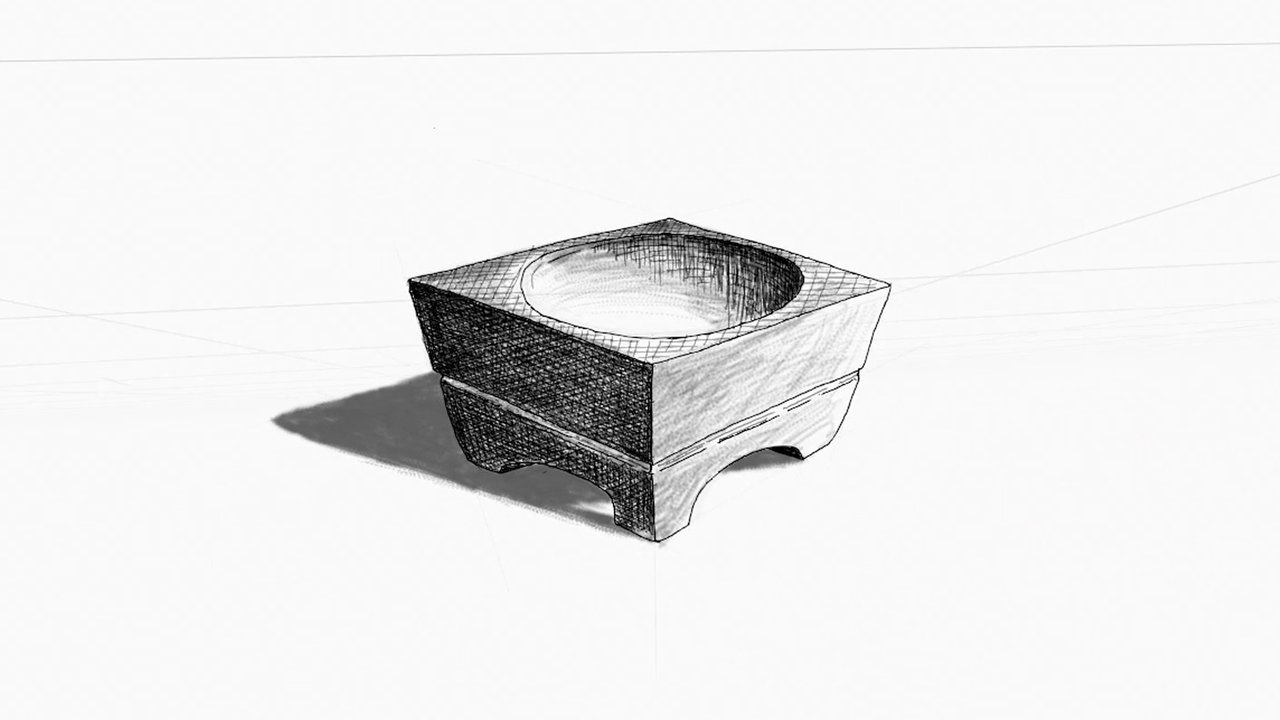
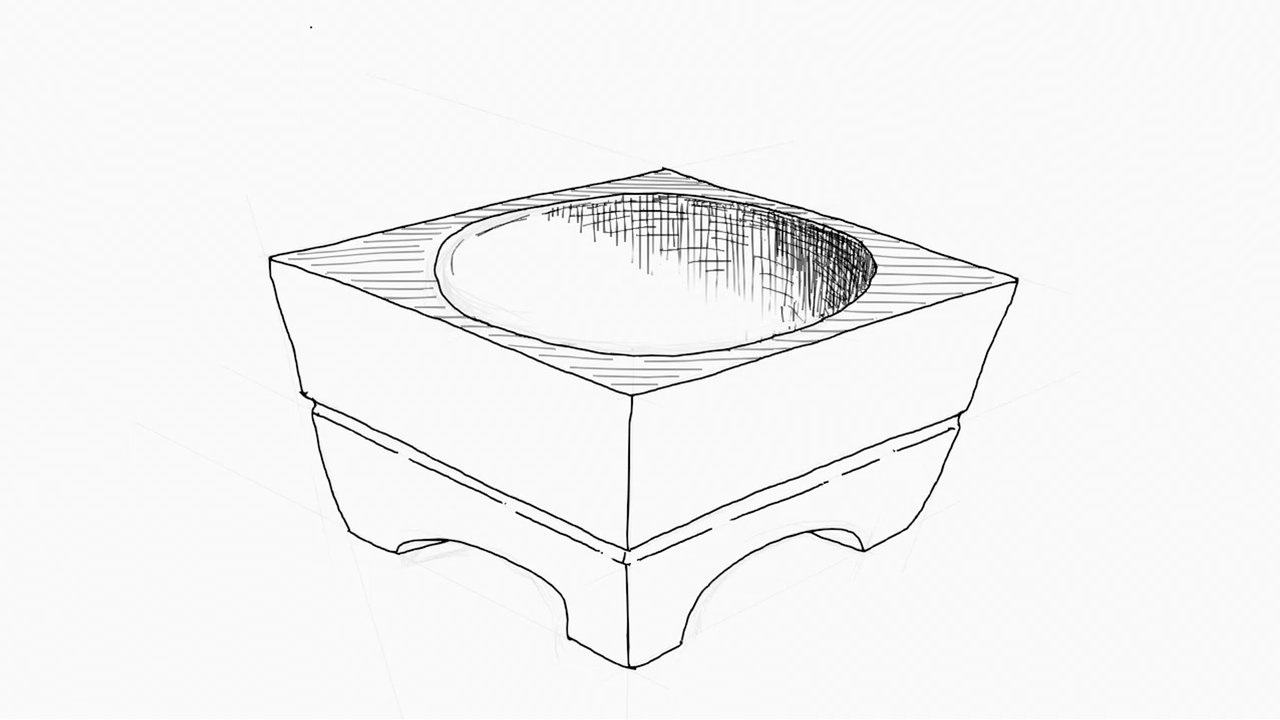
Here you can see the upper face with very light shading and the hole shaded darker, with vertical lines indicating depth and with circular strokes to accentuate the curvature of the hole.
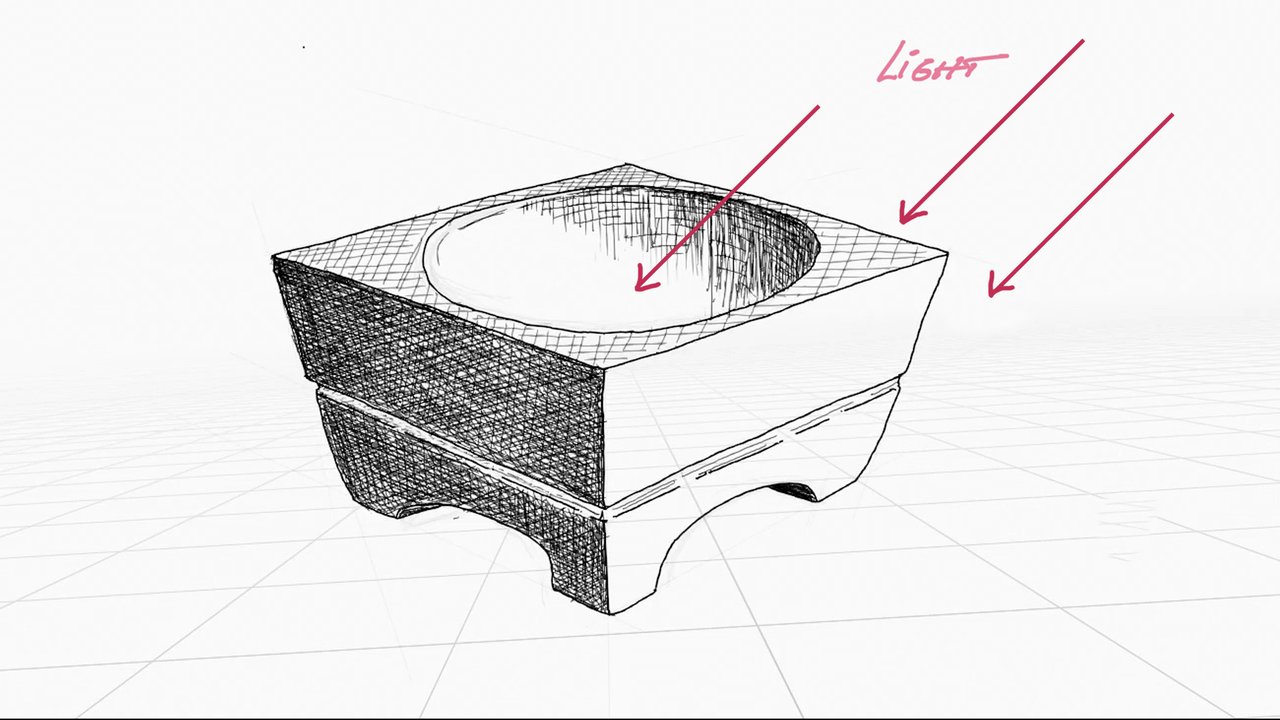
Here, let's not forget that the light falls on the object from the right, that's why we leave the left side of the hole completely white and the left side of the mortar will then be the darkest.
To finish, we draw the cast shadow to place the object on a surface and to emphasize the direction of the light.
I suggest you draw the missing pestle for this mortar, to contextualize the drawing.
I wish you a very nice day and good exercise!
Take part in this week's HOMEWORK CONTEST!

Here are the links to the previous related posts.
1-Introduction - 2-Introduction - 3-Introduction - 4-Introduction -
5-Introduction - 6-Lesson - 7-Lesson - 8-Lesson - 9-Lesson - 10-Lesson -
11-Masterclass - 12-HW Contest - 13-Lesson 14-Lesson - 15-Lesson -
16-Lesson - 17-HW results - 18-Masterclass - 19-HW Contest - 20-Lesson
100% SP (manual transfer to SP)
#club100