-Les Brown
Hi, fellow Steemians! Welcome to my 77th Art Blog here in Steemit! Do you know what keeps me going? YOU...You are the reason why I reach this far! I loved your comments and the support you have given me since Day 1. So, if you’re good to go... Let’s start the ball rolling!
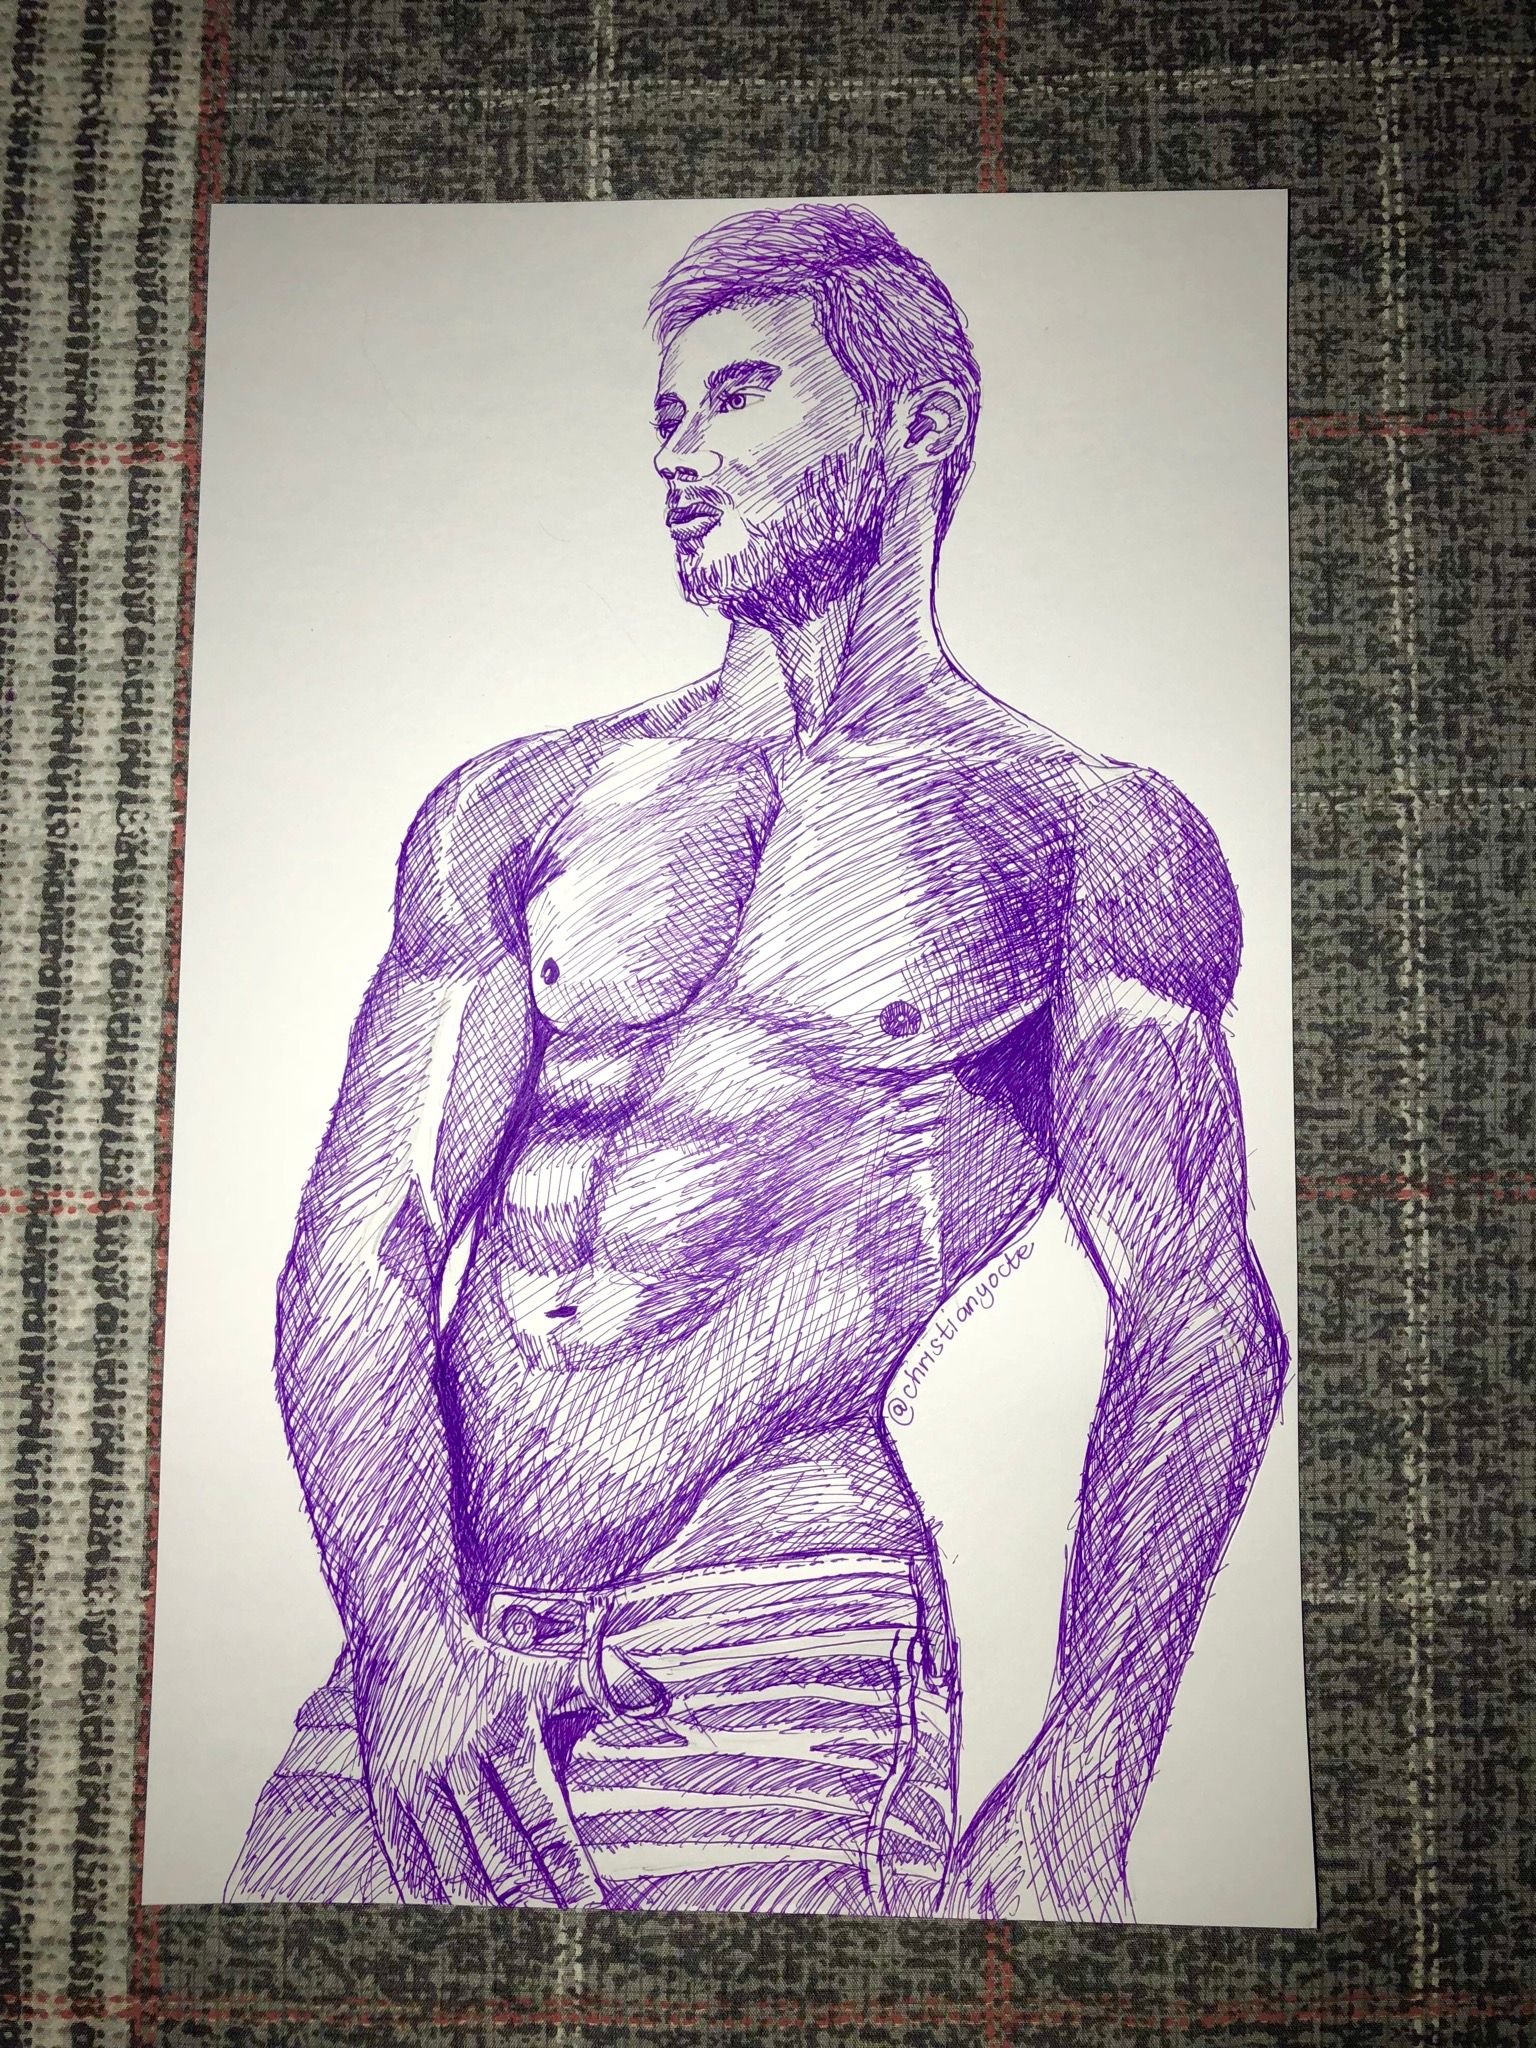
| Title | You Are Strong |
|---|---|
| Medium | Gel Pen (My Gel) |
| Dimension | 8.5 x 13 inches |
| Paper | Vellum Board |
| Category | Hatching / Cross-Hatching Art |
| Copyright | @christianyocte |
| Artist’s Note | Some people give up because of other people. There are people who bring others down who ridicule, underestimate, discourage and look down. I was once their favorite victim. However, there are also people who lift others up, who appreciate, encourage and recognize. I was also their favorite benefactor. Yes, it sounds funny but it is true. I have had both types of people in my life. And I owe to them who I am today! I learn how to stand on my own, solve my problems, and get up when I fall. One of these encouraging people told me : Do not expect others to help you. Help yourself. That advice changed me to become a strong individual. And from then on, when I am in adversities, I just tell myself : YOU ARE STRONG. |
The Drawing Process
I am liking the taking time-lapse since I got my iPhone 8 plus last month. A reward I gave to myself for my promotion. But, do not get me wrong, I couldn’t afford this in one pay. Yes! I applied for a plan from Globe (a telecom company in the Philippines). Anyways, I invite you to watch the whole drawing process. Enjoy!
Assuming that you still want to read further and learn more about the steps, here are the procedures I have done. I hope that you can get some knowledge and/or enjoy yourself while I give you a tour of this drawing process. Are you all set? Let’s go...
Part 1
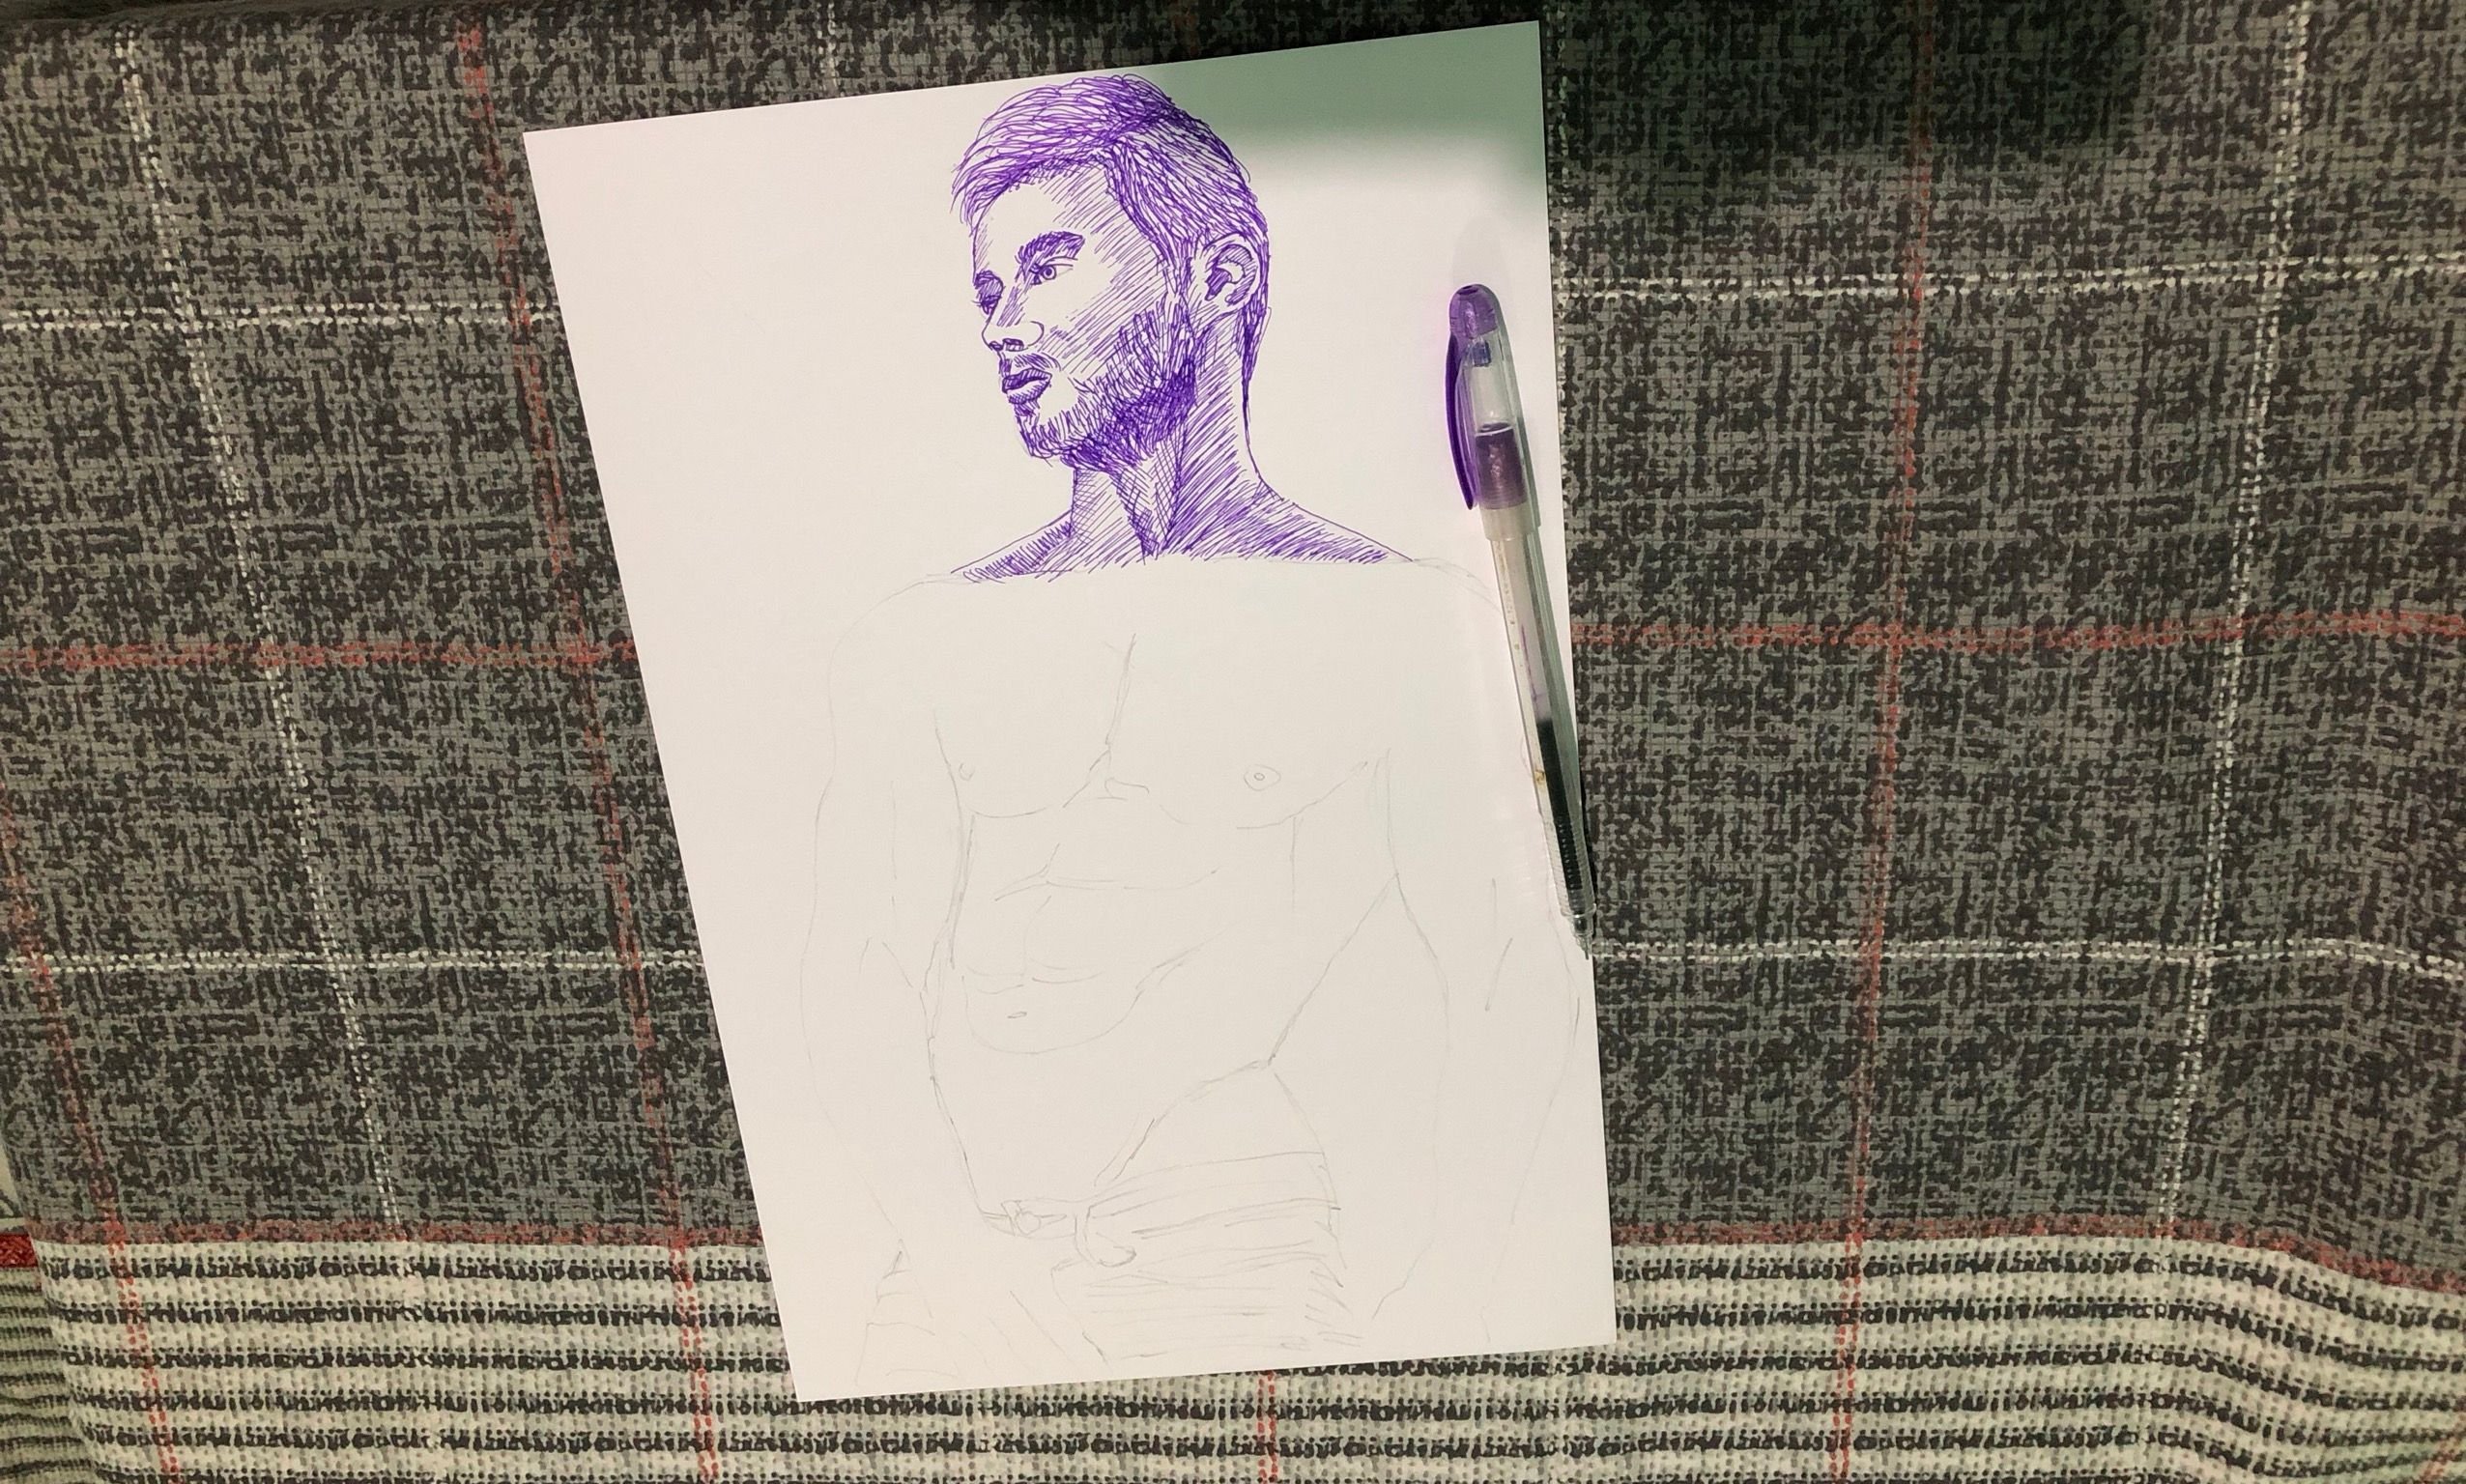
After making the initial sketch of the subject using a pencil, I got my My Gel pen to start hatching and cross-hatching. In drawing, hatching and cross-hatching are effective drawing methods to create value, shade, texture, form and shape. It is simply done by drawing series of parallel lines (hatching) and crossed lines.
In part one, I have drawn the head portion. I felt guilty on my previous art because I started from the lower part. But, it really doesn’t matter, there are no standard rules in drawing for as long as you can make an art or beauty out of it.
Part 2
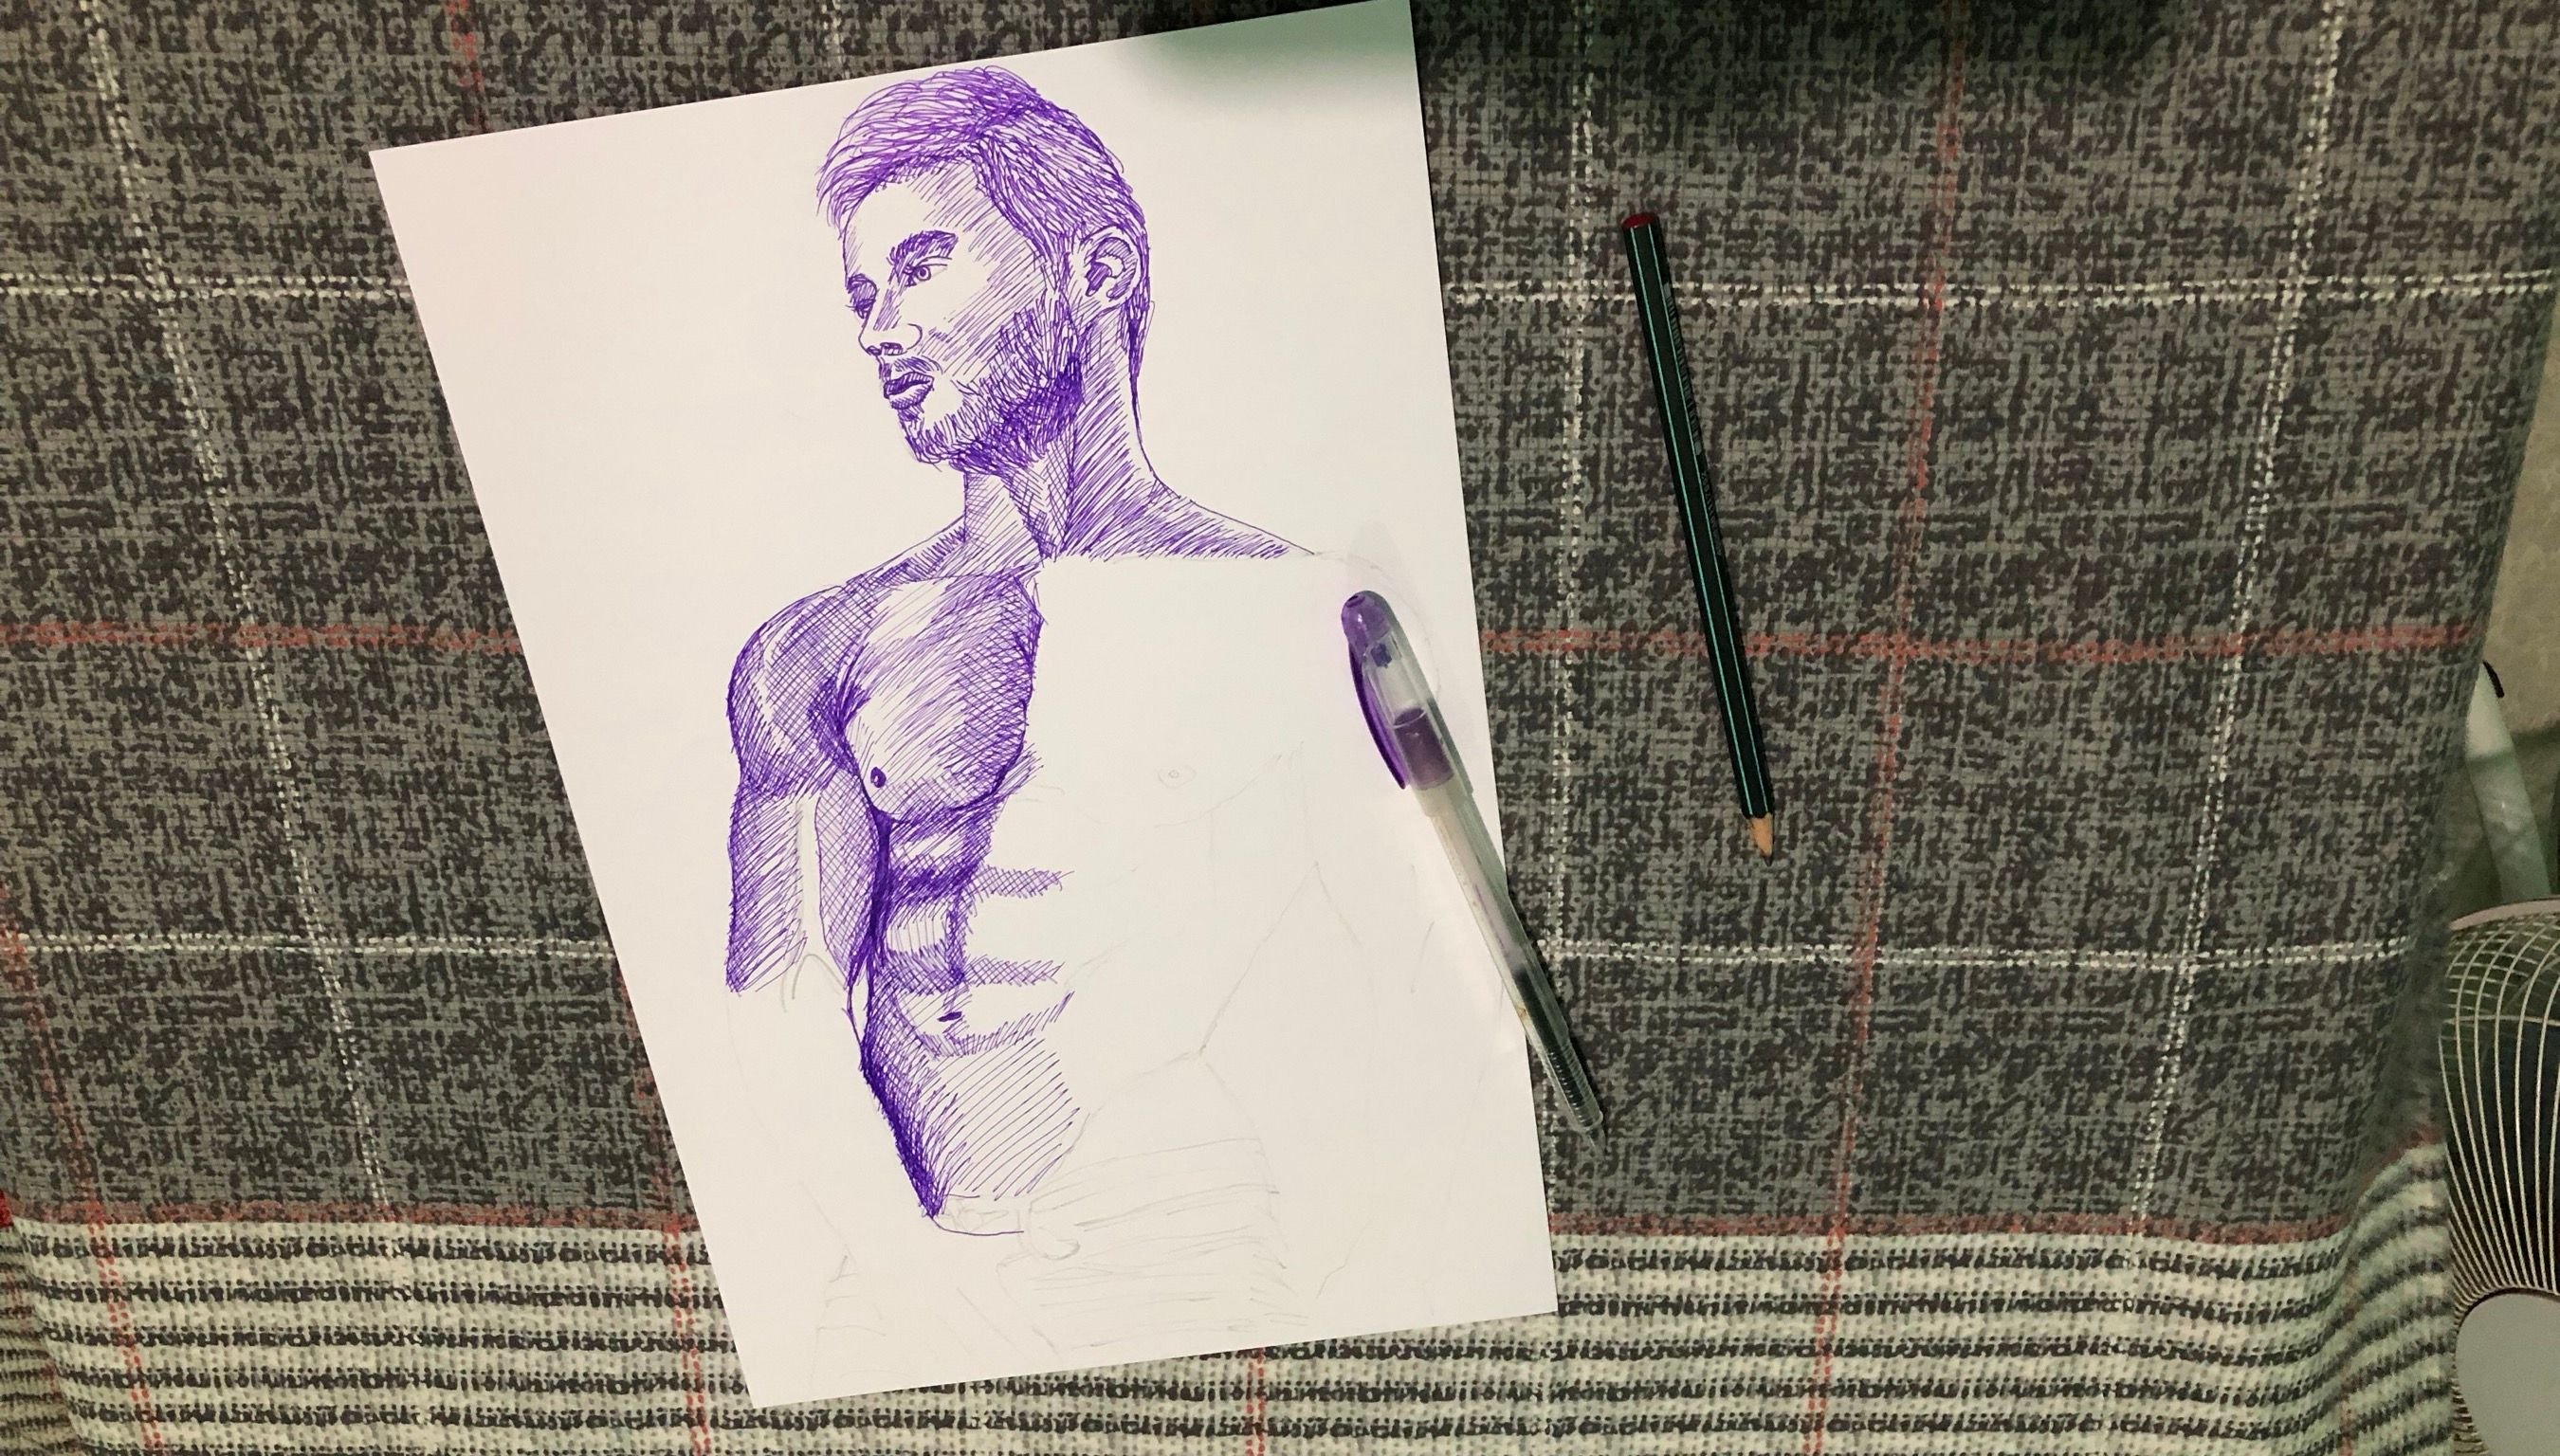
Using the same technique, I continued the half of the chest and abdomen and a part of the hands and arms. For this part, I would like to discuss about the light source. It is very important for the artist to know the origin of the light in order to know which part of the drawing should appear dark or light!
Part 3
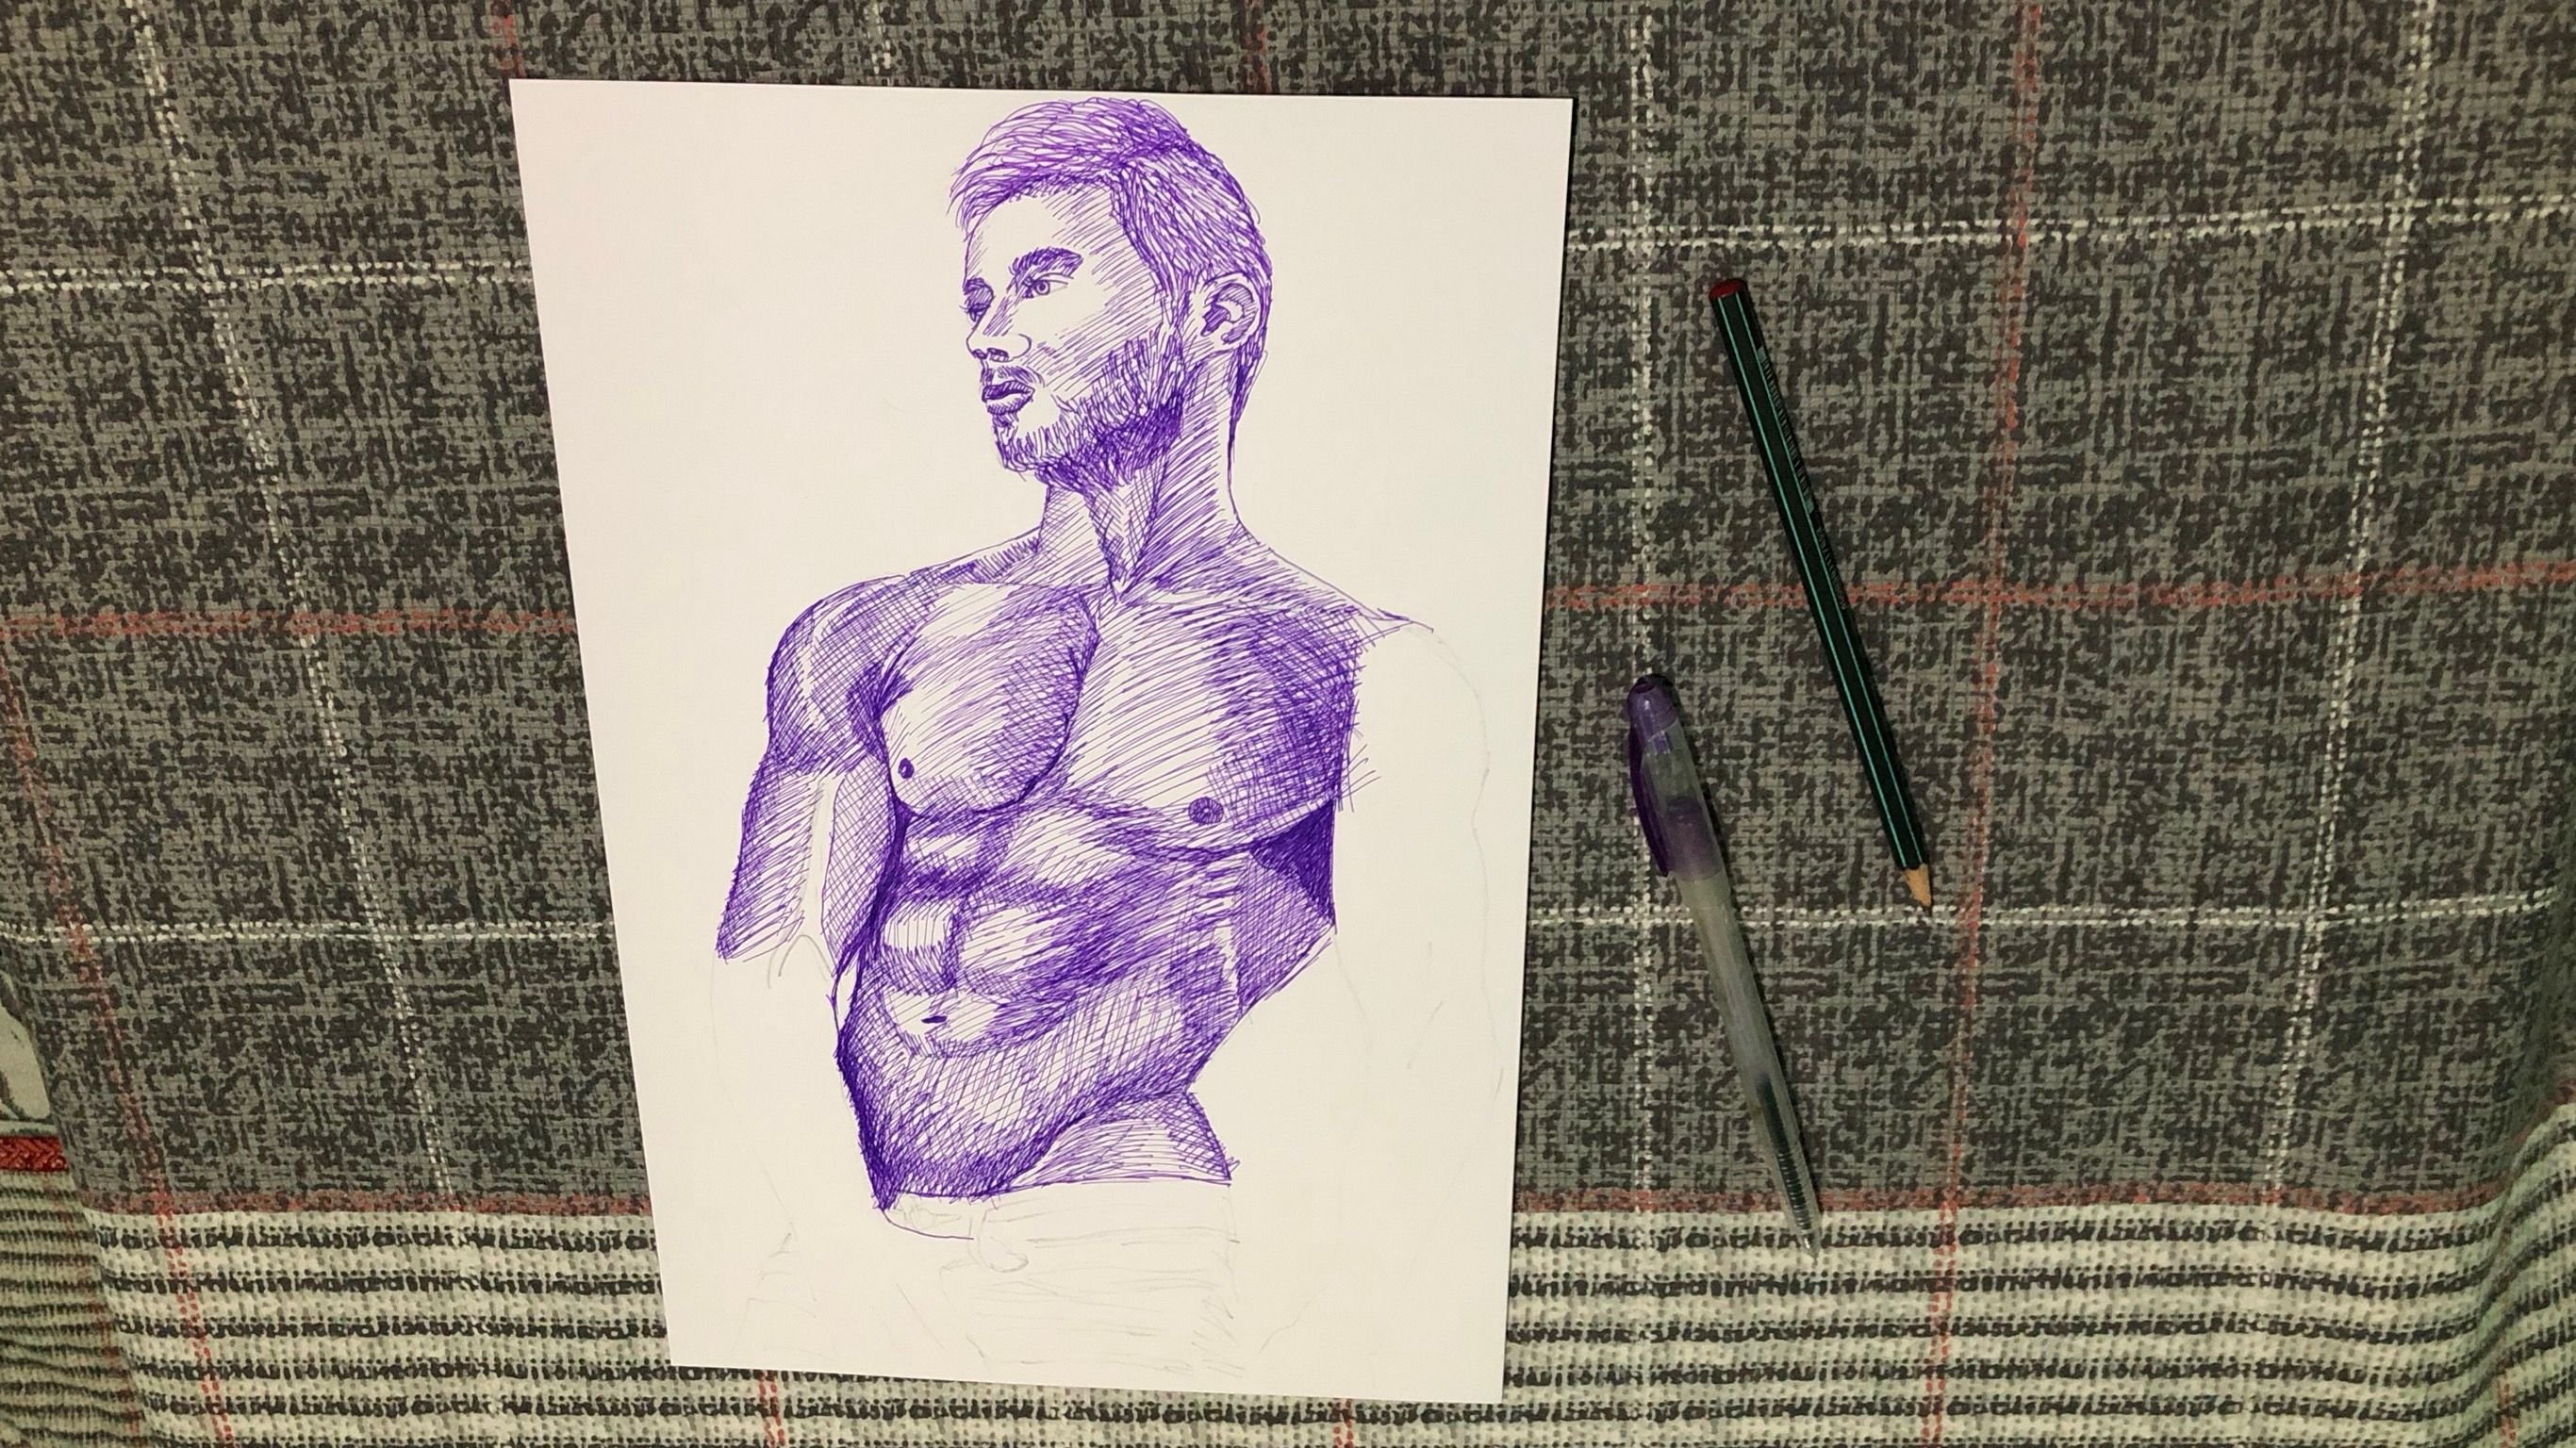
Then, I continued doing the other half of the chest and the abdominal part. Like on the previous lessons, avoid the areas where the light falls. This is to create a good drawing effect.
Part 4
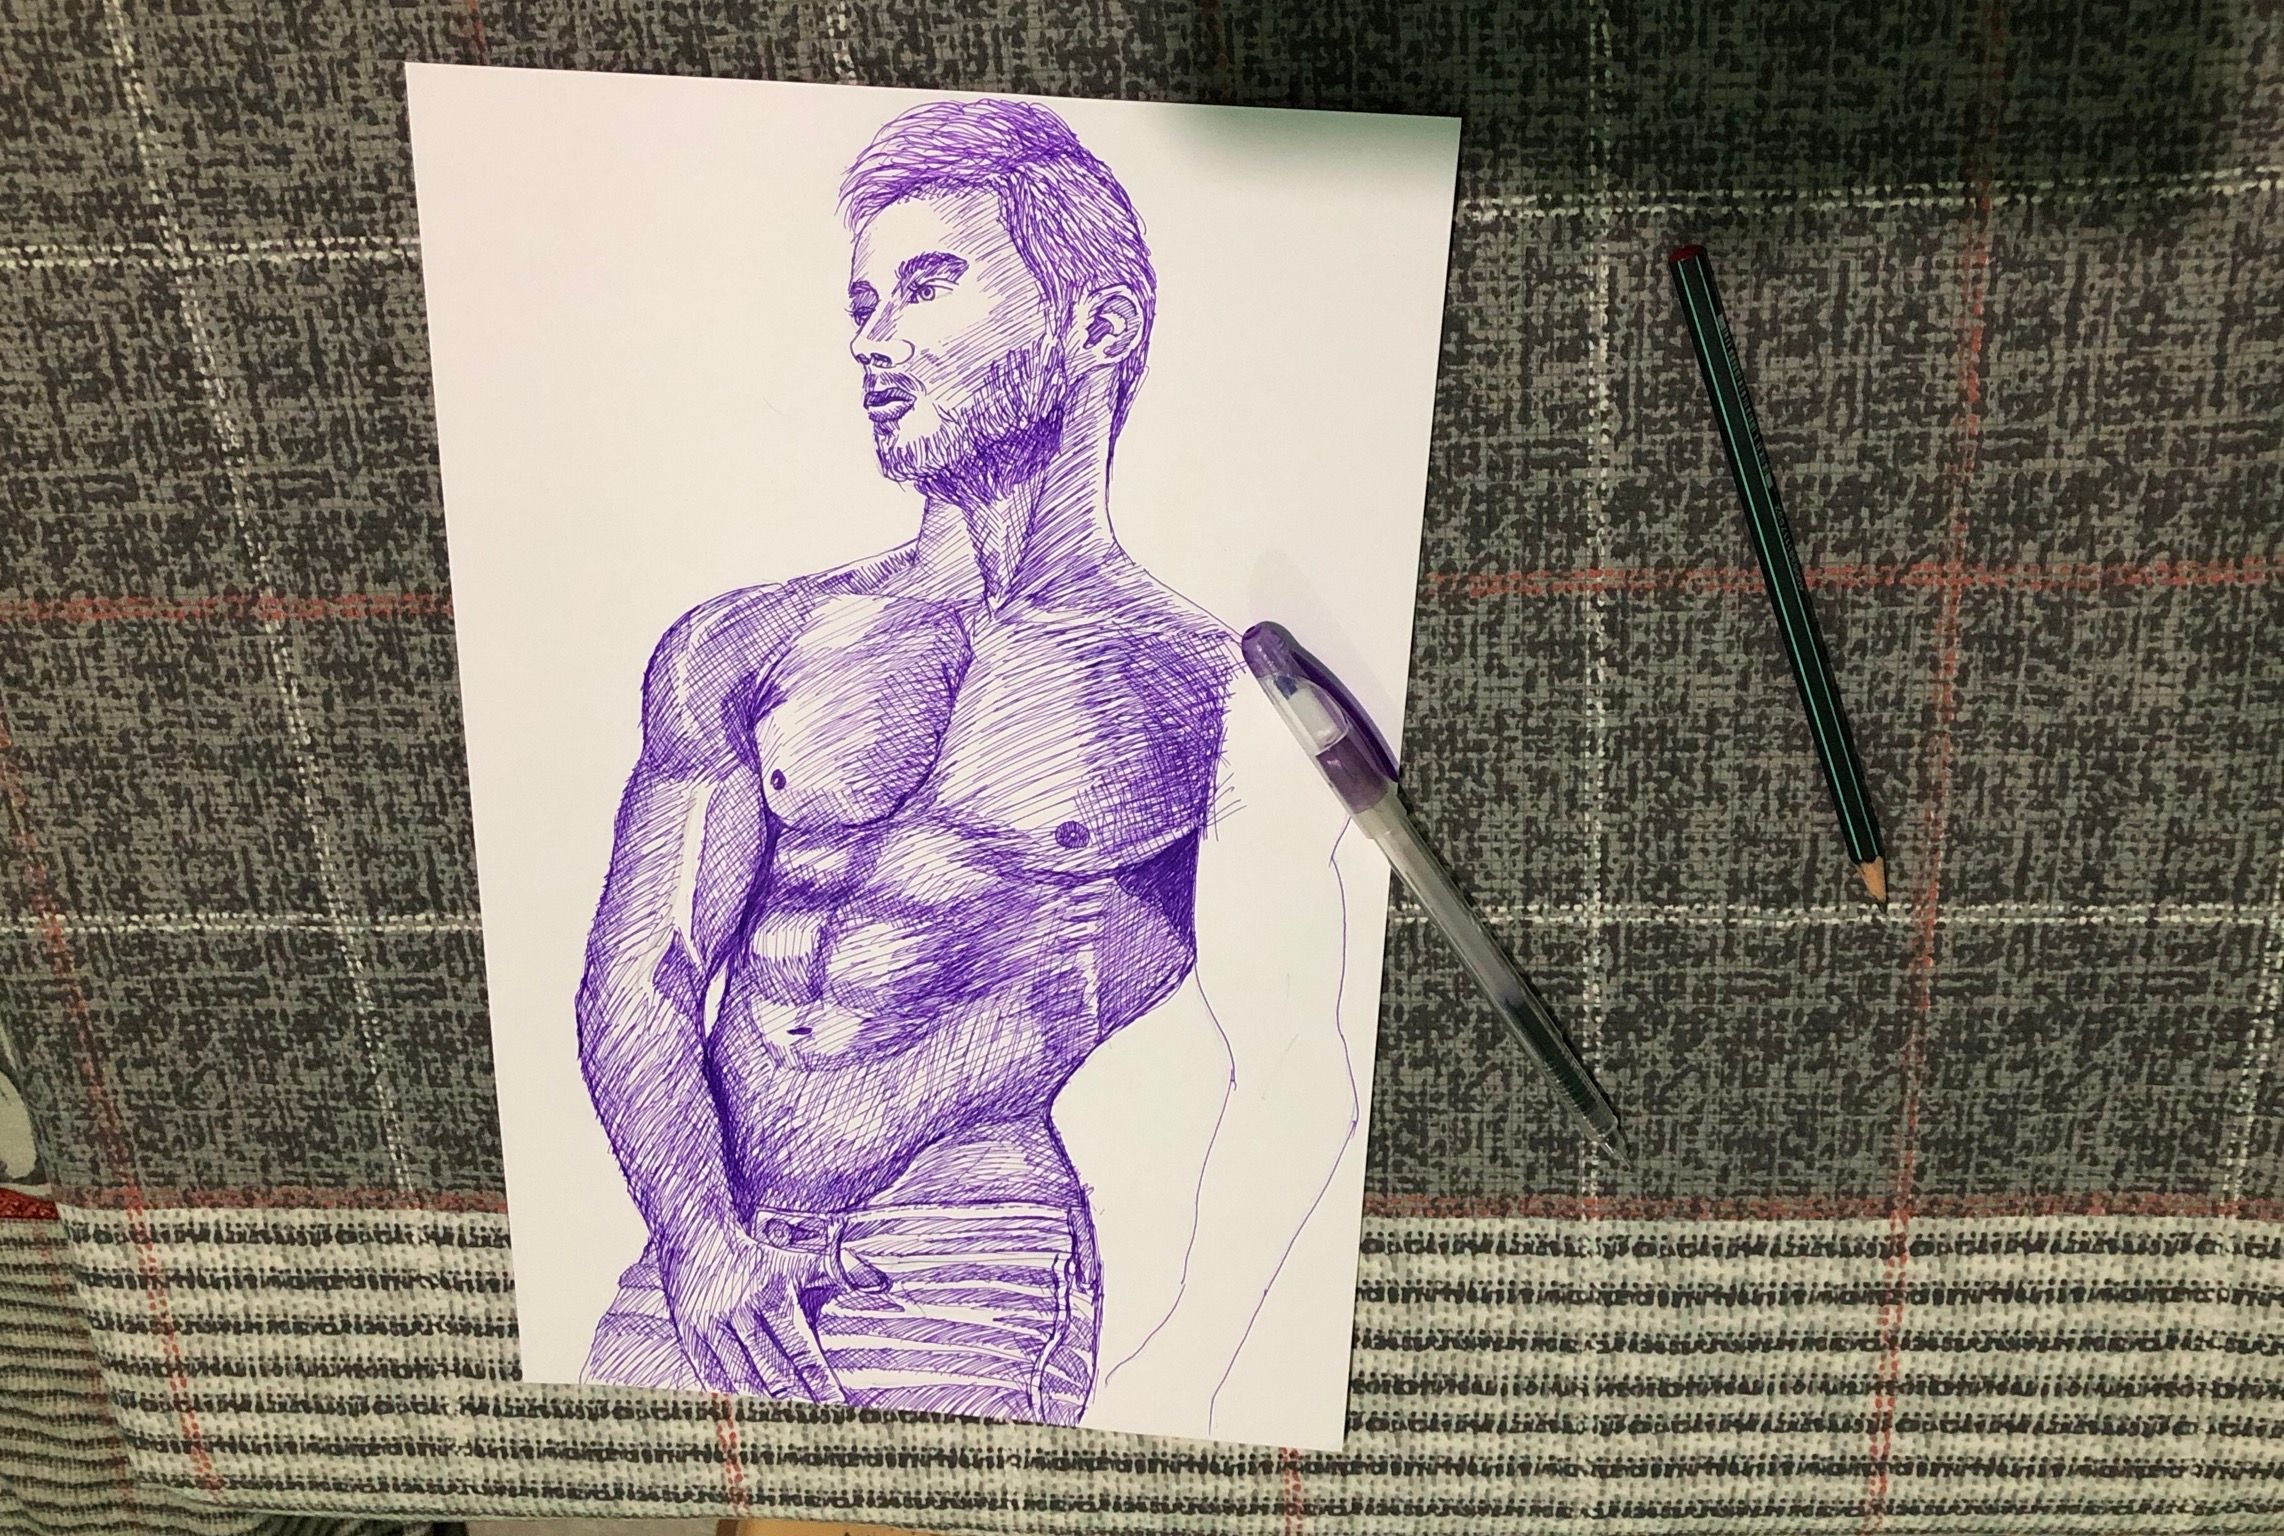
After that, I moved to the next section of my drawing. Here I have drawn the other arm as well as the jeans of the subject utilizing the similar approach.
Part 5
We are finally close to the final stage of our drawing. On part 4, we cannot find there the other arms/arms. I just have to draw the lacking part using the same method . Consistency is a very good thought that everyone should follow and be patient of to produce good-quality drawings.
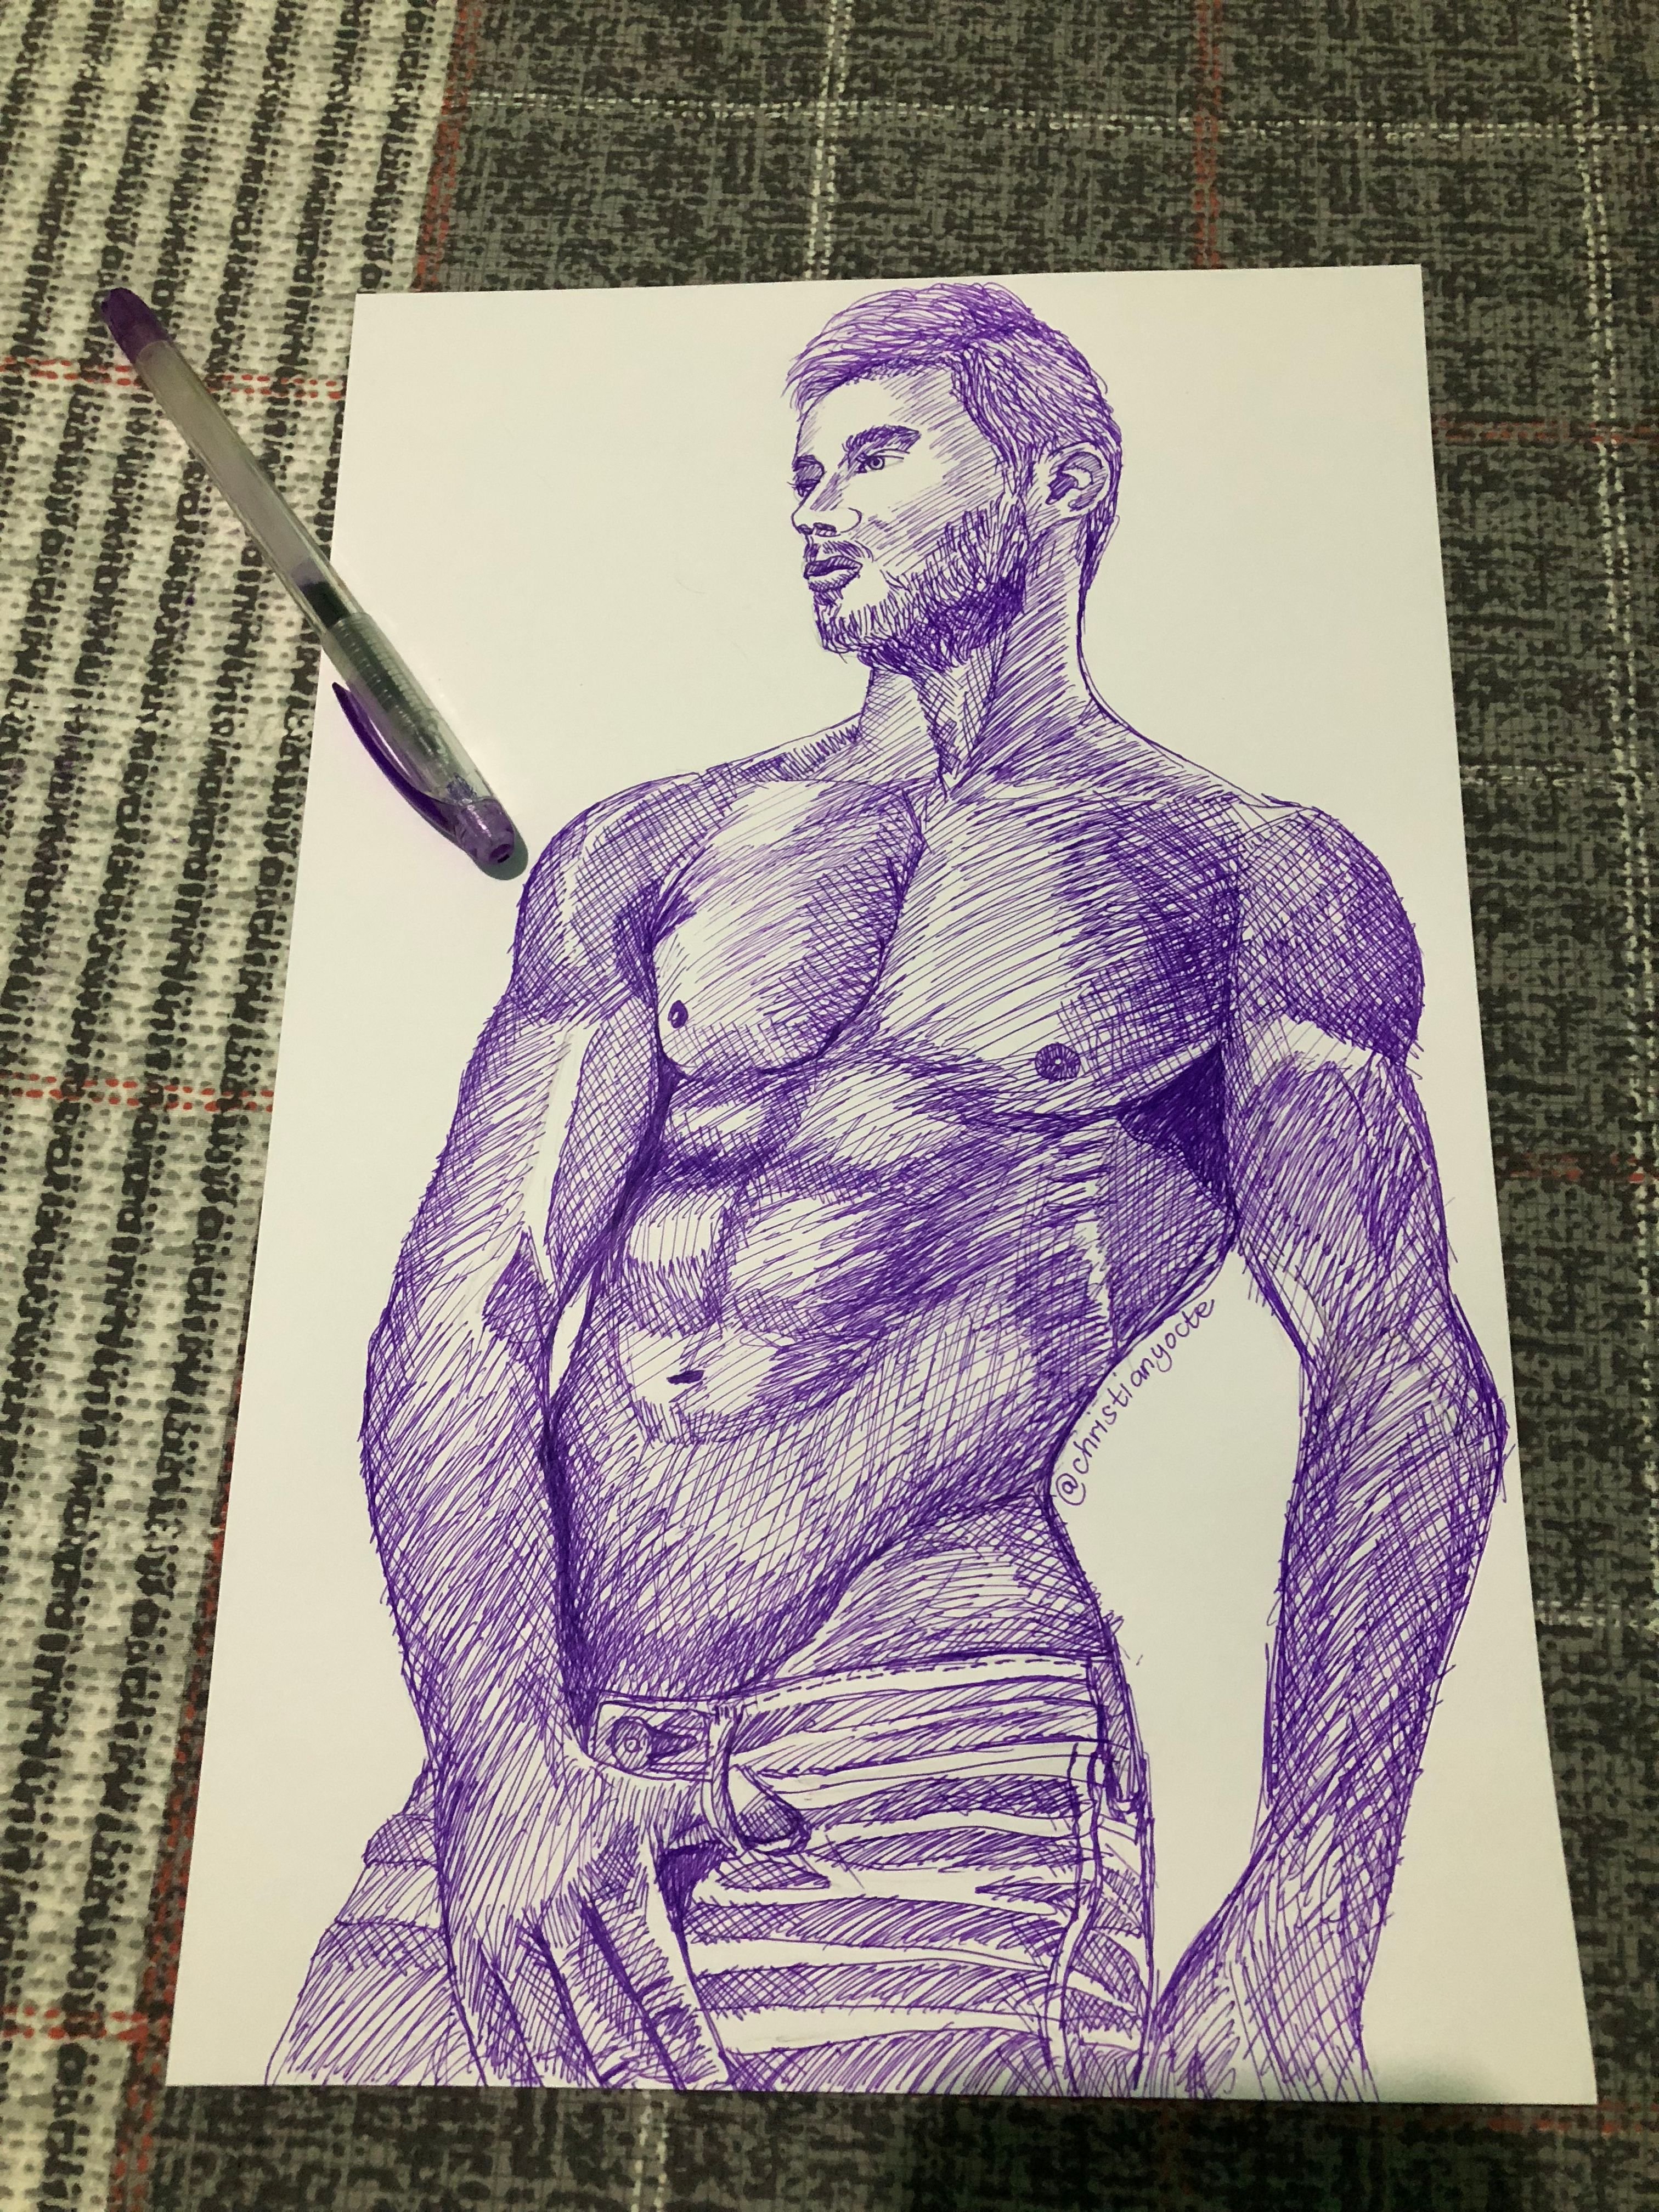
We are now done! Congratulations!
Final Words
I hope you had fun reading this blog. If you like it please do not forget to upvote. Also, if you have some thoughts in mind, please let me know by commenting it below. Lastly, if you want to see more art blogs from me, you can click any number below:
76 75 74 73 72 71 70 69 68 67 66 65 64 63 62 61 60 59 58 57 56 55 54 53 52 51 50 49 48 47 46 45 44 43 42 41 40 39 38 37 36 35 34 33 32 31 30 29 28 27 26 25 24 23 22 21 20 19 18 17 16 15 14 13 12 11 10 09 08 07 06 05 04 03 02 01


