 |  |
|---|
Hi, art-lovers! Welcome to my 85th artwork on the Steem Blockchain. I am very happy because my mood to create something has been very active for the past two days. Keep it up, Christian!
Anyway, my drawing today is a request from a new found Steemian friend, @kayegrasya. After my class yesterday, I opened my messenger and read her request asking me to draw her boyfriend. She also asked how much would it cost. In my side, I was a little confused thinking that I never had sold my artworks to anyone although there had been a handful who asked if they can purchase some of my works.
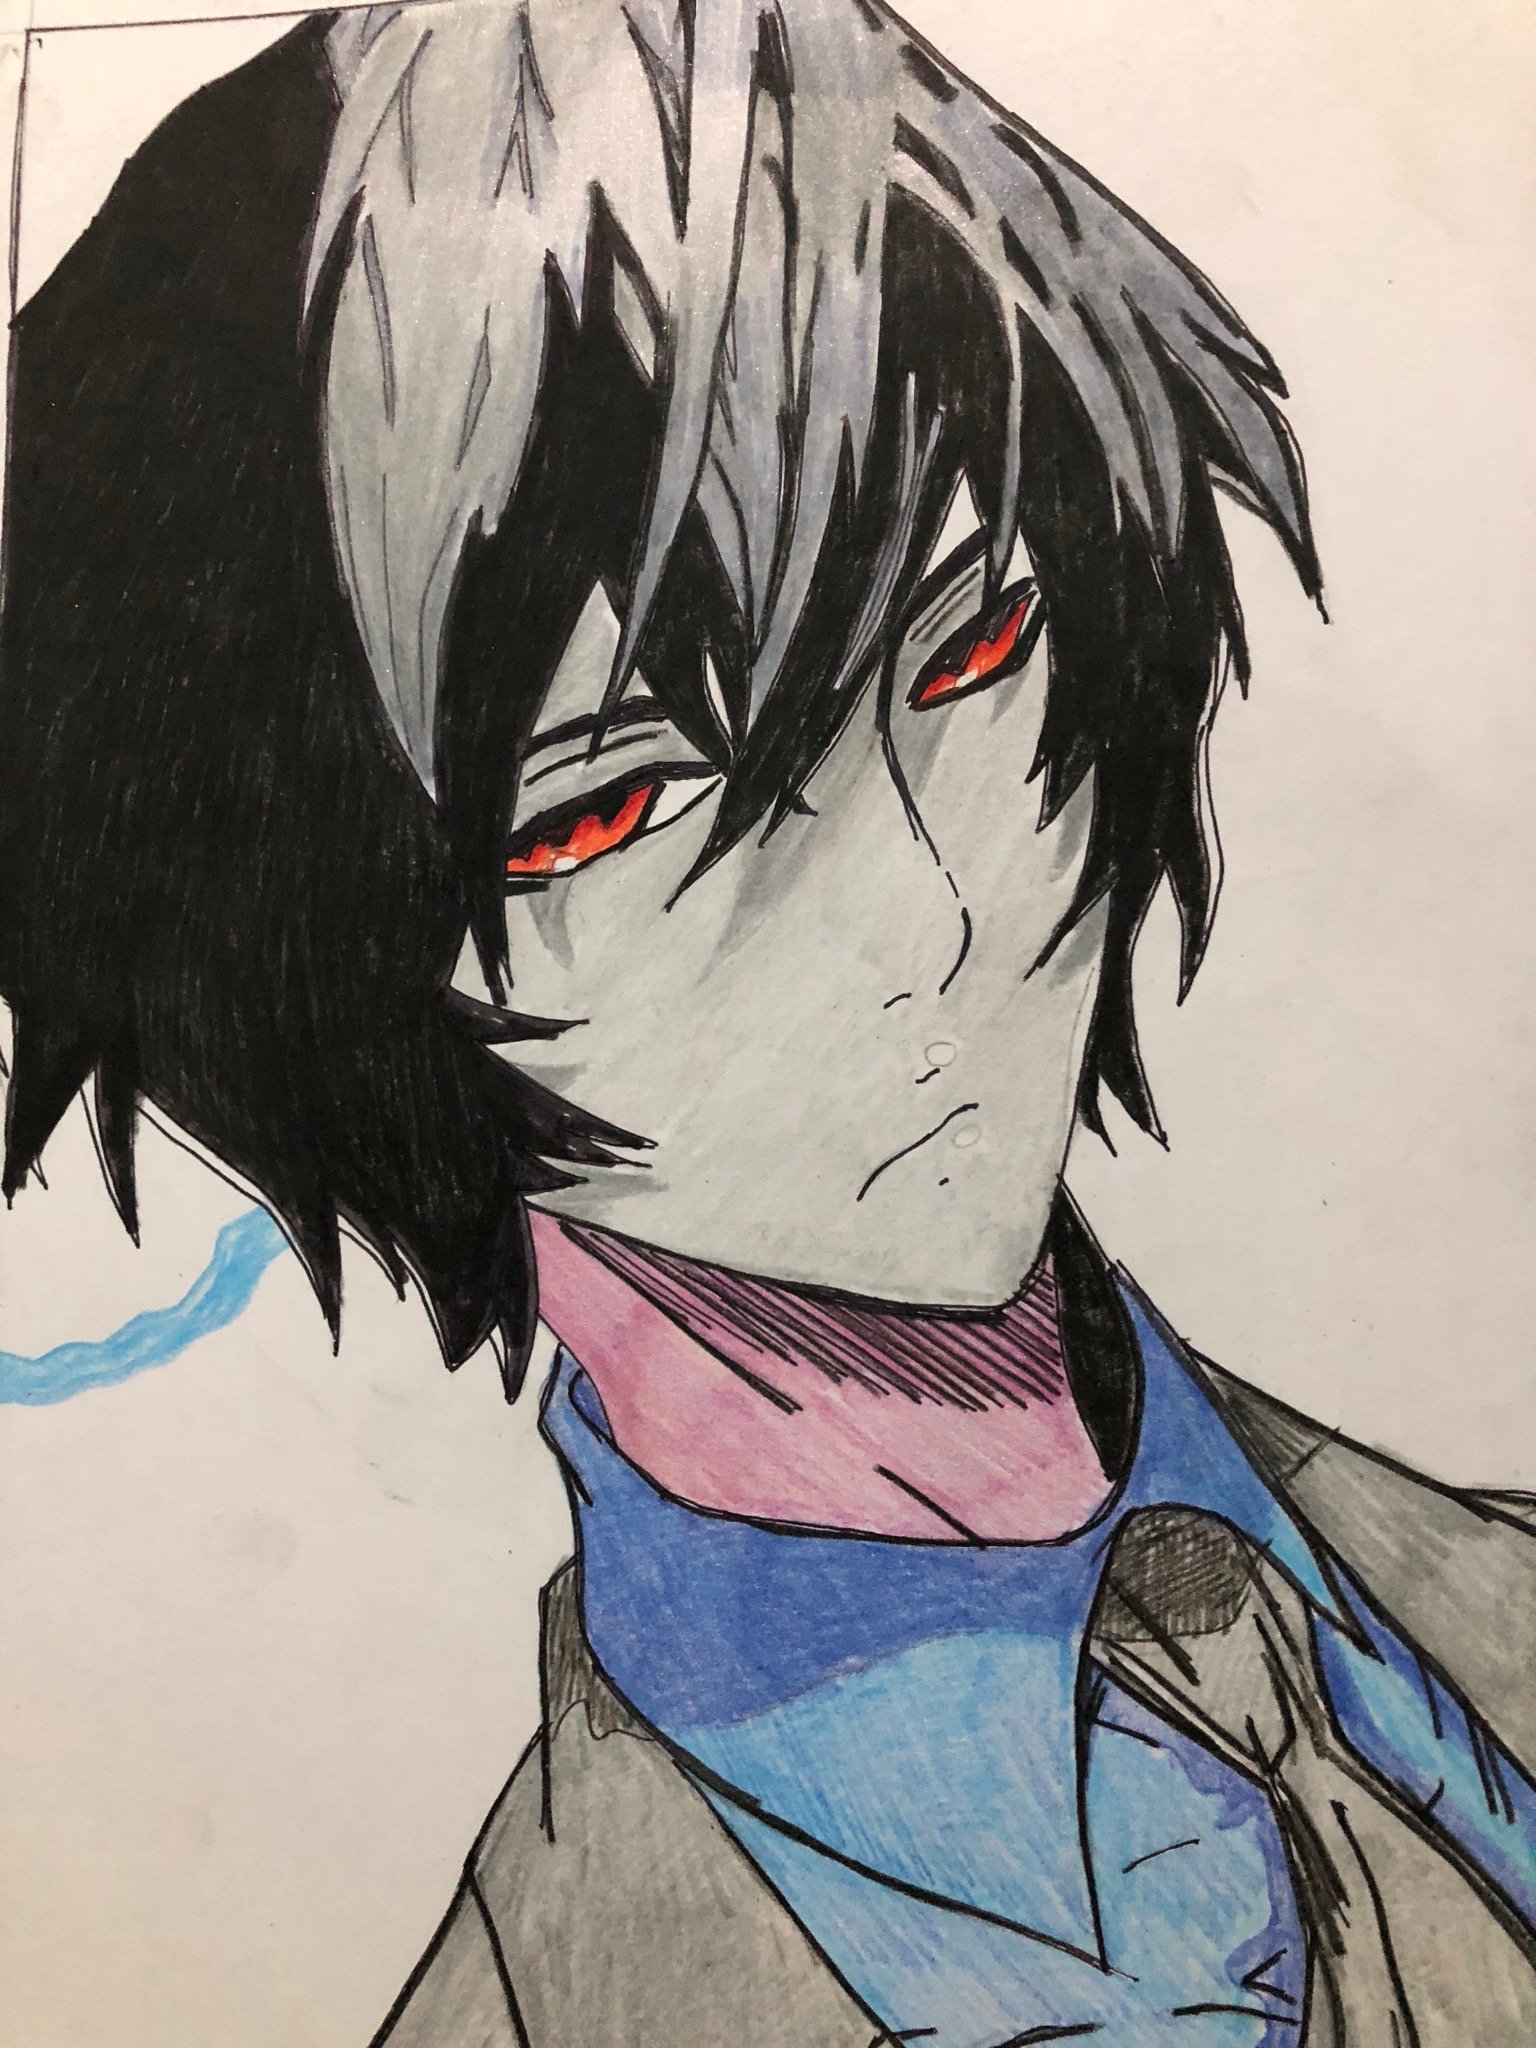
Then, she sent a picture of these webtoon character. I felt relieved because it is not a real person which means the drawing process is not so difficult. So, when I finished my dinner, I started to draw Cadis Etrana di Raizel. Finally, I told @kayegrasya that she can have this drawing if she pays me 7SBD. But, actually she can ask for a discount up to 50%. Hahaha
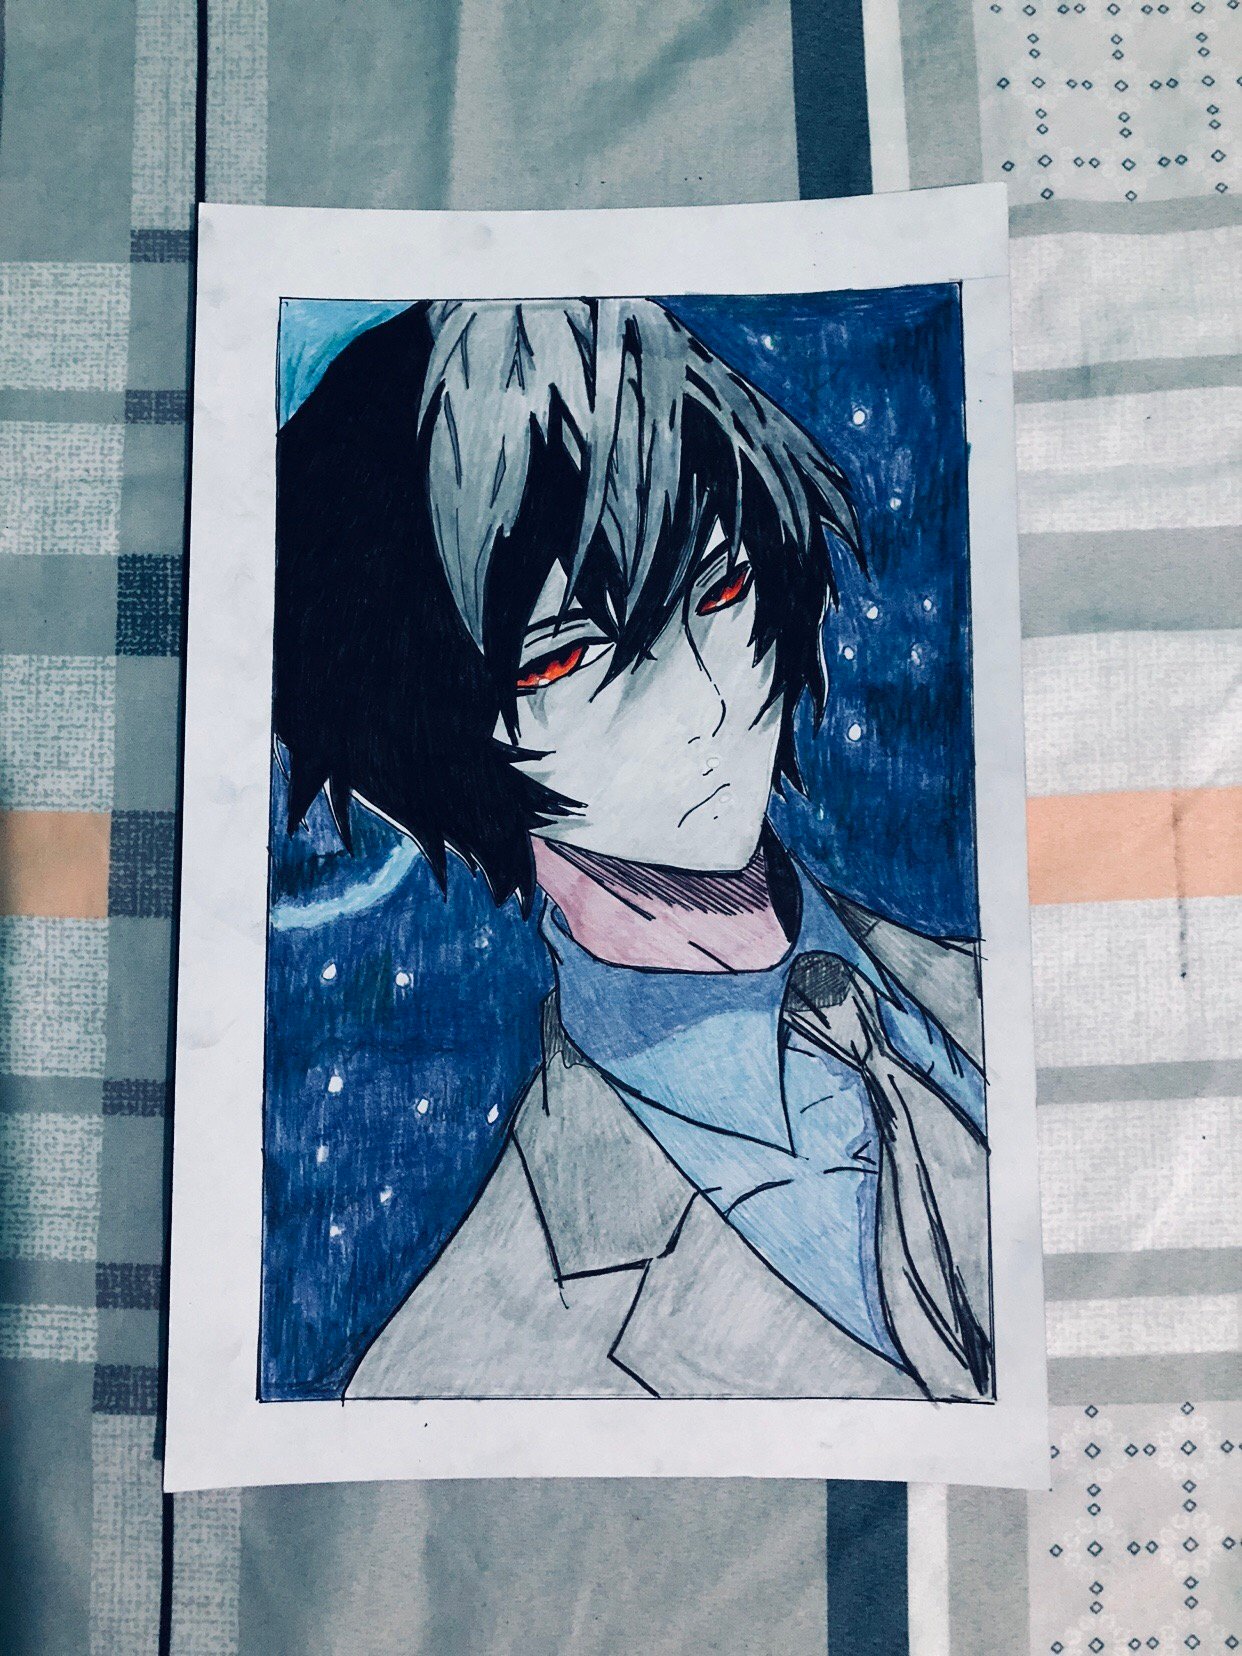
So, without further ado, here’s my drawing!
 ”Cadis Etrama di Raizel is a vampire who slept for about 820 years. He is the main character of the Webtoon Noblesse and is described as the most powerful vampire of all nobles. This webtoon has been popular for over years and has released an OV movie but the comic series is still on going with more than 500 episodes. To further know more about Rai and his adventure, read online or download Noblesse on Webtoon.” - @kayegrasya
| Title | Webtoon Cadis |
|---|---|
| Medium | Color Pencils |
| Dimension | 8.5 x 13 inches |
| Copyright | @christianyocte |
The Drawing Process
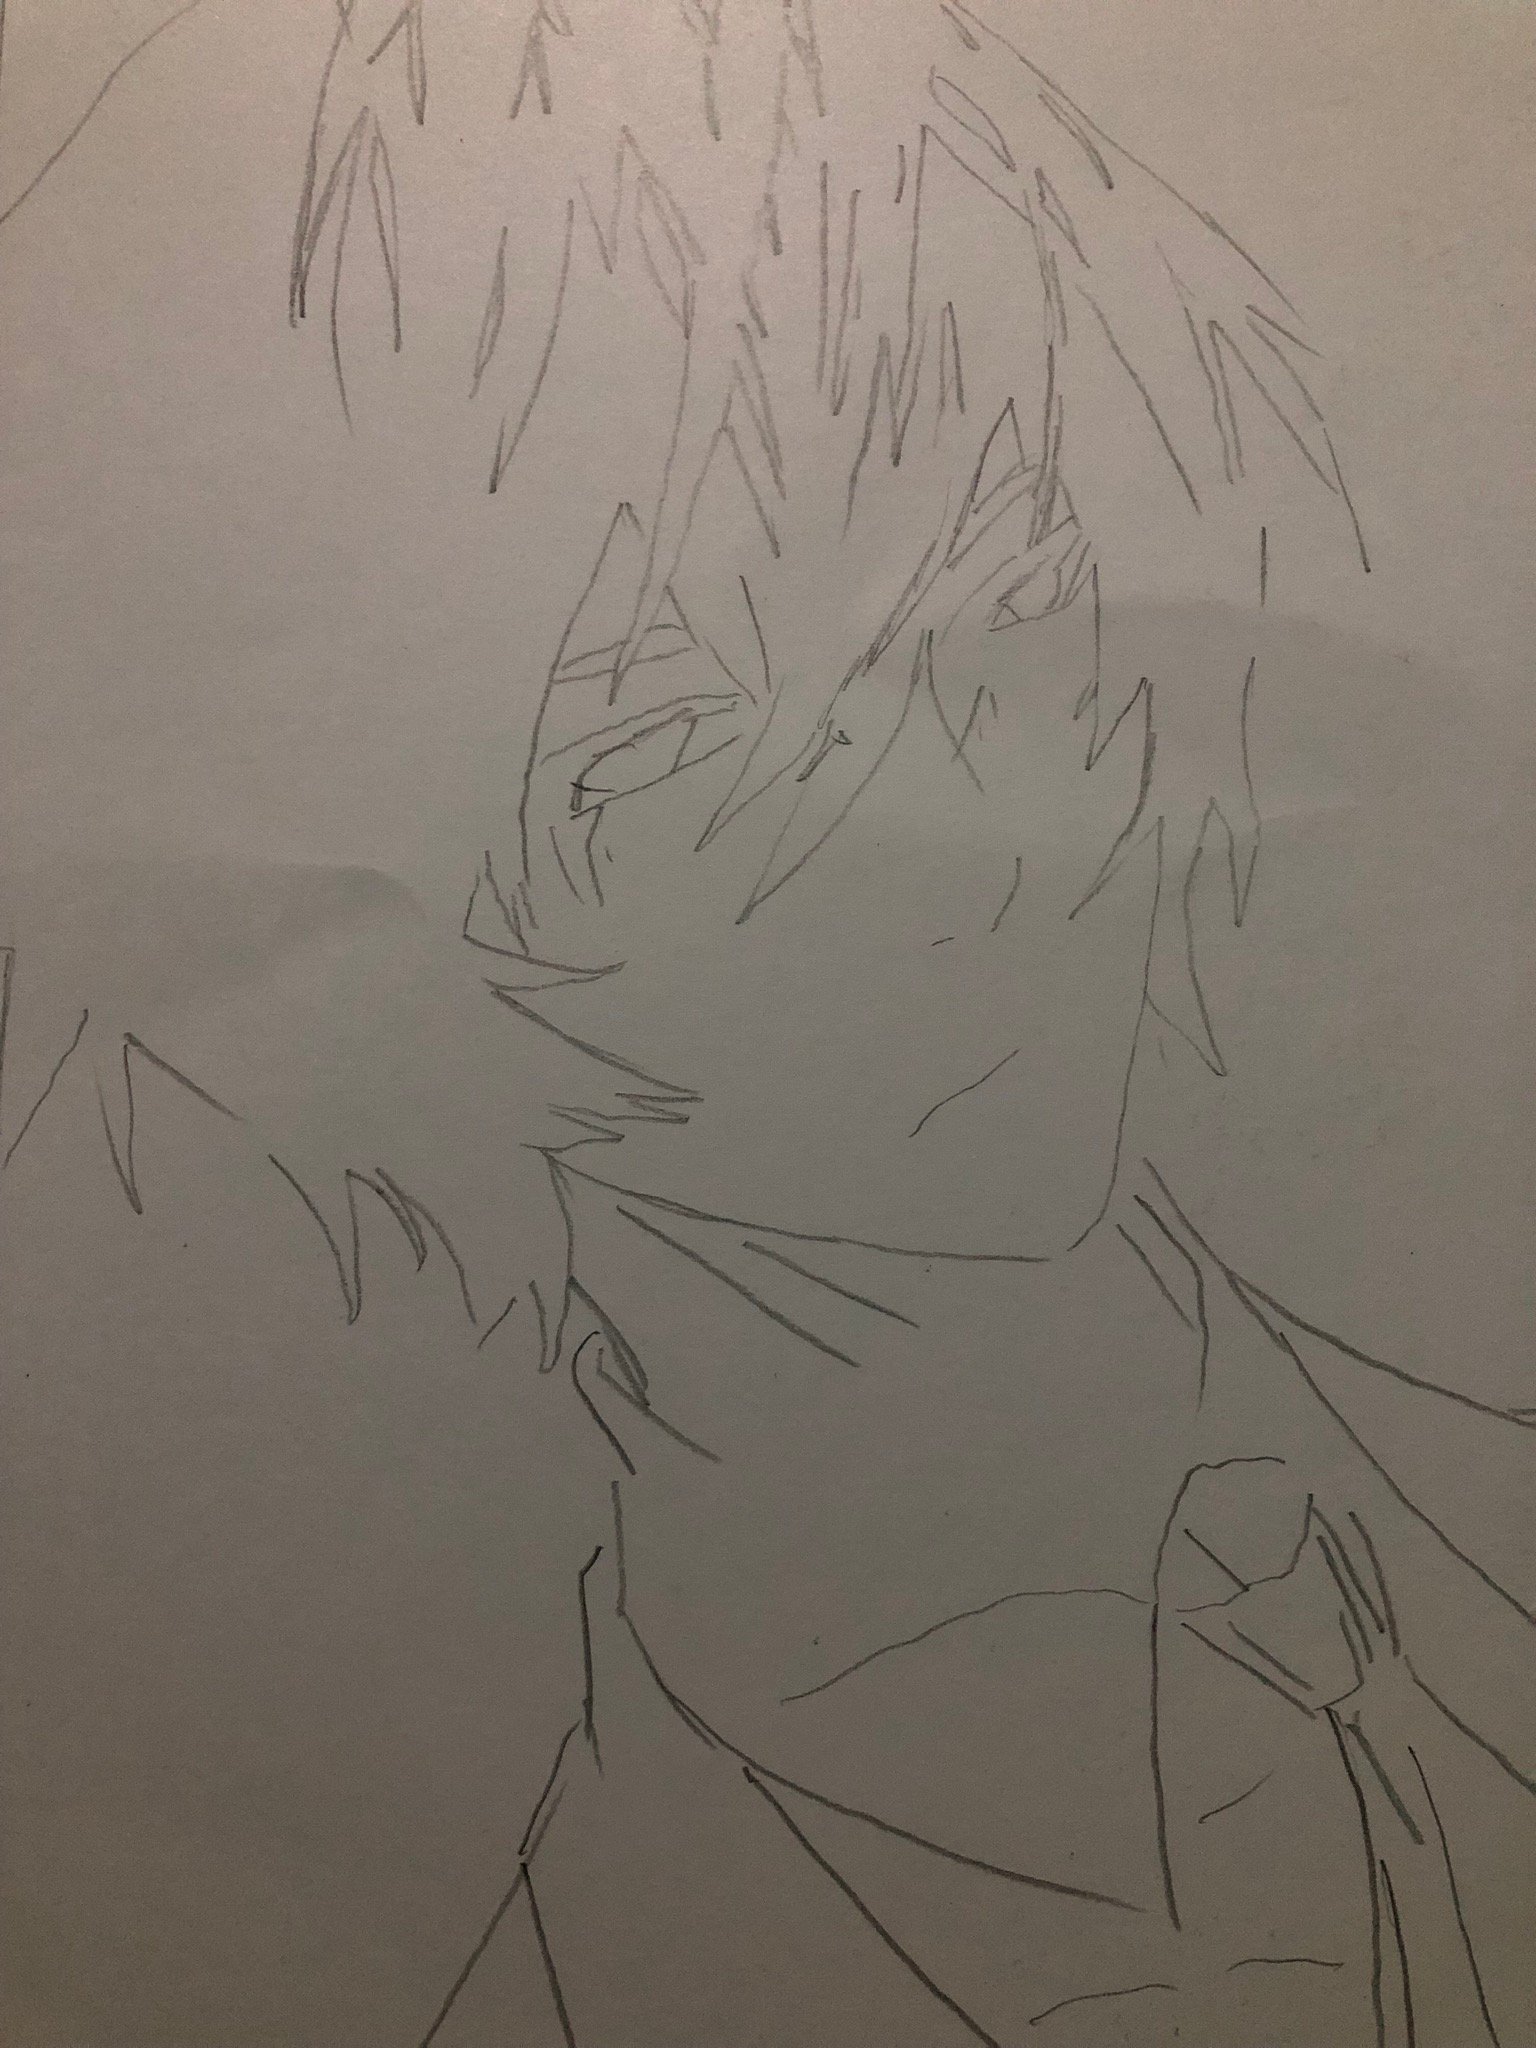 Step 1: Penciling: The first thing I did was I grabbed a pencil. Using the pencil, I outlined the subject. I also included the shadow line and other important details in the subject.
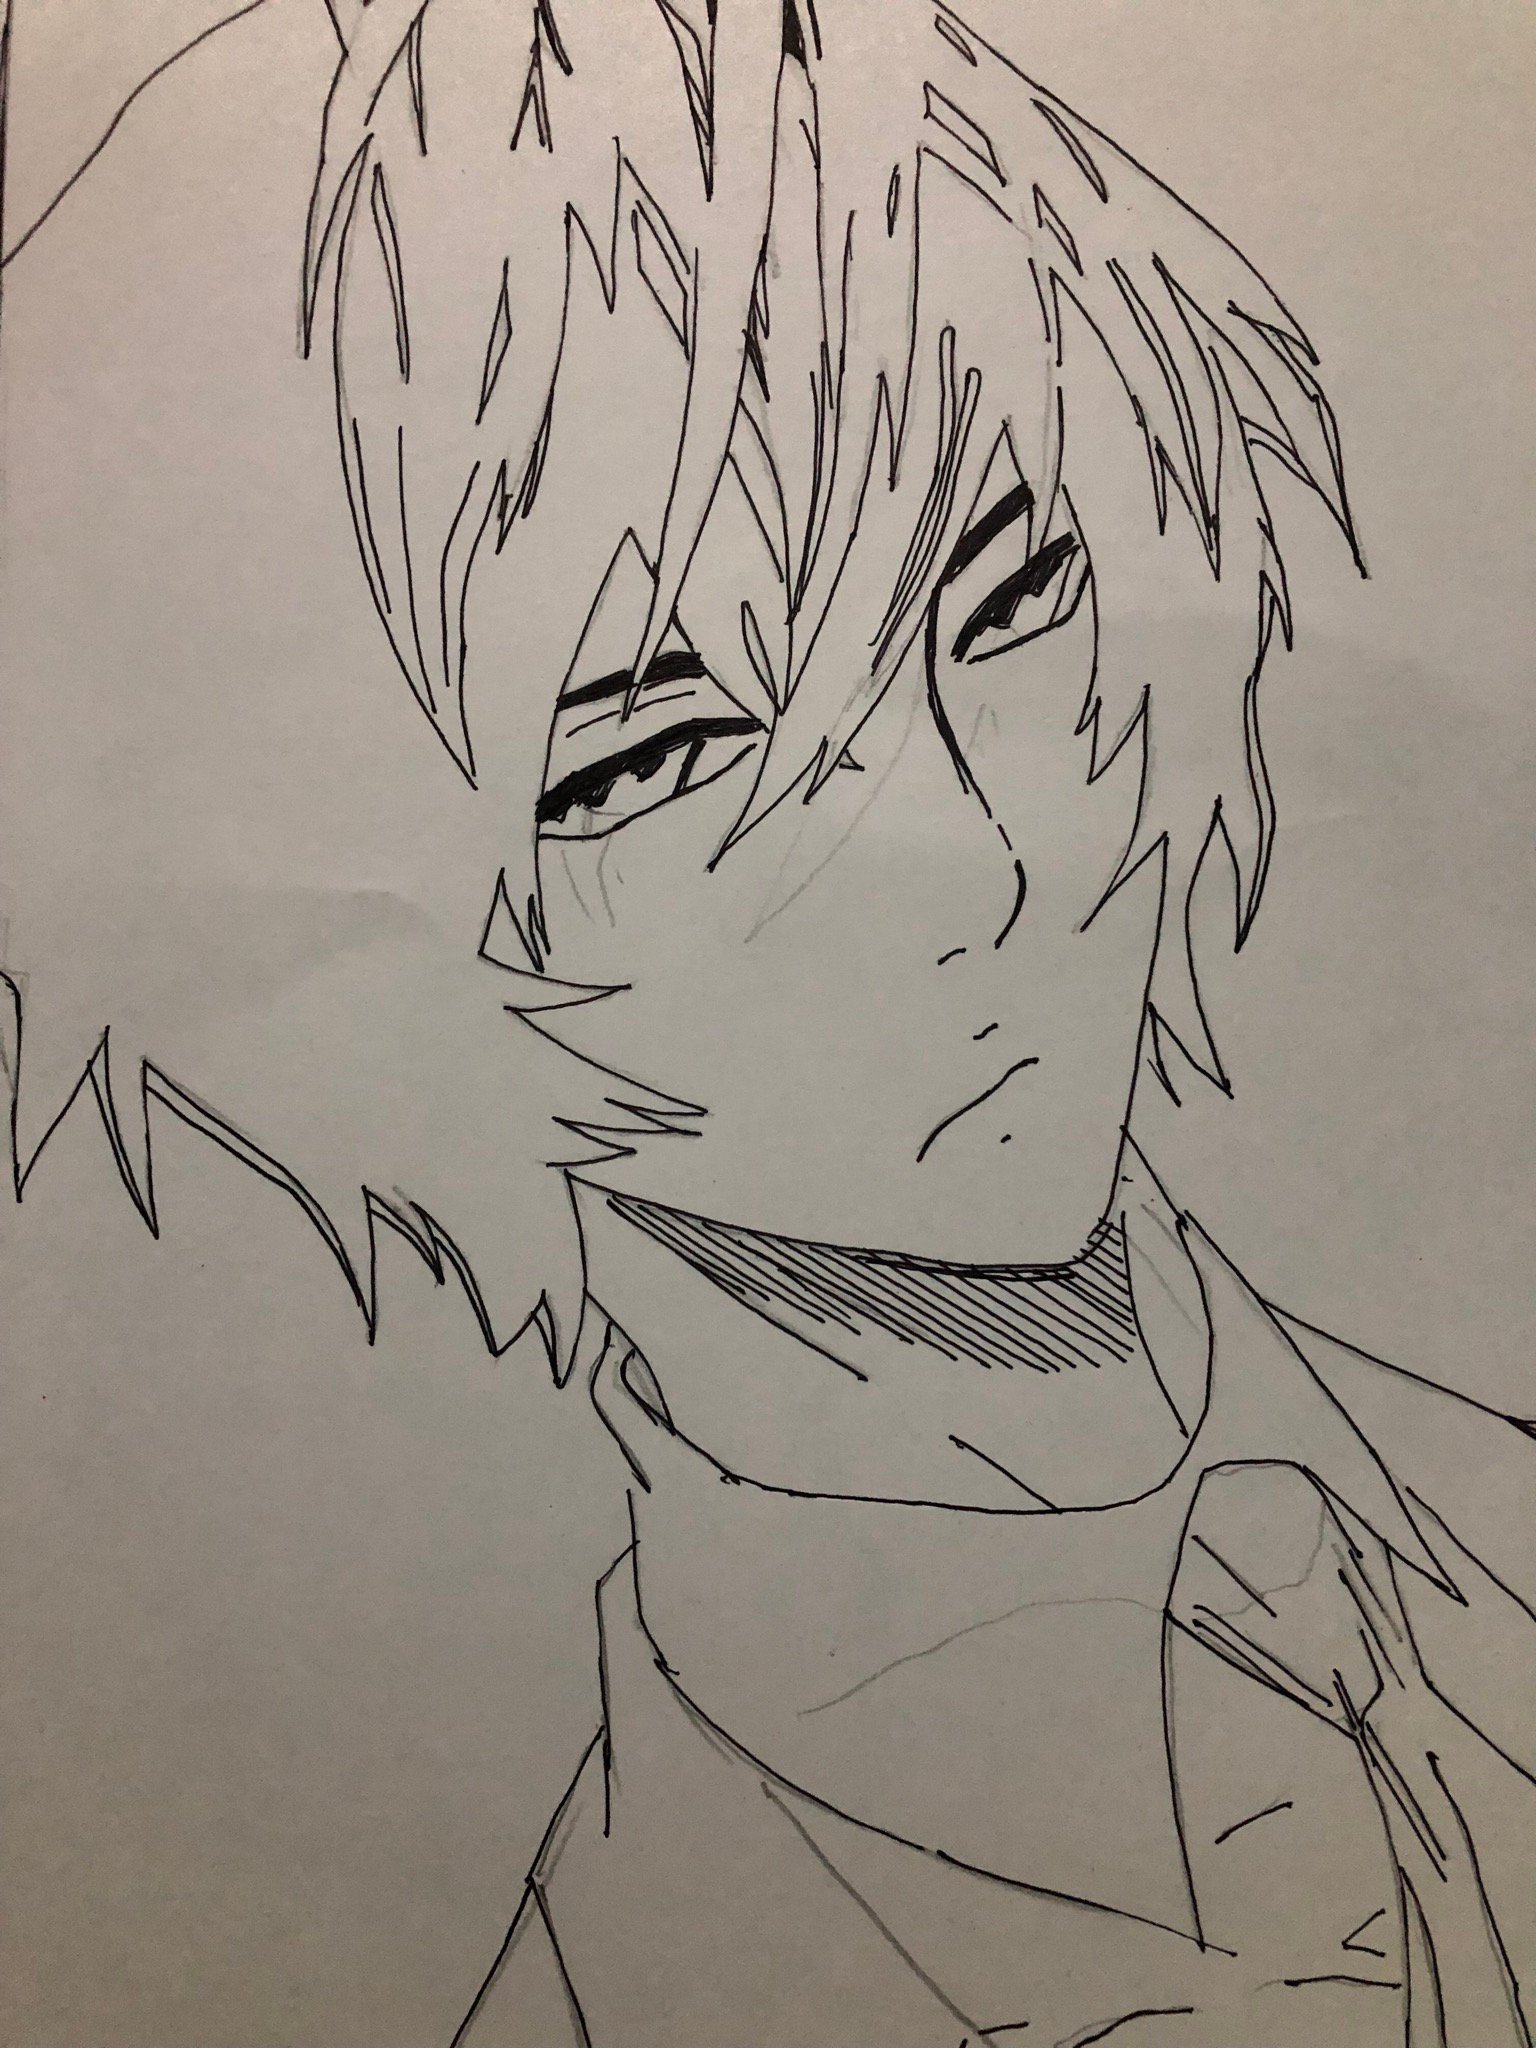 Step 2: Inking: After outlining the subject, it is the time to ink the lines. I used a My Gel 0.5 to ink the solid lines of the drawing. I made sure that I traced correctly the pencil lines so that I still have the correct proportion of my drawing.
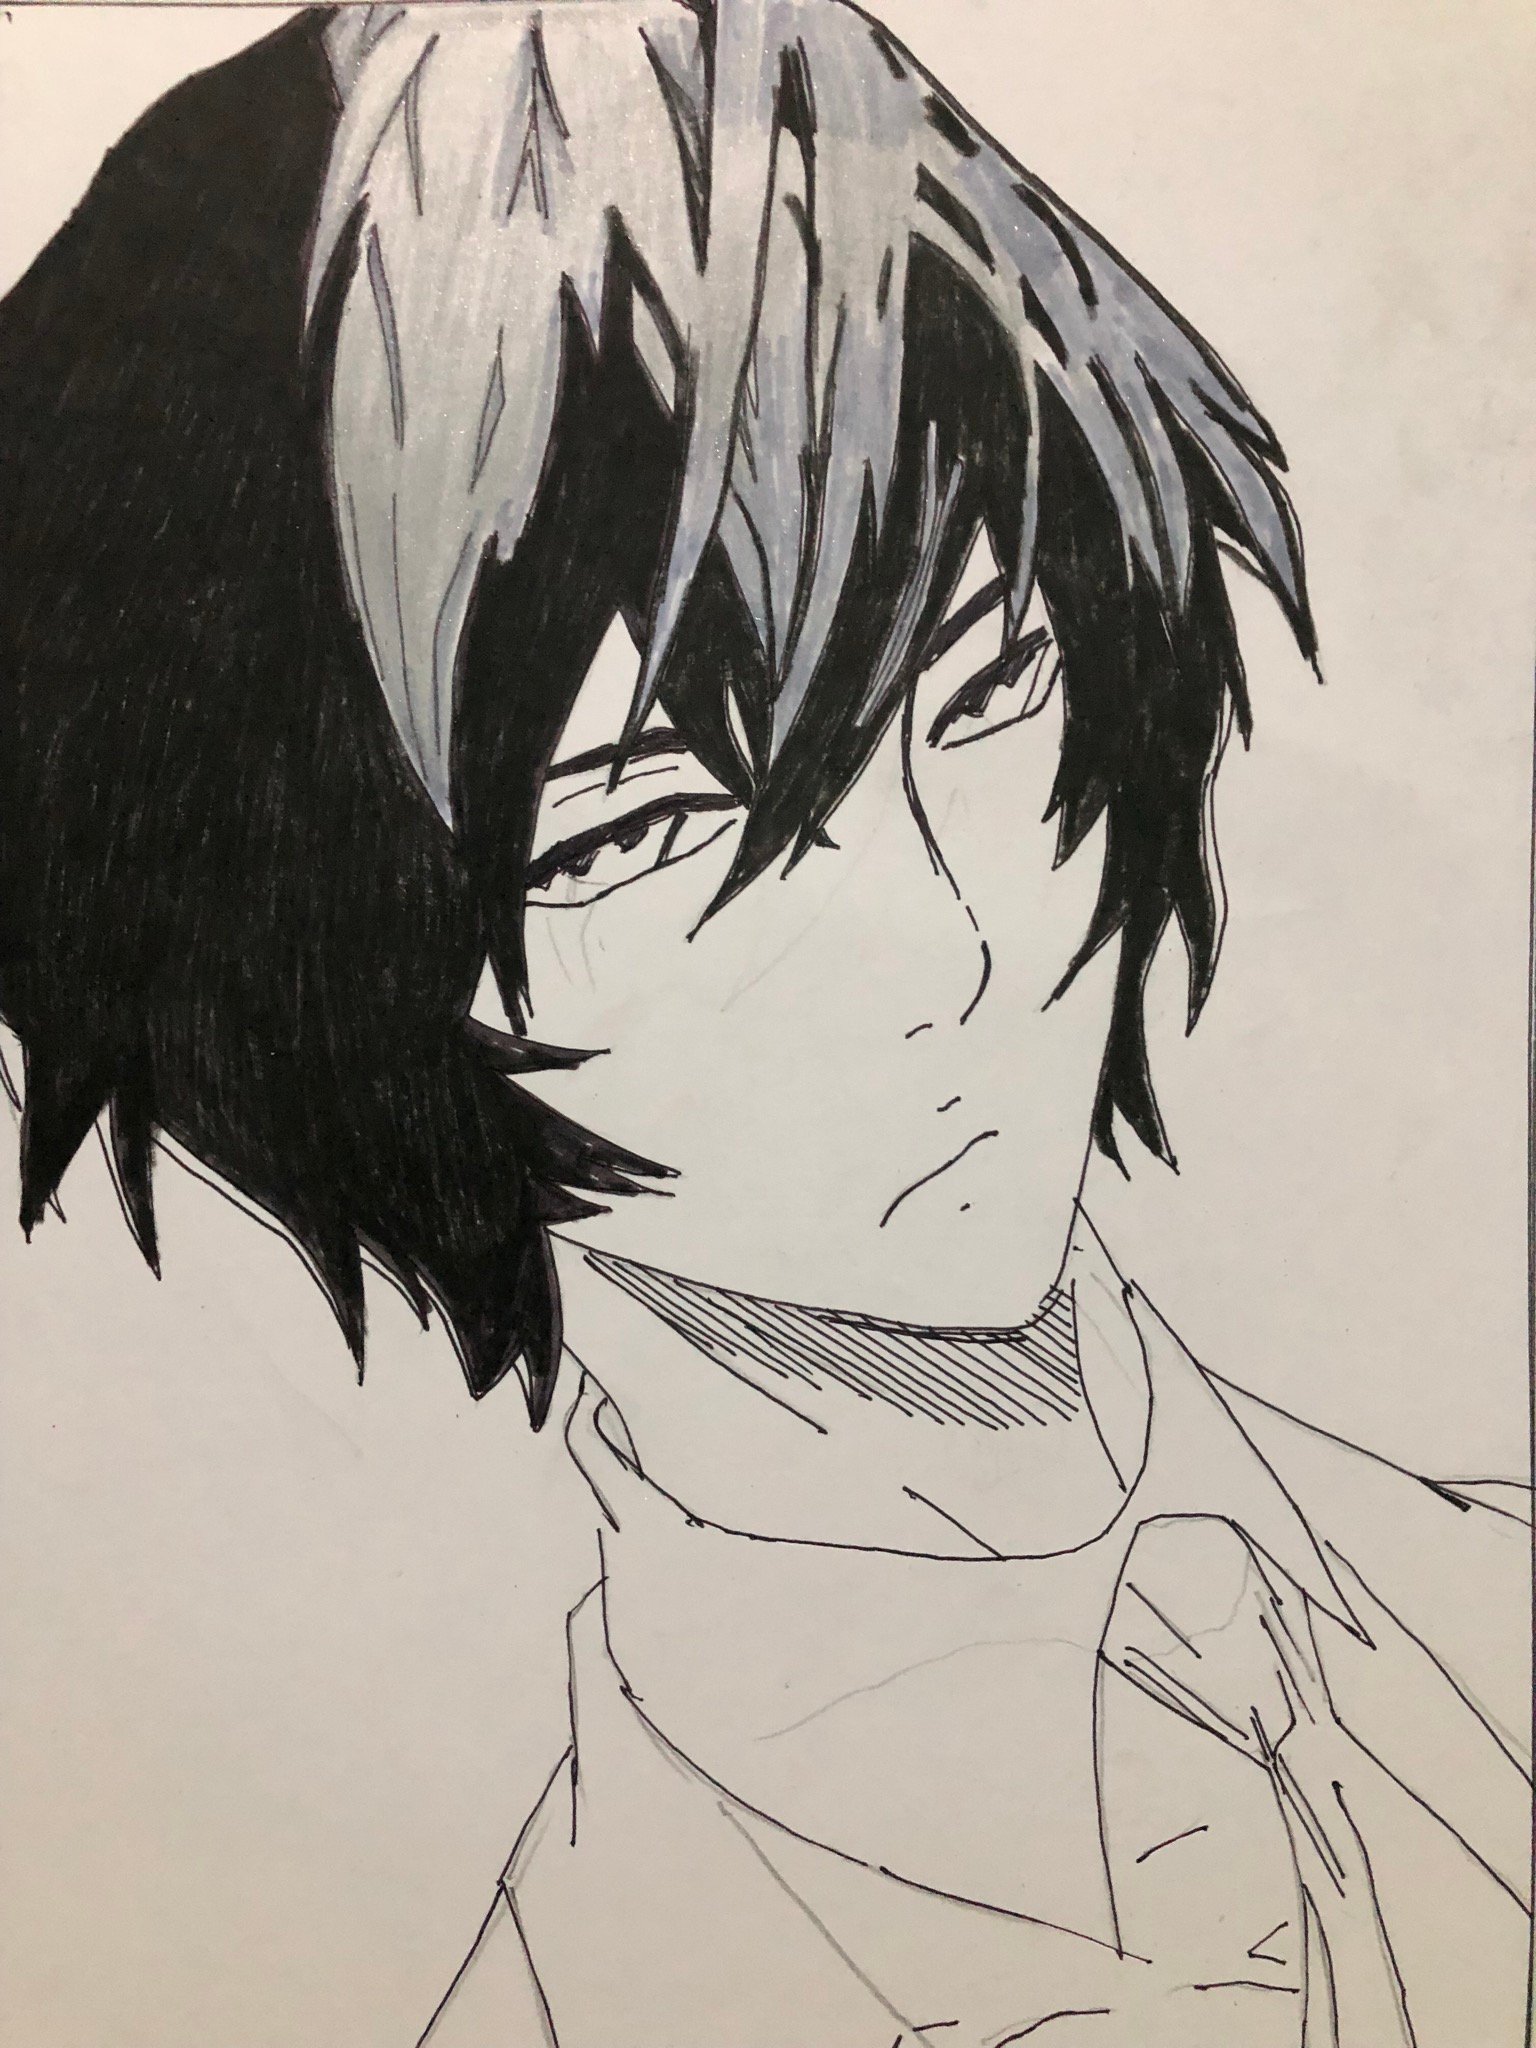 Step 3: Coloring the Hair. After inking the pencil lines, it is now the time to color the subject. In this case, we want to start at the top or the hair. The hair is far simpler to draw in anime characters rather than in reality. Thus, the hair for this drawing is easy-to-do compared to the regular portait drawing. So, for the hair, I used a colorpencil of black, ash gray and gray colors.
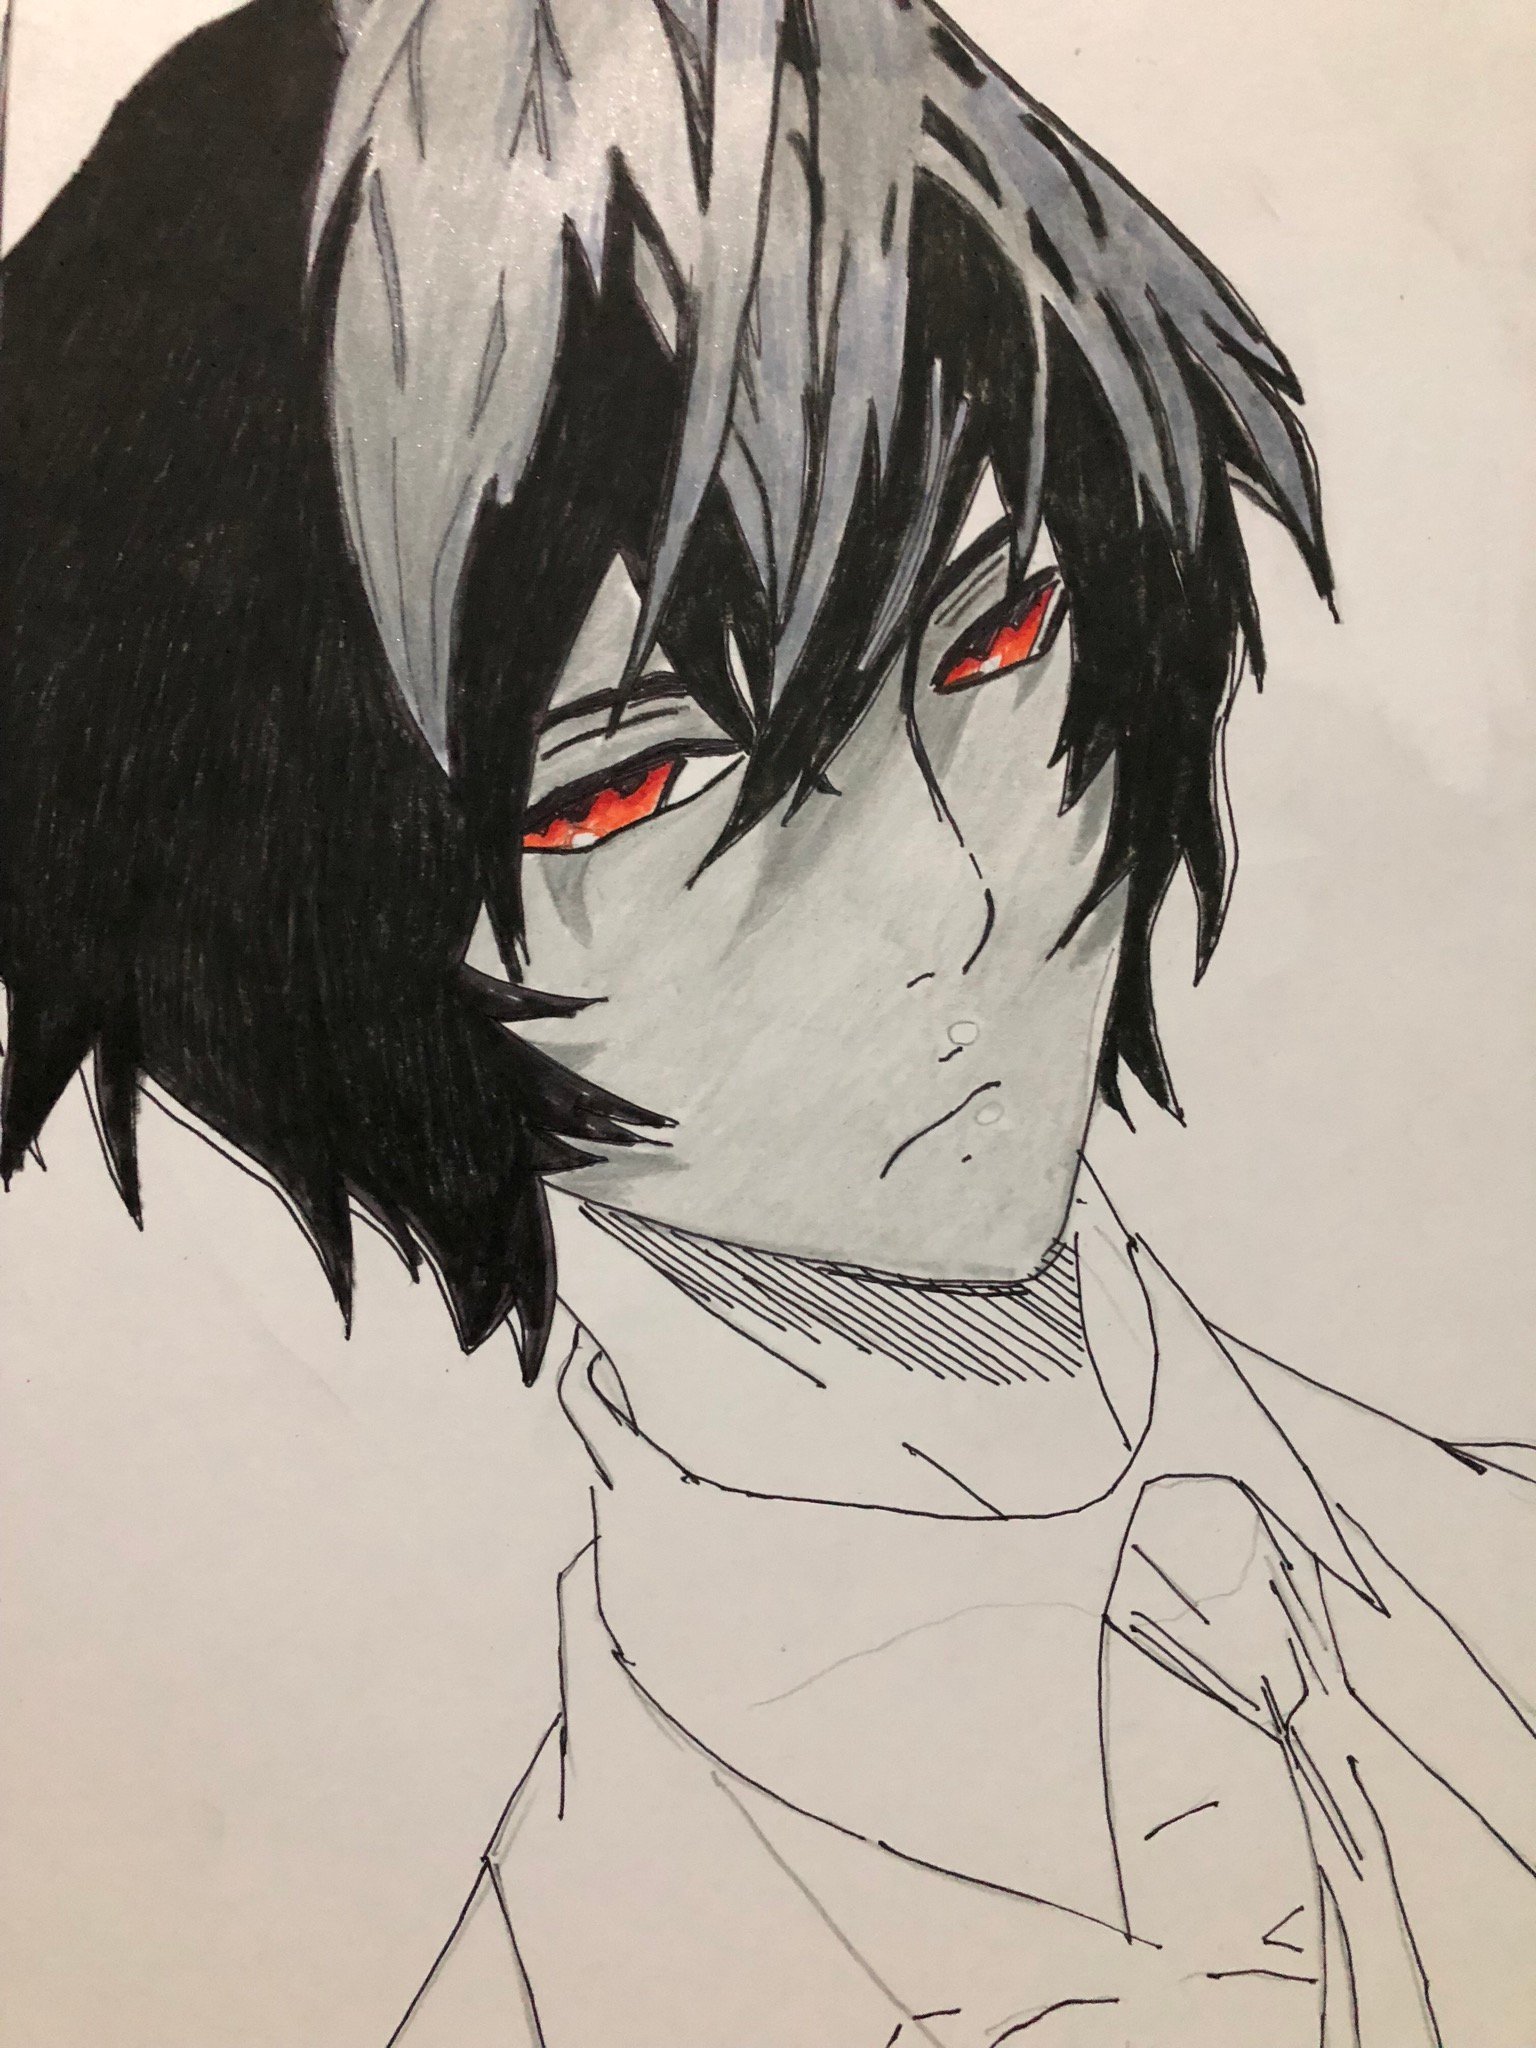 Step 4: Coloring the Face and Eyes. Going down, we move to the next step- the coloring of the face. First, I made sure that I would color the shadows from the hair first. I chose a darker gray shade. Then I colored the face, there are some areas of the face that I didn’t color for important highlights. Next to that was the coloring of the eyes, I use a red orange color pencils first for the eyes, I added a blood red color layer to add value on the eyes.
 Step 5: Coloring the Neck and the Suit. I don’t think I have an available color pencil in my case that looks like purplish brown. I just improvised my own color for the neck of my subject, but it looks a little weird. Anyway, for the suit, three main colors are used- dark blue, sky blue and gray. I also outline the edges with black color pencils since the pen I used for inking was quite thin.
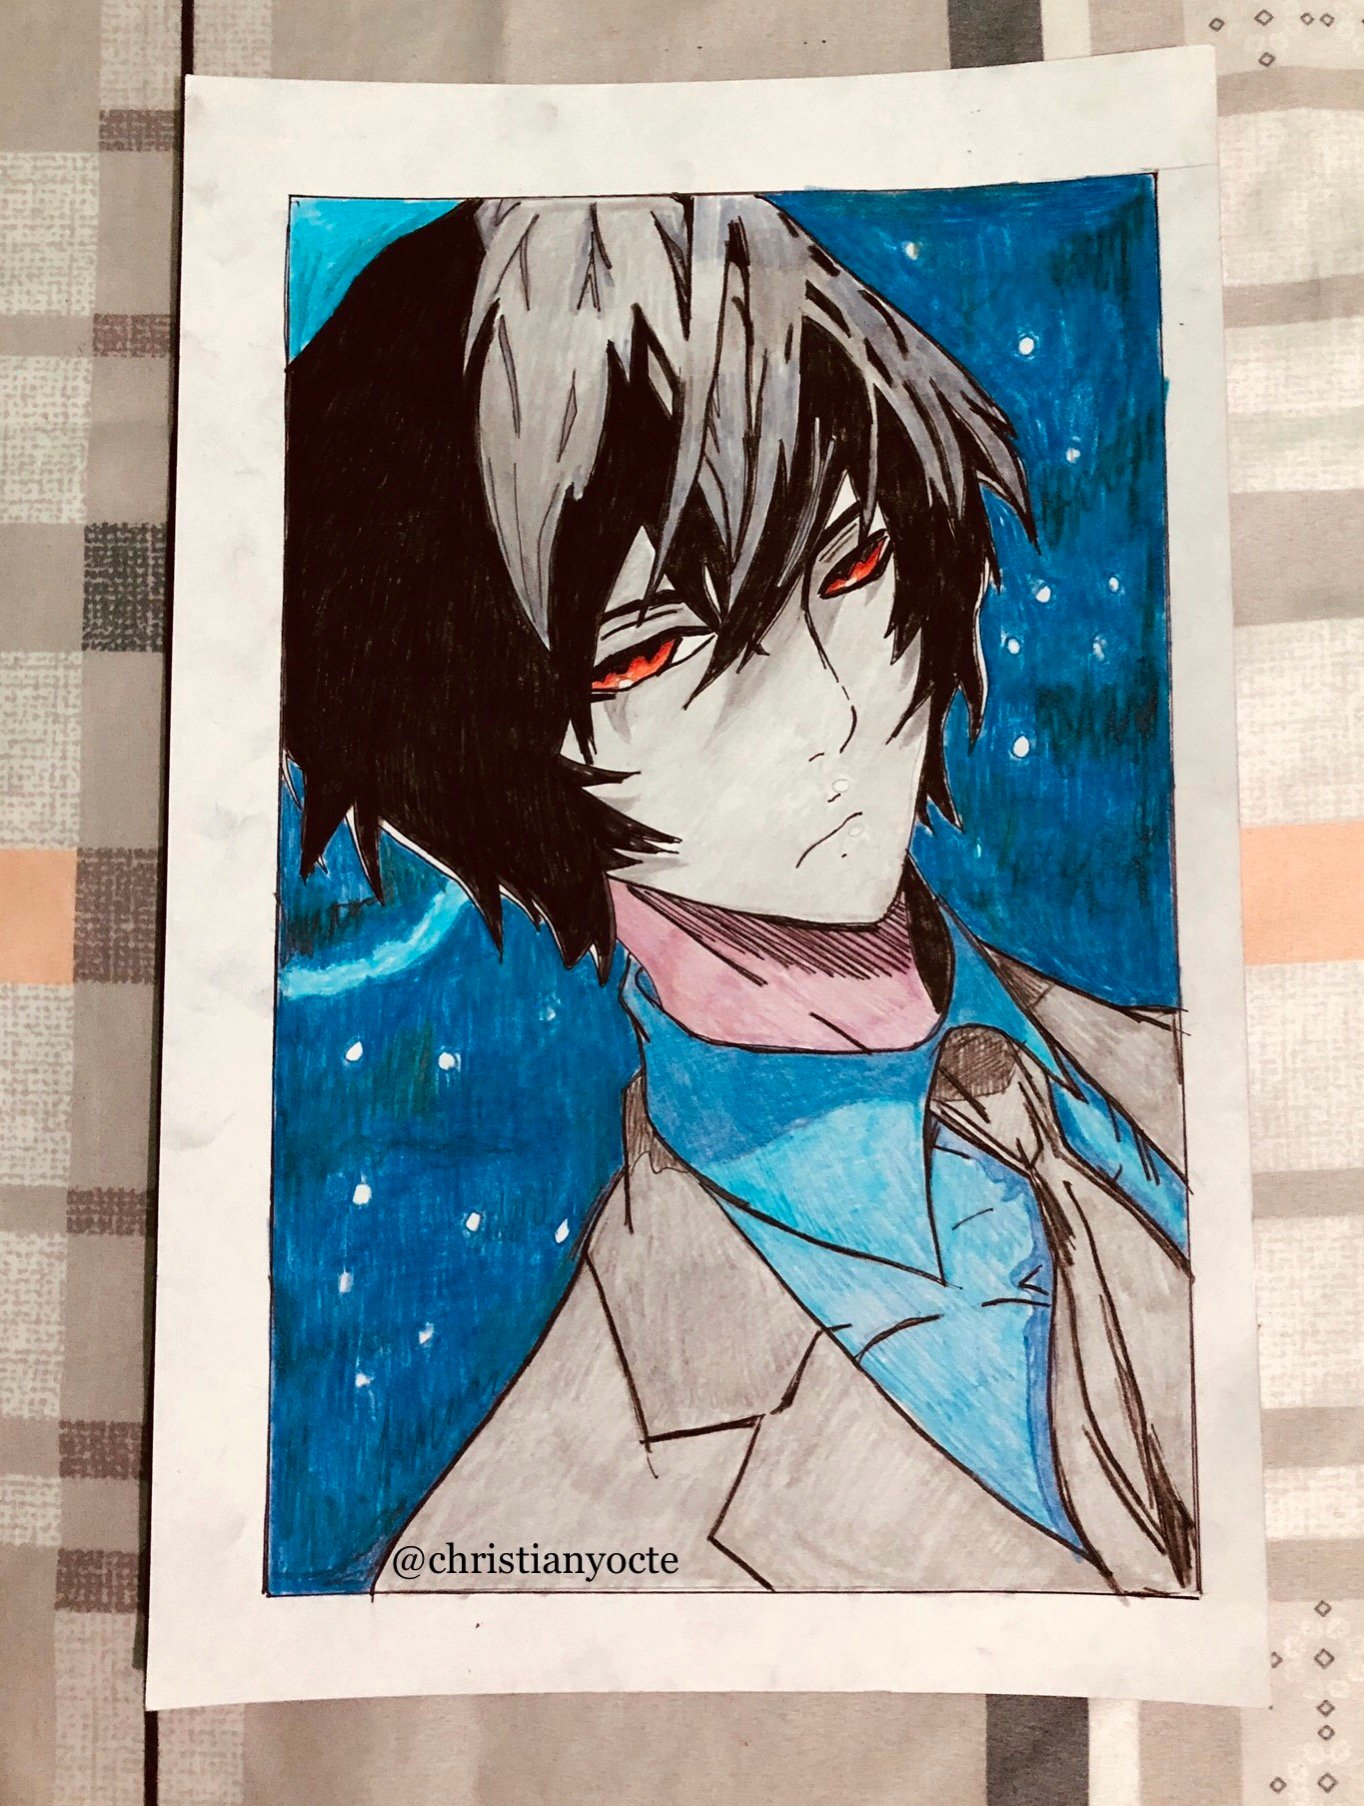
 Step 6: Creating a Background. We are now on the last stage of the drawing process. Here we added some background so that our subject will be more emphasized and also to add aesthetics and sense of space. For the background, I made tiny circles first which serve as lights or stars of the universe- or galaxy-like background. I used different colors and mixed them all together to have this stunning effect - sky blue, dark blue, blue green, green, and black.
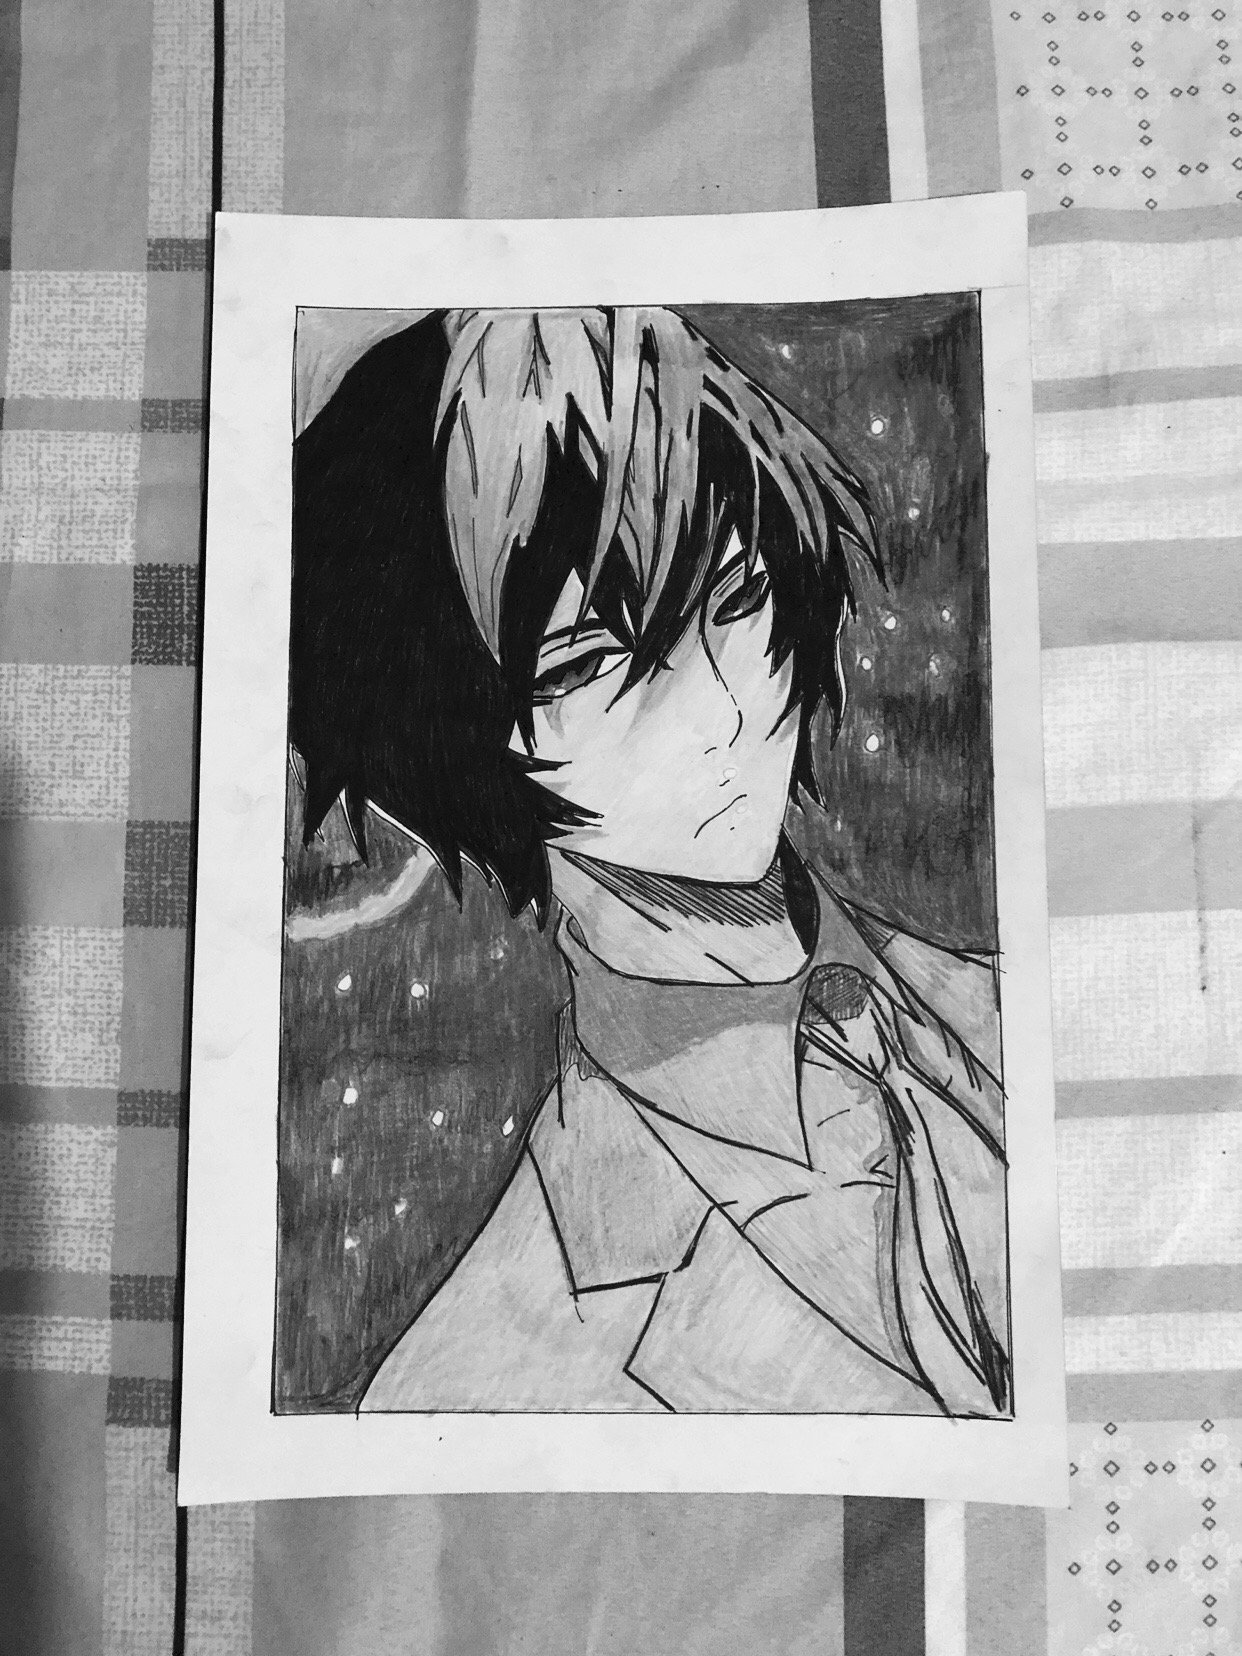
Those were the six simple steps for this webtoon character. I hope you enjoyed watching and reading the drawing process. After the drawing, I made fun by using different phone filters to capture my drawing. Which do you think is better? Left or Right?
| |
|---|
Final Words
I hope you had fun reading this blog. If you like it please do not forget to upvote. Also, if you have some thoughts in mind, please let me know by commenting it below. Lastly, if you want to see more art blogs from me, you can click any number below:
84 83 82 81 80 79 78 77 76 75 74 73 72 71 70 69 68 67 66 65 64 63 62 61 60 59 58 57 56 55 54 53 52 51 50 49 48 47 46 45 44 43 42 41 40 39 38 37 36 35 34 33 32 31 30 29 28 27 26 25 24 23 22 21 20 19 18 17 16 15 14 13 12 11 10 09 08 07 06 05 04 03 02 01