-Christian Yocte
Hi, friends! Welcome to my 86th art in Steemit. In my past drawings and artworks, I have noticed that there is a new Steemian who has been consistently commenting on my works. I asked him in one of my replies if he is also inclined to something like this, and he said yes and suggested me to visit his blogs. I did visit his blogs and he just wowed me in instant. He is a great watercolorist and I also recommend that you follow this fellow artist, @tanjir1990.
So, this watercolor art is truly inspired by him. This is also to tell him that I became his instant fan. I know I still have to learn so many things using watercolor, and I hope you still will journey with me. Enjoy!
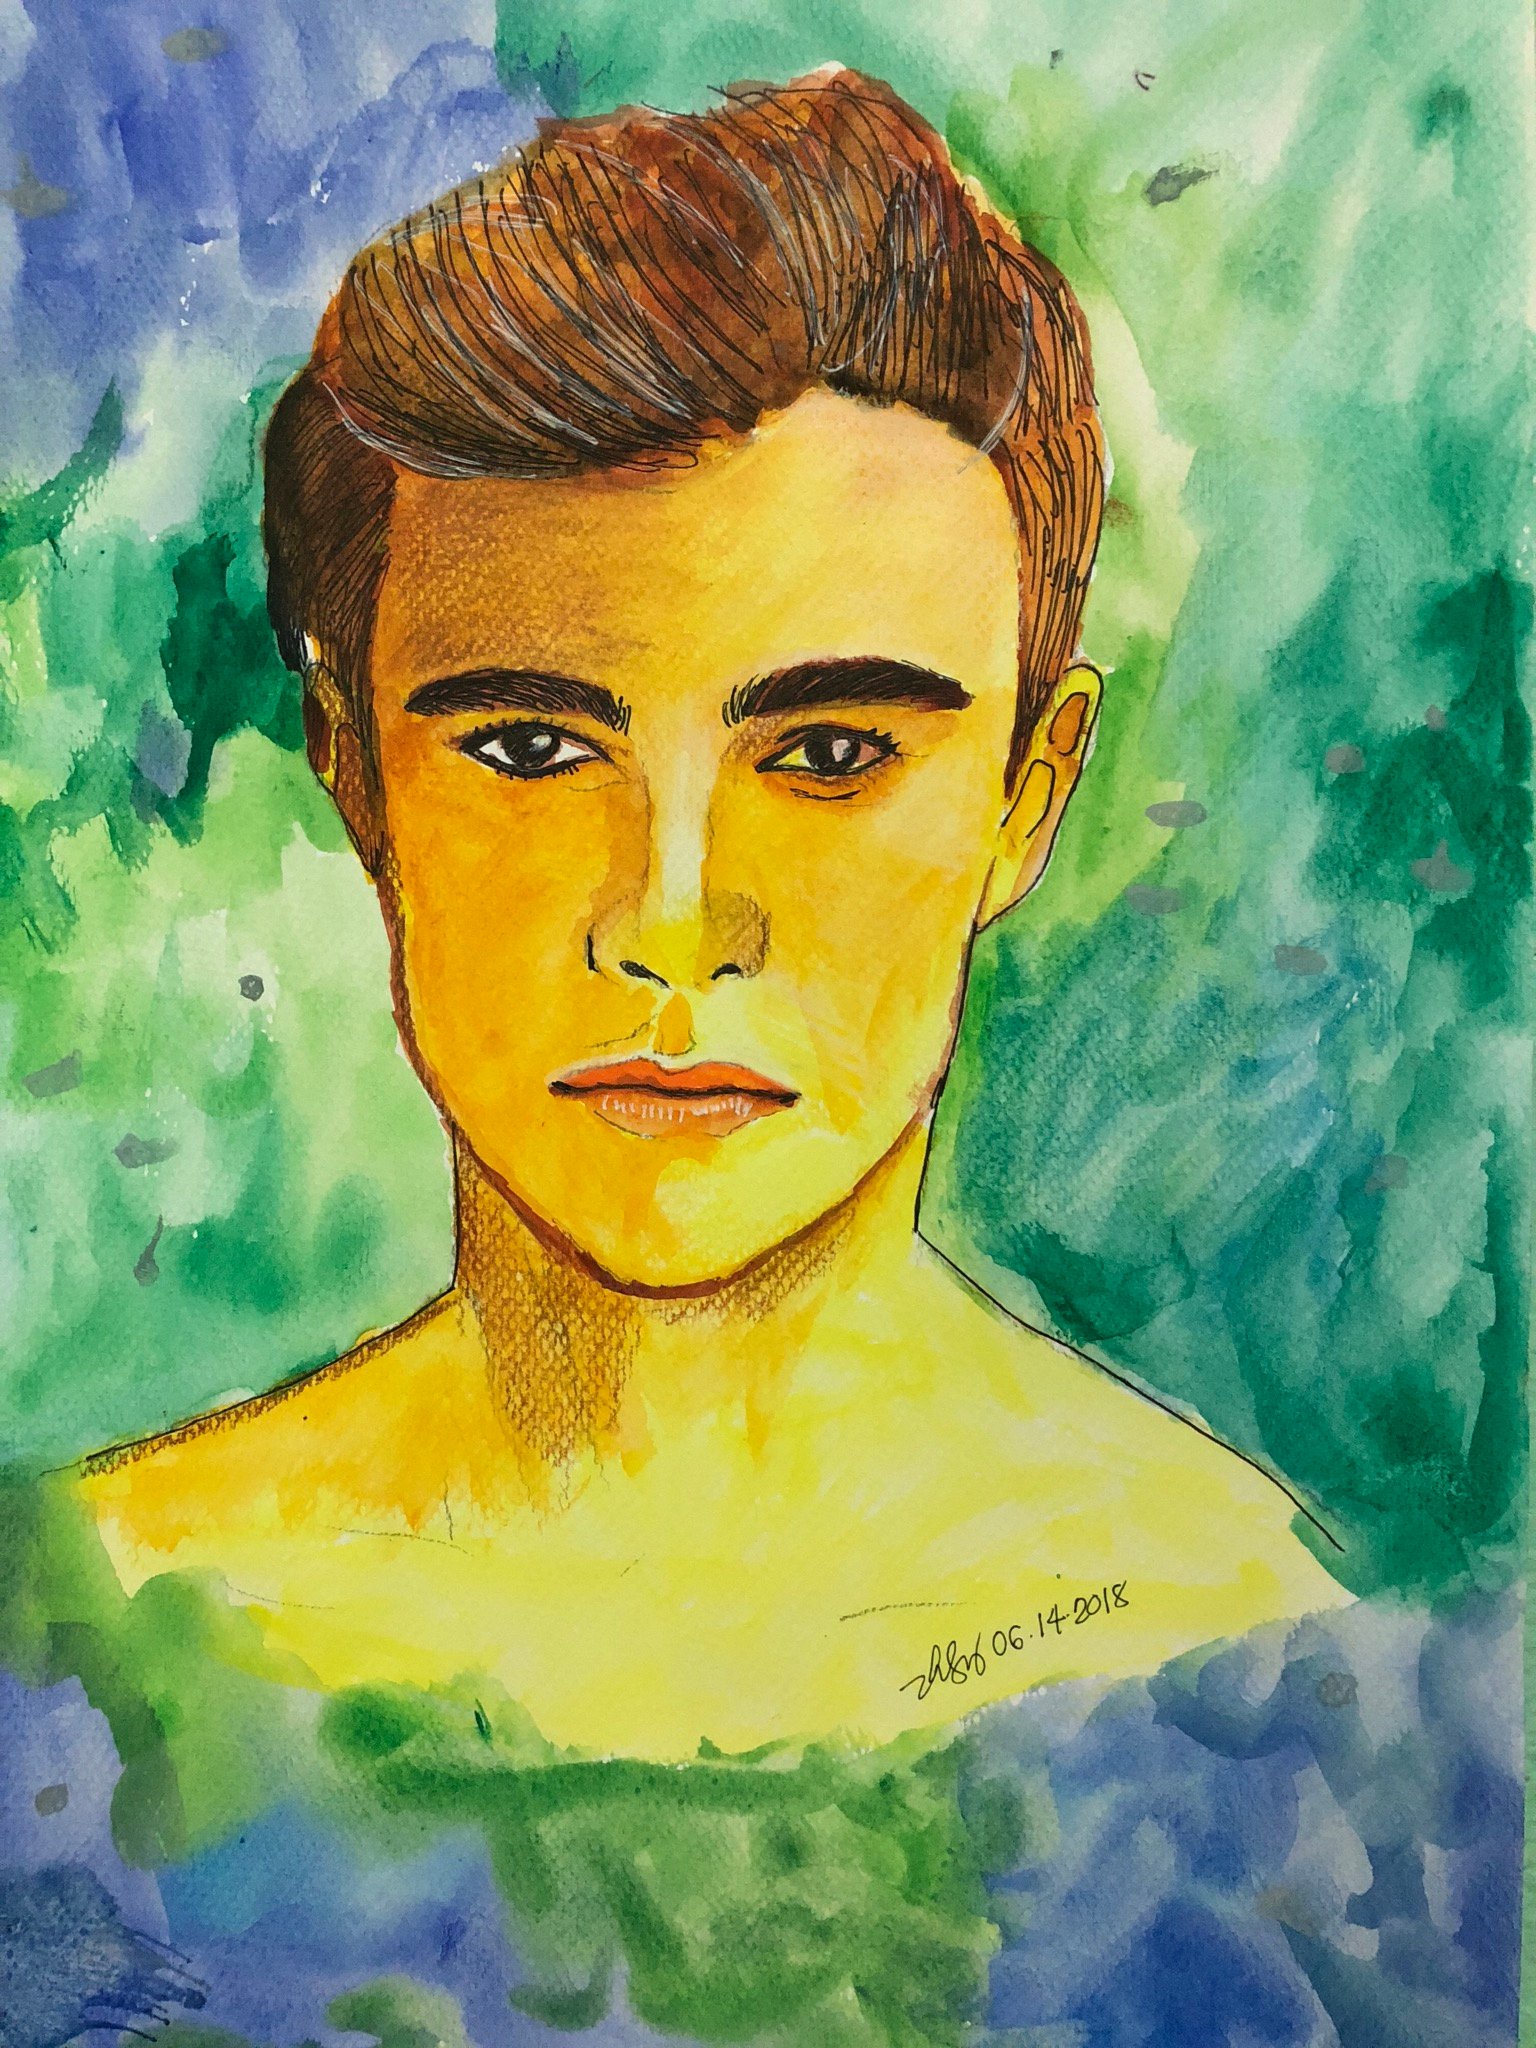
| Title | Envision |
|---|---|
| Medium | Watercolor (Koi) |
| Dimension | 8.5 x 11 inches |
| Paper | Canson Watercolor Paper 200gsm |
| Copyright | Christian Yocte |
Description:
What are your dreams and ambitions? What are your hopes? What do you pray to happen? These are your envisions! It is great to have them in our heads for they can be your guide in your journey and they can be your driving force to keep moving forward. But, be careful also in what you envision, because sometimes it will eat you up. Be in control or lift it all up to God.
The Process
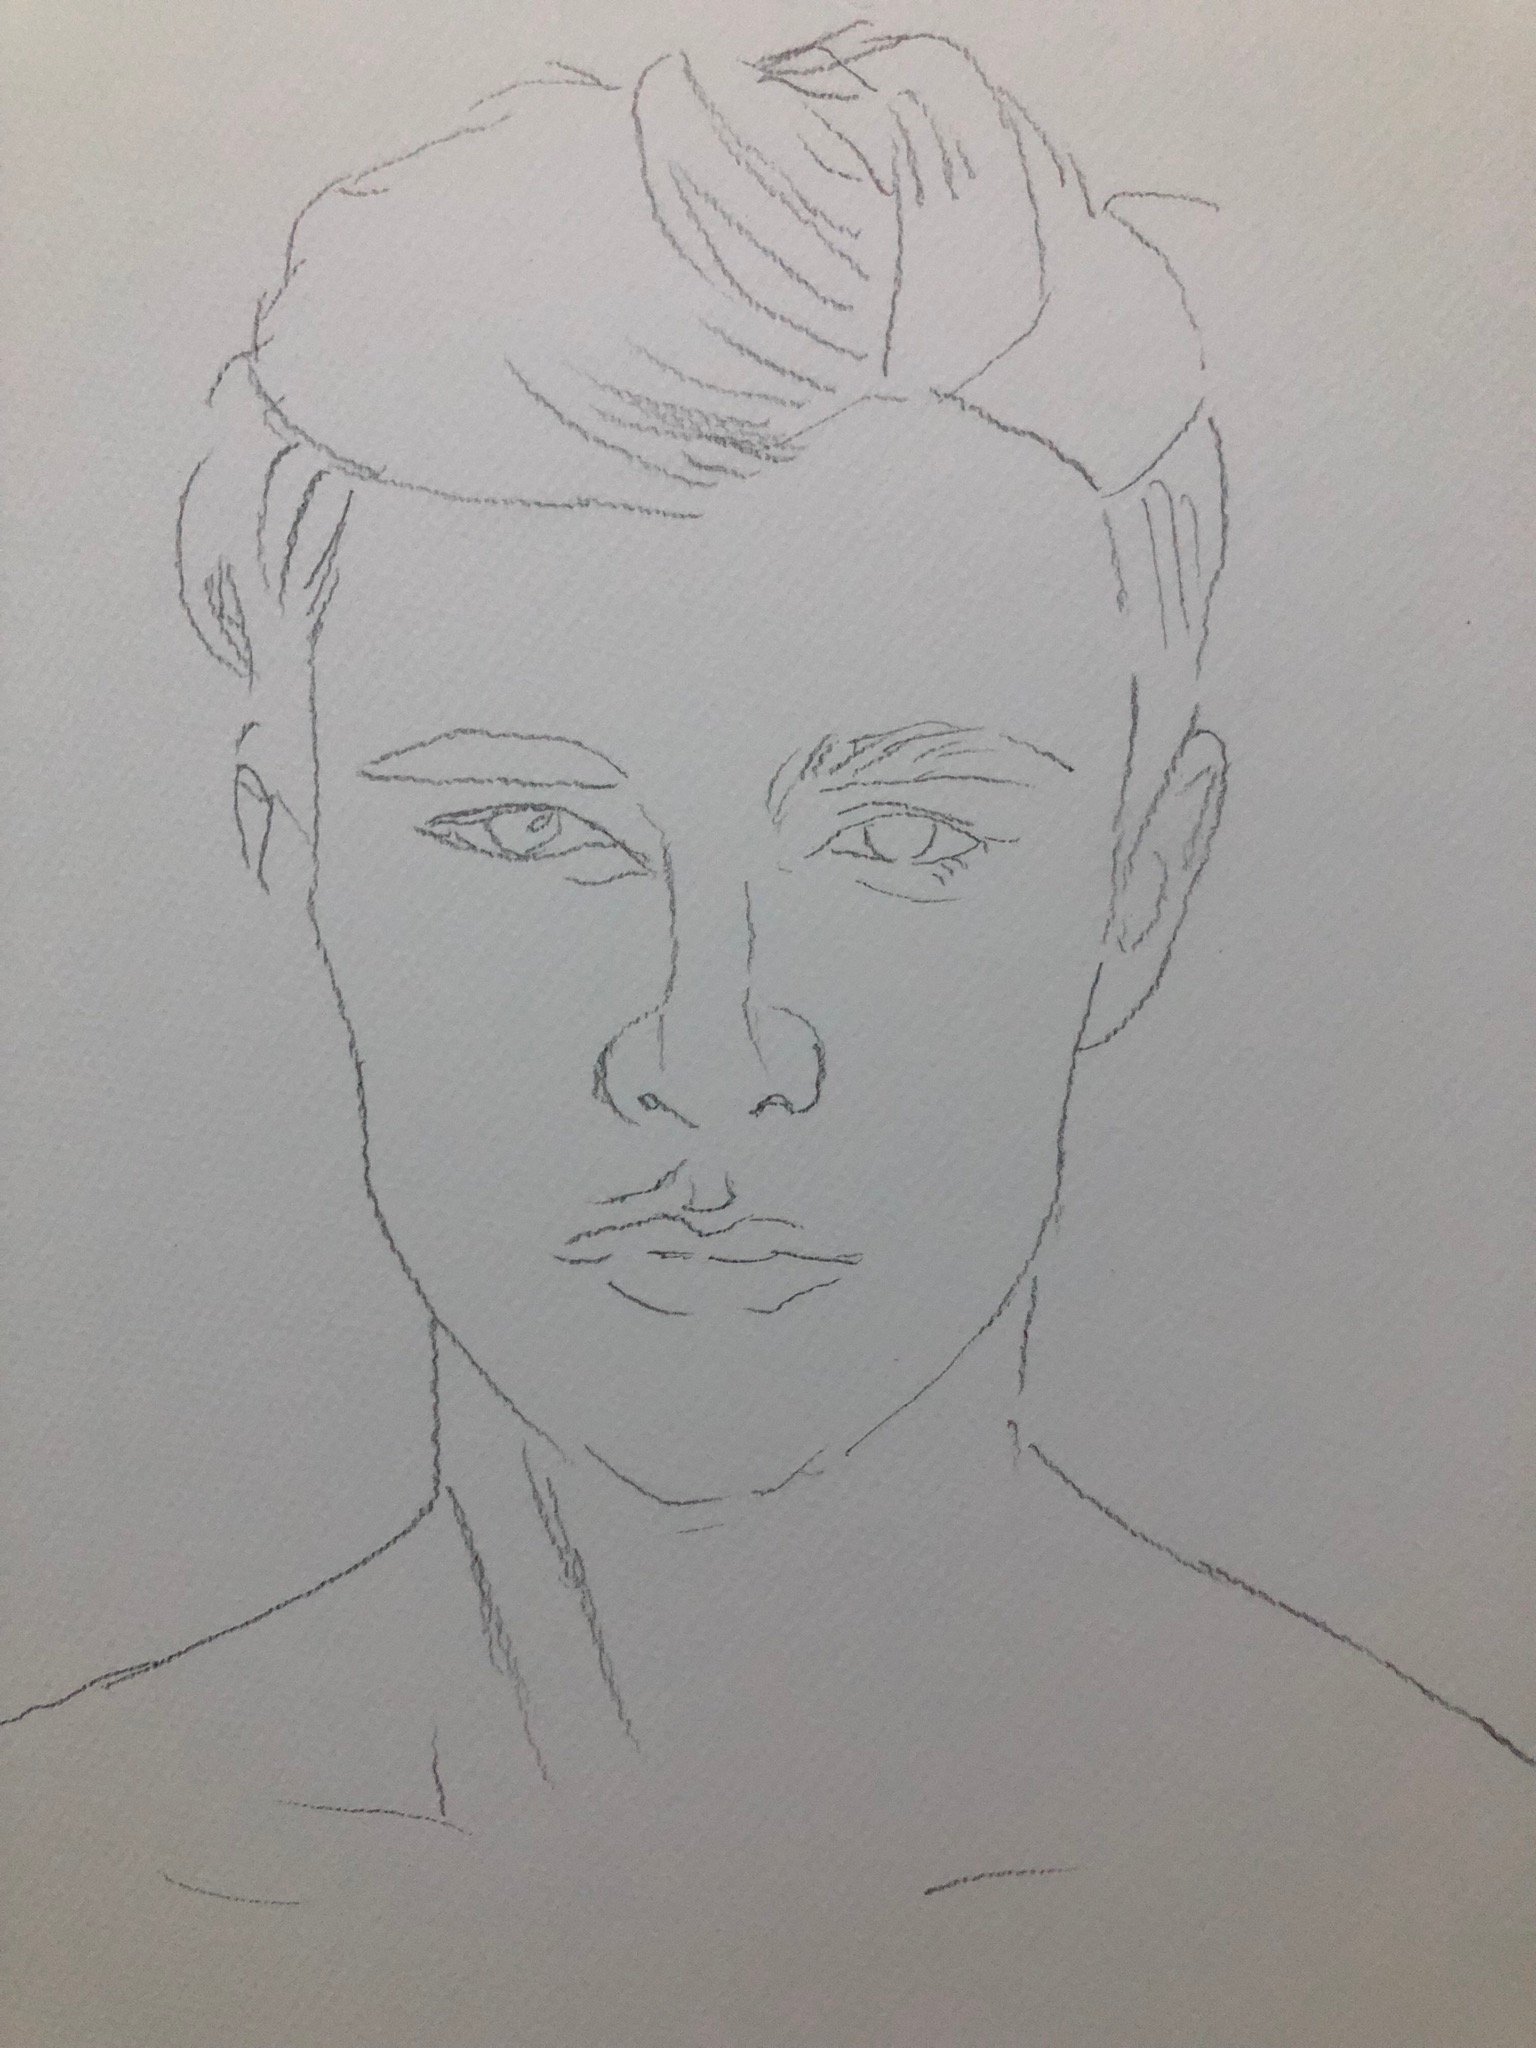 Step 1: Sketching. The very first thing that I did was to sketch the subject using my pencil on the watercolour paper. It is suggested that you do not apply so much pressure so that the lines would not be visible in the output. This lines are just guide lines in the process.
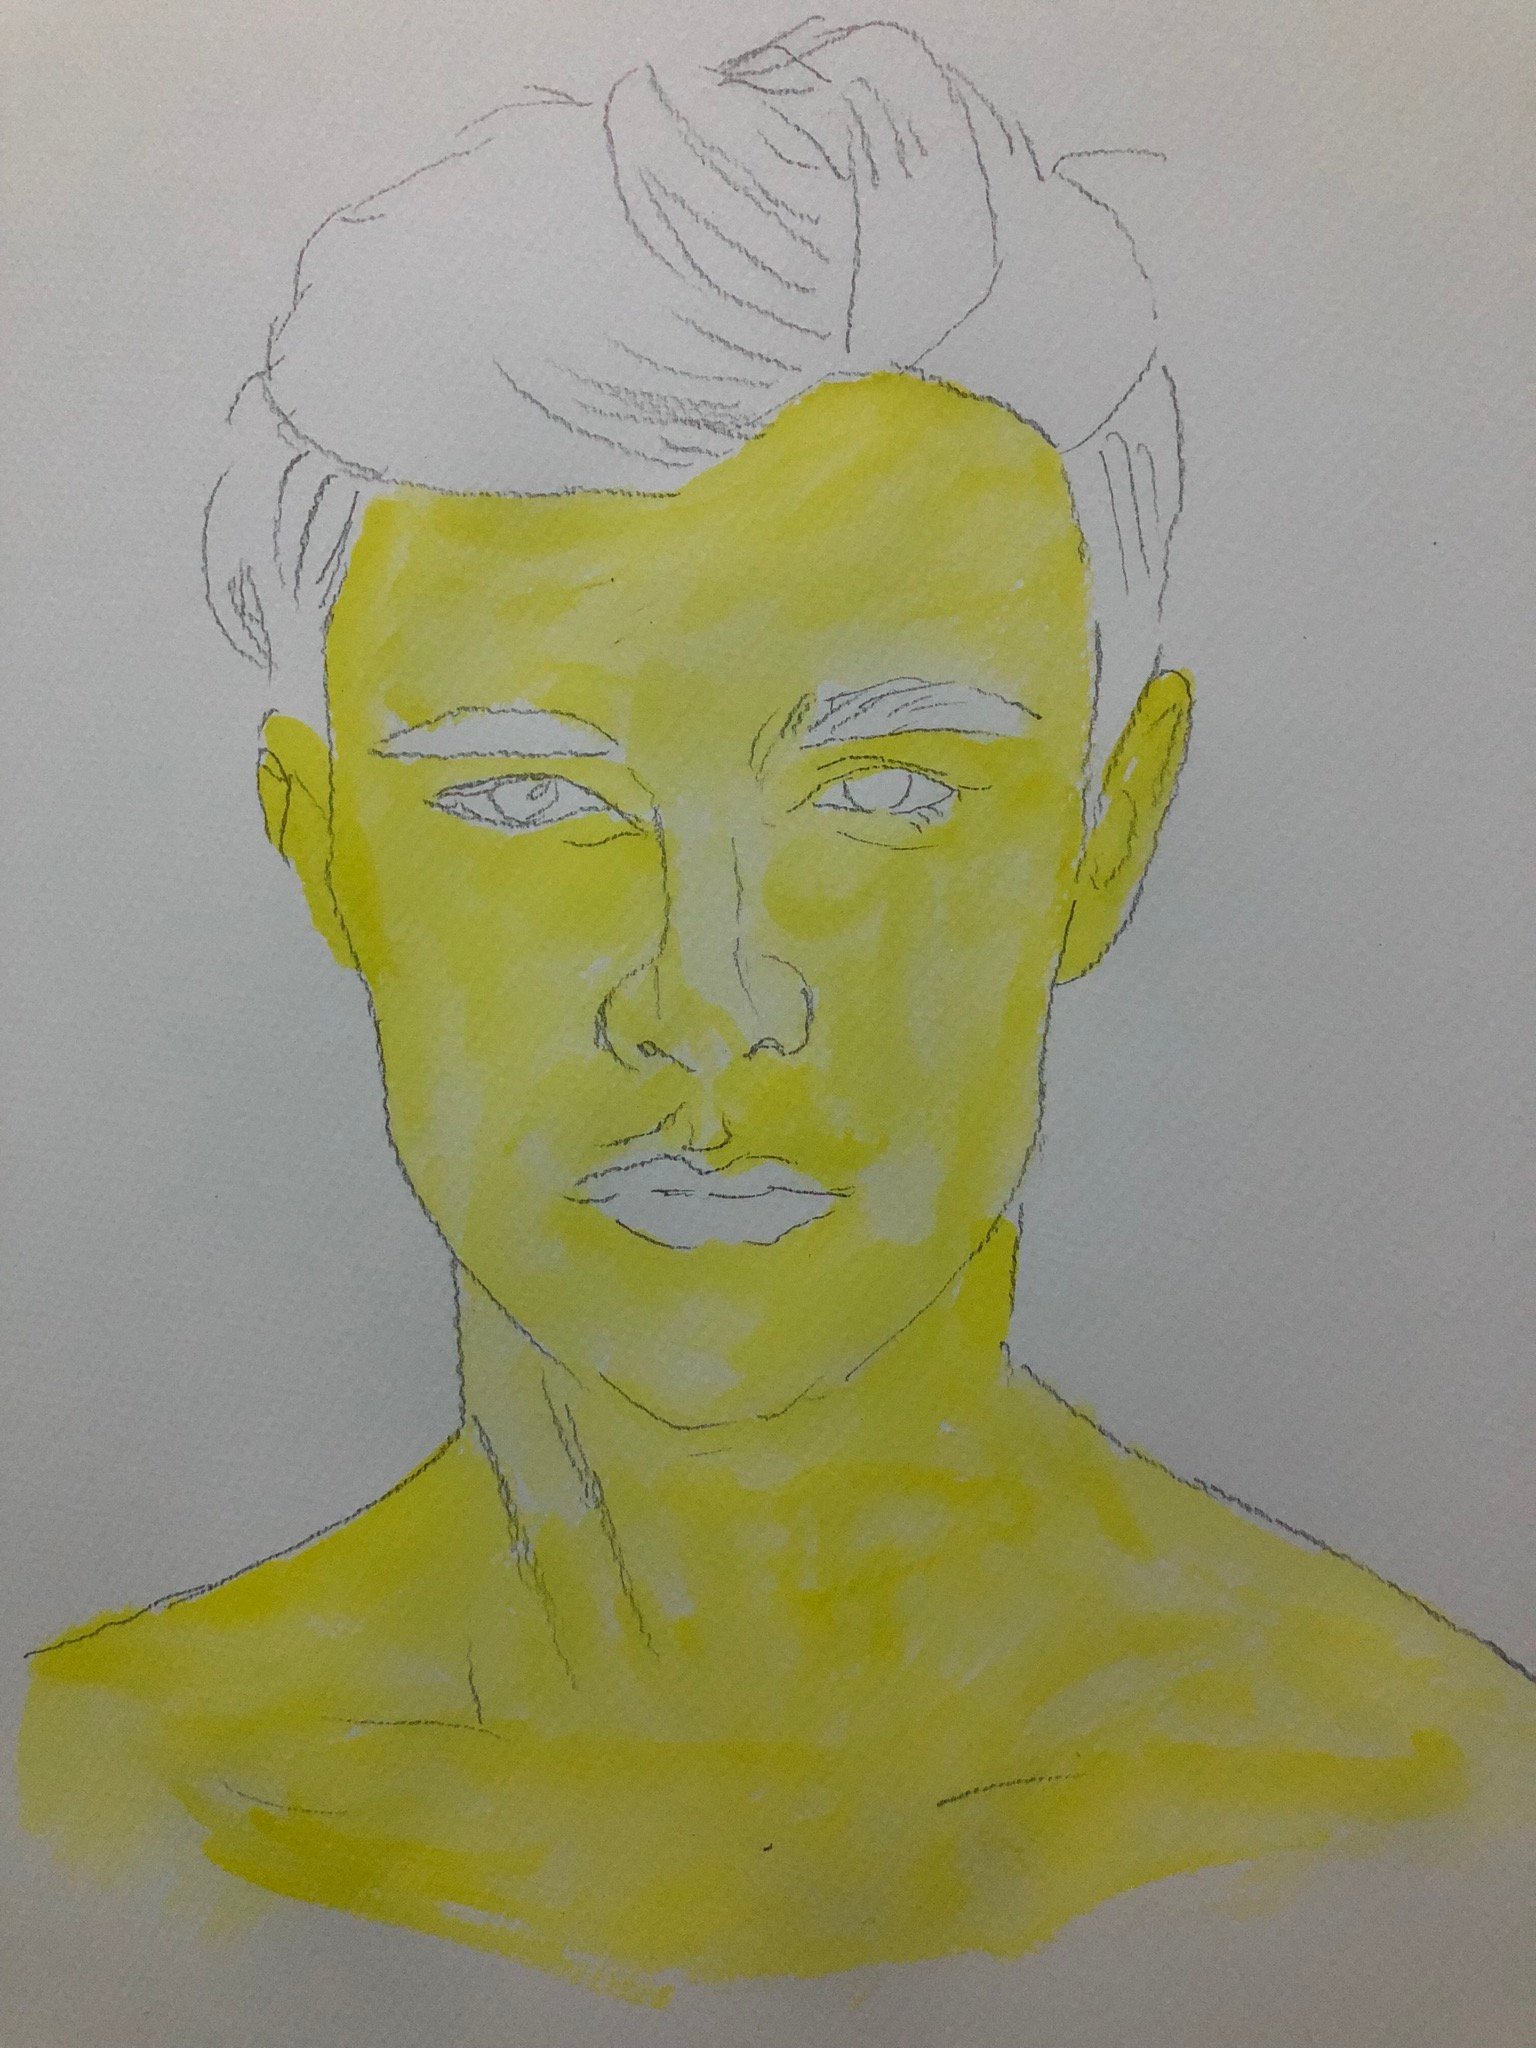 Step 2: First Layering. I want to start on the face so I chose first the lightest color that I would use in the face. I choose yellow. I just brushed it directly on the face avoiding the eyebrows, eyes and lips.
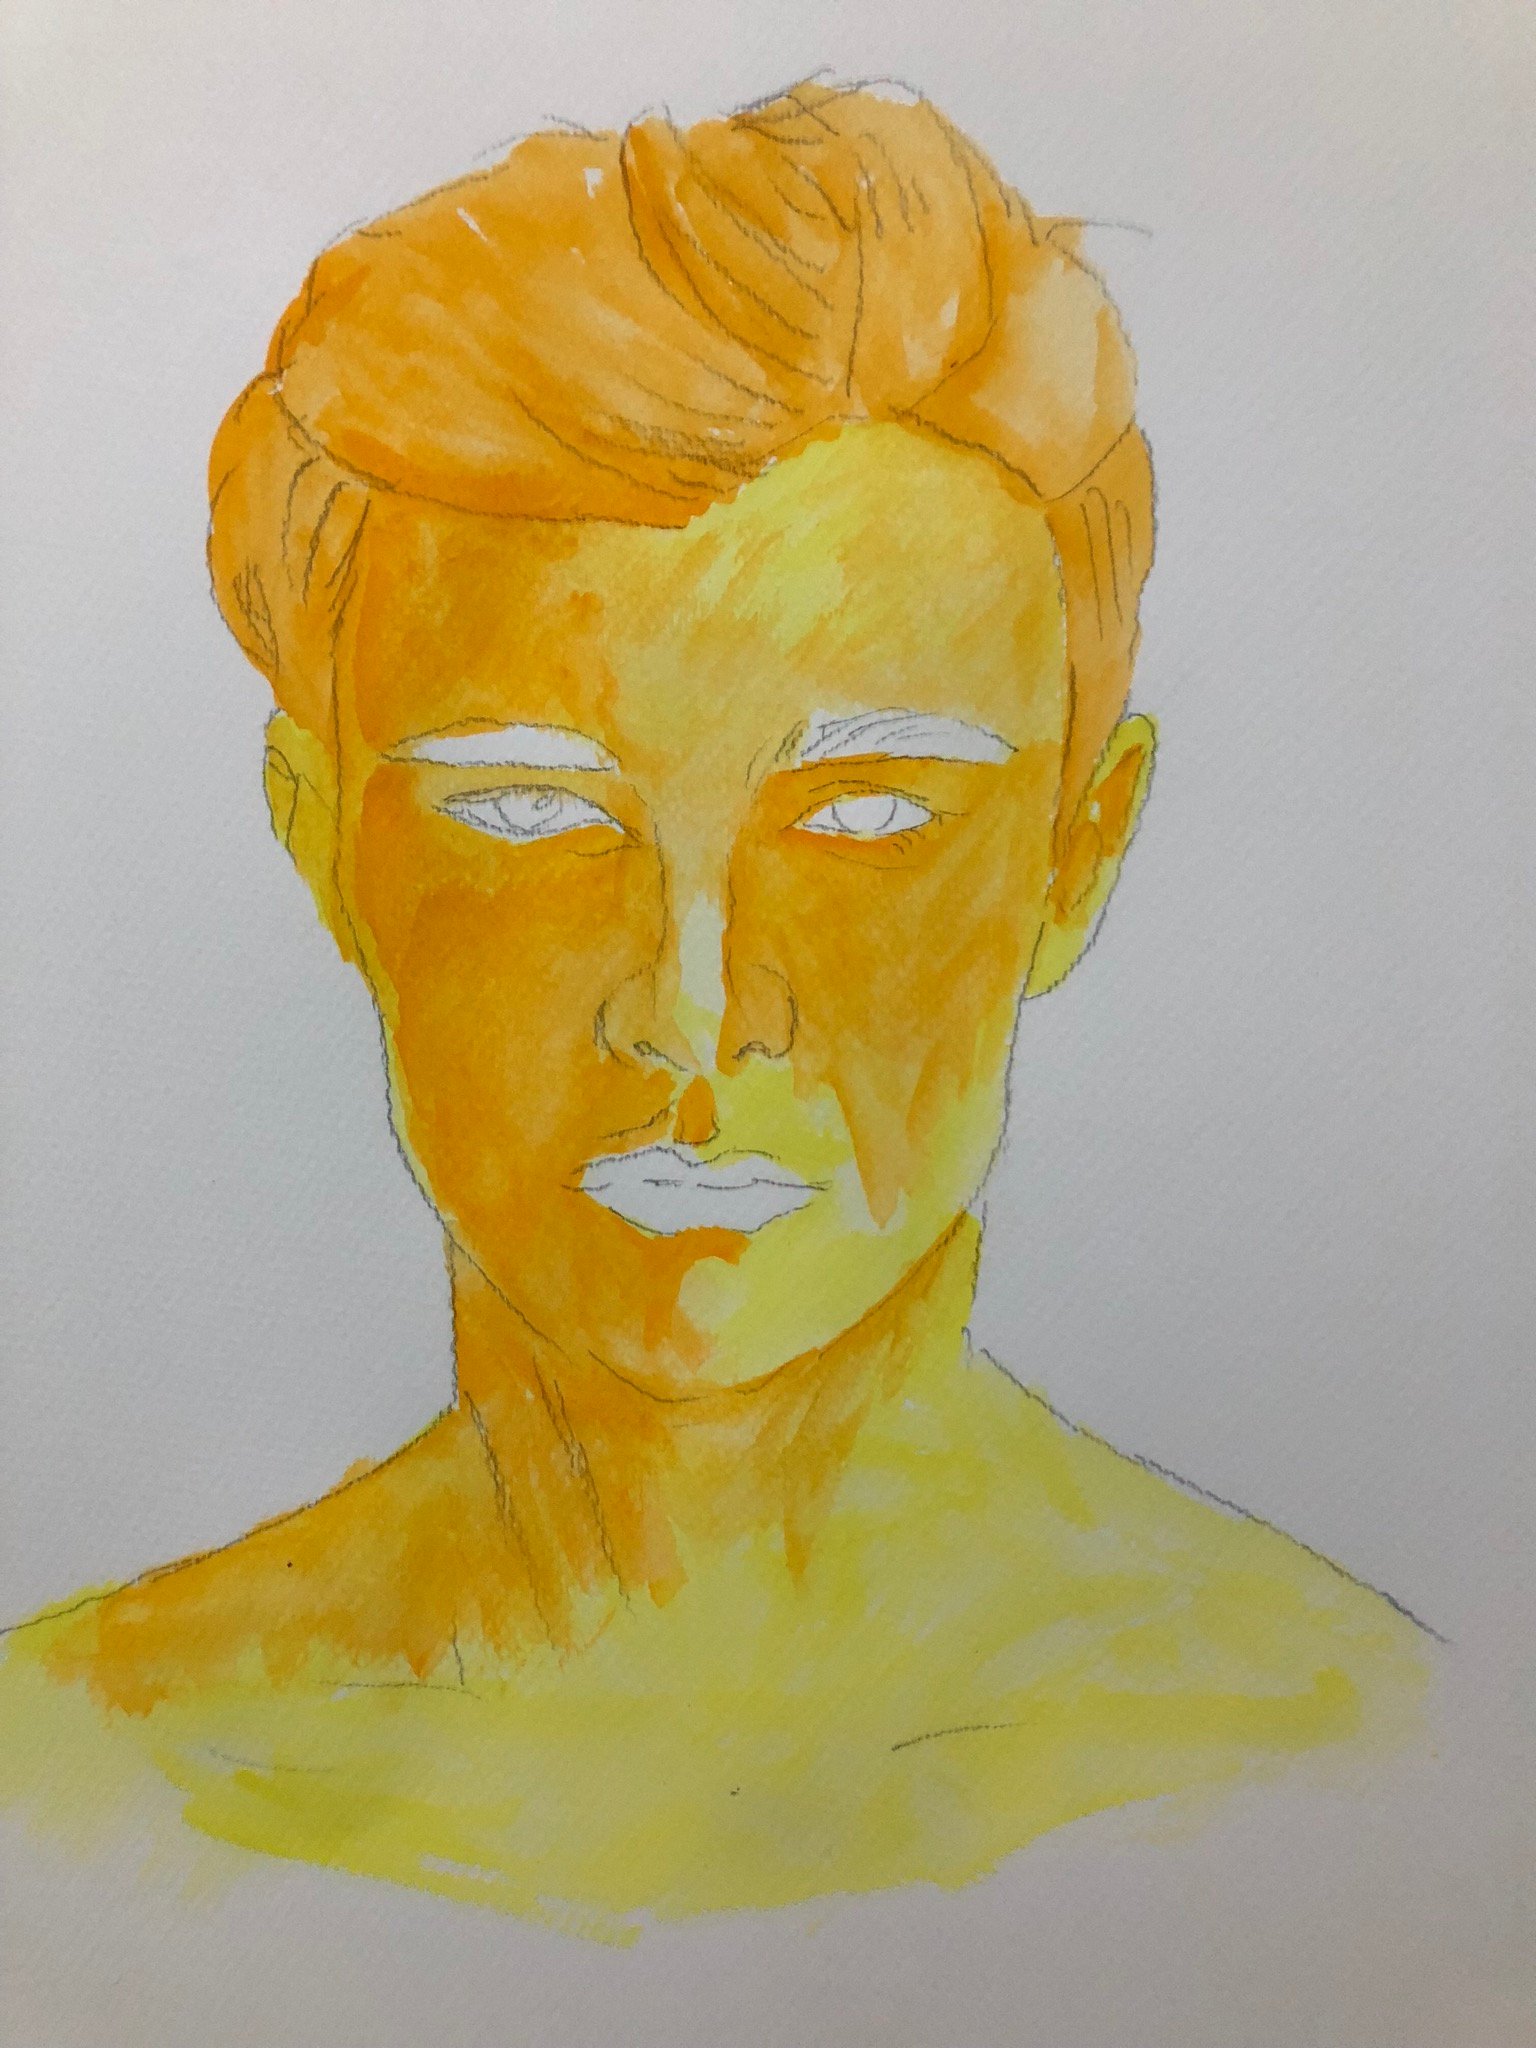 Step 3: Second Layering. I used orange for the second layer by brushing it on the left side of the face and the hair. The light for this is located somewhere on the front-right.
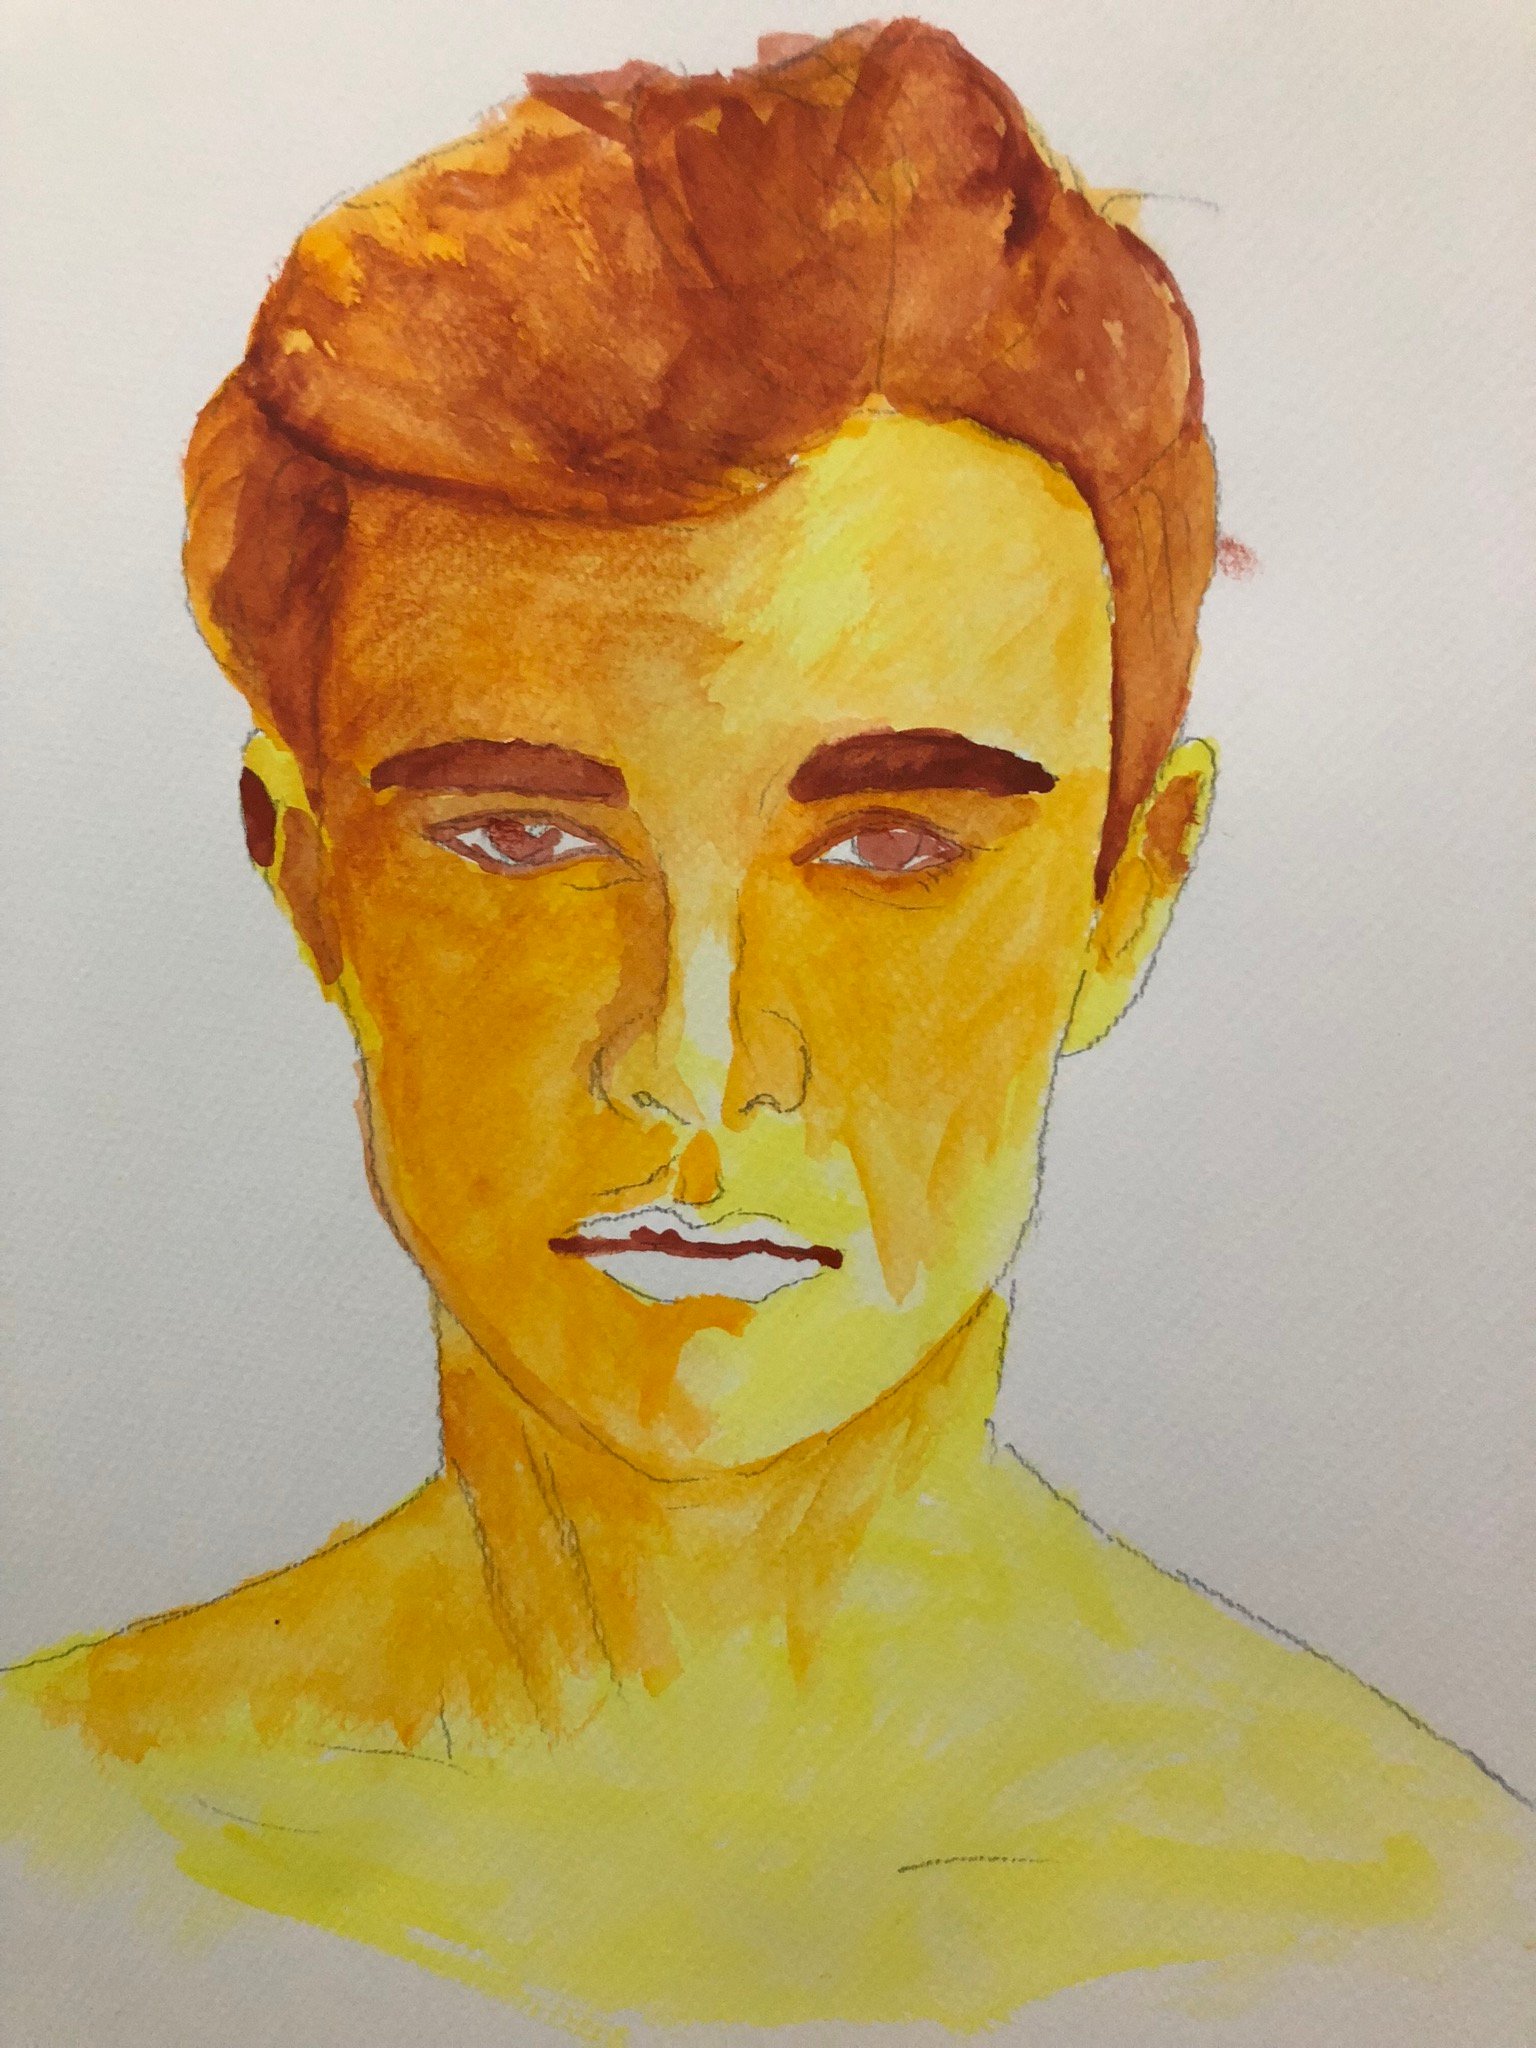 Step 4: Third Layering. I used brown for the third layer. If you noticed, I used the lighest color to the darkest because as they say, it is easier to darken than to lighten. Also, I put an initial mark on the eyes, eyebrows and the mid-line of the lips.
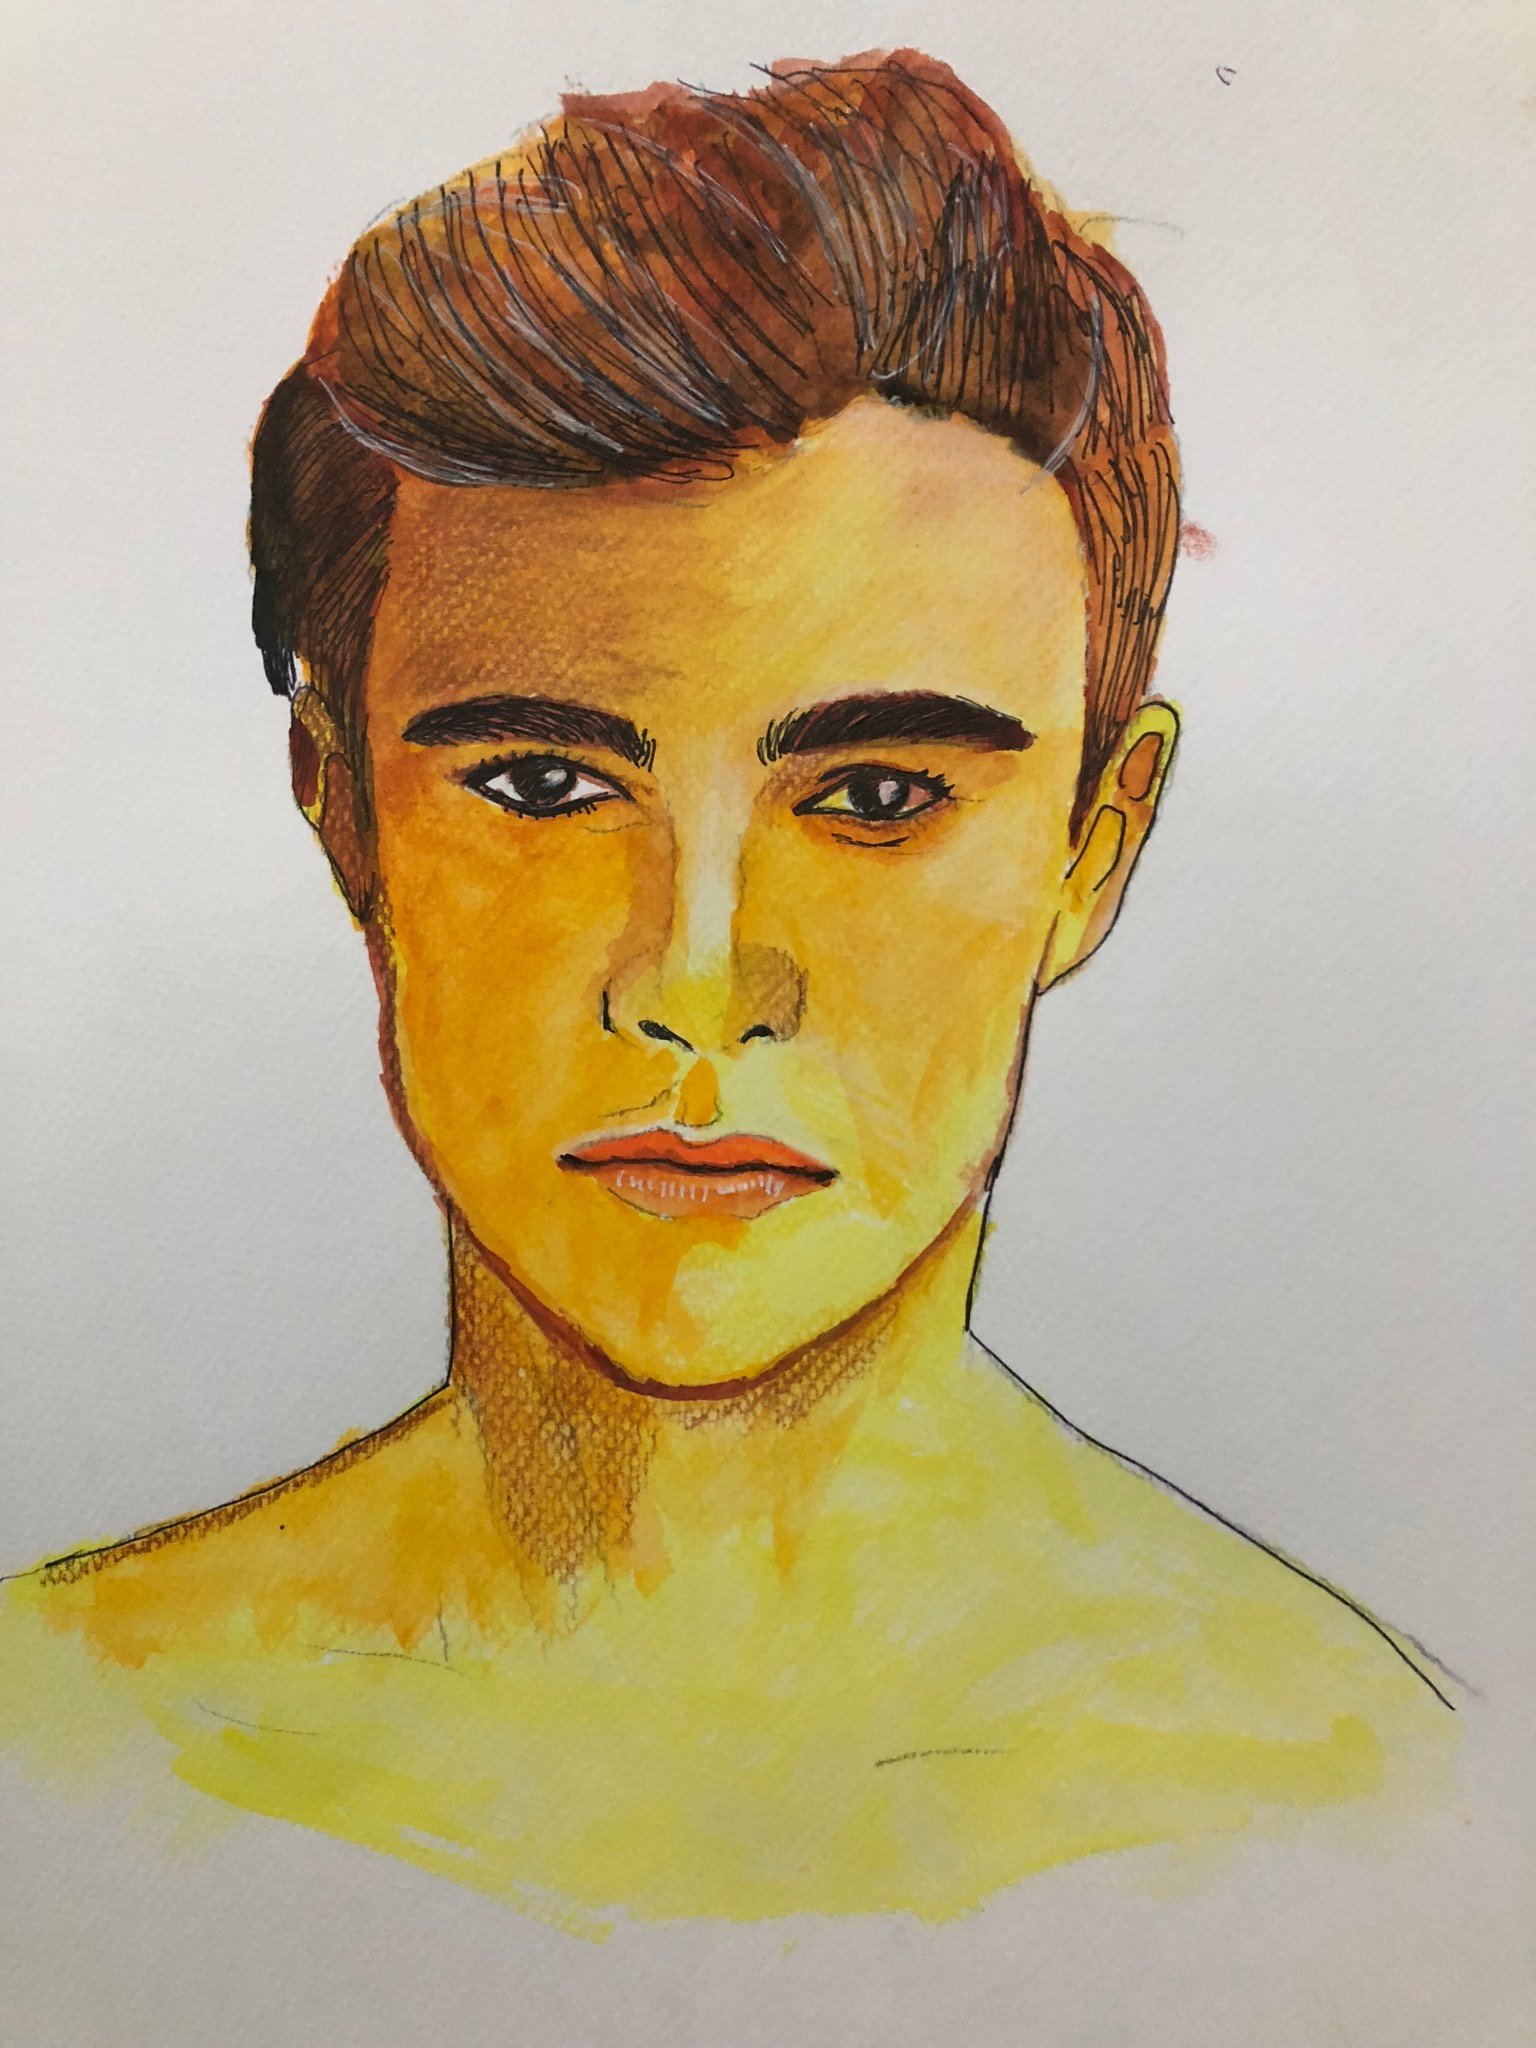 Step 5: Detailing. For the last part, I used several tools to add details such as a black pen for the eyes and eyebrows. I also used color pencils in the face. For the highlights, I used a white ink pen.
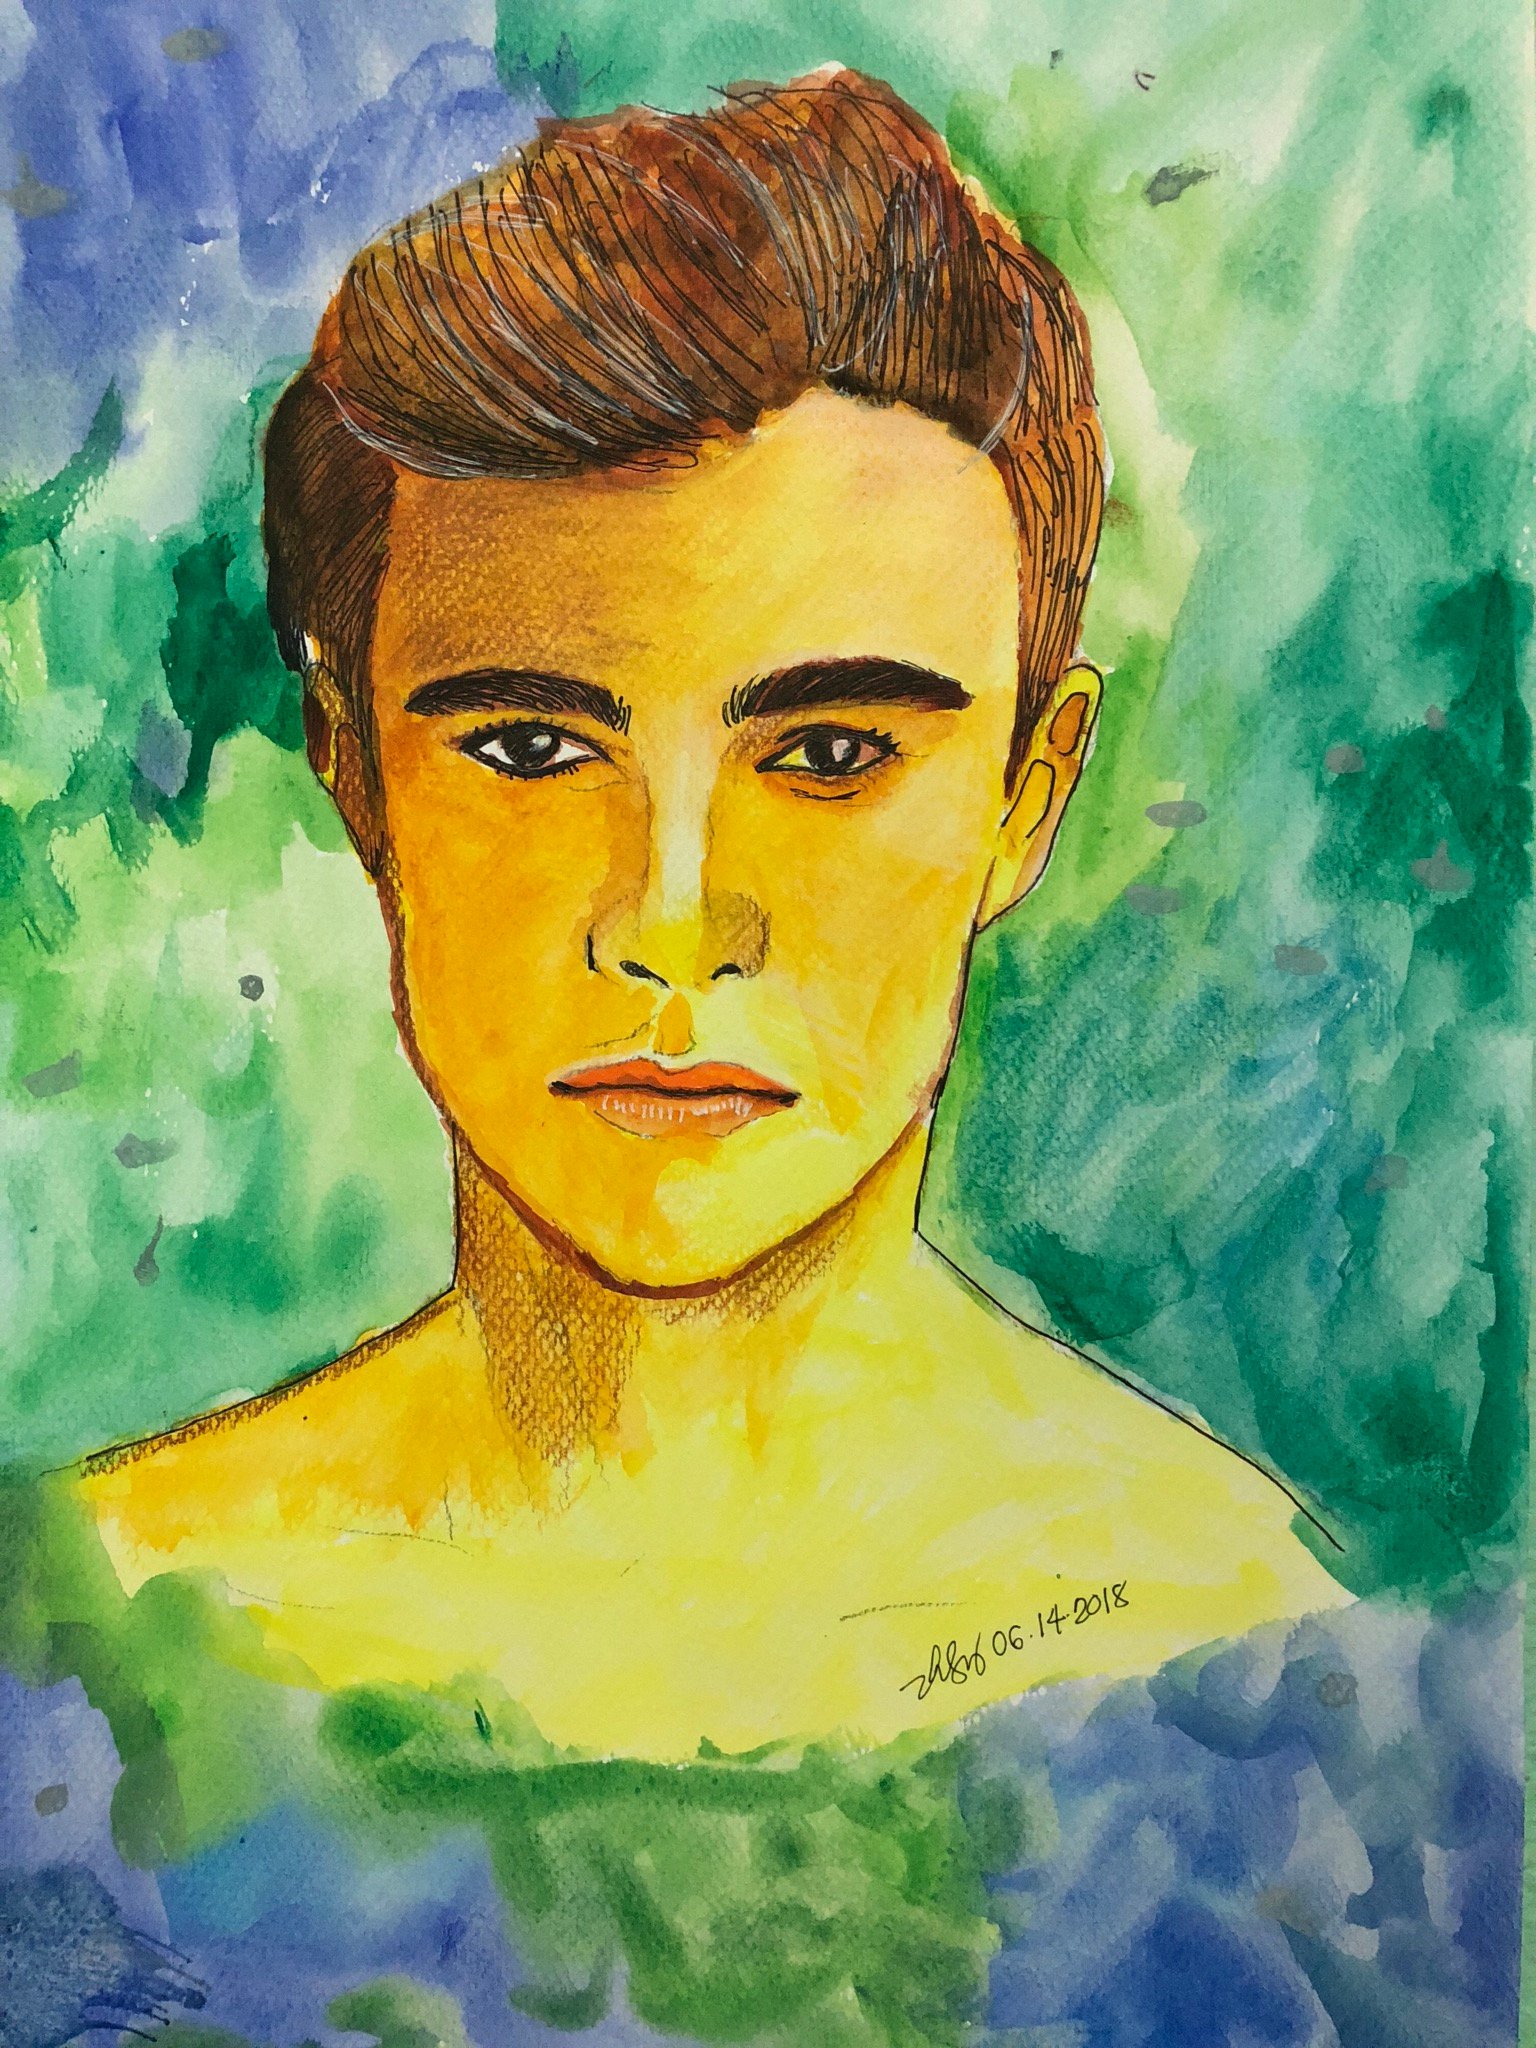 Step 6: Adding Background. I just used different colors to add some background. And we are done!
Final Words
I hope you had fun reading this blog. If you like it please do not forget to upvote. Also, if you have some thoughts in mind, please let me know by commenting it below. Lastly, if you want to see more art blogs from me, you can click any number below:
85 84 83 82 81 80 79 78 77 76 75 74 73 72 71 70 69 68 67 66 65 64 63 62 61 60 59 58 57 56 55 54 53 52 51 50 49 48 47 46 45 44 43 42 41 40 39 38 37 36 35 34 33 32 31 30 29 28 27 26 25 24 23 22 21 20 19 18 17 16 15 14 13 12 11 10 09 08 07 06 05 04 03 02 01

