Hi friends!
Now I am going to repeat the same subject but draw with pencils on paper to show you how I use my tools.
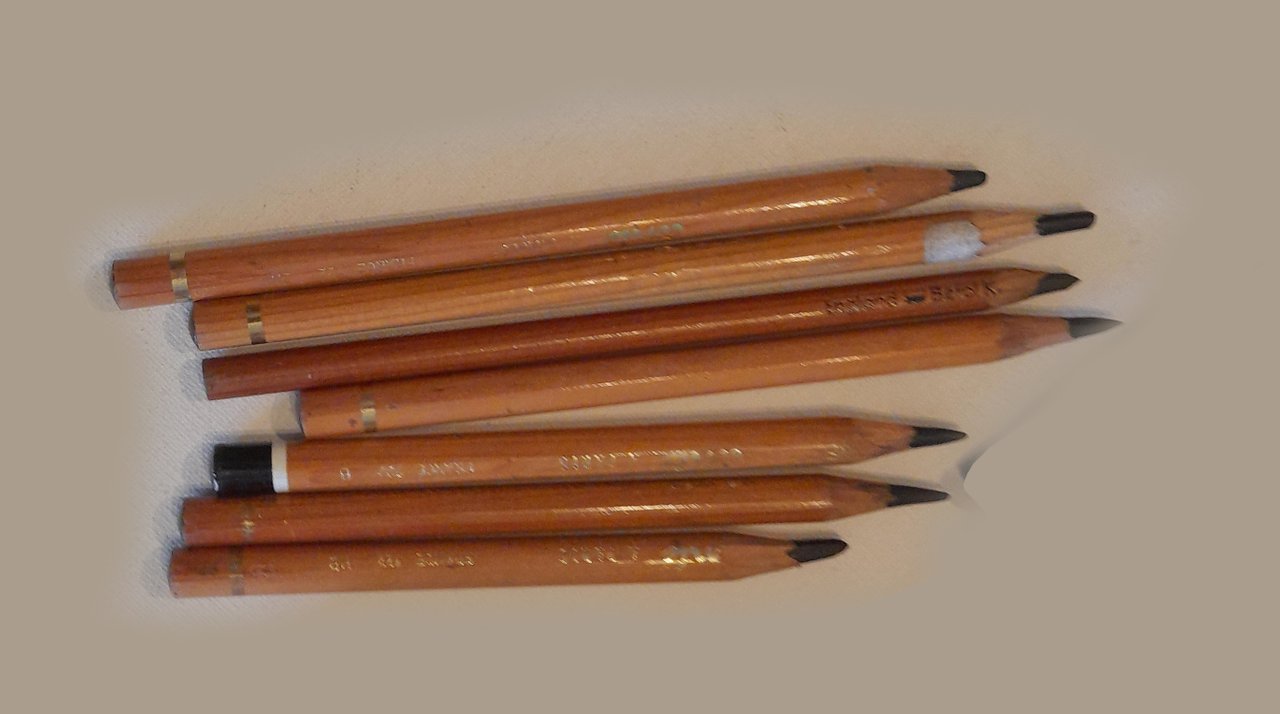
The particularity of this exercise is that I have used a medium grain drawing paper and I have used Conté charcoal HB and 3B pencils to explore the possibilities of these materials and tools.
I have done it to show you the results with these materials and to observe how the grain is evident in the dark areas of the drawing. Pay attention to the indications in order not to damage your drawing paper.
See 5-Introduction
The Conté Carbon pencil is a derivative of traditional charcoal, but more resistant, and its lead does not crumble or dirty your hands.
It is available in different degrees of hardness, from 2H to 3B.

More about this topic you'll find here: 2-Introduction
Let's start drawing
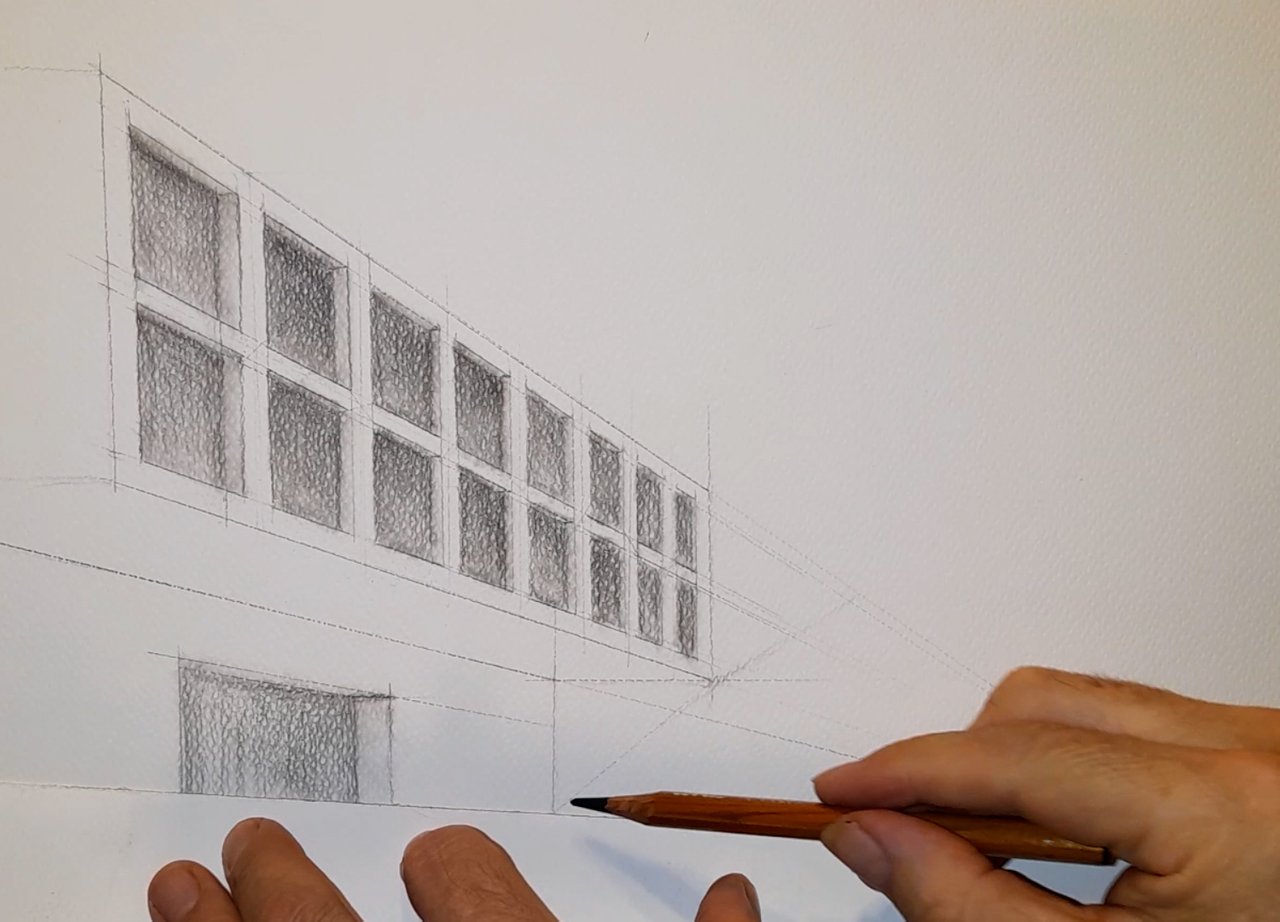
Notice I'm using my paper ruler.

In the upper left corner, we draw the height line, then we draw the helplines starting from the two ends of the height line so that they intersect at the bottom right of the sheet to define a vanishing point.
Now we have what we need to draw the eye-level line (or horizon line) and the farthest height line of the wall. The same drawing with the indications.

Here you can see that I drew the horizon line intersecting the vanishing point. Also, the length of the wall is defined by drawing the farthest height line of the wall.

First steps of dividing the rectangle by drawing diagonal helplines as shown in detail in 31-Lesson

Redrawing the definitive lines.


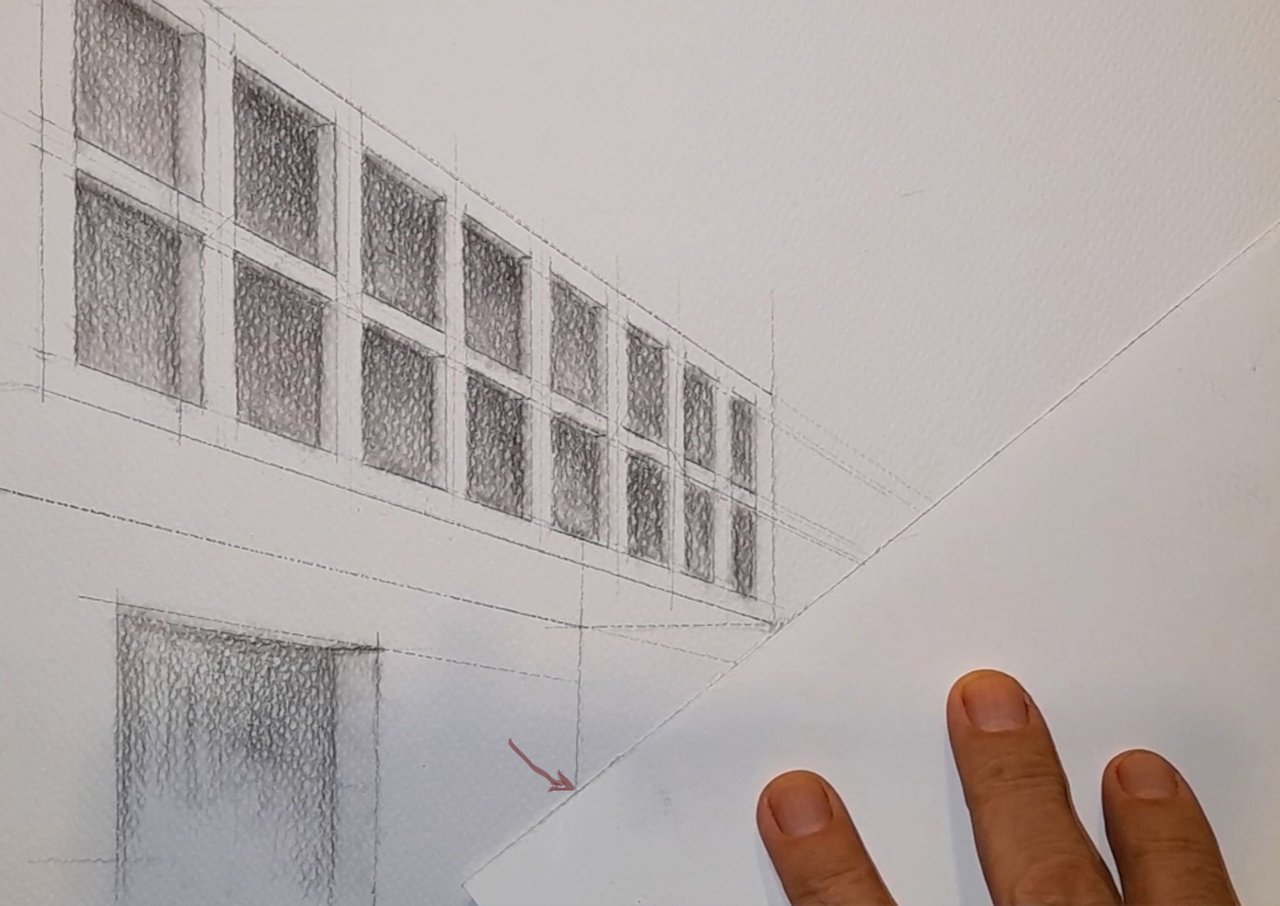
Here I drew a small horizontal line from the corner of the inner square upper to give depth to the wall, as indicated by the red arrow. Then I drew the helpline to the vanishing point and a vertical helpline, both will allow me to draw the interior lines of the wall that act as window frames.

Repeating the same process I drew all the window frames.

Notice that I am using a sheet of paper to protect the right side of my drawing.

Darkening the windows.

Here I'm using a tortillion to blend the strokes. See 3-Introduction

Mark an intersection point to delimit the shaded area under the block.

Drawing the helpline to the vanishing point.

Drawing the shaded area under the block.

Diffuse the chalk all over the drawing with a kitchen paper towel to make it somewhat grey.

Applying the pencil strokes repeatedly but gently to get the shadows here under the block, taking care to make the difference between the two surfaces (1 & 2).

I finished this practice of the division of a rectangle using the technique of diagonals to determine the points to make the divisions. I don't erase any helplines. The goal for to make this drawing was to introduce you to the most useful techniques for drawing buildings, streets, bridges, cities, etc. in perspective in the simplest way. You can see that isn't a true building but if you can do this exercise you'll be ready to go ahead by drawing realistic scenes from a one-point perspective.

In the previous lesson I have explained in detail the whole process of dividing a rectangle, so I advise you to read it. Here is the link: 31-Lesson
I wish you a very nice day and good exercise!
Here are the links to the previous related posts.
1-Introduction - 2-Introduction - 3-Introduction - 4-Introduction -
5-Introduction - 6-Lesson - 7-Lesson - 8-Lesson - 9-Lesson - 10-Lesson -
11-Masterclass - 12-HW Contest - 13-Lesson 14-Lesson - 15-Lesson -
16-Lesson - 17-HW results - 18-Masterclass - 19-HW Contest - 20-Lesson - 21-Lesson - 22-Lesson - 23-HW results - 24-Lesson - 25-Lesson -
26-Masterclass - 27-HW Contest - 28-Lesson - 29-Lesson - 30-feedback - 31-Lesson - 32-HW results
100% SP (manual transfer to SP)
#club100

