Hi friends,
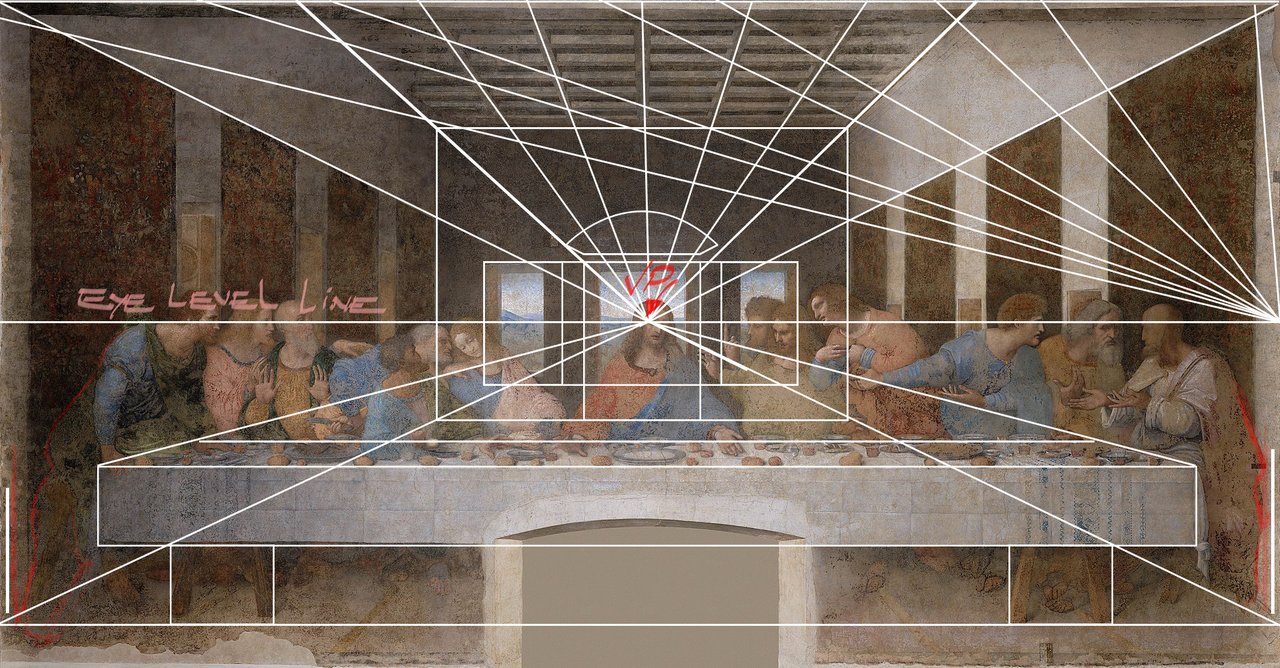
Starting by drawing the rectangle and maintaining the proportions of the original painting, (we must know that its measurements are 880 cm wide by 460 cm high (180 in × 350 in)).
So, we can simplify this relationship as follows:
880/460 = 88/46 = 44/23 = 1,913
Very close to a 2/1 ratio.
Well, you can scale the original measurement or if you want, draw a rectangle where the width is twice the height.
Then, drawing two diagonals as shown below, you will find the centre of the drawing space which will also be the vanishing point of all the elements that we will draw.
We thus obtain the eye-level line and the vertical centre of the drawing space.

As you can see in the image below, an arch in the wall surely determines the location of the table (I think).
Possibly da Vinci used this arch to determine the height of the tablecloth.

Let's find a place for the placement of the table, this is about a little more than 1/5 of the height of the painting, as shown below. We will draw this based on the observation of the original painting. You can take measurements or establish the location and size of the table by visual comparison.

Next, to get the base line of the walls I look for the location of the table legs, that gives us the horizontal line 1. By crossing this line with the diagonal of the large rectangle (see the small cross in red) we can get a base line for the walls or, what is the same, the width of the floor but this is not good because a part of the table and the body of the character next to it will be embedded in the wall.
Looking for another relationship, I have drawn a line from the vanishing point to the lower corner of the rectangle that will forms the table (2) passing through it towards the intersection with line 1, thus obtaining the cross point indicated by the red cross ( 3).
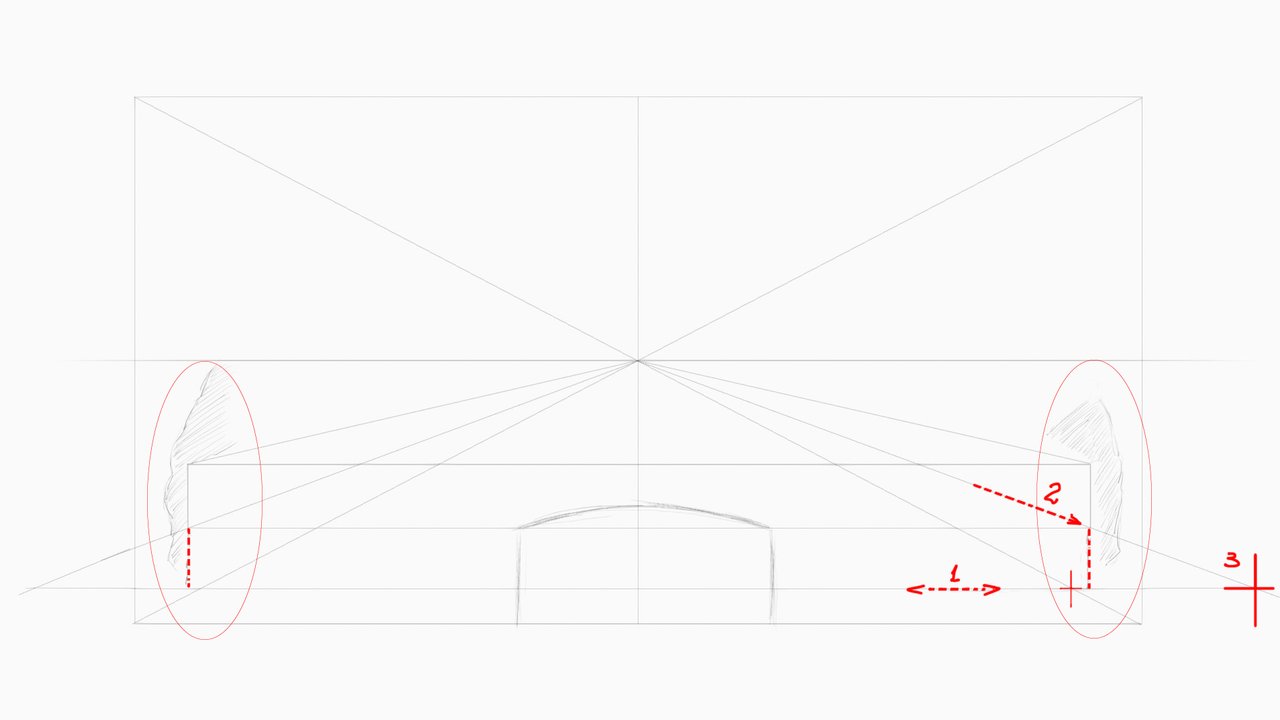
We have now achieved a free space between the table and the walls on both sides. As you probably already know, you get the left crossing point by extending a line from the intersection on the right side and drawing the second vanishing line from the vanishing point to this line passing through the bottom left corner of the rectangle that will be the table.
You will have noticed that is possible to trace the vanishing lines in both direction once we have already defined the vanishing point (VP), you can drawing a line from the vanishing point or towards it.
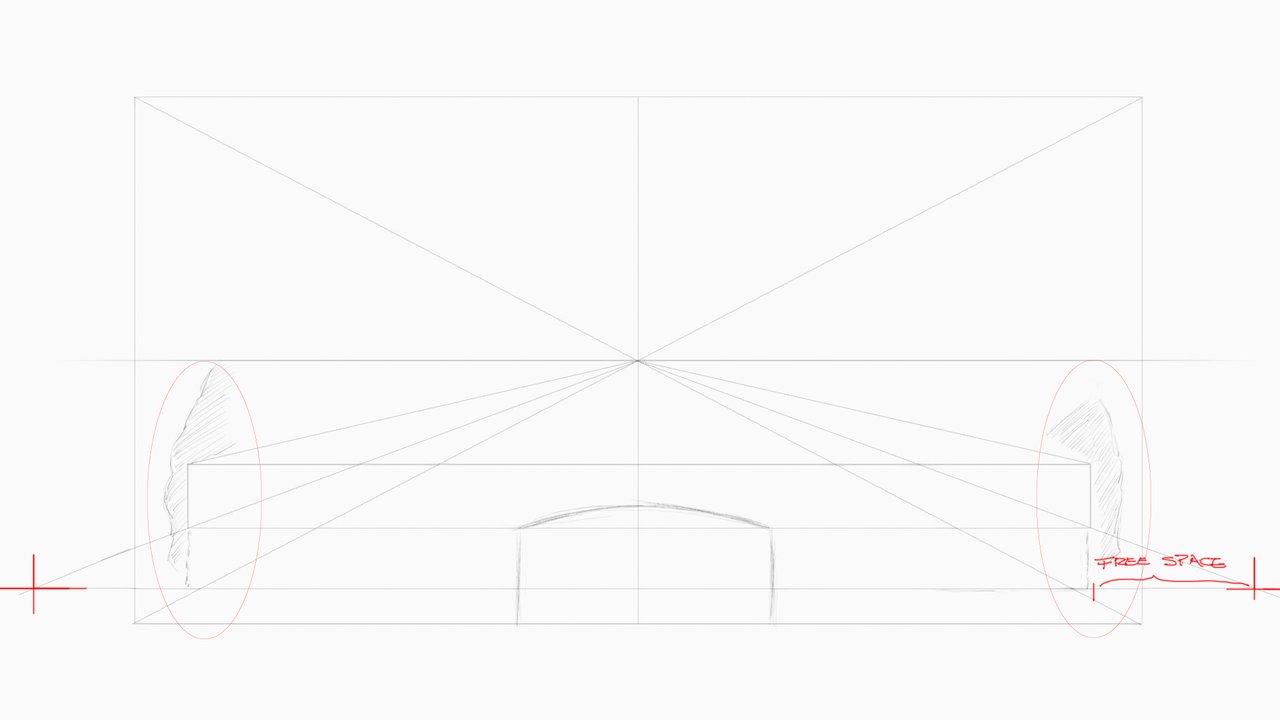
Here I have indicated with red arrows the vanishing lines already drawn corresponding to the upper part of the table.
The diagonal lines that we no longer use have also been erased.
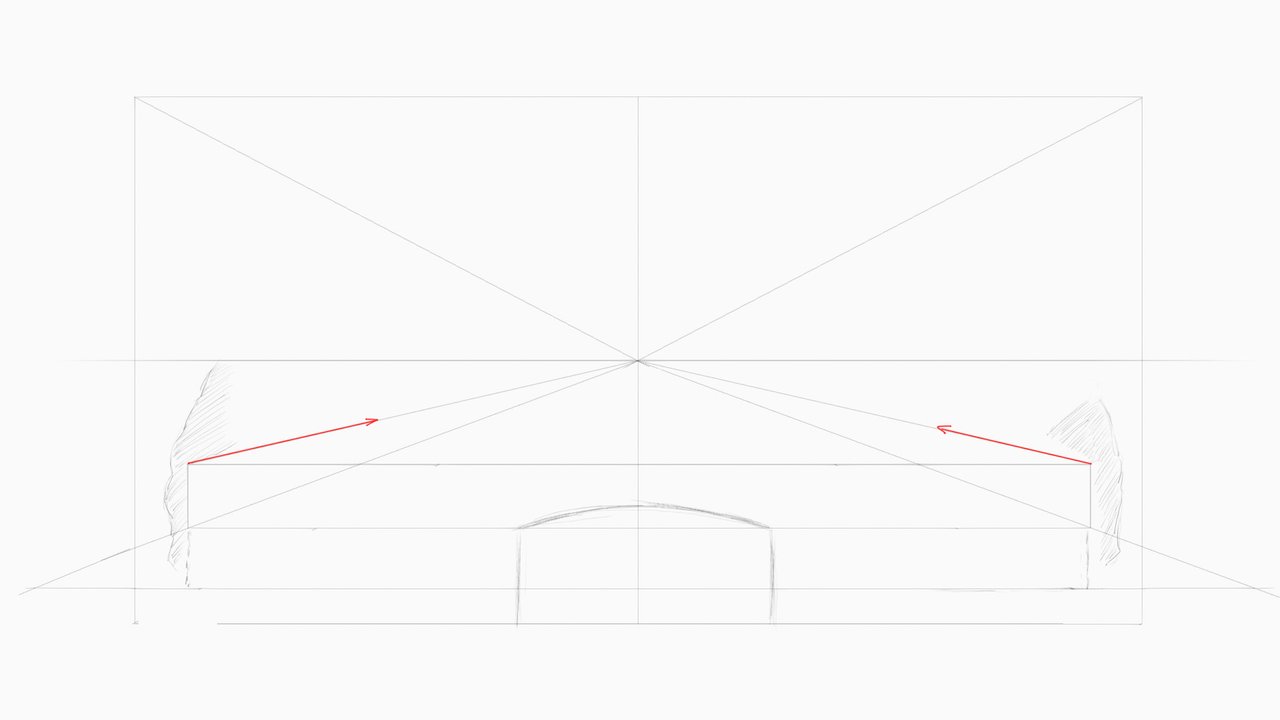
By dividing the drawing space (our large rectangle) in three we obtain, in the central part, the width of the rear wall.

Here we make another division, in this case between the middle point (1/2) and the end at the right side. We can obtain this midpoint (1/4) using the method explained in 70-Masterclass,Eight sided tower (Dividing a straight line into two equal parts) if you want, otherwise you can do it with a ruler.

So, we can draw a line from this point to the vanishing point in the center. The point where the line intersects with the line of the rear wall is the limit of the ceiling.

Well, we can draw the left side of the ceiling as shown below, in the same way used previously for the floor.
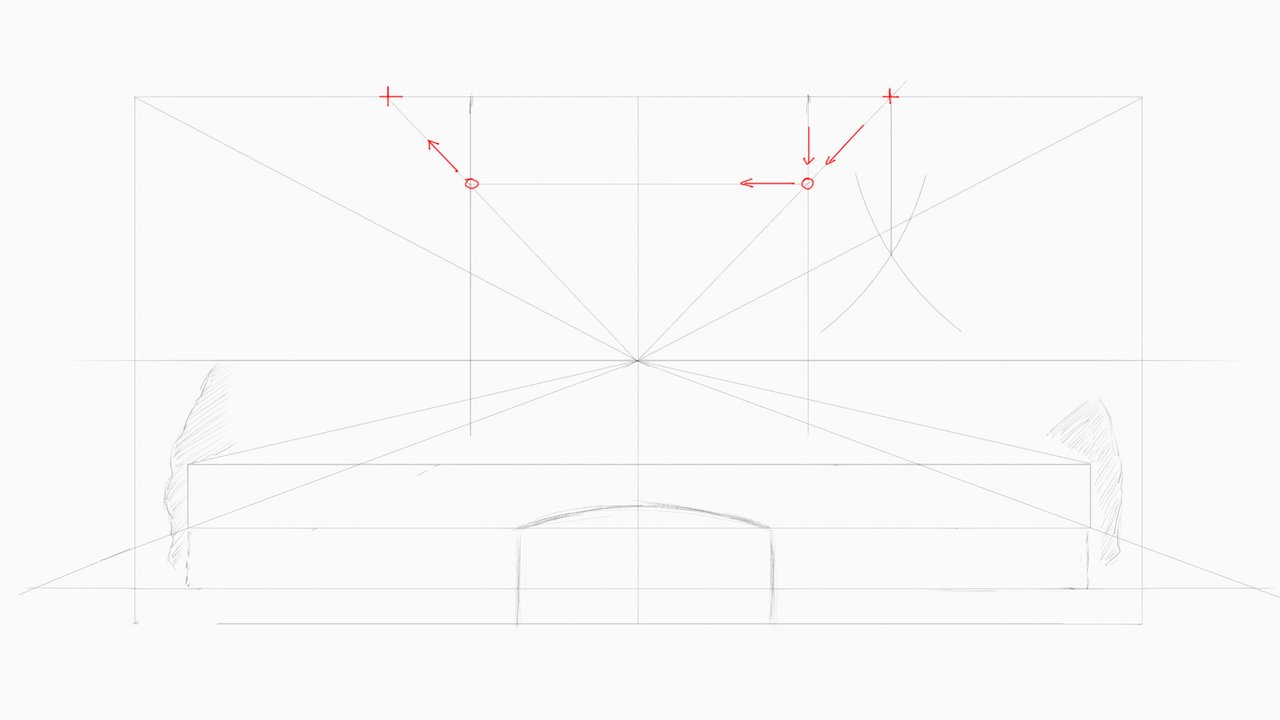
The point where the vertical lines of the rear wall intersect the vanishing lines of the floor give us the base of this wall.
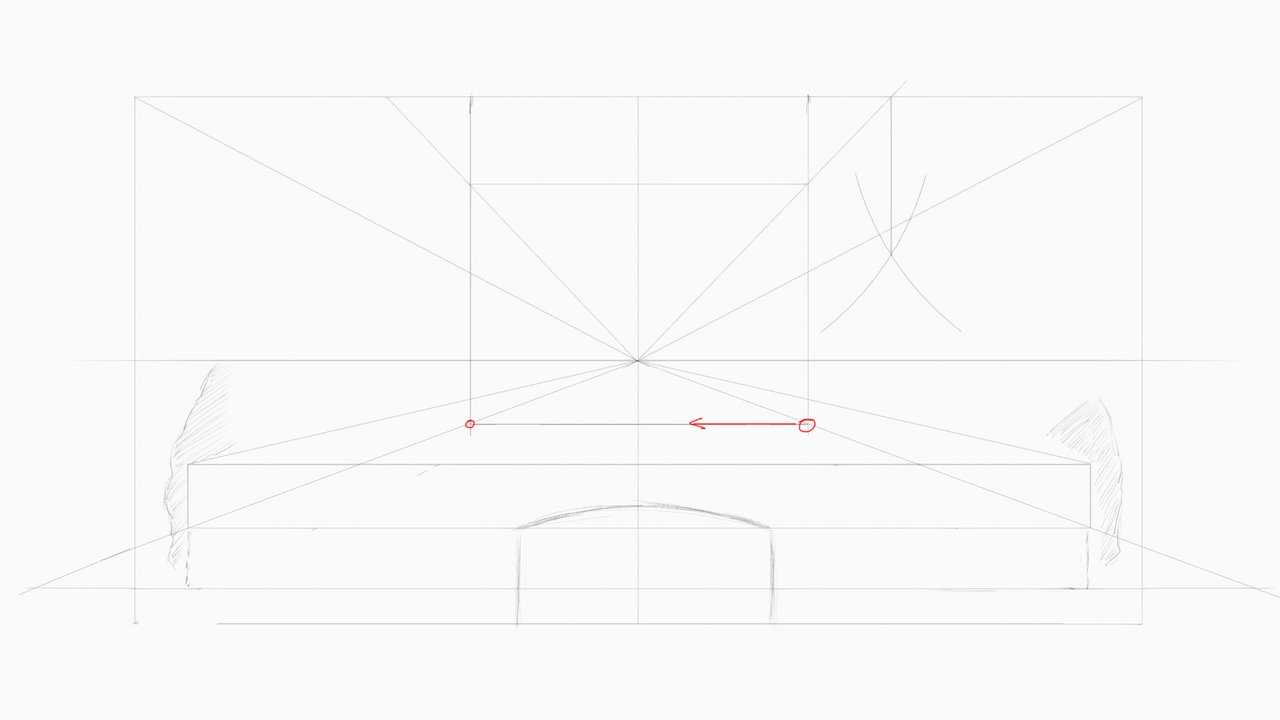
A little down we can draw the edge that gives the width of the table.
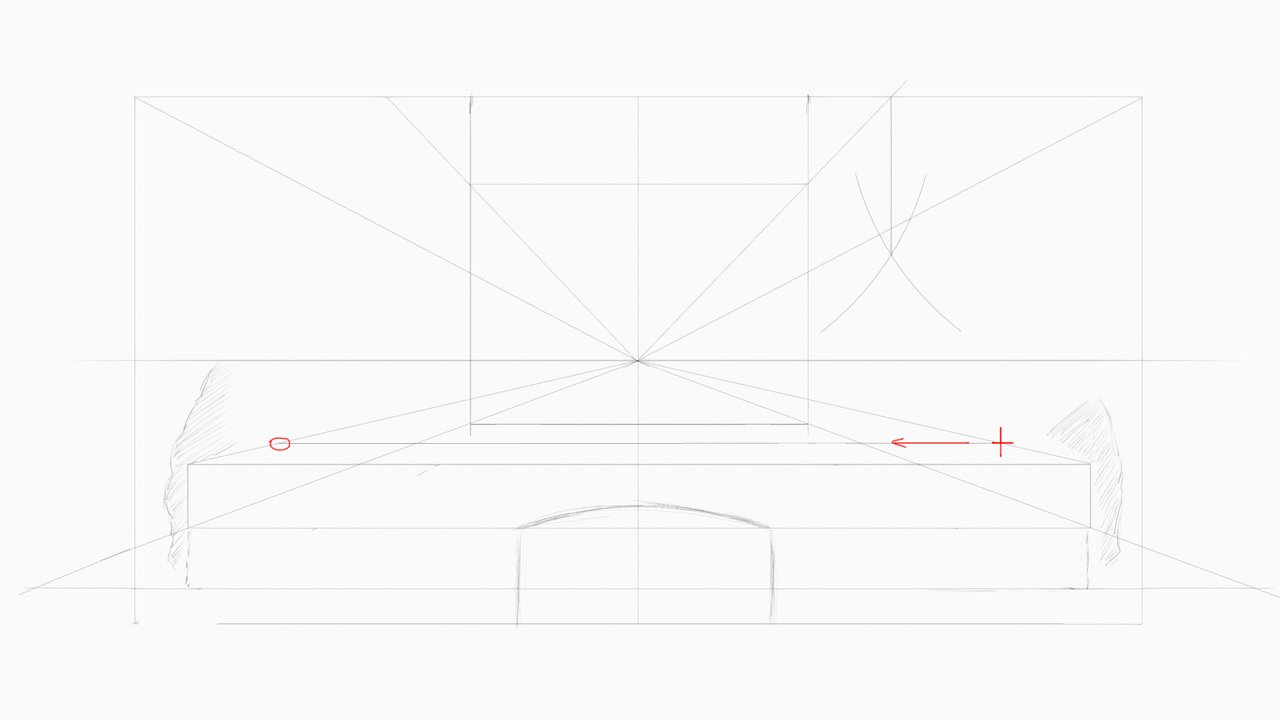
This drawing is made only with the objective of showing you what we have achieved until today, do not make this outline in your drawing because later it will be difficult for you to erase those lines.

I wish you a very nice day and good exercise!
Here are the links to the previous related posts.
1 - 2 - 3 - 4 -
5 - 6 - 7 - 8 - 9 - 10 -
11 - 12 - 13 14 - 15 -
16 - 17 - 18 - 19 - 20 - 21 - 22 - 23 - 24 - 25 -
26 - 27 - 28 - 29 - 30 - 31 - 32 - 33 - 34 - 35 - 36 - 37 - 38 - 39 -
40 - 41 - 42 - 43 - 44 - 45 - 46 - 47 - 48 - 49 - 50 - 51-feedback - 52-Masterclass - 53-Homework Contest #6 - 54-Lesson - 55-Lesson - 56-Lesson - 57-Lesson - 58-feedback - 59-feddback - 60 Masterclass - 61-HW Contest #7 - 62-Lesson - 63-Lesson - 64-Lesson - 65-Lesson - Lesson-66 - 67-feedback - 68-feedback - 69-feedback - 70-Masterclass - 71-Homework Contest #8 - 72-Lesson - 73-Lesson - 74-Lesson - 75-Lesson - 76-Masterclass - 77-Homework - 78-Lesson - 79- Lesson - 80-lesson - 81-feedback - 82-lesson - 83-Masterclass - 84-HW contest - 85-feedback - 86-lesson - 87-lesson - 88-lesson - 89-feedback - 90-feedback - 91-lesson - 92-Masterclass
Also, thanks to @xpilar for making these initiatives possible with their great support.
